Forum Discussion
ron_dittmer
Oct 19, 2015Explorer II
O.P. Here,
I installed a voltmeter just the way I wanted. Here are the details I posted on the Phoenix Cruiser forum.
On our 2007 2350 with a new pair of 6V AGM batteries, I was inspired to add a volt meter to better monitor them. The simplest way would have been to plug a nice little round one LIKE THIS ONE into the 12V outlet located inside the cabinet to the right of the main TV. But I wanted something "In My Face" and the control panel in the stove hood seemed the ideal location. I removed the panel following the instructions on a sticker located under the hood. Doing anything different would have broken something. On the back side of the blank space were knock-outs for features. So I did a little Ebay shopping and found something to utilize those knock-outs.
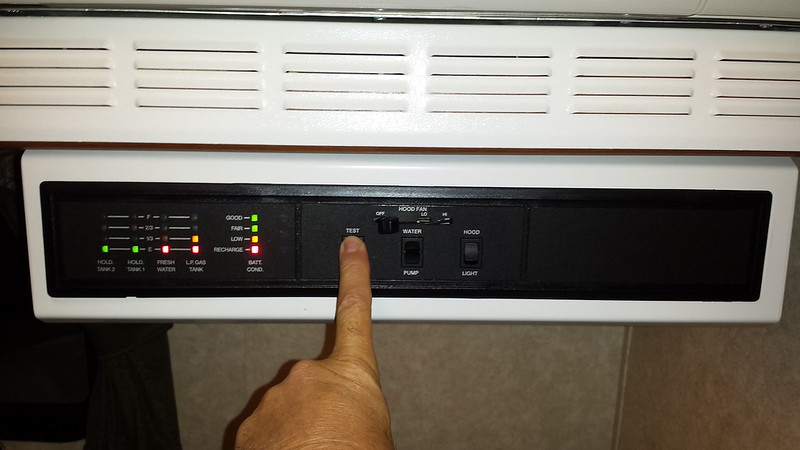
Here is my control panel before. Note the large blank space available to the right.
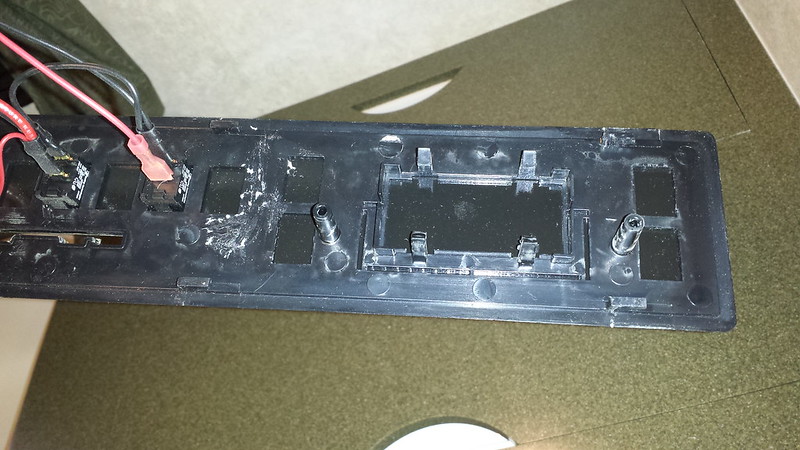
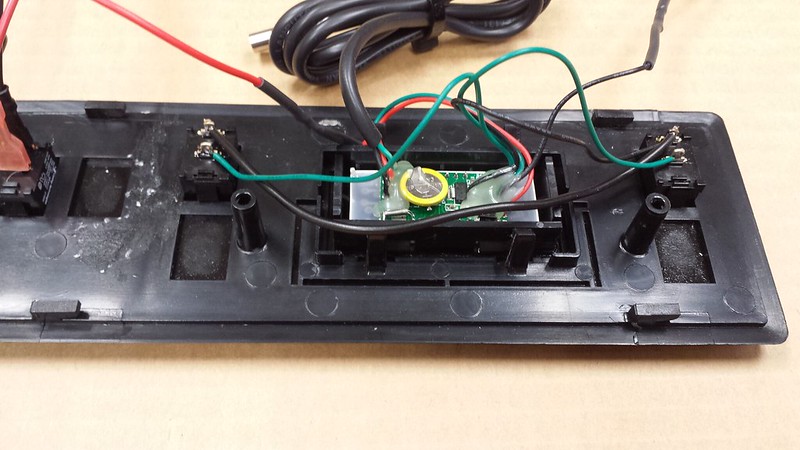
Here is the back side. Note the knock-outs for switches and a display.
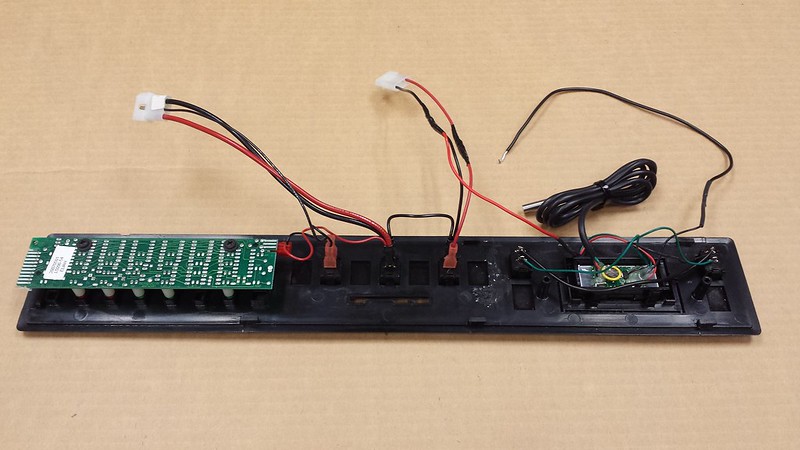
THIS is what I installed. It has a 3-function display.
- Voltage to two decimal places
- 12 hour clock that can display the seconds (backup battery retains the time)
- Thermometer in Degrees F
It comes with a 2-switch micro-switch panel to operate the display, but I bought separate spring-back switches on Ebay HERE to match the others which fit right into the available positions.

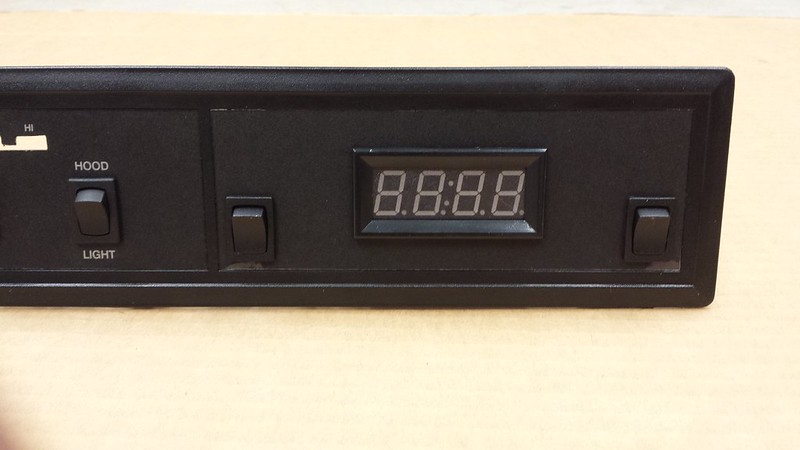
Here is the finished product
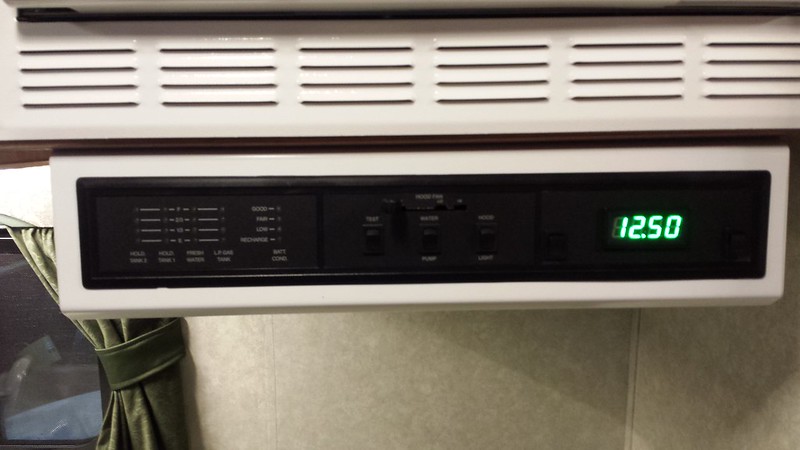
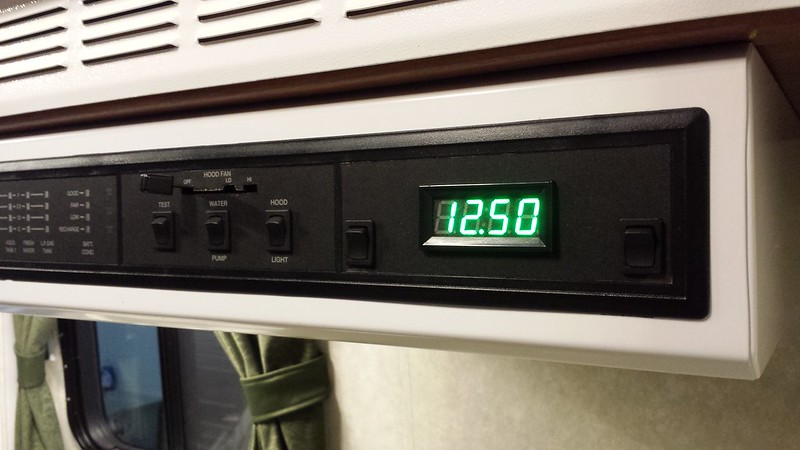
I was surprised how quick and easy the project went. I had to be careful when cutting for the display because it was a little smaller than the knock-out provided. The switches were easy, just cut to the plastic frame structure size. One thing caught me off-guard. I assumed the primary control panel wires had red as power and black as ground, but that was not the case. When tapping into power and ground, first ohm out which is which. Doing so the first time would have saved me an hour's time of re-work.
I did buy one of those little round plug-in volt meters and it is quite nice. I will be plugging it into my dash board cigarette lighter and see how I like it on our next excursion. It will be interesting to watch the voltage changes when the alternator switches over to charge the house batteries. It seems it will not get in the way of shifting gears because it does not stick out that far.
If you like the idea of having a volt meter to monitor your batteries, the simple plug-in one located to the right of the main TV will do the job just as well as the fancy one I installed. Just keep a close eye on it. As I understand it, the general rule monitoring voltage is when it reads 12.1V with all things turned off, you better get your batteries charged right away or they will soon get damaged. Fully charged batteries are around 12.7V. I will know better how to interpret the voltage readings by the end of our next trip.
I installed a voltmeter just the way I wanted. Here are the details I posted on the Phoenix Cruiser forum.
On our 2007 2350 with a new pair of 6V AGM batteries, I was inspired to add a volt meter to better monitor them. The simplest way would have been to plug a nice little round one LIKE THIS ONE into the 12V outlet located inside the cabinet to the right of the main TV. But I wanted something "In My Face" and the control panel in the stove hood seemed the ideal location. I removed the panel following the instructions on a sticker located under the hood. Doing anything different would have broken something. On the back side of the blank space were knock-outs for features. So I did a little Ebay shopping and found something to utilize those knock-outs.
Here is my control panel before. Note the large blank space available to the right.

Here is the back side. Note the knock-outs for switches and a display.

THIS is what I installed. It has a 3-function display.
- Voltage to two decimal places
- 12 hour clock that can display the seconds (backup battery retains the time)
- Thermometer in Degrees F
It comes with a 2-switch micro-switch panel to operate the display, but I bought separate spring-back switches on Ebay HERE to match the others which fit right into the available positions.

Here is the finished product


I was surprised how quick and easy the project went. I had to be careful when cutting for the display because it was a little smaller than the knock-out provided. The switches were easy, just cut to the plastic frame structure size. One thing caught me off-guard. I assumed the primary control panel wires had red as power and black as ground, but that was not the case. When tapping into power and ground, first ohm out which is which. Doing so the first time would have saved me an hour's time of re-work.
I did buy one of those little round plug-in volt meters and it is quite nice. I will be plugging it into my dash board cigarette lighter and see how I like it on our next excursion. It will be interesting to watch the voltage changes when the alternator switches over to charge the house batteries. It seems it will not get in the way of shifting gears because it does not stick out that far.
If you like the idea of having a volt meter to monitor your batteries, the simple plug-in one located to the right of the main TV will do the job just as well as the fancy one I installed. Just keep a close eye on it. As I understand it, the general rule monitoring voltage is when it reads 12.1V with all things turned off, you better get your batteries charged right away or they will soon get damaged. Fully charged batteries are around 12.7V. I will know better how to interpret the voltage readings by the end of our next trip.
About Motorhome Group
38,705 PostsLatest Activity: Jan 14, 2025