sasq40 wrote:
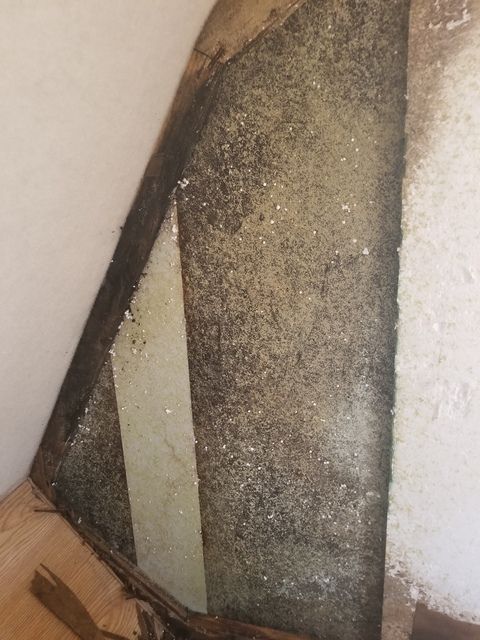
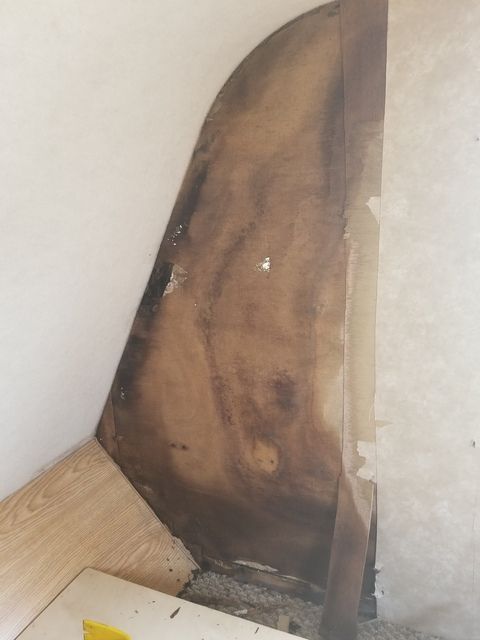
Ok got around taking that front piece. I can't believe how little framing there is is. It's crazy that without that panel glued in it drops like a inch or two! I'm going to add a support piece or 2 in there. 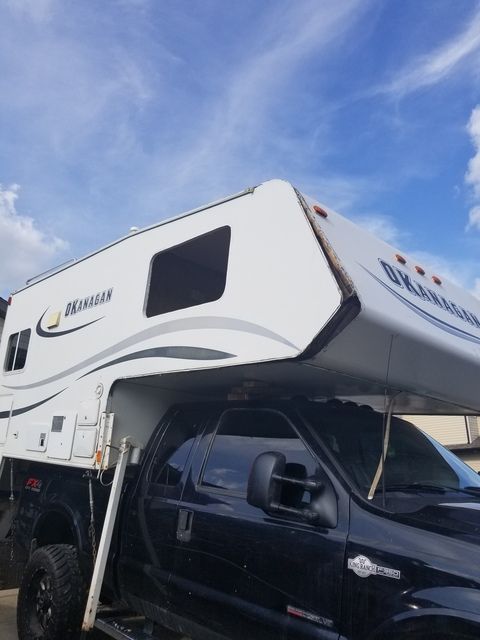
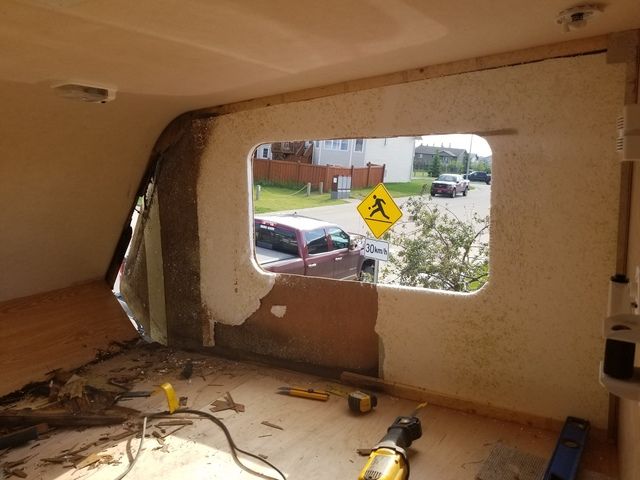
Also think I found two source of water 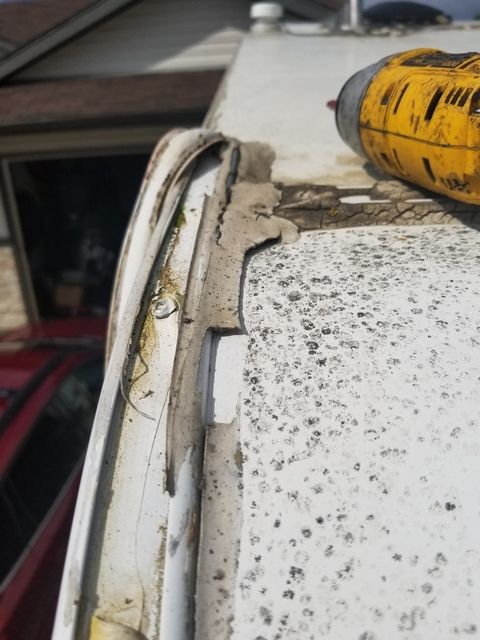 that looks like ones a d the other is in the nose section were it looks like a rock had hit, when the front started to sag water was pouring out from our recent storms!
You IMO encountered what I have been calling for the last 5 to 10 years the real archilles heel of almost all RVs and that is the corner area where the end cap molding meets the trim molding that runs up on the roof and water can pool and sit for days. You last pic really shows the failure of the caulking around that critical area. What I believe happens is the water over time loosens the caulk right at the roof surface like you can see in that last pic and while it might not be visibly noticable the water will get under the caulking and work it's way to the side/end seam and molding screws and it's off the the ROT races so to speak. AFAIK none of the non-marine caulks are meant for sustained submerged use and when subjected to that over time will be guaranteed to leak. Below is a pic of that issue on my trailer and the first of my two steps is guaranteeing that will never happen to my trailer.

Here is a pic of my final solution and unless one does something like this this issue is IMO almost IMPOSSIBLE to prevent in the vast majority of RVs and if you have avoided it it's only LUCK.

A key in my solution is that I added like a 1/4 inch thick triangle to form a slope before entombing that entire area with multiple layers of overlapping Eternabond ensuring that molding that runs from the roof down along the side/end sections is completely covered to the point where water will run down the sides/ends. I also ran a small bead of 3M marine 5200 adhesive/sealant to replace the substandard factory caulk in that area as a second defense. This might not be a pretty solution, but is the only way IMO to prevent the type and extent of the damage you have encountered.
Not trying to come down on you too hard but judging from the cracking of the caulking in that last pic it appears you had indications that something needed to be done and it wasn't which only IMO again hastened your damage.
Larry