Fishbreath
Aug 29, 2020Explorer II
Adding XM antenna to avoid camper overhang
I thought that I would share an easy way to add an XM/Sirius radio antenna to a 2019 GMC 3500 that is not blocked by an overhanging cab over camper.
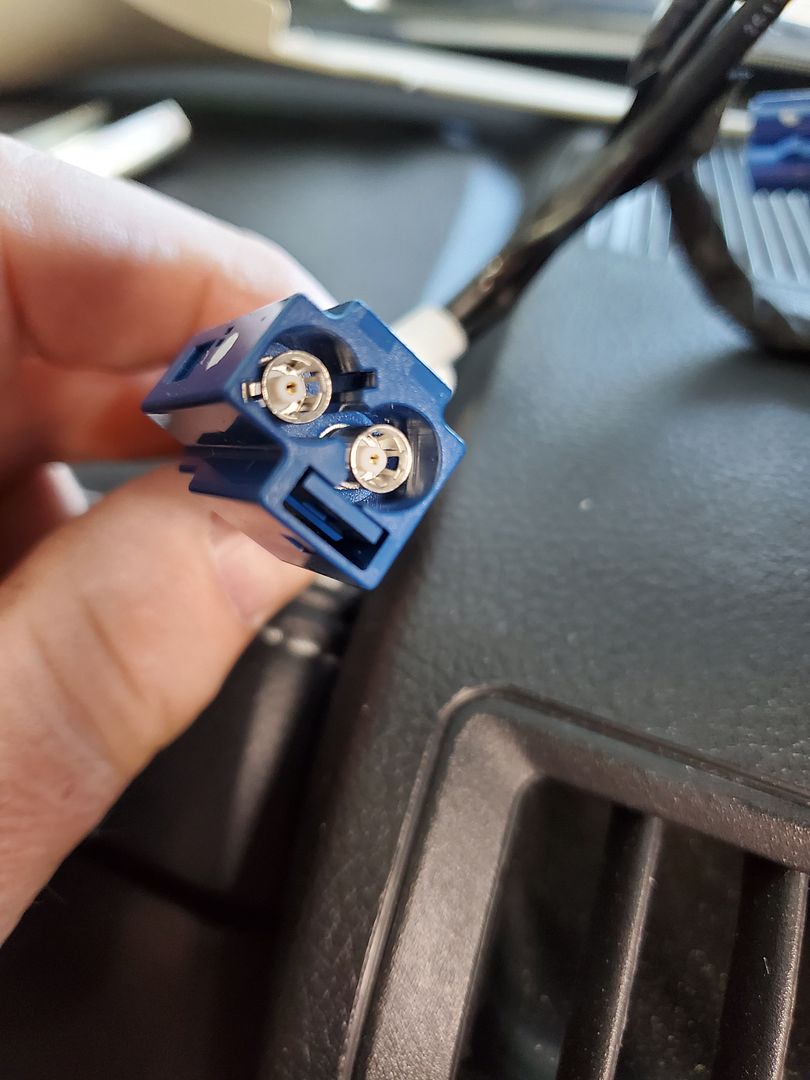
For my application I need two parts. 1 XM Satellite Radio Antenna and 1 FAKRA adapter for SMB antennas
The first step was to remove the bezel surrounding the radio screen and controls. The bezel is held in place by 8 clips and it is necessary to pry the bezel away from the dash. I used plastic pry bars
and started in the four corners of the bezel as indicated by the arrows in this picture

After you have pried away the bezel you will find that the radio screen is held in place by four 7mm screws. Remove the screws and then pull the screen away from the dash. There are two retaining clips that will offer a little resistance, but it will pull away.

You can now see the multiple radio components in the dash. The satellite antenna cable is located in the upper right corner. It is a yellow, square connector.

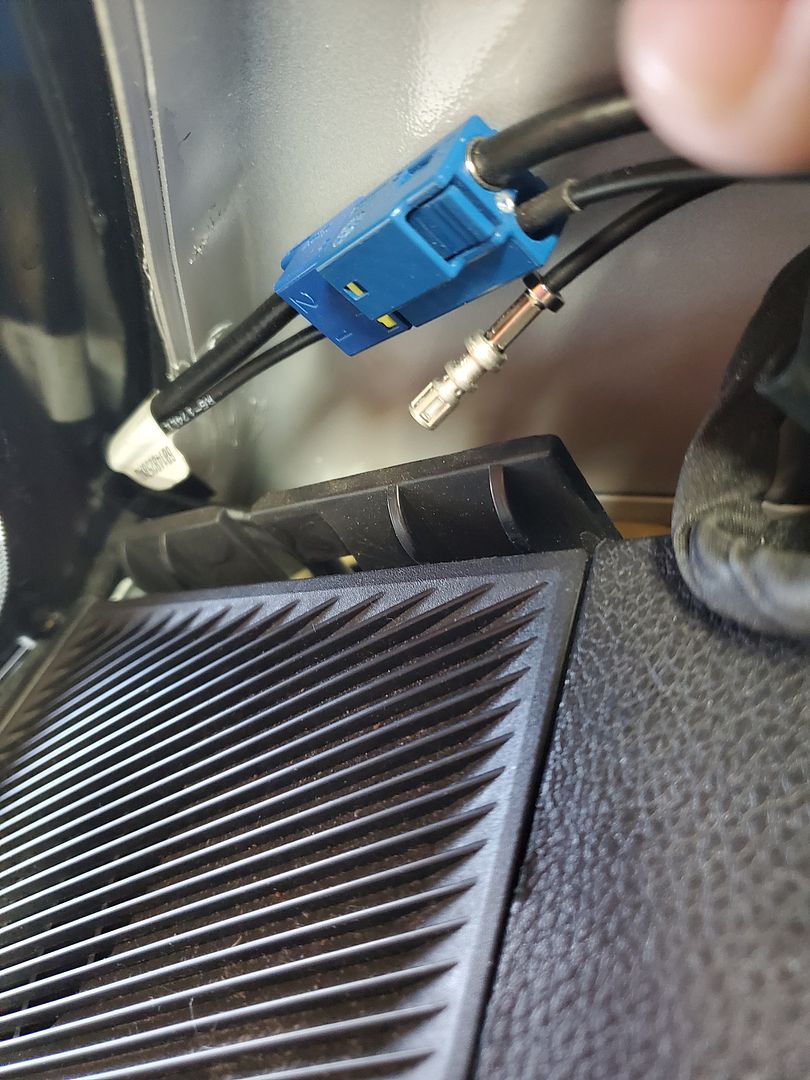
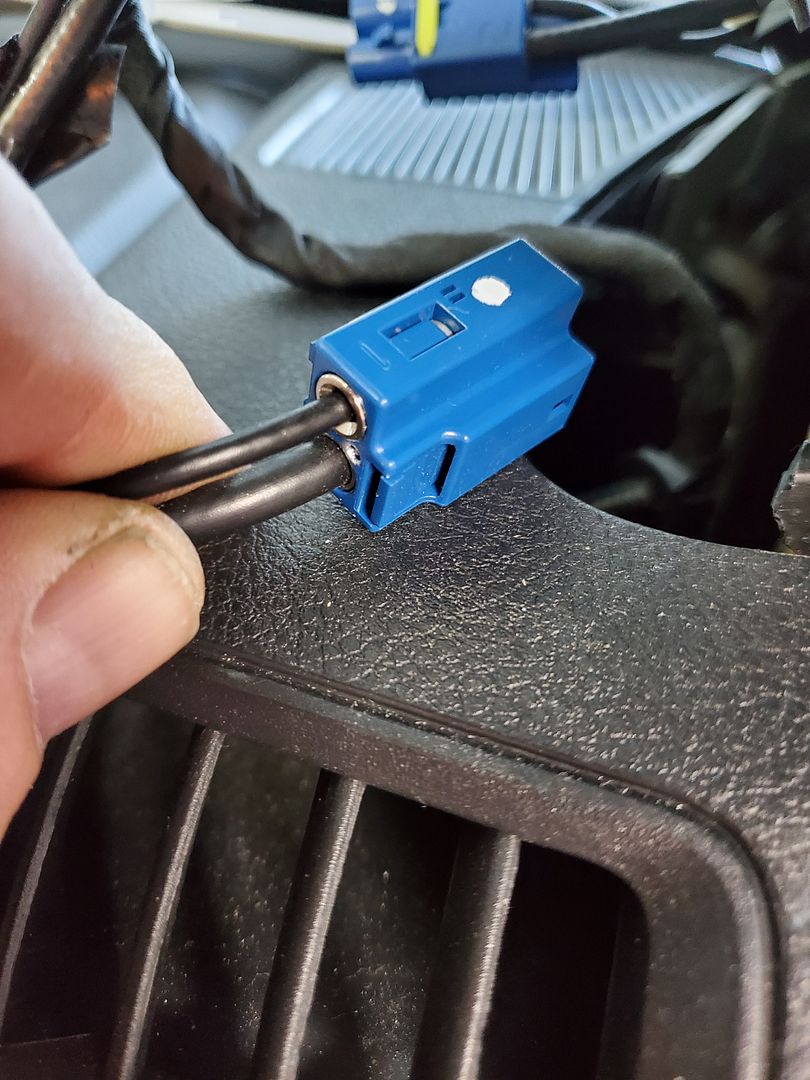
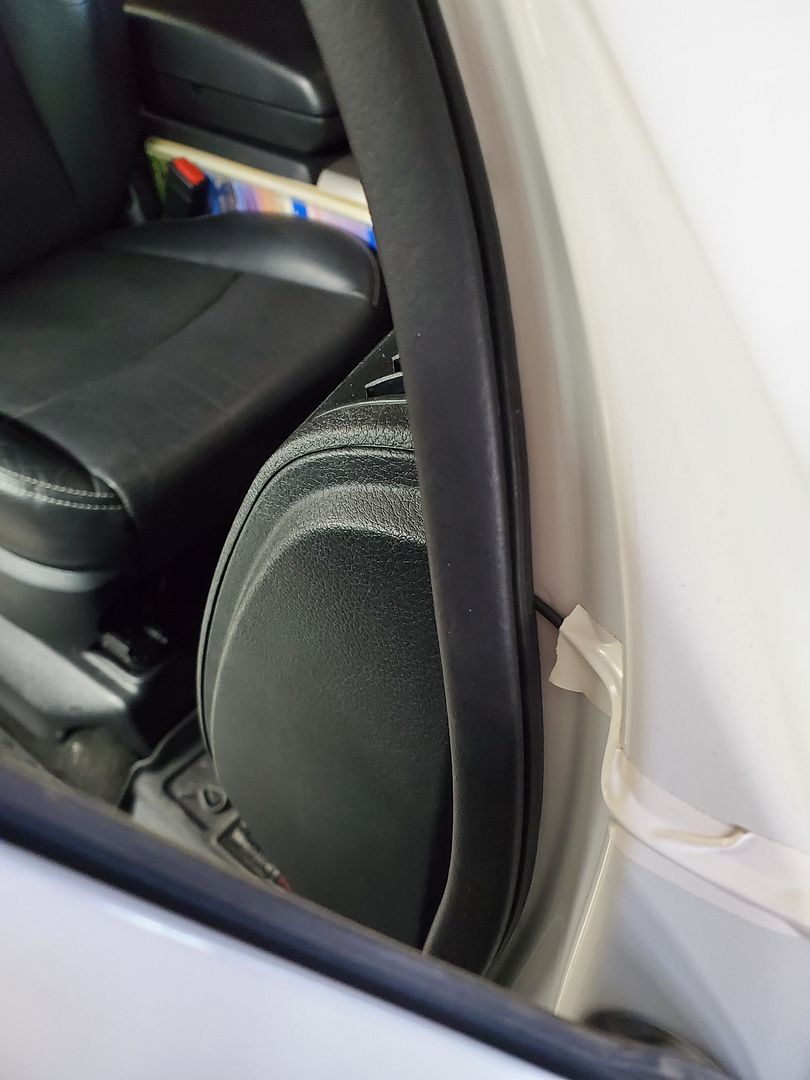
You can now route your magnetic mount antenna cable from the hood area and into the dash. Once you get the cable to the dash, you can attach the antenna cable to the FAKRA connector

Once connected, insert the cable/FAKRA adapter into the location previously occupied by the OEM antenna connection. I taped up the old antenna lead to keep it from rattling.
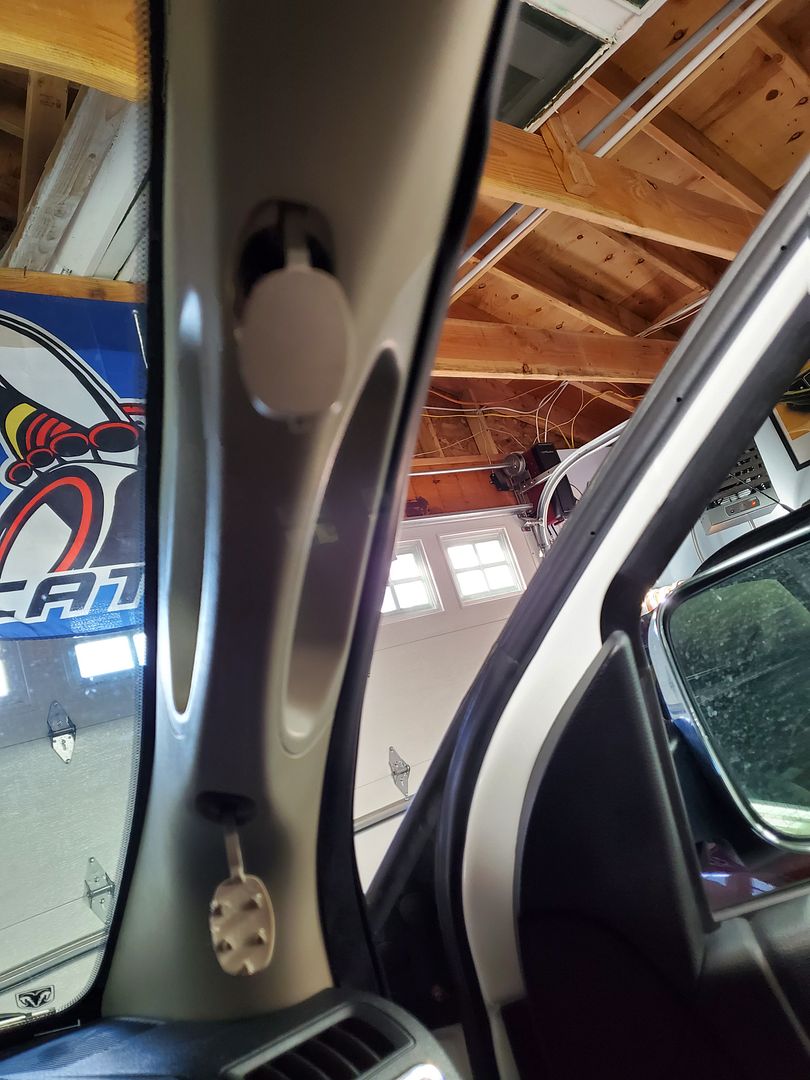
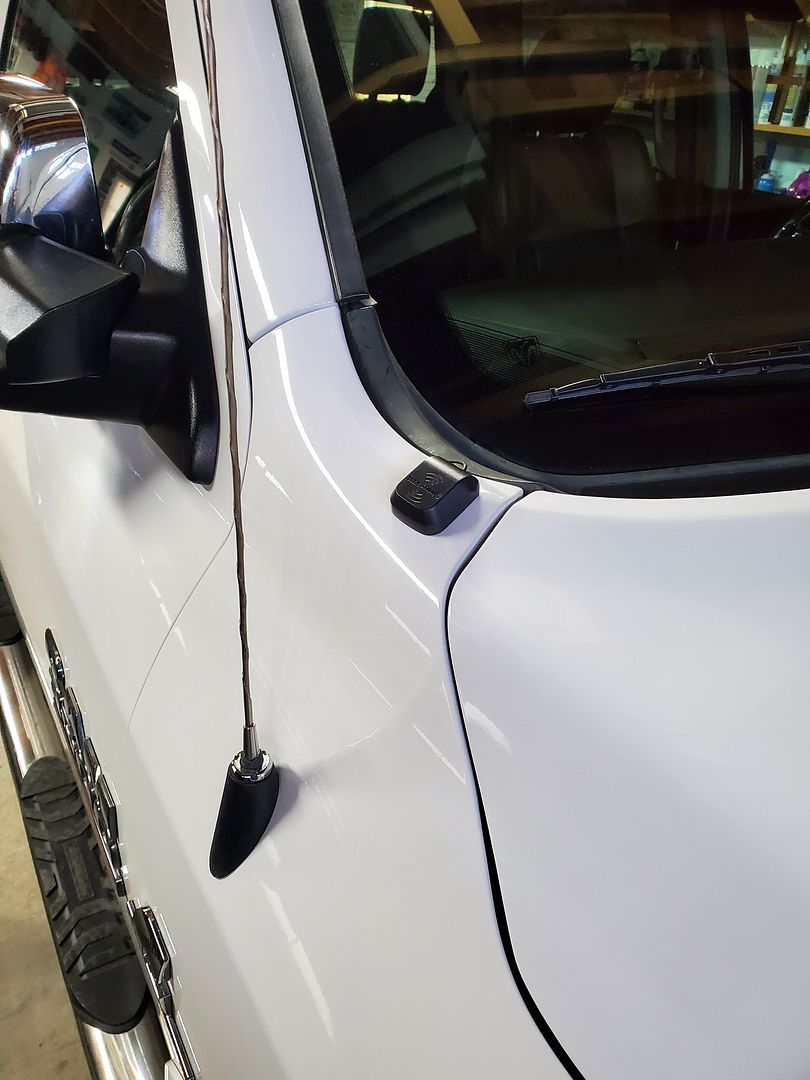
I elected to put the magnetic mount antenna on the hood of the truck, near the windshield. I tucked several feet of extra cable under the hood and behind the hood insulation. This way I can move the antenna forward on the hood if there is some blockage of signal from the cab over.

I bought both parts via the Internet for a total cost of $35.62
The entire process took 30 minutes and I believe that anyone can do this.
For my application I need two parts. 1 XM Satellite Radio Antenna and 1 FAKRA adapter for SMB antennas
The first step was to remove the bezel surrounding the radio screen and controls. The bezel is held in place by 8 clips and it is necessary to pry the bezel away from the dash. I used plastic pry bars
and started in the four corners of the bezel as indicated by the arrows in this picture

After you have pried away the bezel you will find that the radio screen is held in place by four 7mm screws. Remove the screws and then pull the screen away from the dash. There are two retaining clips that will offer a little resistance, but it will pull away.

You can now see the multiple radio components in the dash. The satellite antenna cable is located in the upper right corner. It is a yellow, square connector.

You can now route your magnetic mount antenna cable from the hood area and into the dash. Once you get the cable to the dash, you can attach the antenna cable to the FAKRA connector

Once connected, insert the cable/FAKRA adapter into the location previously occupied by the OEM antenna connection. I taped up the old antenna lead to keep it from rattling.
I elected to put the magnetic mount antenna on the hood of the truck, near the windshield. I tucked several feet of extra cable under the hood and behind the hood insulation. This way I can move the antenna forward on the hood if there is some blockage of signal from the cab over.

I bought both parts via the Internet for a total cost of $35.62
The entire process took 30 minutes and I believe that anyone can do this.
