pbrooks101
May 31, 2016Explorer
Lance 1161 Wing Repair
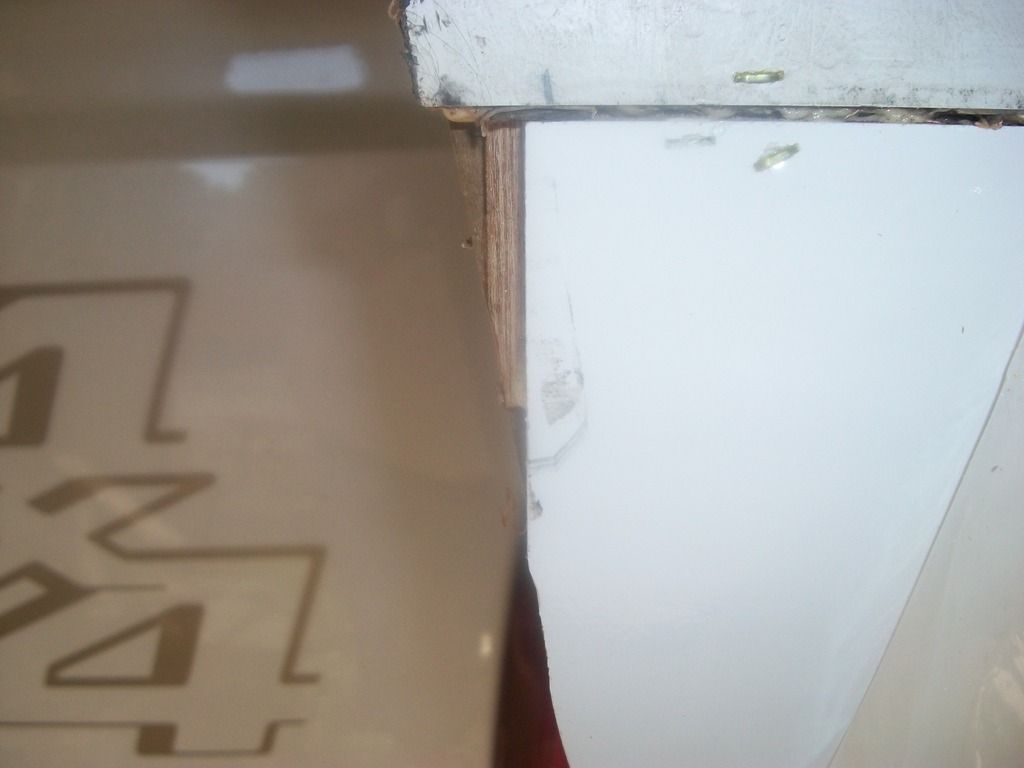
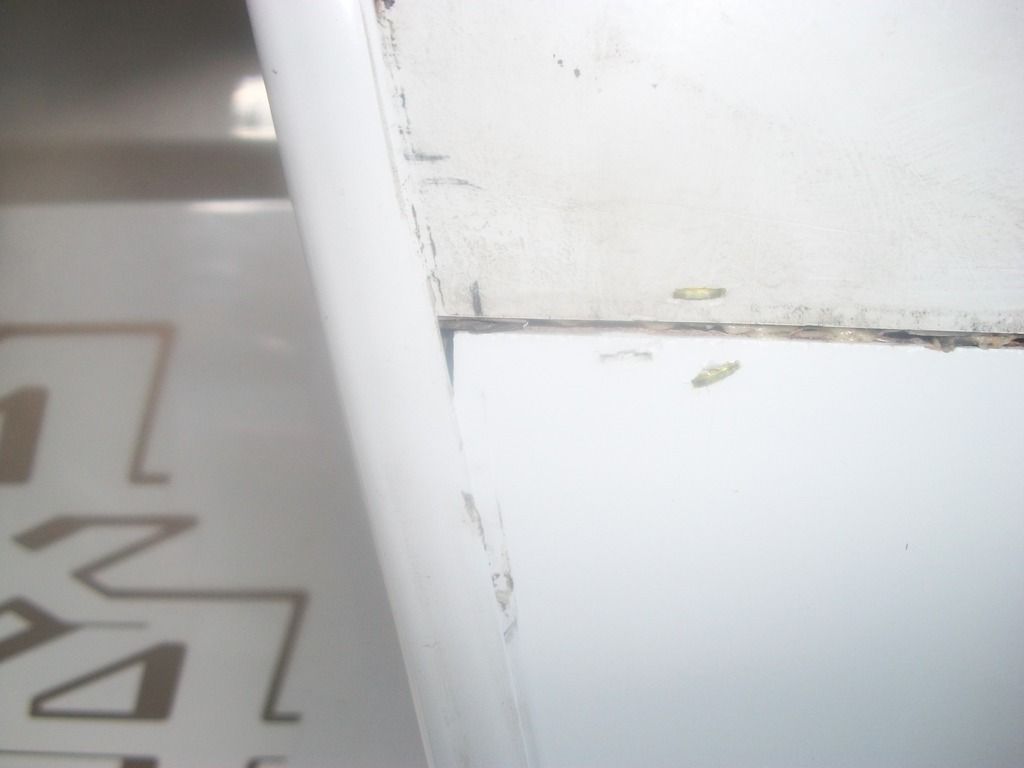
Here we go again!!! After having replaced/repaired both wings in my previous Lance 1061, I noticed a piece of molding that "just didn't look right" in my current 2004 1161. Alright, I must confess, I knew that this repair was coming but had been procrastinating to see if I could put it off until AFTER a 3 week trip from New England to Yellowstone NP.... oh well.... Upon returning from our Memorial Weekend trip to the wonderful White Mountains of New Hampshire, I noticed this....
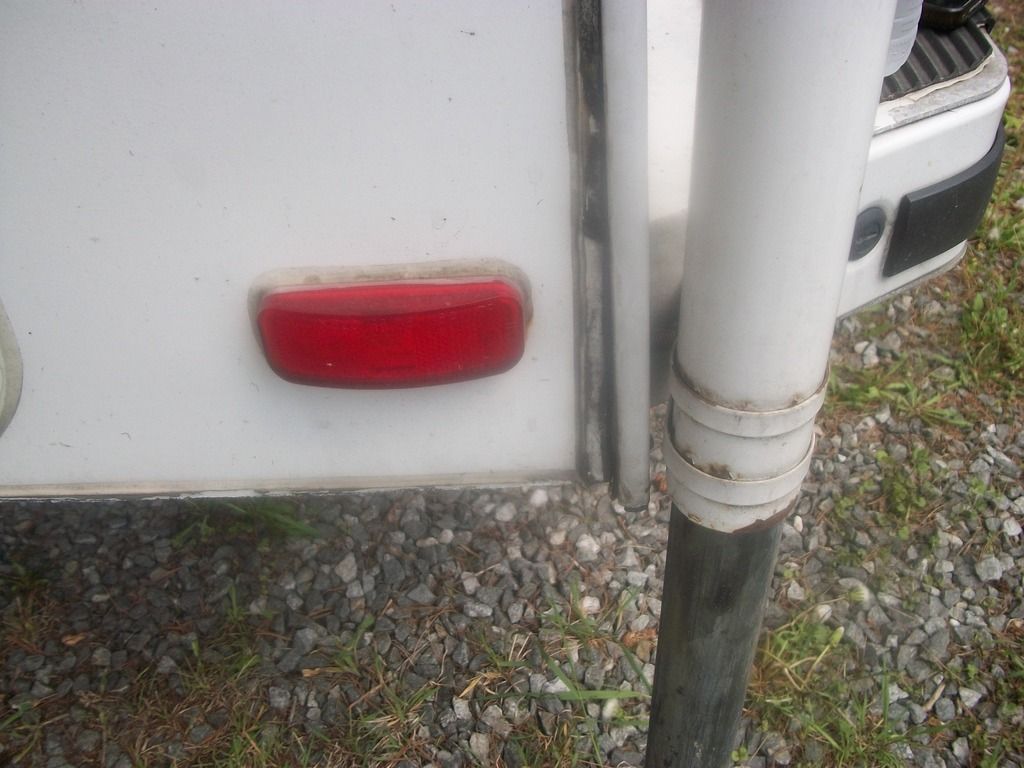
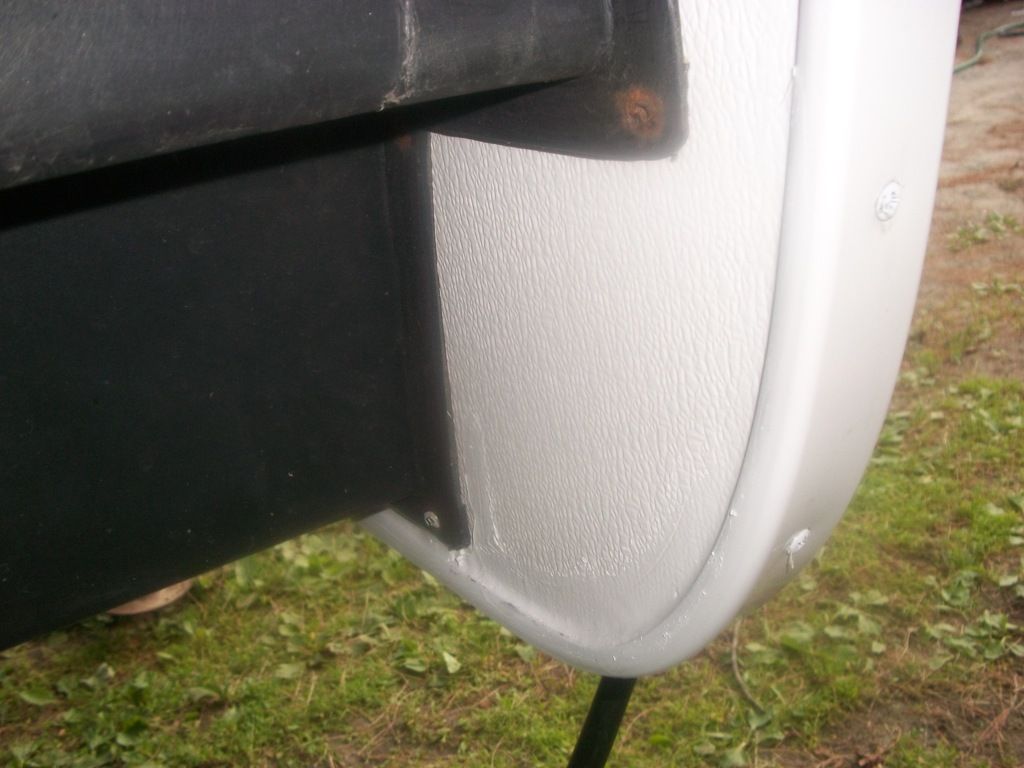
The molding had started to pop off near the back jack on the drivers side. In the picture above I had already taken off the molding that ran along the underside of the wing and up to where it meets the main part of the camper.
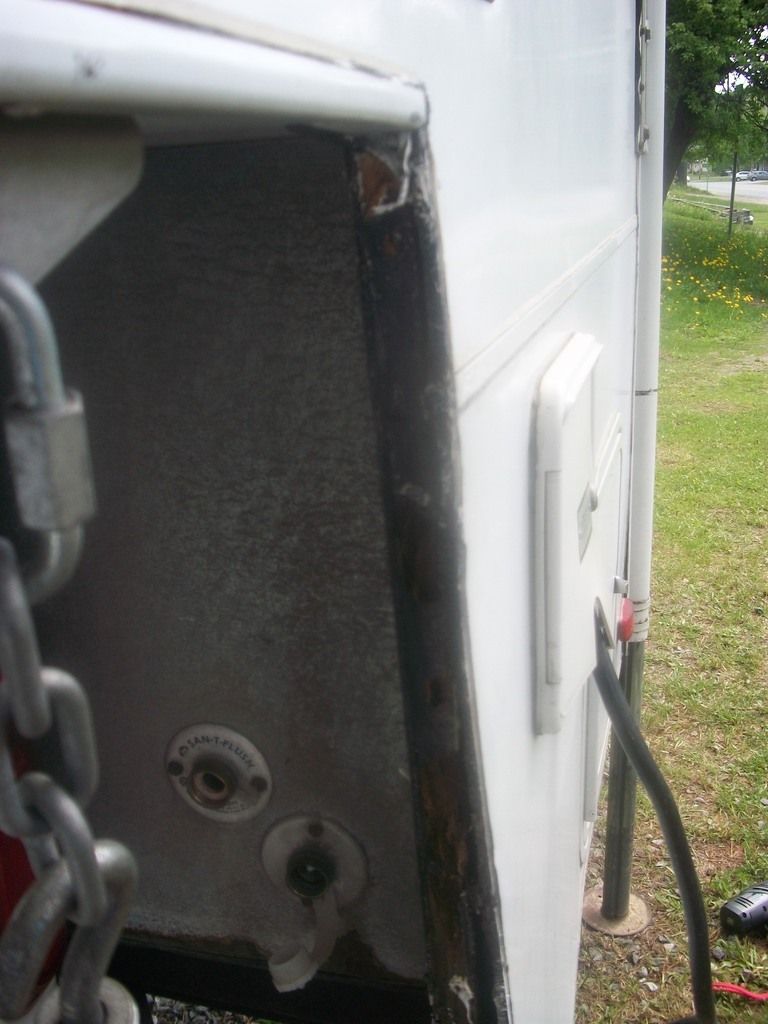
That had all started to rot pretty good too....
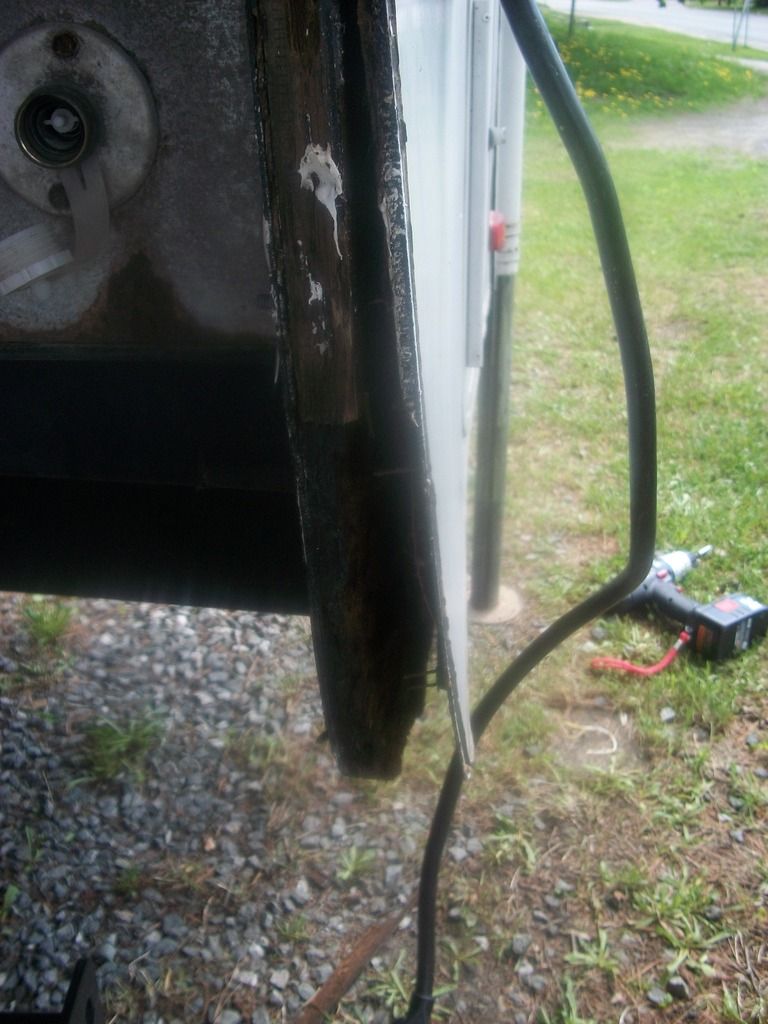
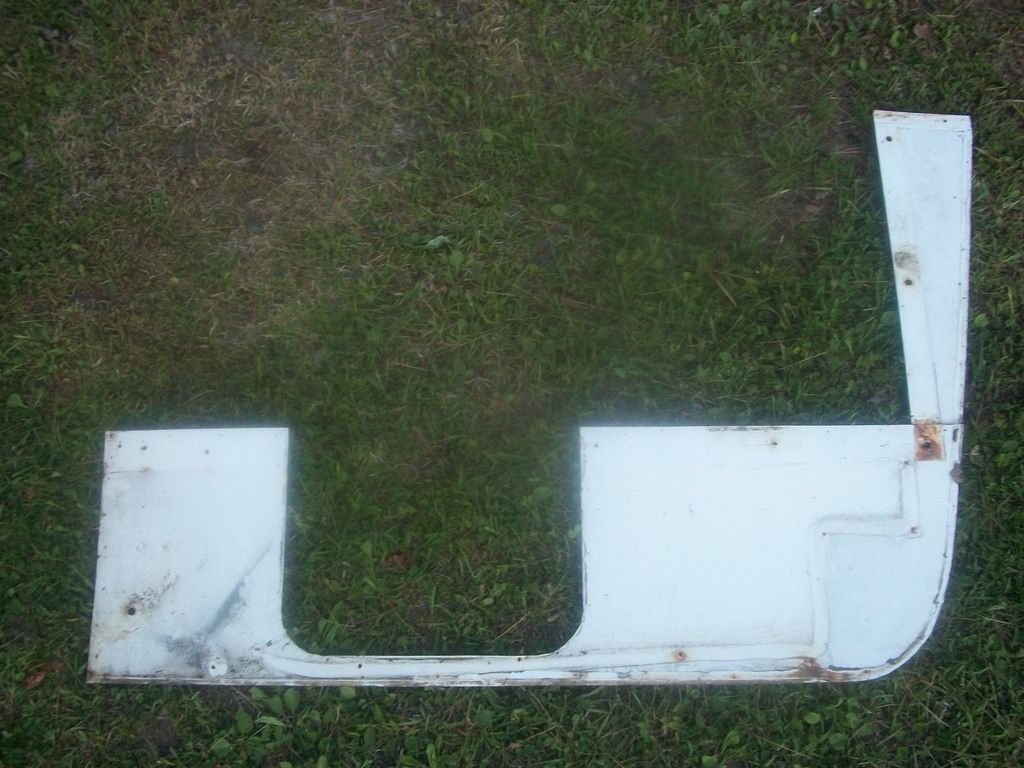
This is the bottom radius of the wing without the molding. All of the stapled together pressboard is completely gone. It all fell out when I took the molding off.
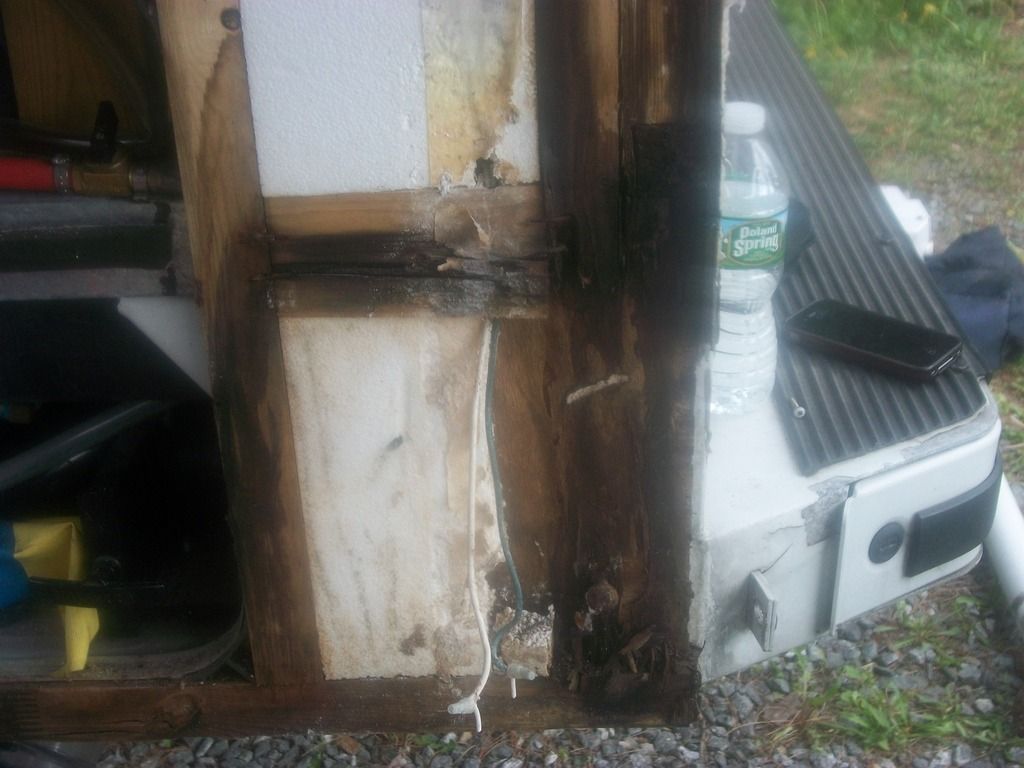
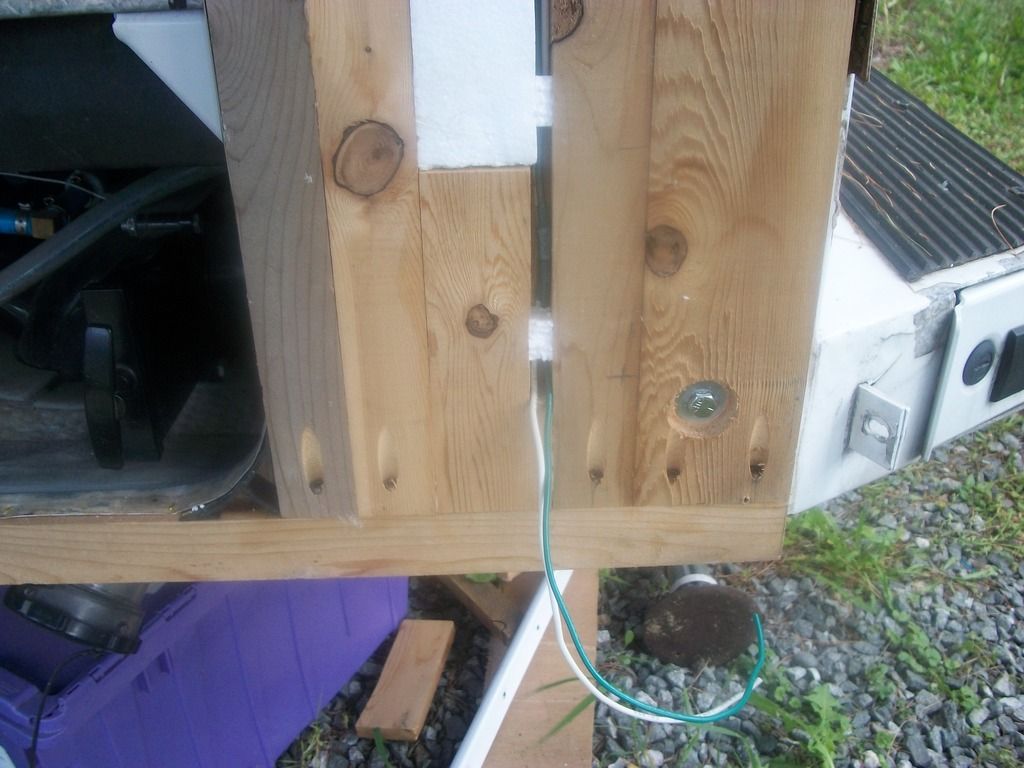
This is the rear bottom part of the wing. Basically, everything is rotten about 1 foot up and up where the two pieces of molding meet.
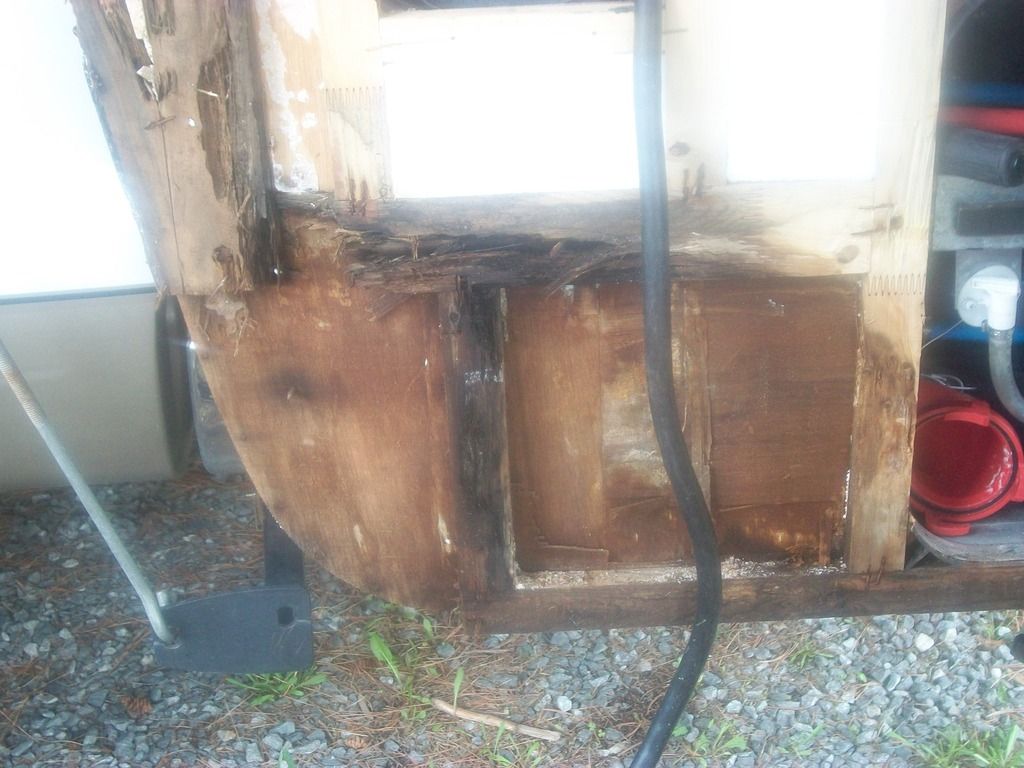
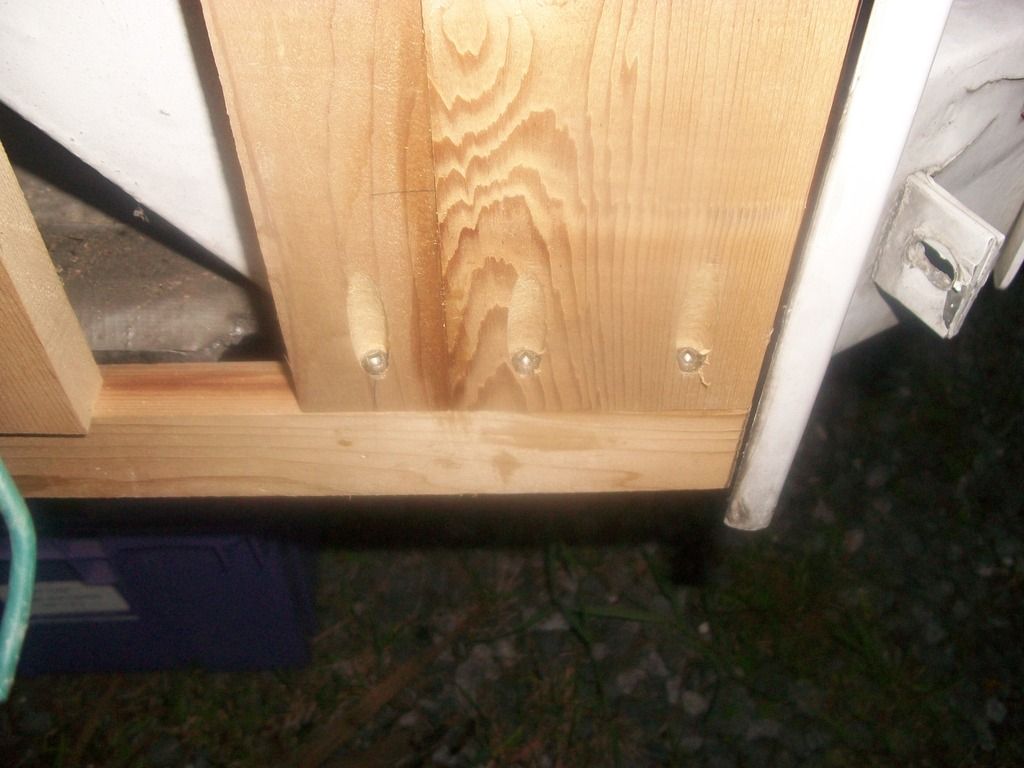
This is the radius of the wing partially cleaned up.
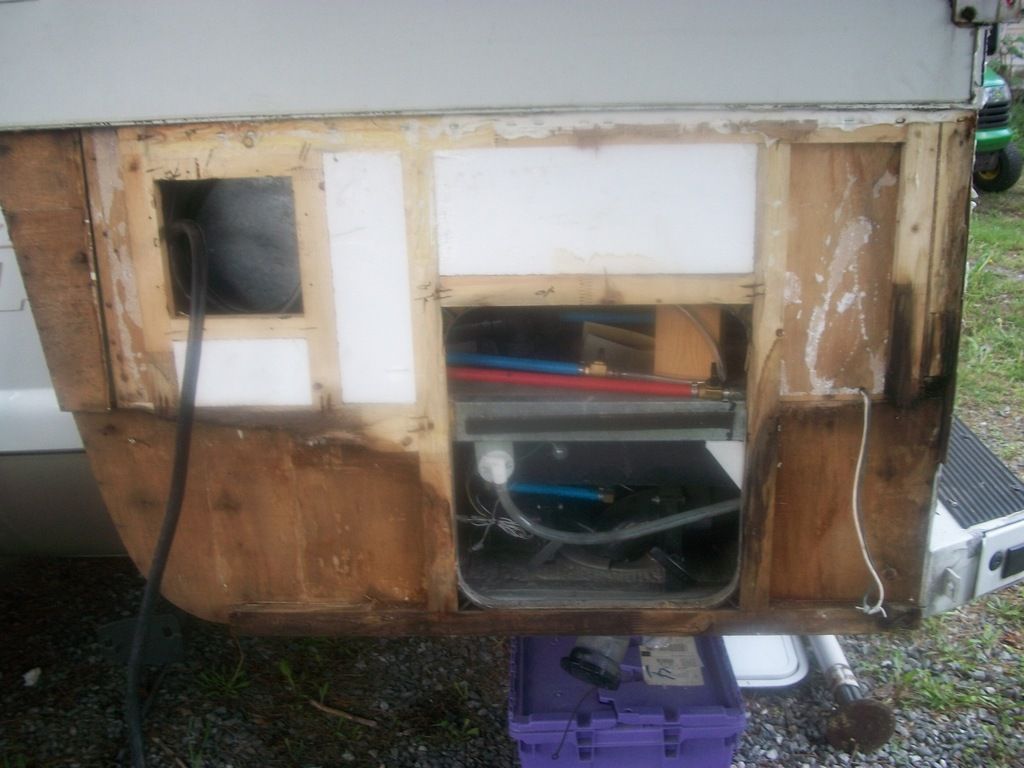
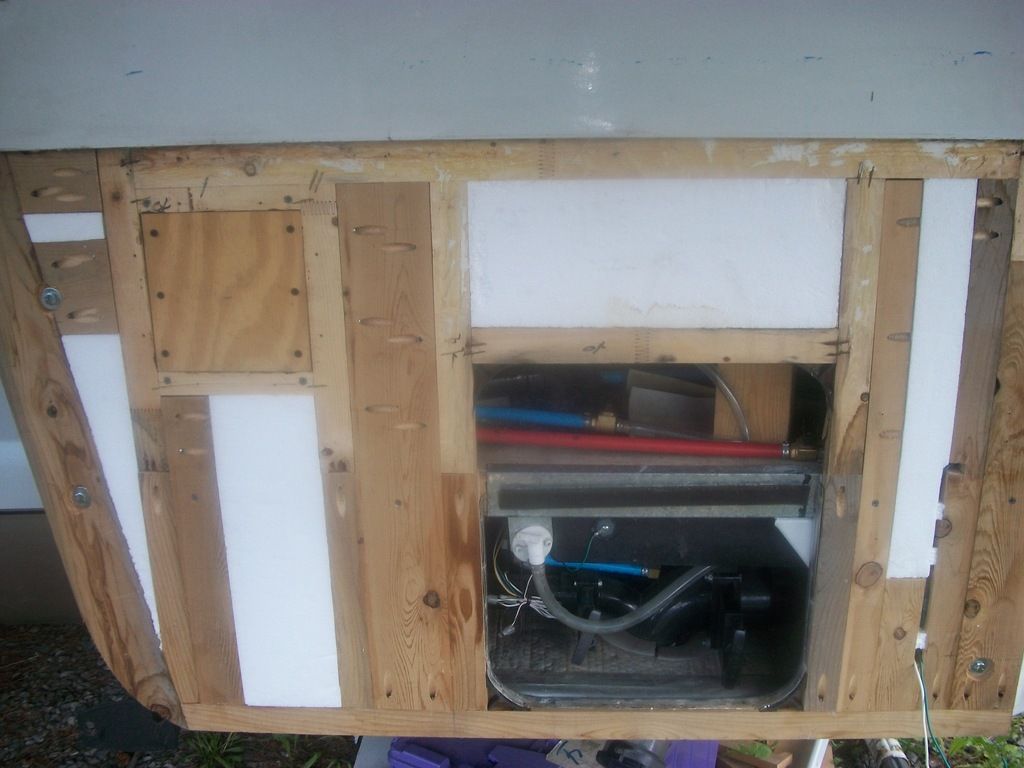
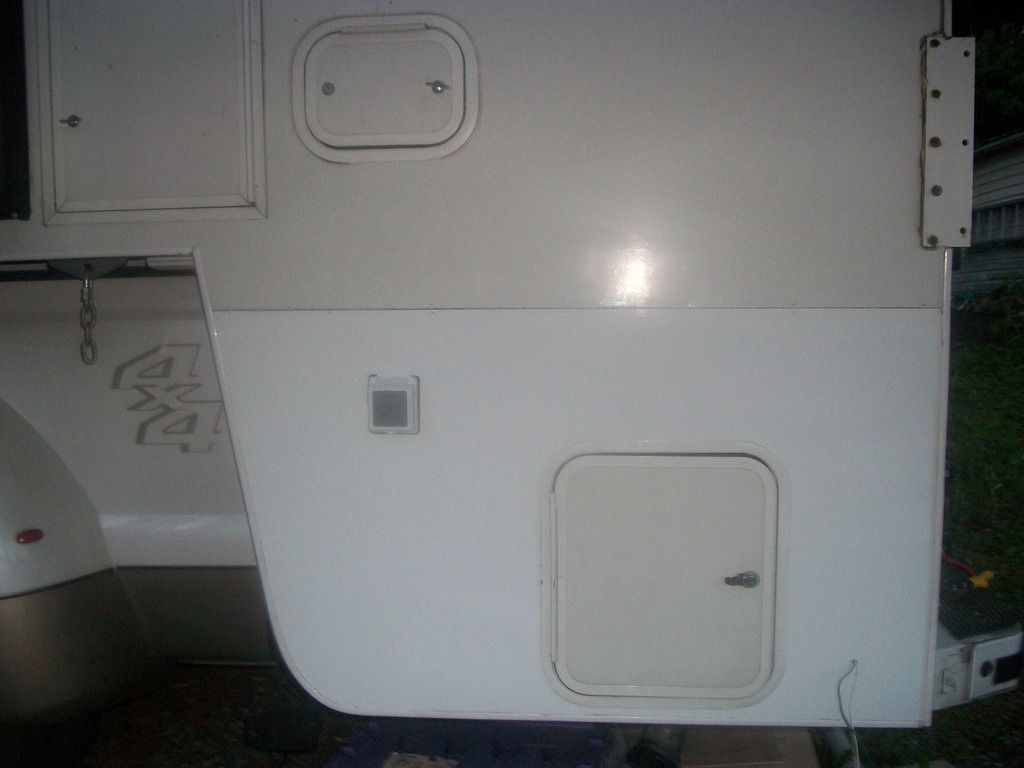
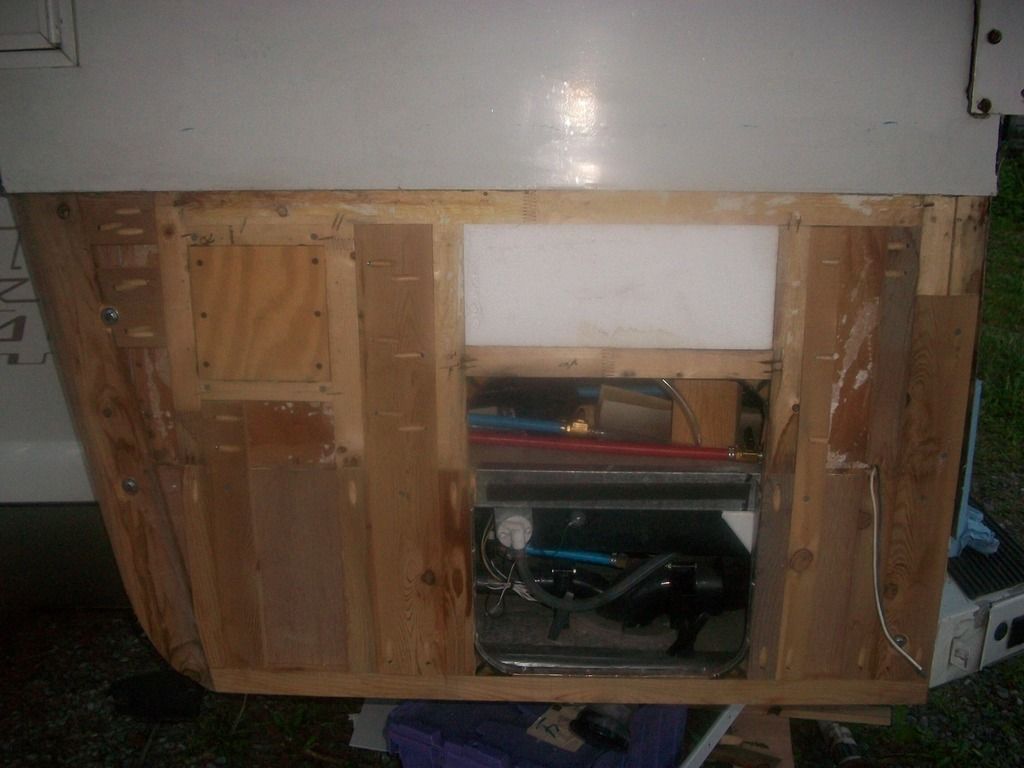
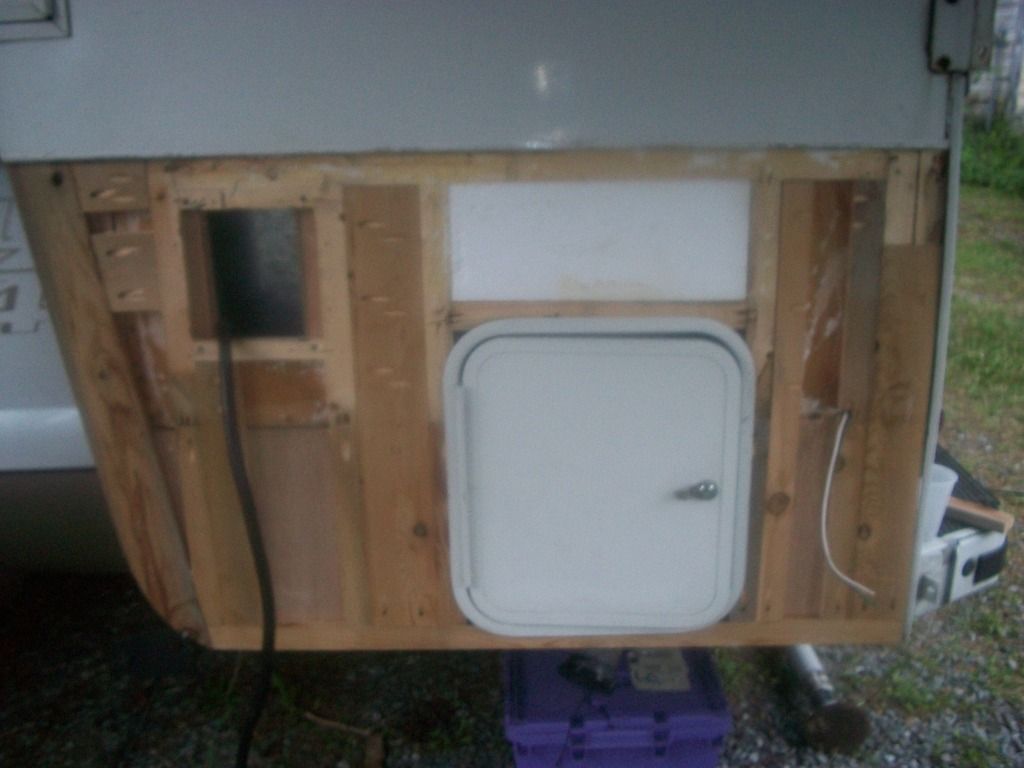
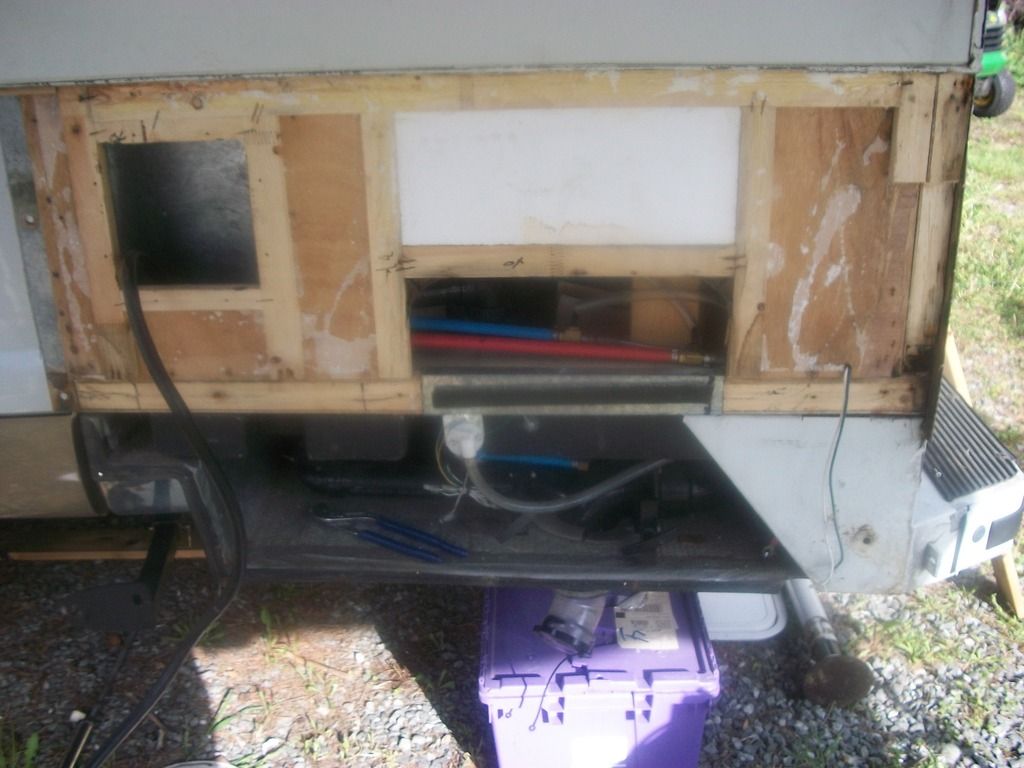
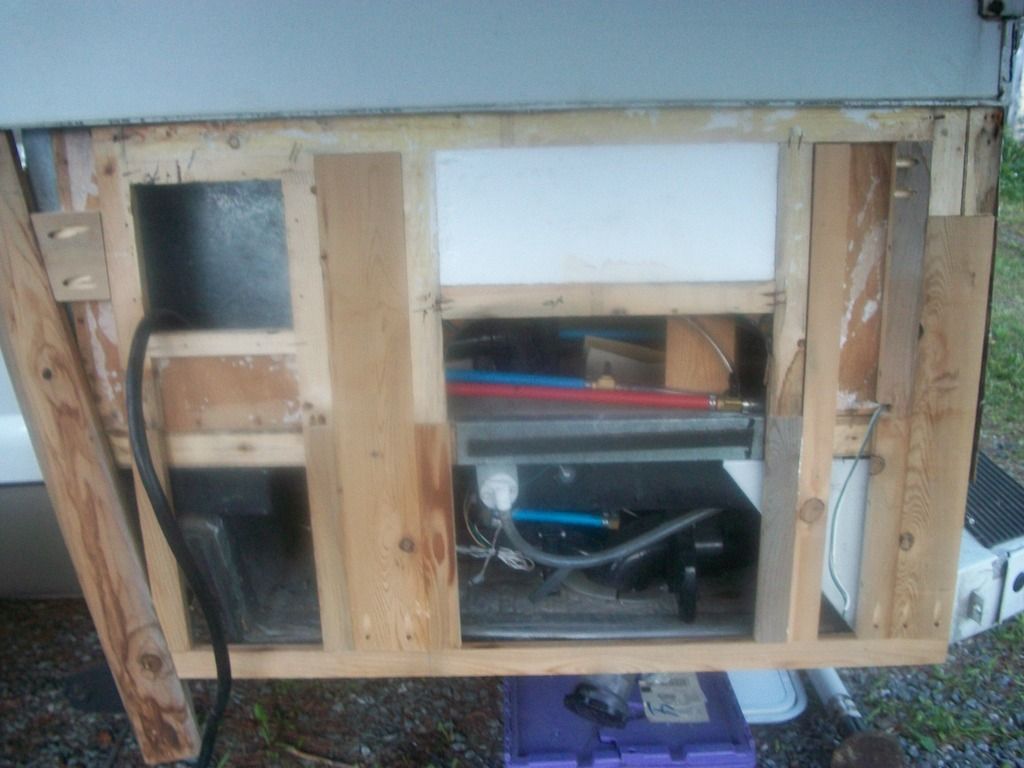
Here is the entire wing with most of the rotten sections cleaned up.
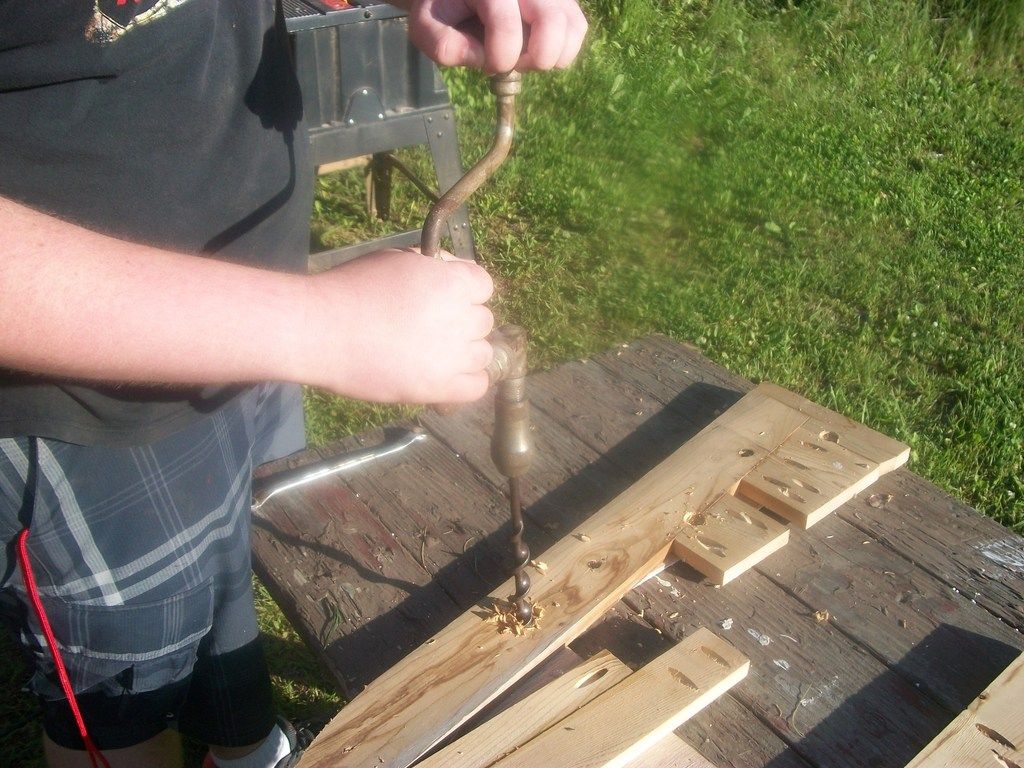
I will be taking the Dremel Multi Tool and cleaning up some more of the rotten wood and getting it back in to solid stock. All of the area where the rear jack attaches to is solid as well as the rear tie down in the horizontal section.
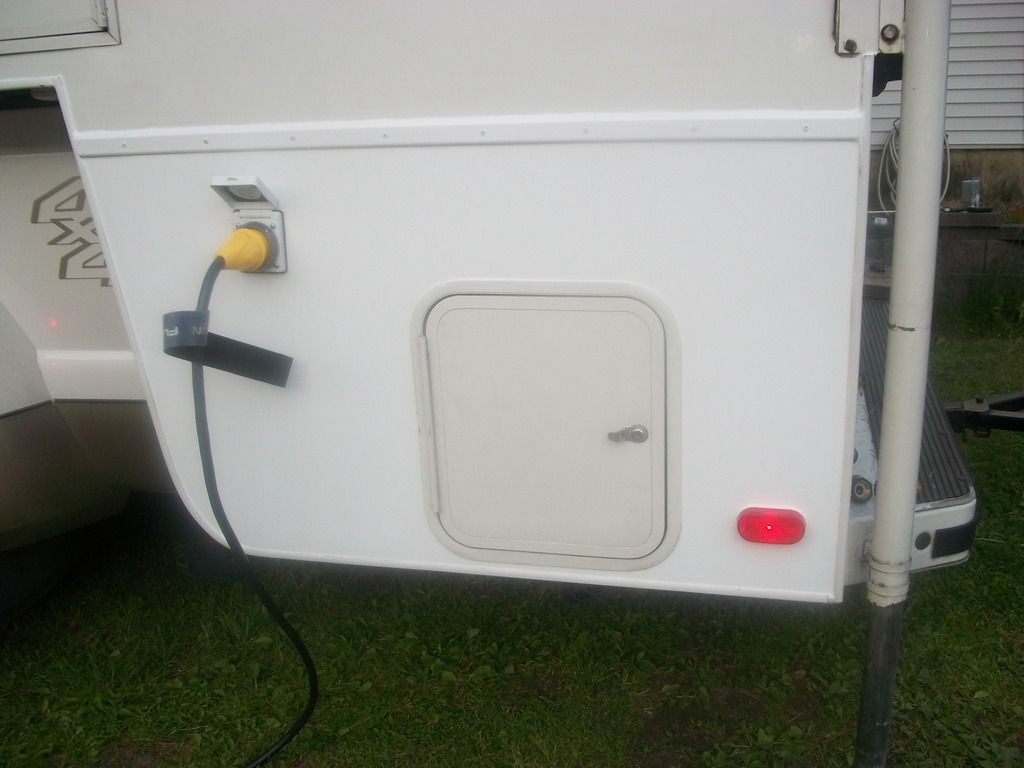
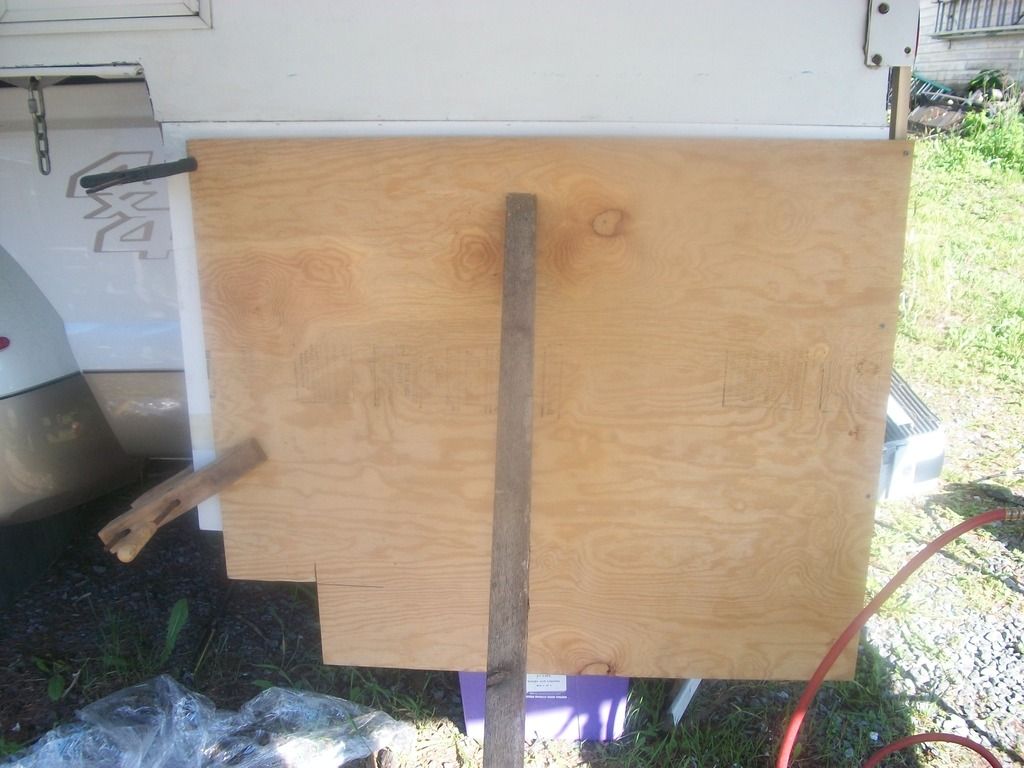
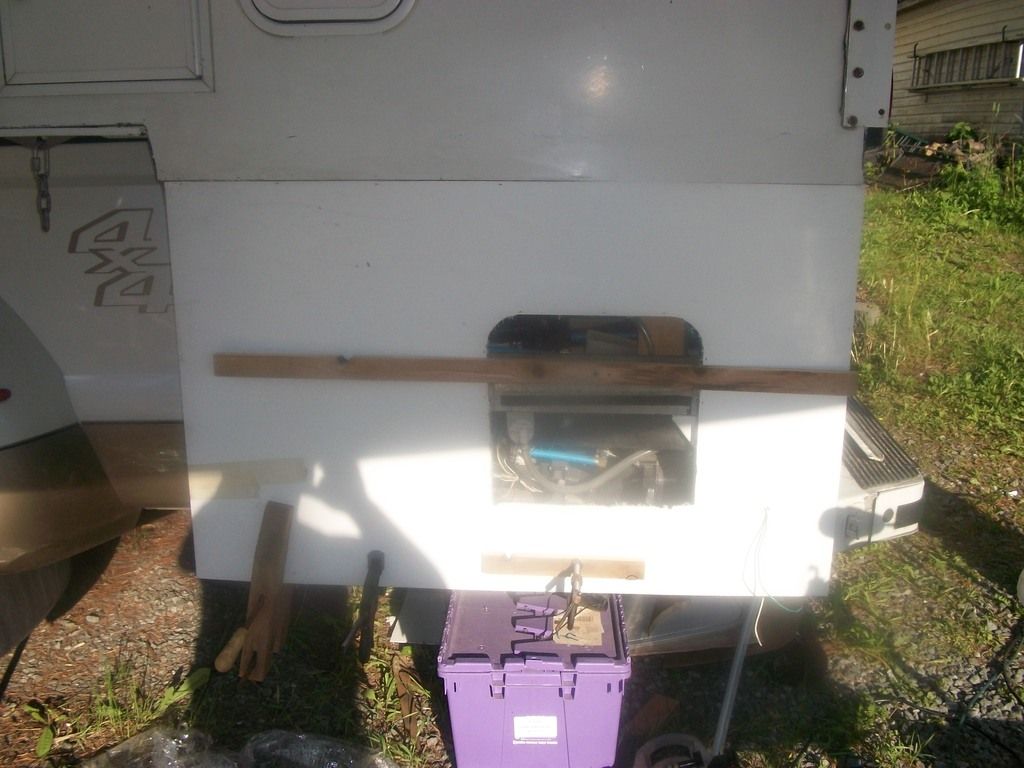
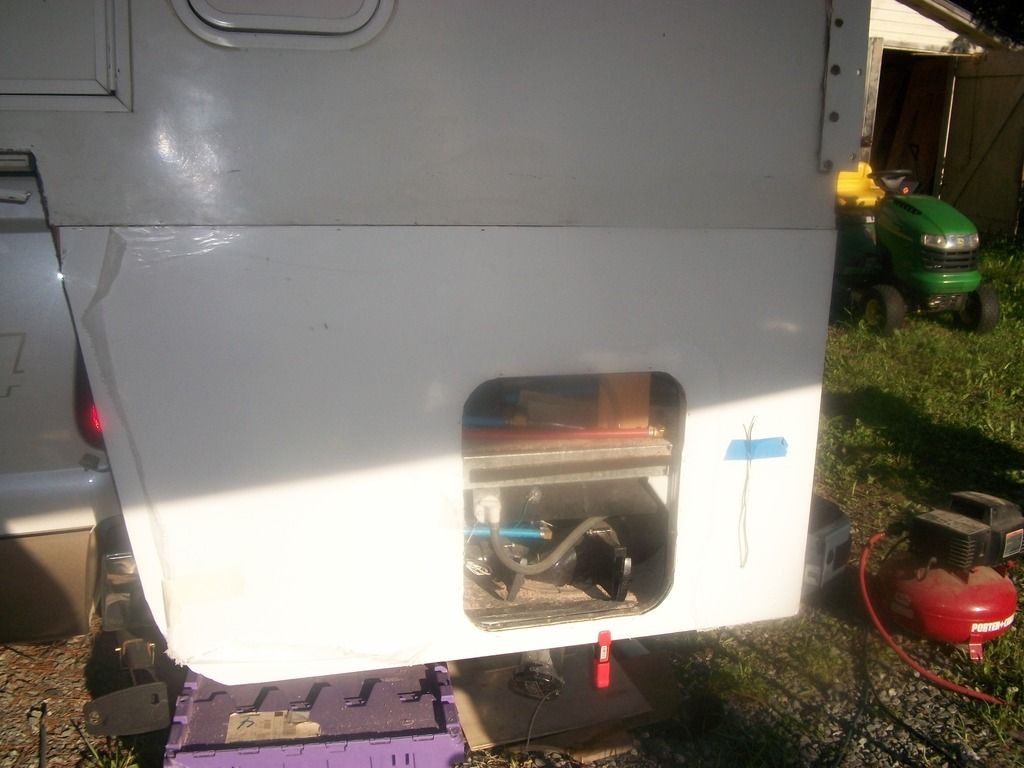
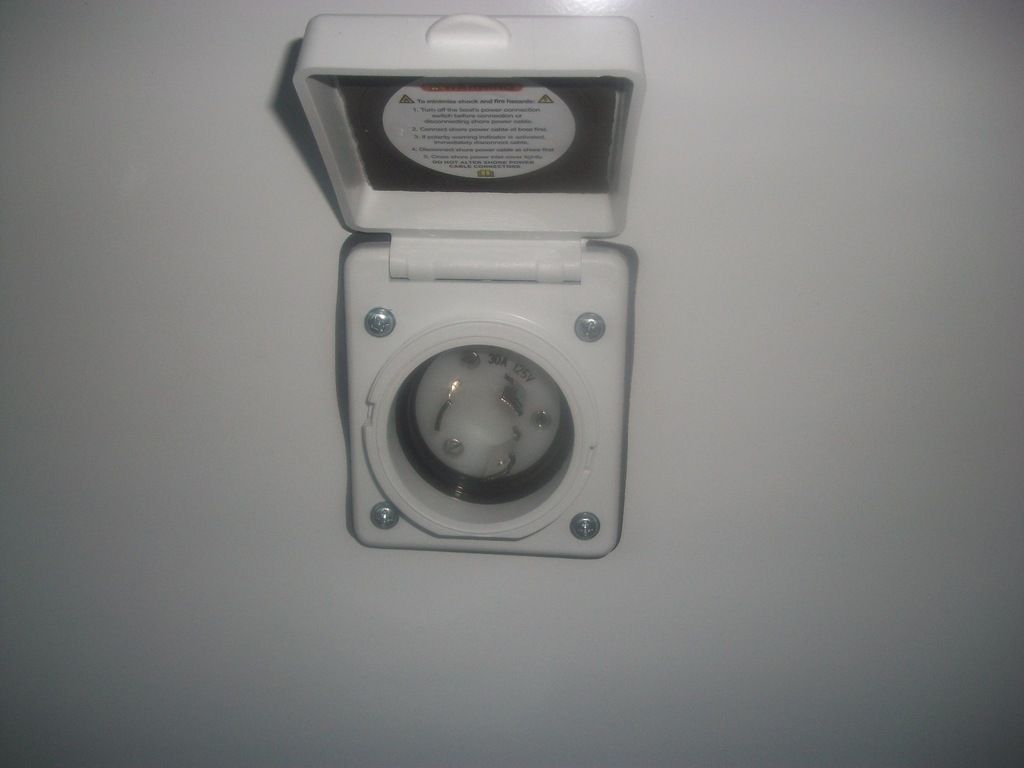
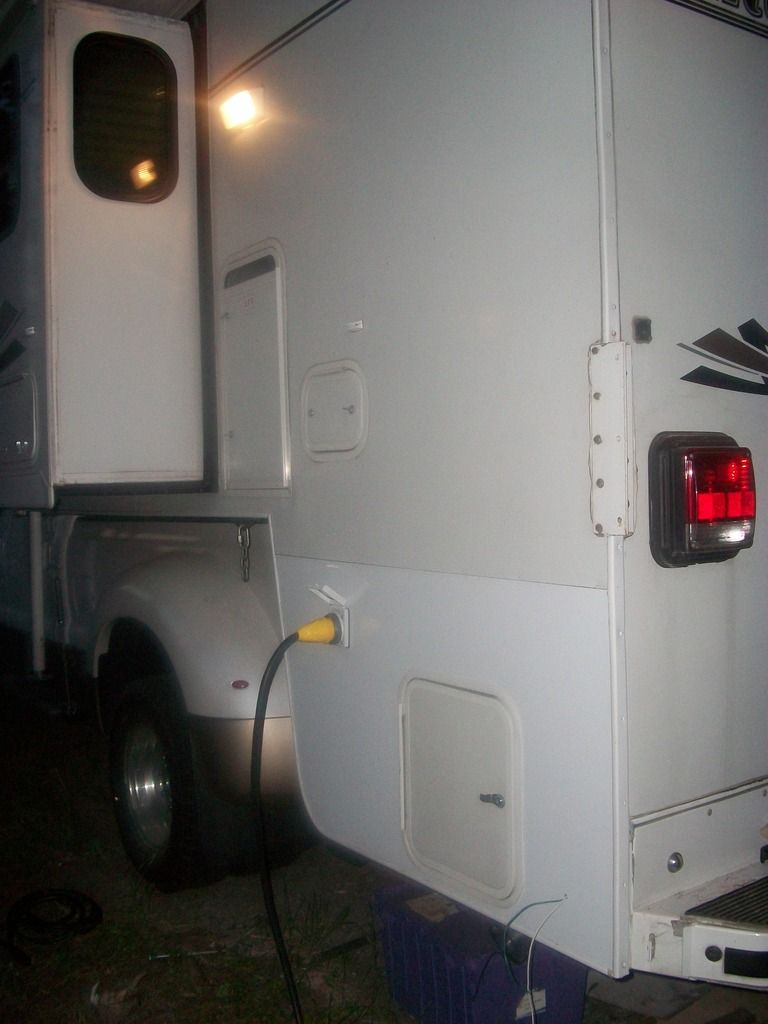
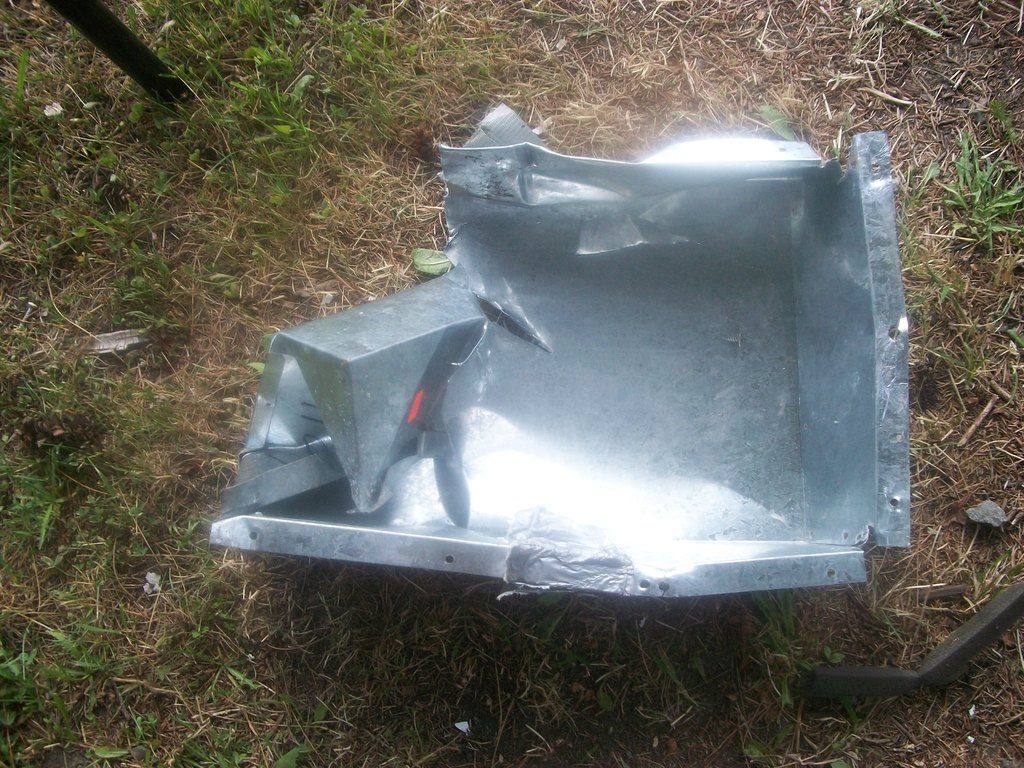
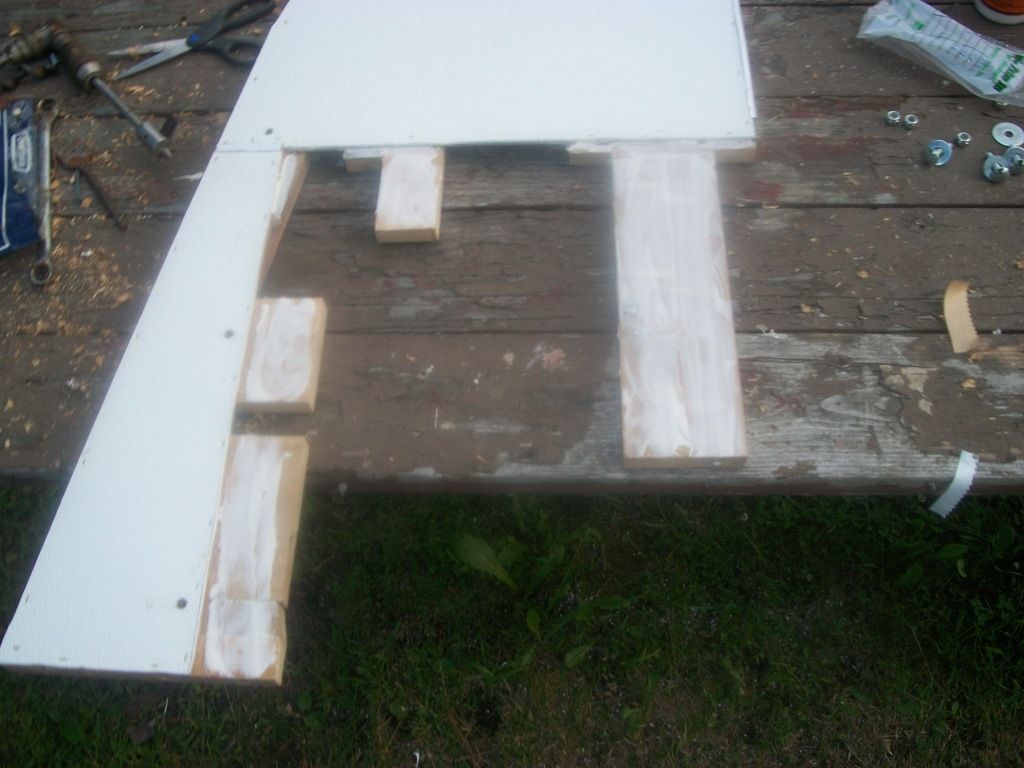
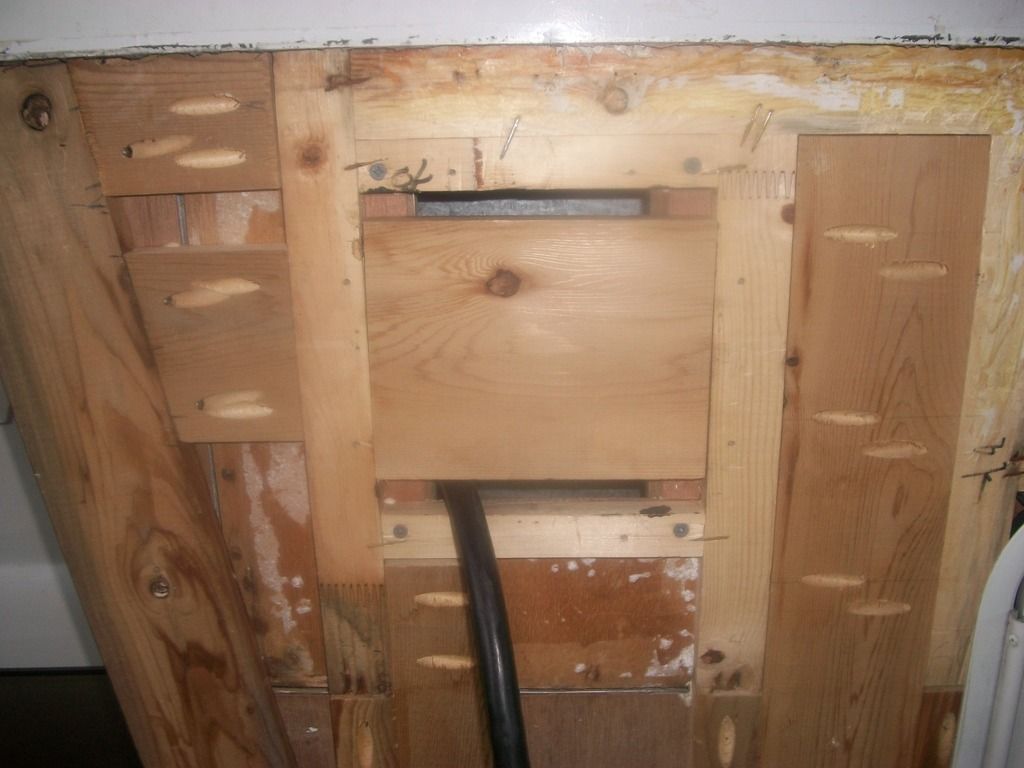
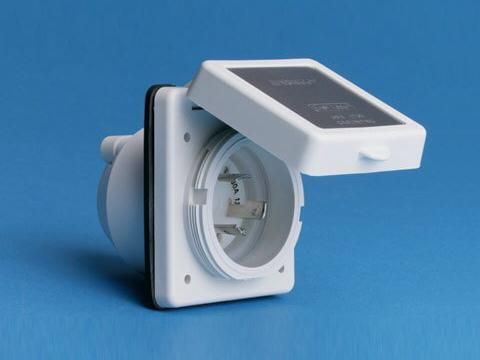
I had an EXTREMELY hard time getting the metal channel molding off that joined the filon of the main body and the wing. It came off but not in one piece, as did the filon. When I repaired my previous camper I used new filon that I ordered direct from Lance and will try to do the same thing this time as well. I am also going to use a surface mount molding to cover the filon seam too. While I have everything apart, I am going to take the opportunity to change over my electrical connection. Instead of having a metal box with an access hatch that the 30 amp electrical cord stores in/comes out of, I am going to utilize one of the 30 amp Marinco power jack and retrofit my existing cord with a plug. I know it is one more thing to carry elsewhere, but the original cord has become quite hard and is not easy to coil up when cold...
I will keep a running log of what I am doing and will post as many pictures as I can. Sometime stopping to take pictures in the middle of a project is the last thing on my mind........

The molding had started to pop off near the back jack on the drivers side. In the picture above I had already taken off the molding that ran along the underside of the wing and up to where it meets the main part of the camper.

That had all started to rot pretty good too....

This is the bottom radius of the wing without the molding. All of the stapled together pressboard is completely gone. It all fell out when I took the molding off.

This is the rear bottom part of the wing. Basically, everything is rotten about 1 foot up and up where the two pieces of molding meet.

This is the radius of the wing partially cleaned up.

Here is the entire wing with most of the rotten sections cleaned up.
I will be taking the Dremel Multi Tool and cleaning up some more of the rotten wood and getting it back in to solid stock. All of the area where the rear jack attaches to is solid as well as the rear tie down in the horizontal section.
I had an EXTREMELY hard time getting the metal channel molding off that joined the filon of the main body and the wing. It came off but not in one piece, as did the filon. When I repaired my previous camper I used new filon that I ordered direct from Lance and will try to do the same thing this time as well. I am also going to use a surface mount molding to cover the filon seam too. While I have everything apart, I am going to take the opportunity to change over my electrical connection. Instead of having a metal box with an access hatch that the 30 amp electrical cord stores in/comes out of, I am going to utilize one of the 30 amp Marinco power jack and retrofit my existing cord with a plug. I know it is one more thing to carry elsewhere, but the original cord has become quite hard and is not easy to coil up when cold...
I will keep a running log of what I am doing and will post as many pictures as I can. Sometime stopping to take pictures in the middle of a project is the last thing on my mind........
