UncleGnarley
Apr 13, 2015Explorer
Shower Skylight Leaking - Quick repair or "go for it"?
Hi, All! I'm brand new to the forum and I'm sure this has all been covered before, but after searching on "roof leaks" and "water damage" among a few others, I decided it might be faster to just start a new topic and see what y'all had to say...
I have a 2005 Starcraft Homestead Rancher 28'. I picked it up in late-2013 in time to make a few trips before winterizing and parking it for the PA winter. I purchased from a local dealer with a good reputation, and didn't figure that two months after the initial check-out that I'd need to do much more than winterize the normal stuff and park it. Being a first-time RV/TT owner, I guess I learned a lesson there. It's got a fiberglass exterior, and I noticed last spring that a section of the fiberglass about 4-6" wide had started to bubble from top to bottom. I really didn't know what it meant, so I just... went camping!
Flash forward to late-2014. I was camping at a motorcycle race and around dinner time it started to rain. I was sitting alone, quietly, and I heard water dripping in the bathroom! It was leaking from the edge of the lower skylight panel into the tub! I immediately put two and two together and realized what'd been happening.
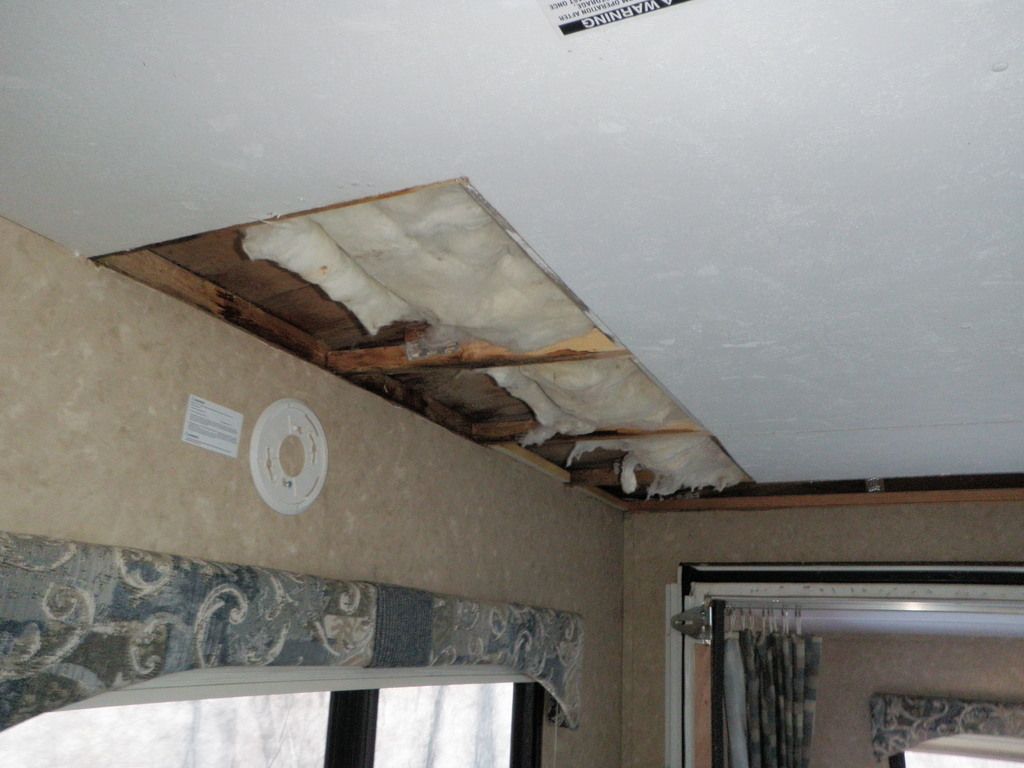
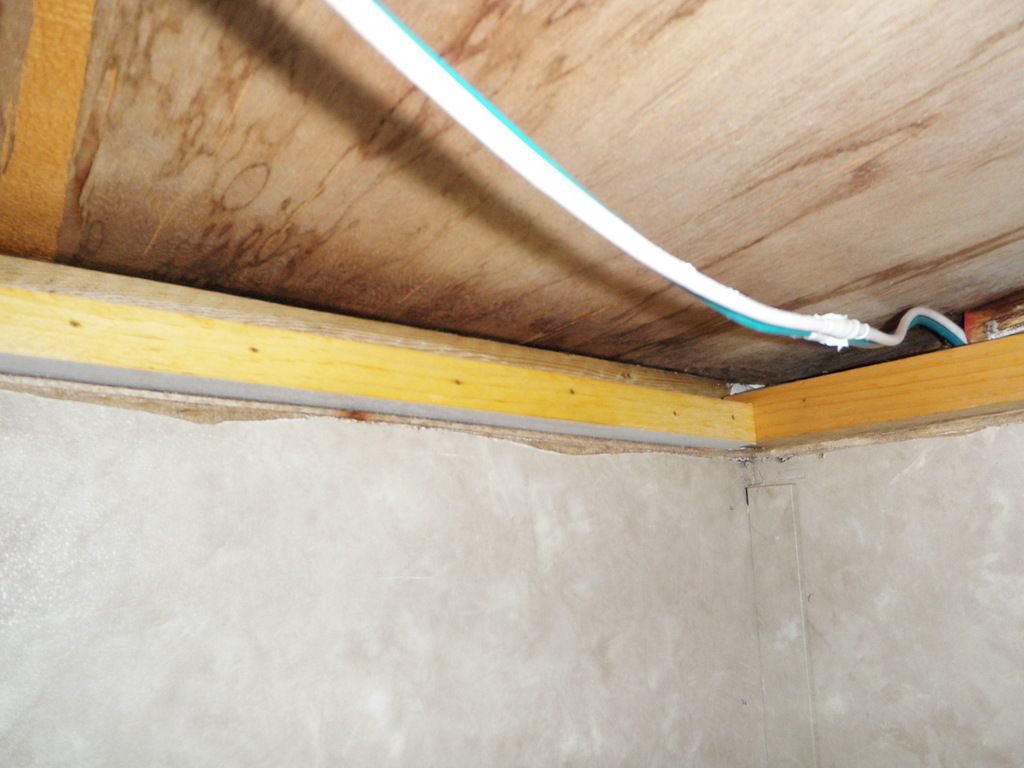
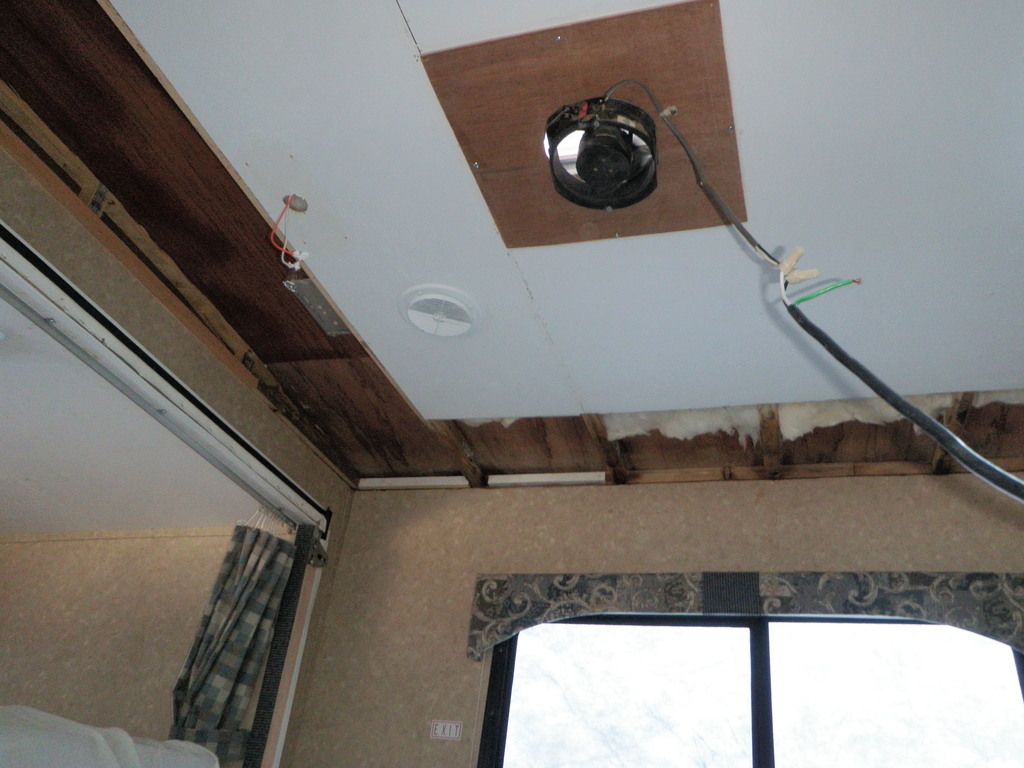
As soon as I got home I pulled the lower skylight panel and saw the damage. The thin laminated wood that trimmed the hole for the skylight was wet and soft. I climbed a ladder and checked the roof around the skylight... Still firm on three sides, but on the 8" between the skylight and the side that had started to de-laminate, I could tell the wood underneath was trashed and basically being held in place by the rubber roof. BTW, the shower is at the extreme rear/"drivers side" of the TT.
I've replaced the upper skylight panel that had cracked and sealed it up really well just to make sure that things didn't get worse, but I'm really starting to dwell on the potential structural damage and worse... the mold that could be in the roof and the wall behind the shower enclosure. Now... on to my question.
Should I leave well enough alone now that the leak is repaired and there doesn't seem to be any "significant" structural damage, or... Do I start tearing into it in an attempt to fix the damage before it gets worse? The wall seems solid both inside and out even with the de-lamination, but I know that the wood in that corner of the roof is bad.
I'm a fairly handy guy who wouldn't hesitate to completely remodel a home kitchen or bath, and I've done my share of framing, roofing, and drywall work as well, but for some reason RV's scare the******out of me when it comes to tearing into them that far. I just picture this torn-up TT sitting in my driveway that's too far gone to repair, and too torn apart to move safely! Am I over-thinking this? And again, should I just go camping and ignore it all as long as I don't find anymore leaks?
If I DO start poking around more, should I start by trying to peel back the rubber roof, or should I try to figure out the jigsaw puzzle that is the interior panels and walls?
Thanks in advance for all your help here... I'm really stuck and could use some guidance!


