Forum Discussion
BurbMan
Feb 12, 2018Explorer II
Well, more progress last week. Got the skirt back on, the baggage door in and everything re-caulked and (hopefully) water tight. Had some torrential rain here this weekend, so I rolled the slide in for that....no sense tempting fate LOL.
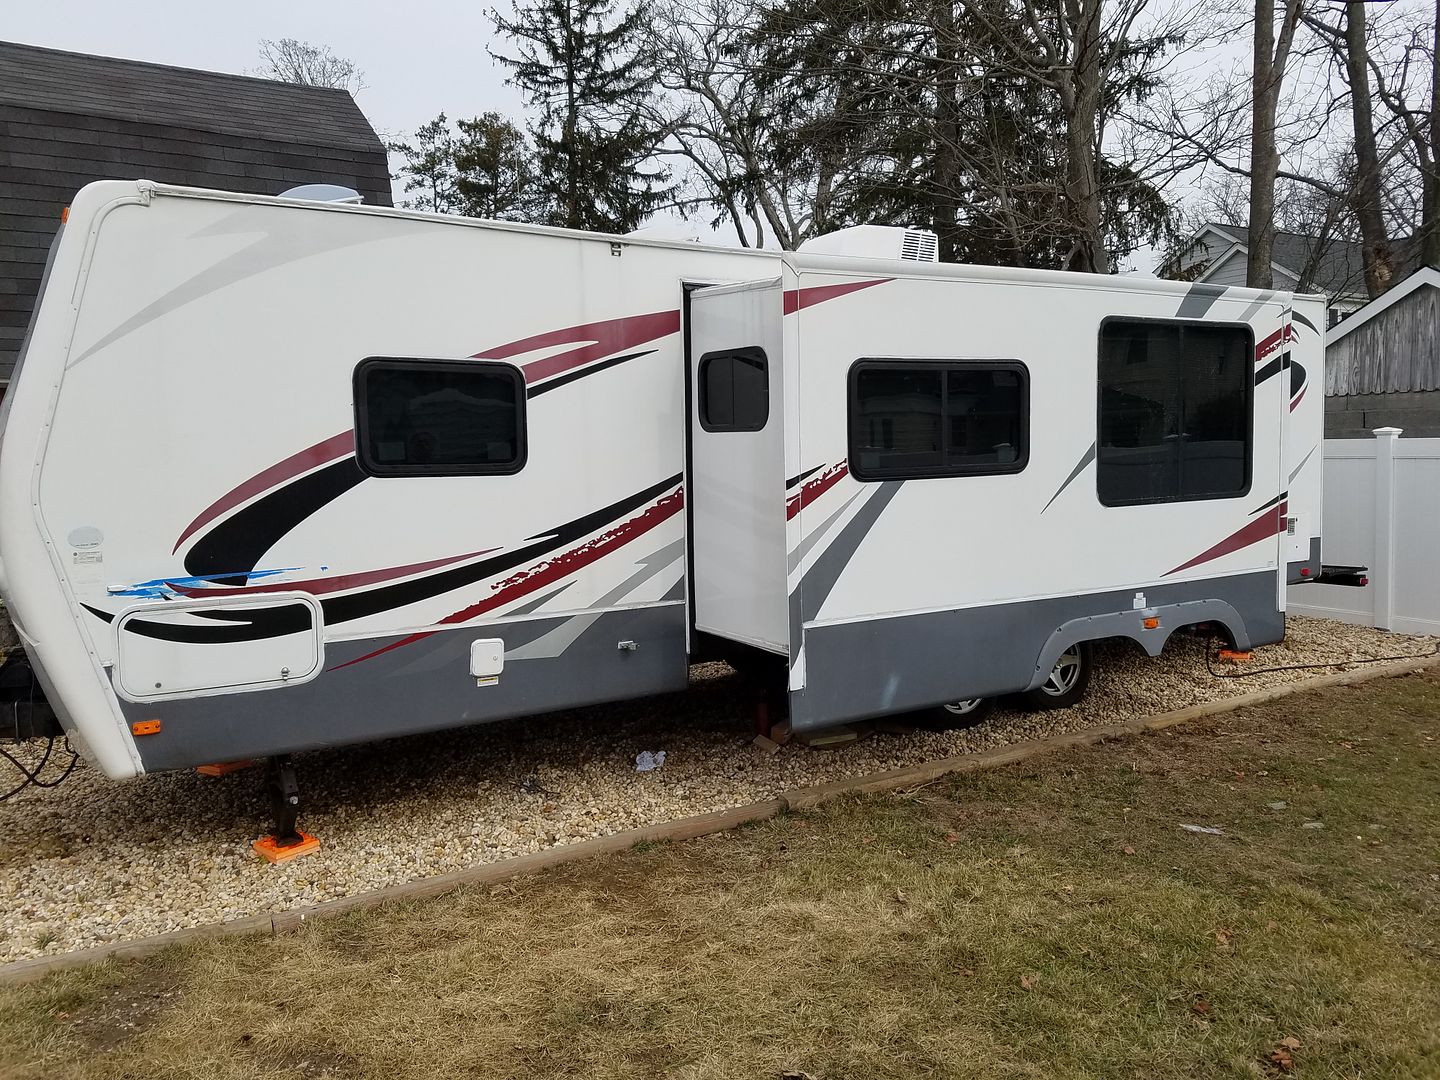
I was getting some water running under the tarp so I used blue painter's tape to put some cardboard over the baggage compartment when the door was off, so word of caution, don't get blue tape wet!!
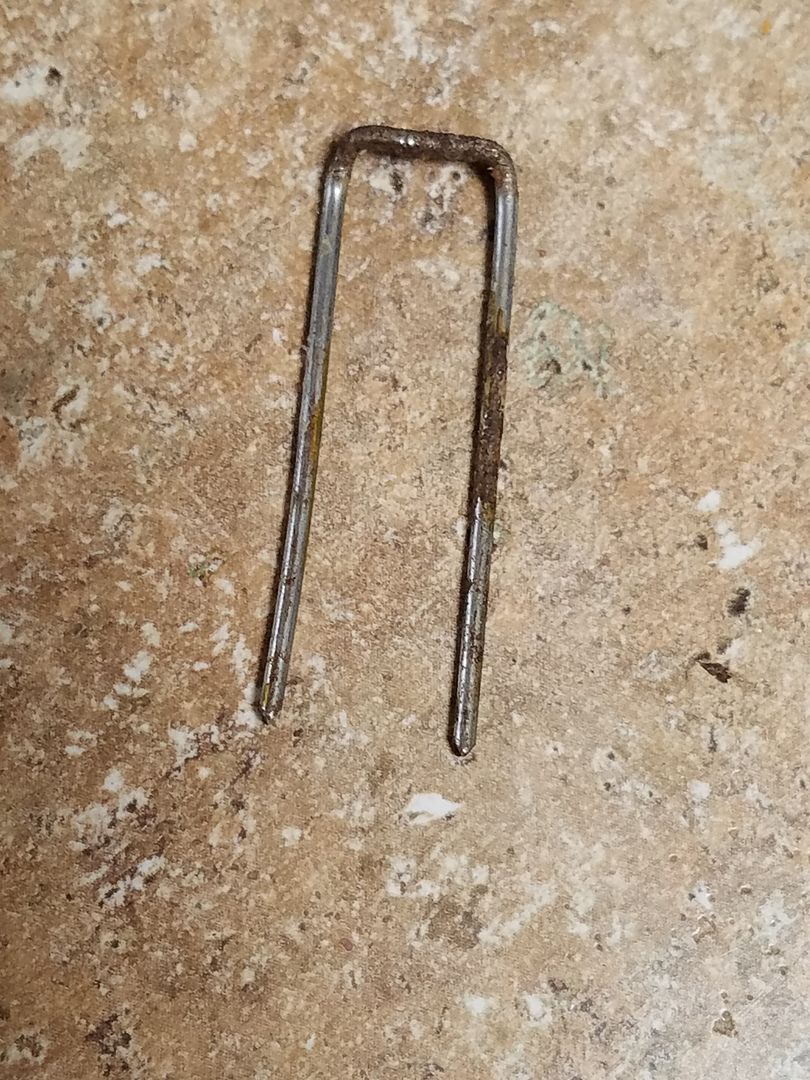
As an aside, I need to find out where I can buy one of these pneumatic guns that shoots these 1-1/2" x 1/2" staples...
On to replacing the bottom sweeper seal for the slide. The bulb section on the bottom of the seal closes against the edge of the slide to keep the water out when traveling, but when the slide is open it's job is mainly to keep out the dirt, bugs, and drafts.
Taking the seal off reveals another issue...the slide floor is designed to ride on plastic blocks about 1" square. The blocks hold the slide floor off the main floor by about 5/16"and allow the slide to close with minimal friction and abrasion to the main floor. Last year we noticed that the main floor was getting quite scratched up in one section and here's why:
Here you can see one of the plastic blocks at the front of the slide. There are 5 or 6 of these blocks along the 13' length of the slide floor
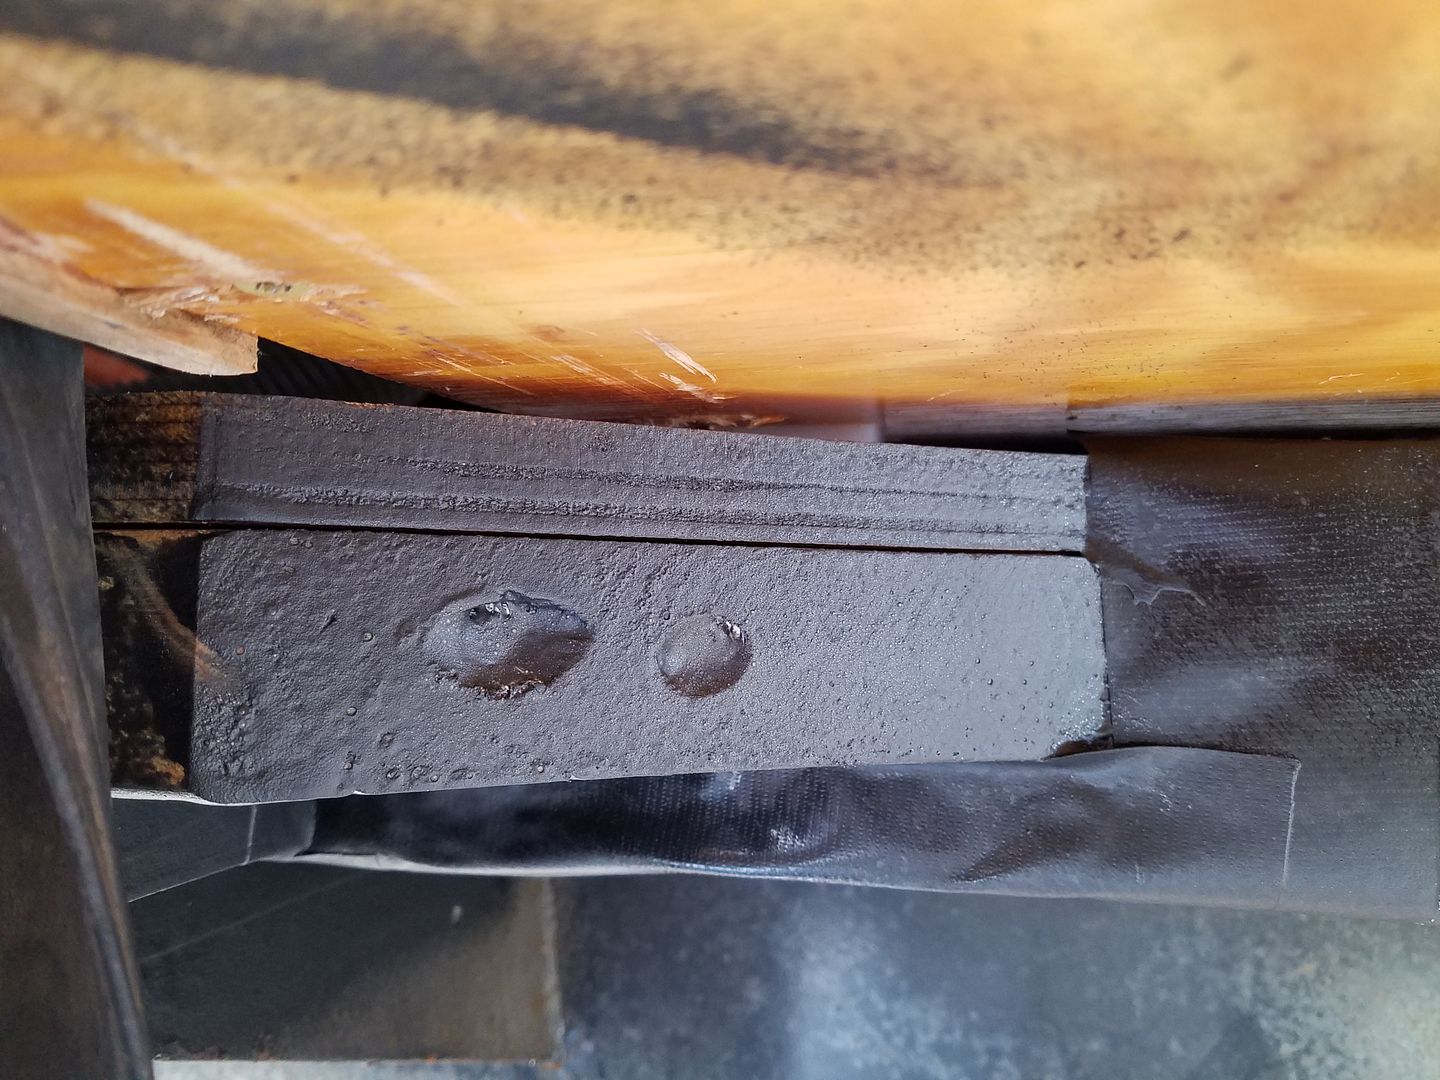
Here's a close up of the next one headed toward the rear
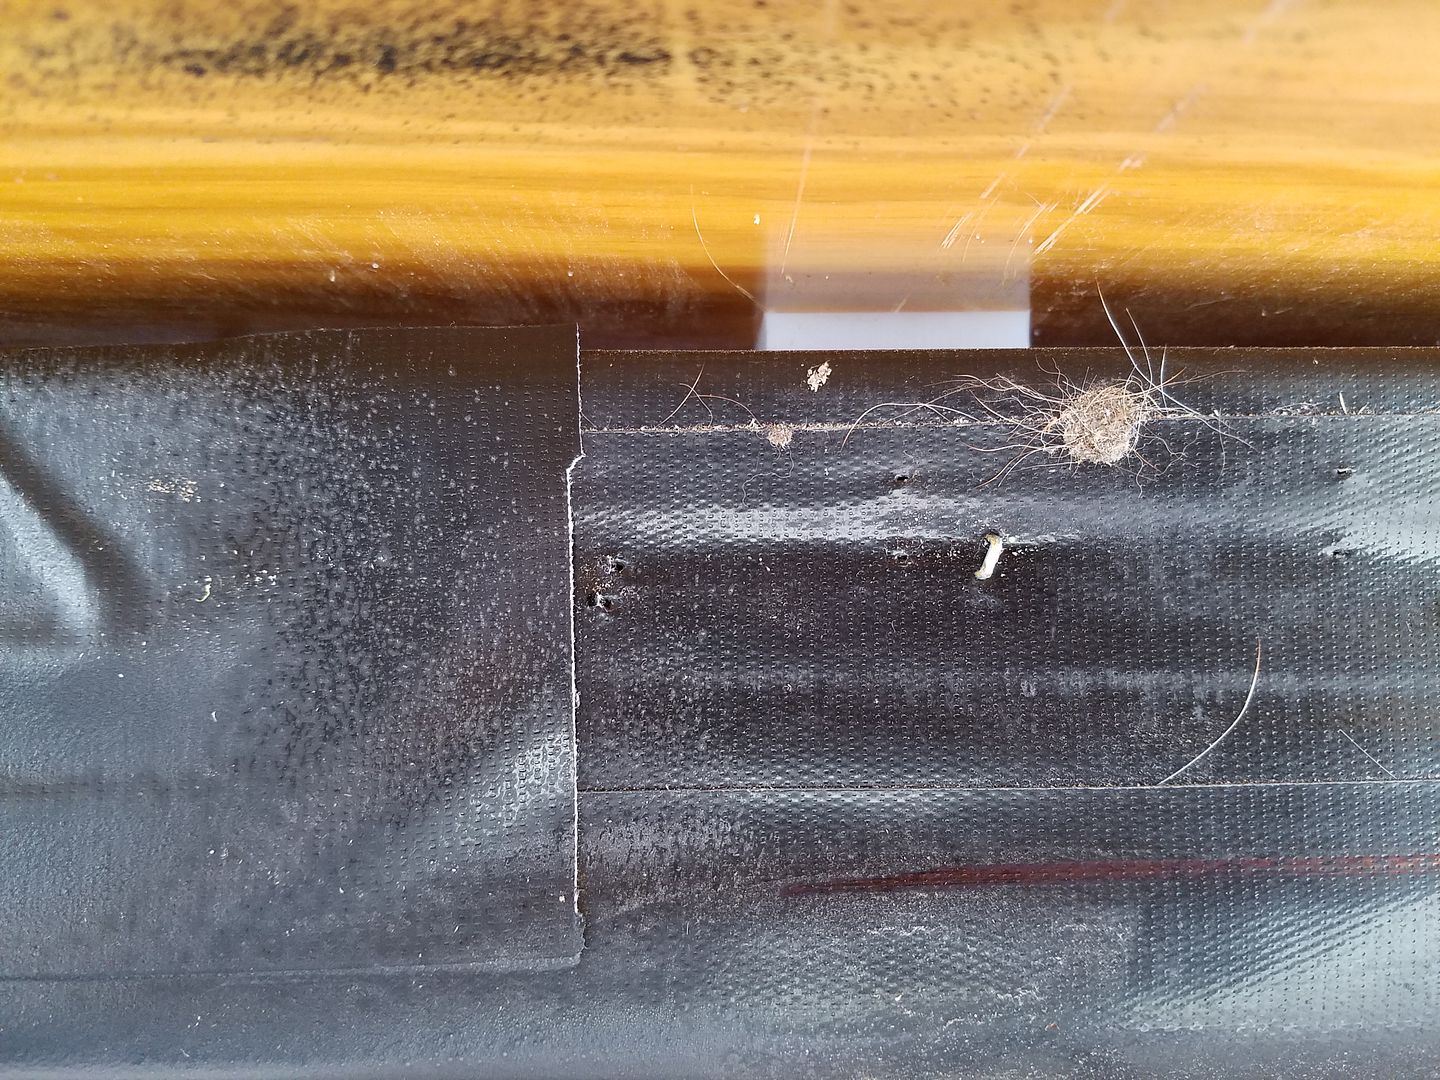
Here's looking toward the back of the slide. You can see the scratches in the slide floor where sand got on top of the plastic block
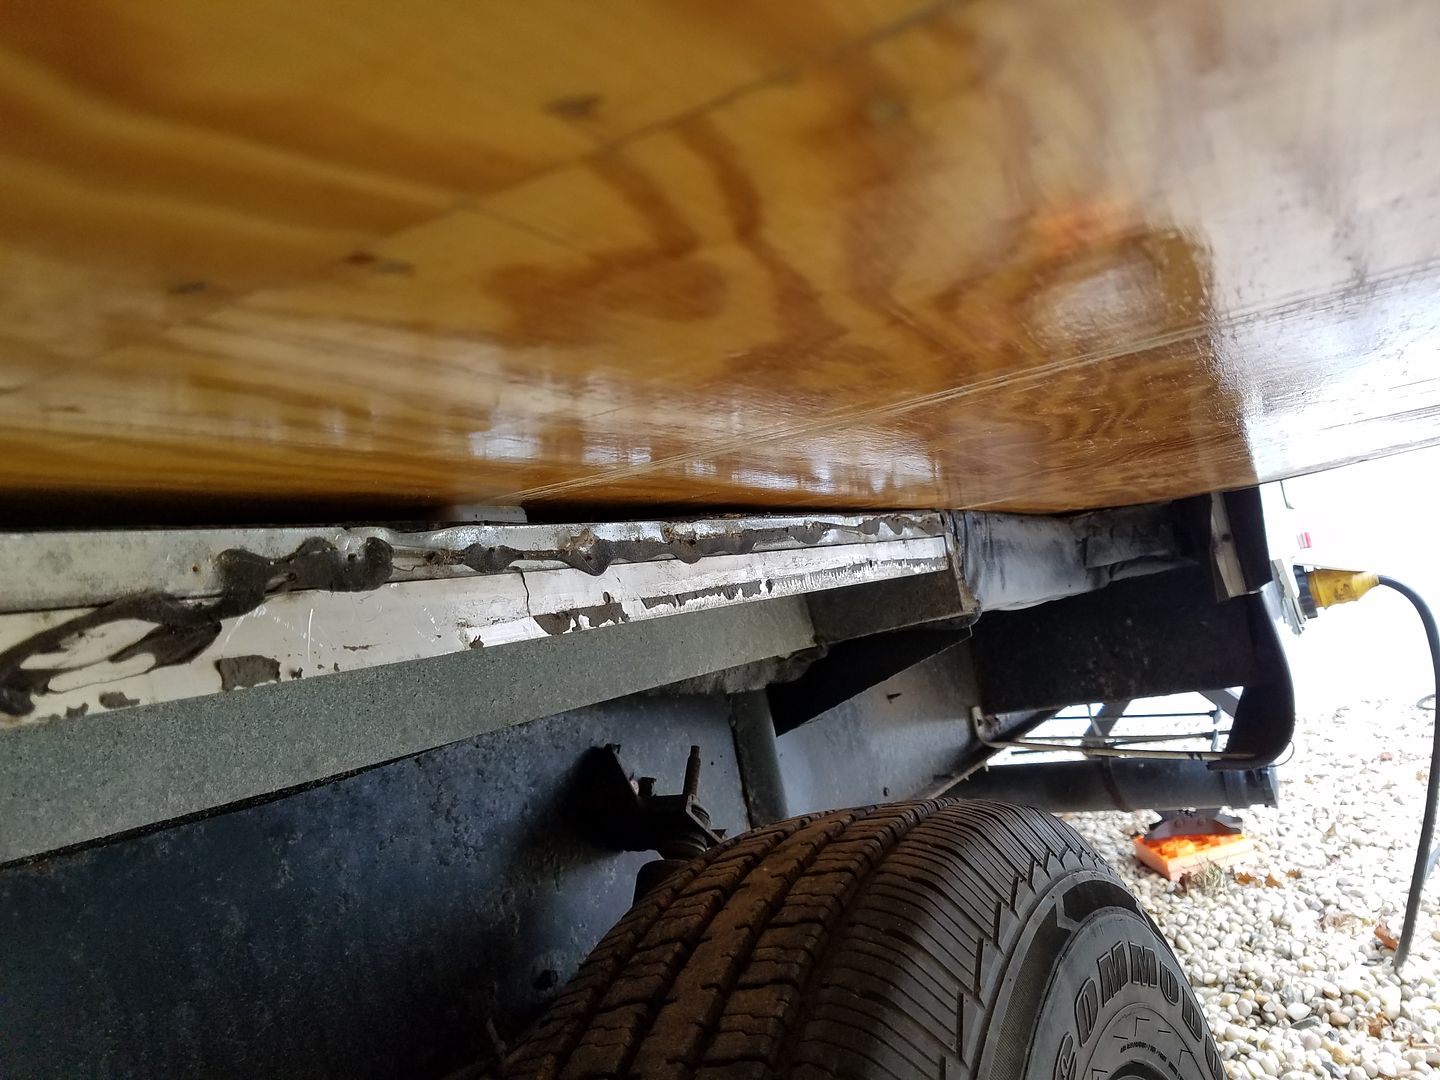
Note looking back toward the rear of the wheel well, the slide floor is sitting directly on the main floor. Here's a closer look
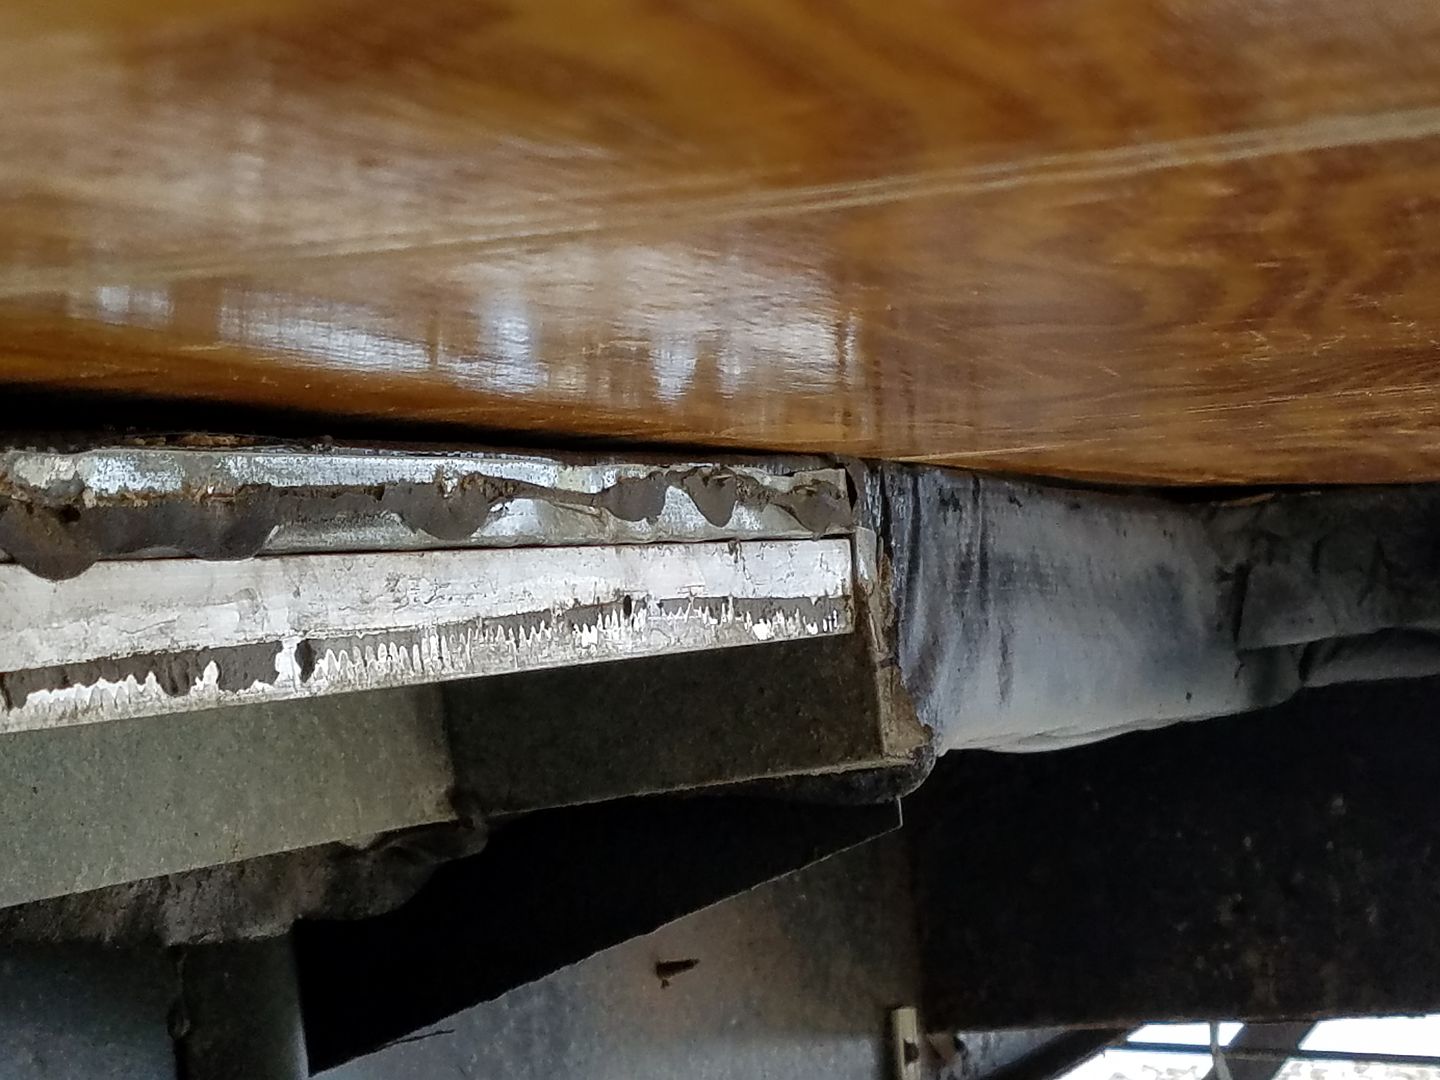
You can see the gap open up again and the plastic block is intact at the rear of the slide. The framing looks straight enough, so I'm thinking maybe I either lost a plastic block in that location of the slide floor is beginning to sag? I re-did the slide floor in 2015 and the scratches just started to appear on the main floor last year.
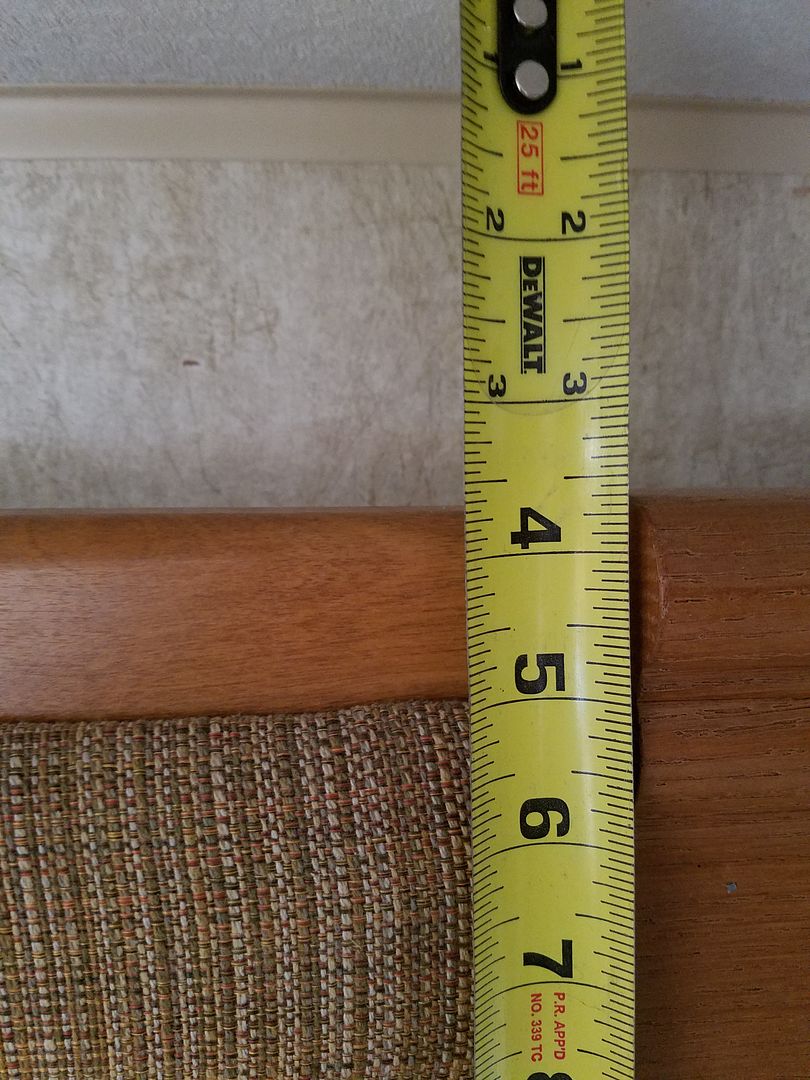
Looking inside, I measured from the top of the slide trim to the ceiling to get an approximate idea of where the slide was, and it's sitting at 3-5/8"
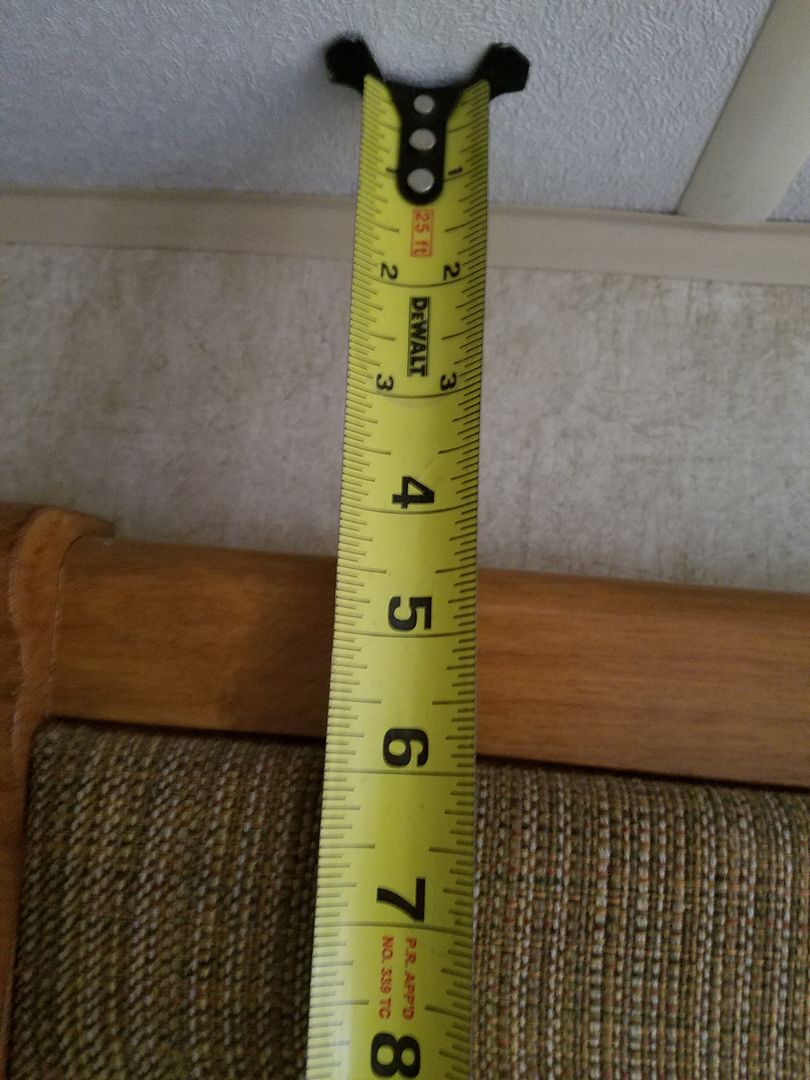
Here is the rear is a different story, it's more like 4-3/8", or 3/4" lower than the front
At any rate, I could not find the little plastic blocks, so I bought a 1' x 1' x 3/8" thick piece of HDPE from Interstate Plastics. I originally thought the blocks were nylon, but it looks like like this hi-density polyethylene has replaced nylon in applications like these.
The OEM blocks are screwed into the floor with recessed screws. I had easy access with the slide floor out but not now, so I'll need to make some aluminum brackets that hold the blocks in place and attach to the frame from the side. Instead of a small block, I may do one 1" wide and 6" long since I have the material.
Plastic will be here Wed so stay tuned for next round of pics, as always comments and ideas welcome.

I was getting some water running under the tarp so I used blue painter's tape to put some cardboard over the baggage compartment when the door was off, so word of caution, don't get blue tape wet!!
As an aside, I need to find out where I can buy one of these pneumatic guns that shoots these 1-1/2" x 1/2" staples...

On to replacing the bottom sweeper seal for the slide. The bulb section on the bottom of the seal closes against the edge of the slide to keep the water out when traveling, but when the slide is open it's job is mainly to keep out the dirt, bugs, and drafts.
Taking the seal off reveals another issue...the slide floor is designed to ride on plastic blocks about 1" square. The blocks hold the slide floor off the main floor by about 5/16"and allow the slide to close with minimal friction and abrasion to the main floor. Last year we noticed that the main floor was getting quite scratched up in one section and here's why:
Here you can see one of the plastic blocks at the front of the slide. There are 5 or 6 of these blocks along the 13' length of the slide floor

Here's a close up of the next one headed toward the rear

Here's looking toward the back of the slide. You can see the scratches in the slide floor where sand got on top of the plastic block

Note looking back toward the rear of the wheel well, the slide floor is sitting directly on the main floor. Here's a closer look

You can see the gap open up again and the plastic block is intact at the rear of the slide. The framing looks straight enough, so I'm thinking maybe I either lost a plastic block in that location of the slide floor is beginning to sag? I re-did the slide floor in 2015 and the scratches just started to appear on the main floor last year.
Looking inside, I measured from the top of the slide trim to the ceiling to get an approximate idea of where the slide was, and it's sitting at 3-5/8"

Here is the rear is a different story, it's more like 4-3/8", or 3/4" lower than the front

At any rate, I could not find the little plastic blocks, so I bought a 1' x 1' x 3/8" thick piece of HDPE from Interstate Plastics. I originally thought the blocks were nylon, but it looks like like this hi-density polyethylene has replaced nylon in applications like these.
The OEM blocks are screwed into the floor with recessed screws. I had easy access with the slide floor out but not now, so I'll need to make some aluminum brackets that hold the blocks in place and attach to the frame from the side. Instead of a small block, I may do one 1" wide and 6" long since I have the material.
Plastic will be here Wed so stay tuned for next round of pics, as always comments and ideas welcome.
About Travel Trailer Group
44,029 PostsLatest Activity: Jan 21, 2025