Velislide
Sep 10, 2013Explorer
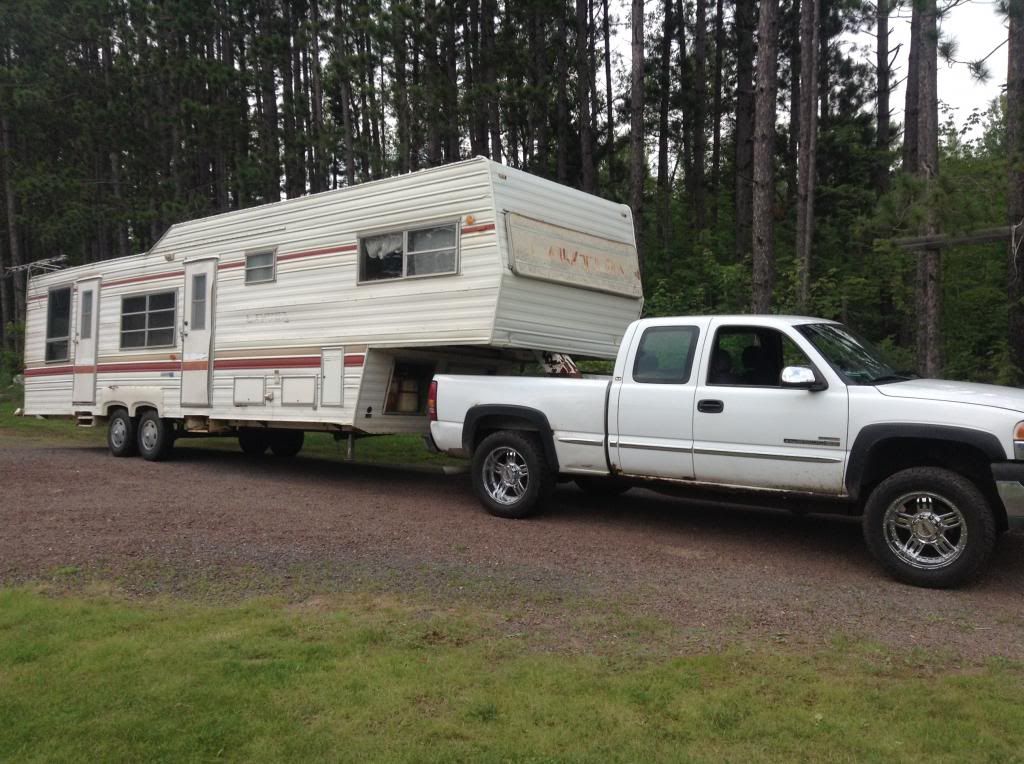
Bought a 36' 5th wheel for 400$, pretty big DIY project
This thread will be very photo intensive! Just letting you know.
Well, was looking for a good deal on a 5th wheel in the 2500$ range, something older, late 80s early 90s, and figured why spend that much when I'll probably end up gutting it anyways. Dont really like the way these come from the factory, would rather have more open space and put the things I want inside it.
So here it is! Snagged this for 400$, "only a little water damage" the P/O said.

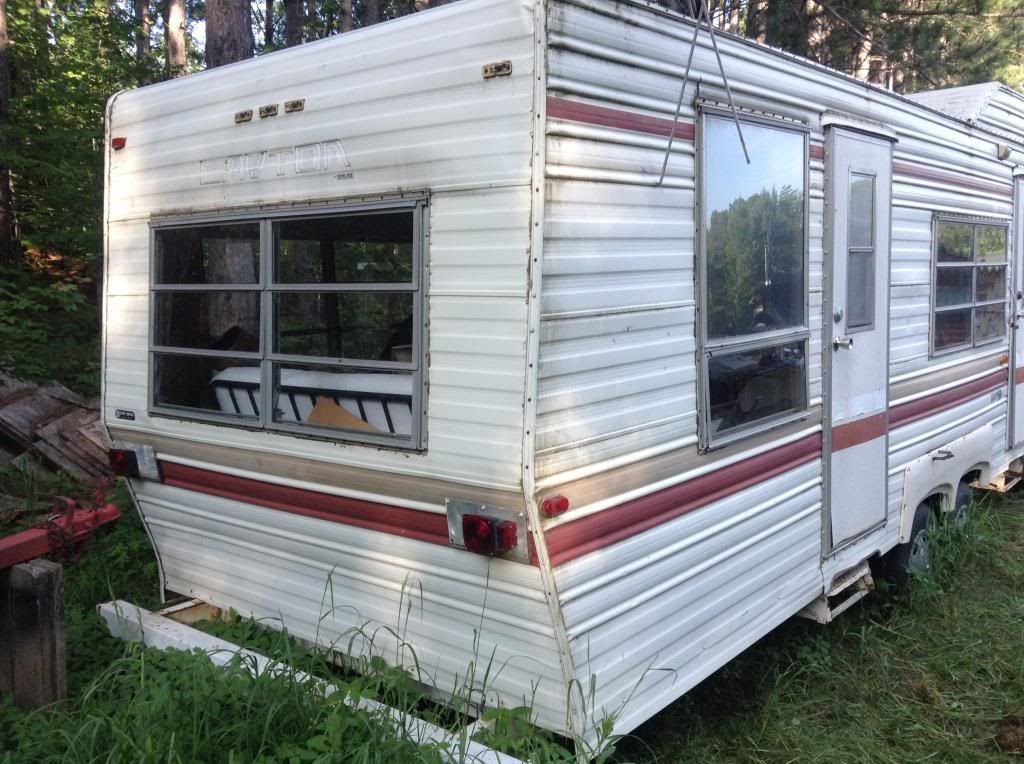


Well, it was pretty much trashed on the inside, so time to hook it up and bring it to where I'll be working on it. Pulling it with my 01 Sierra 2500HD Duramax.
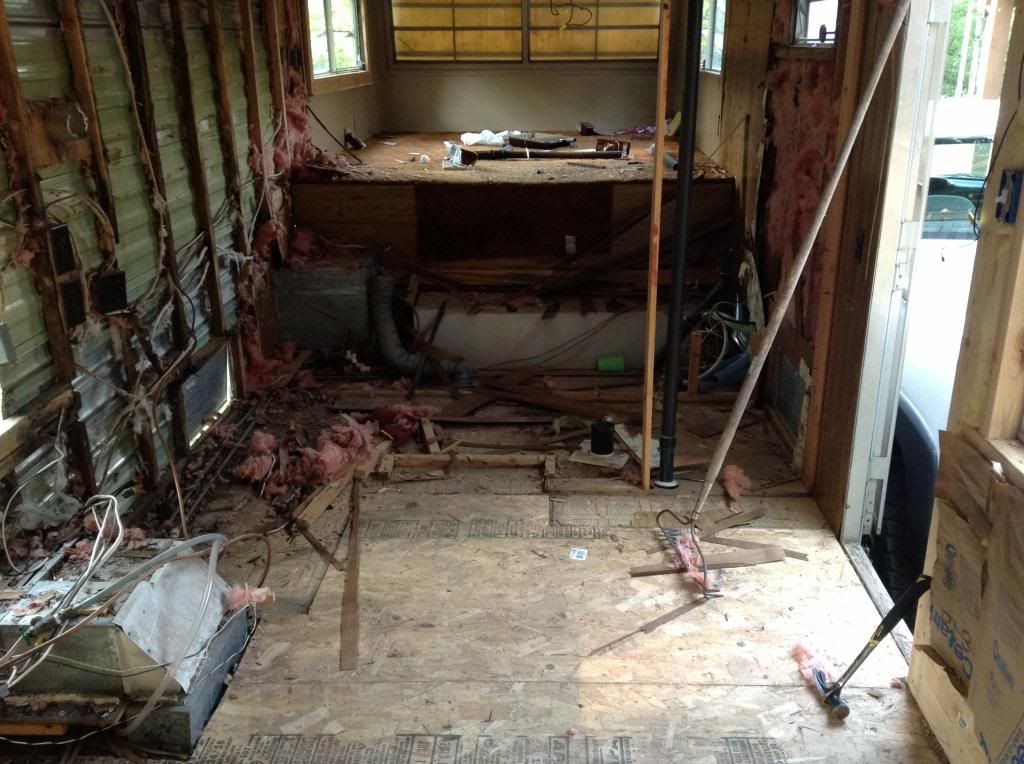
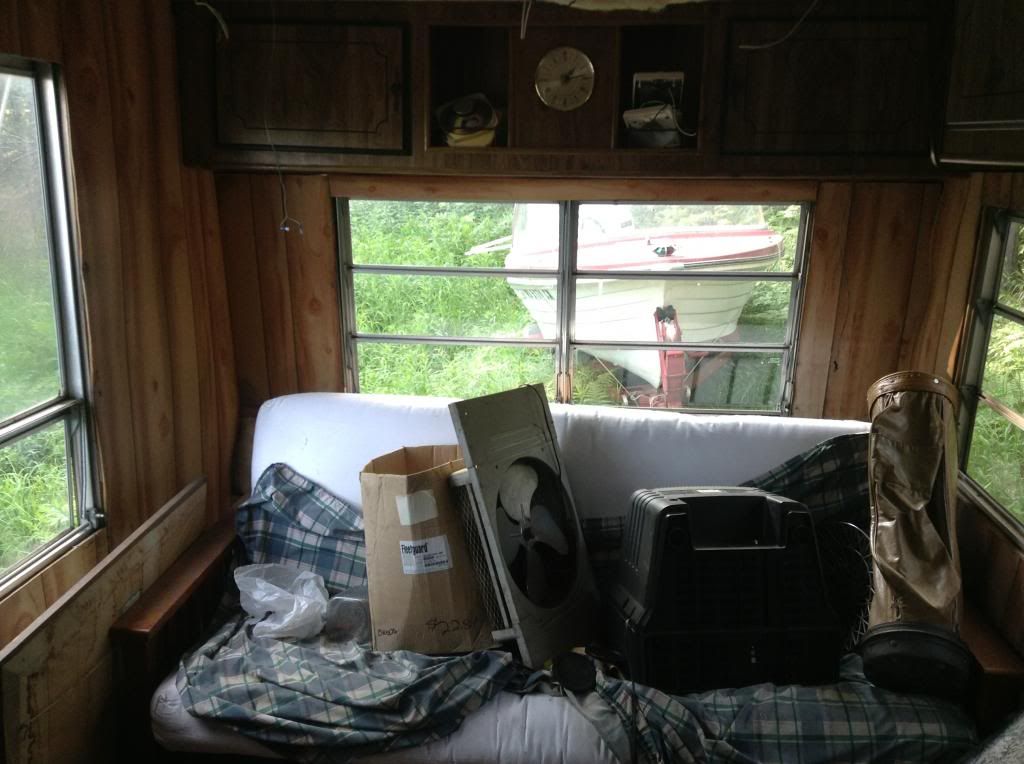
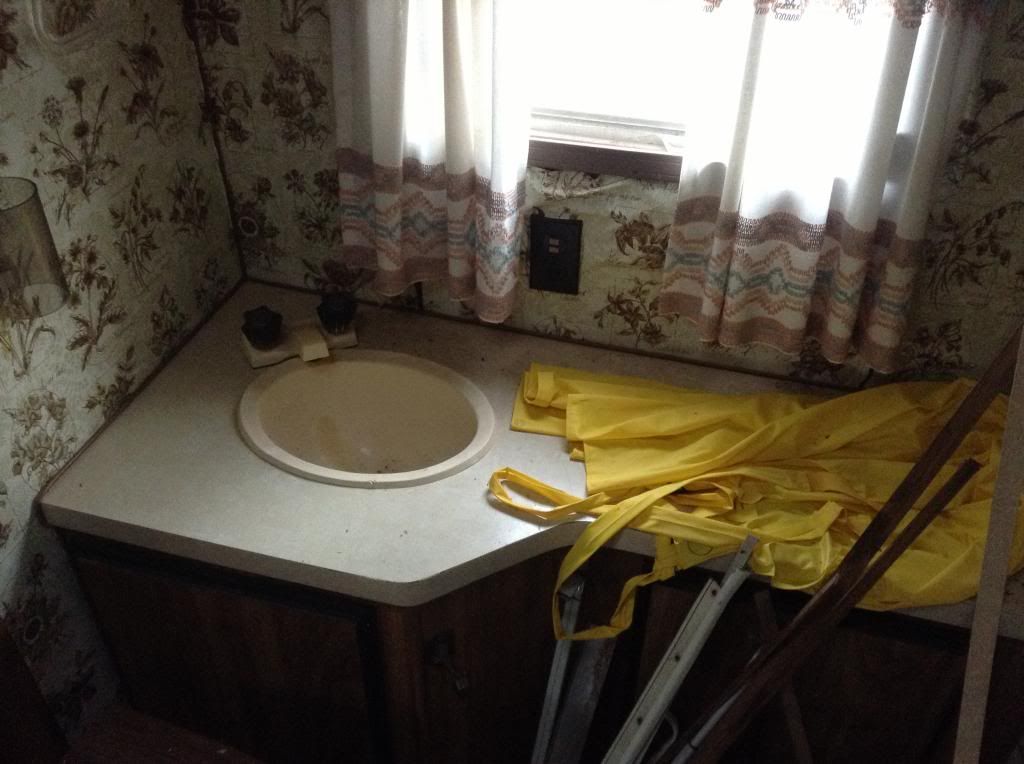
Got started on ripping out some of those nasty cupboards, and wow, this thing sure was a rotten turd. Walls were mush, like wet cardboard.
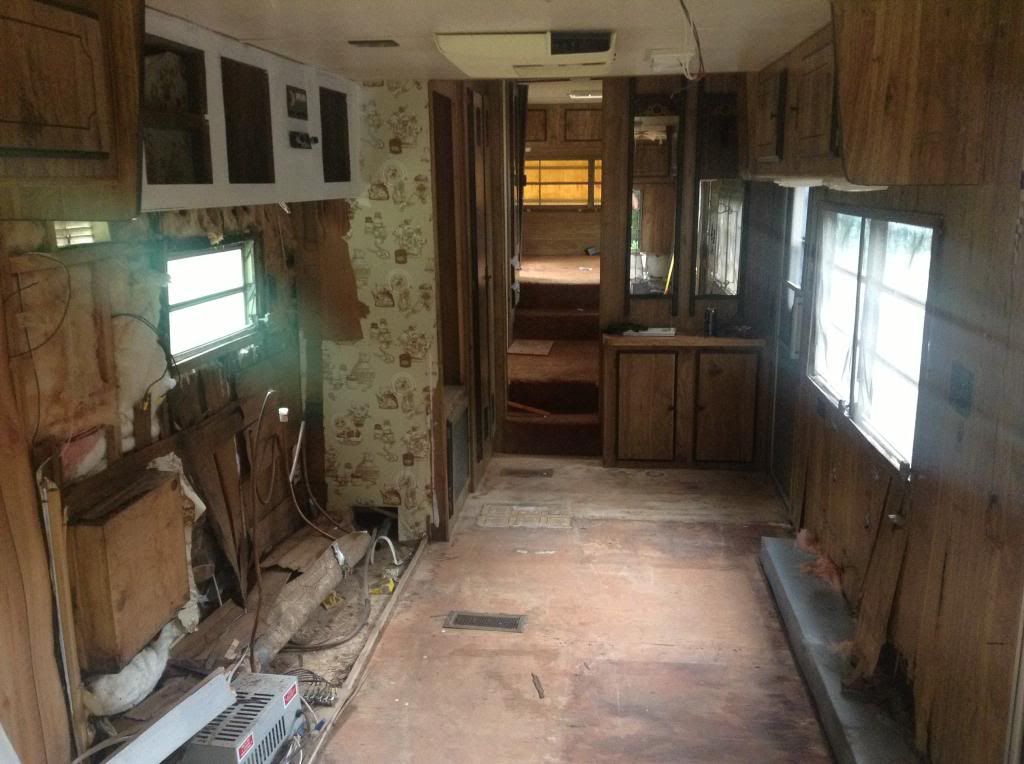
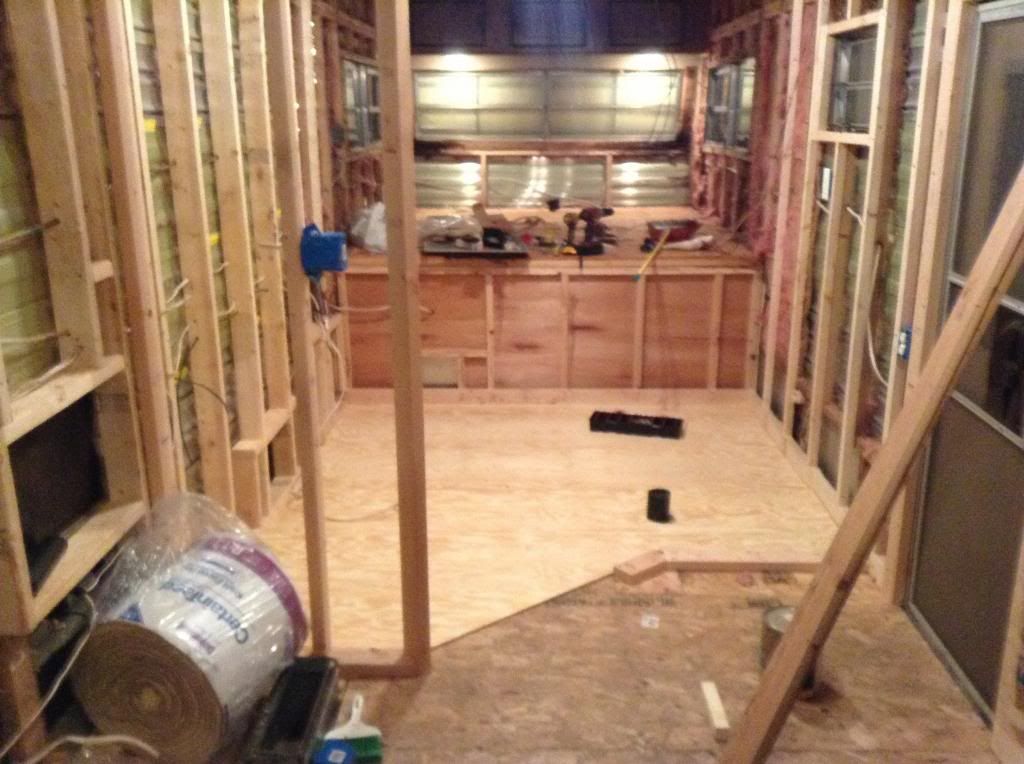
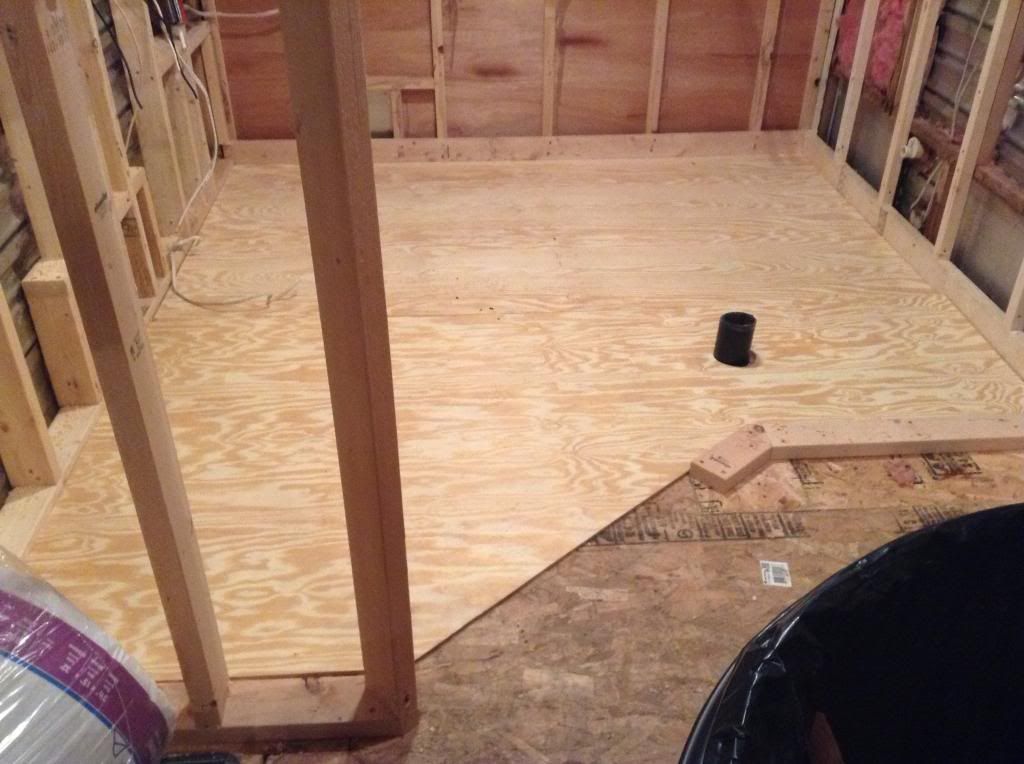
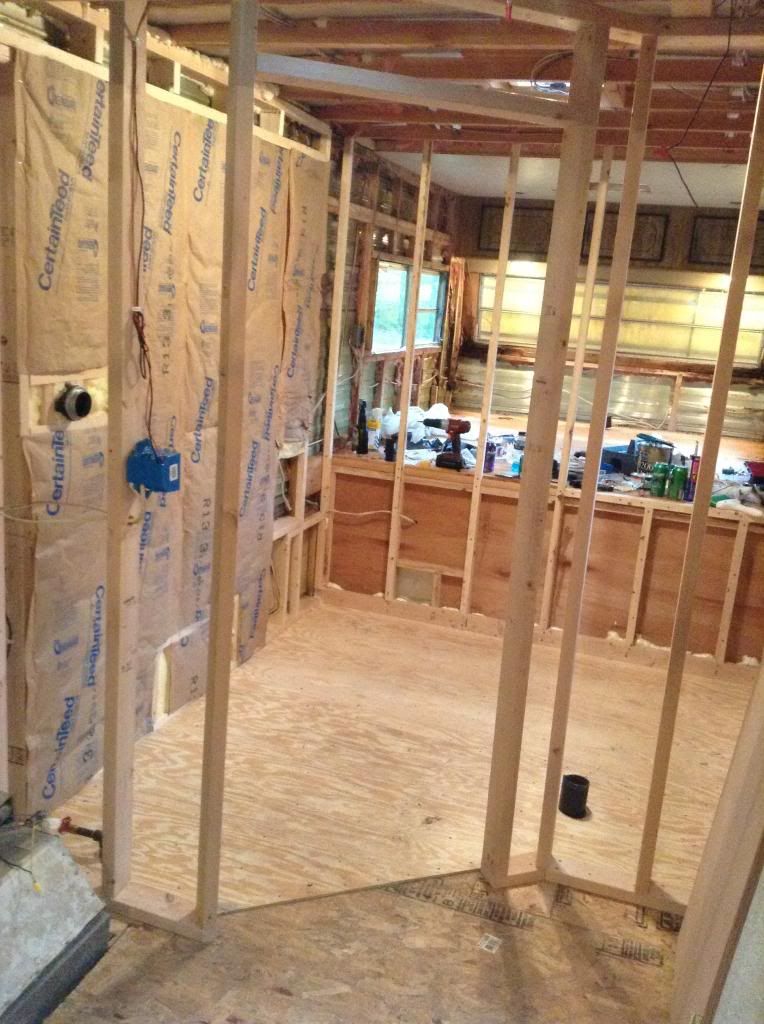
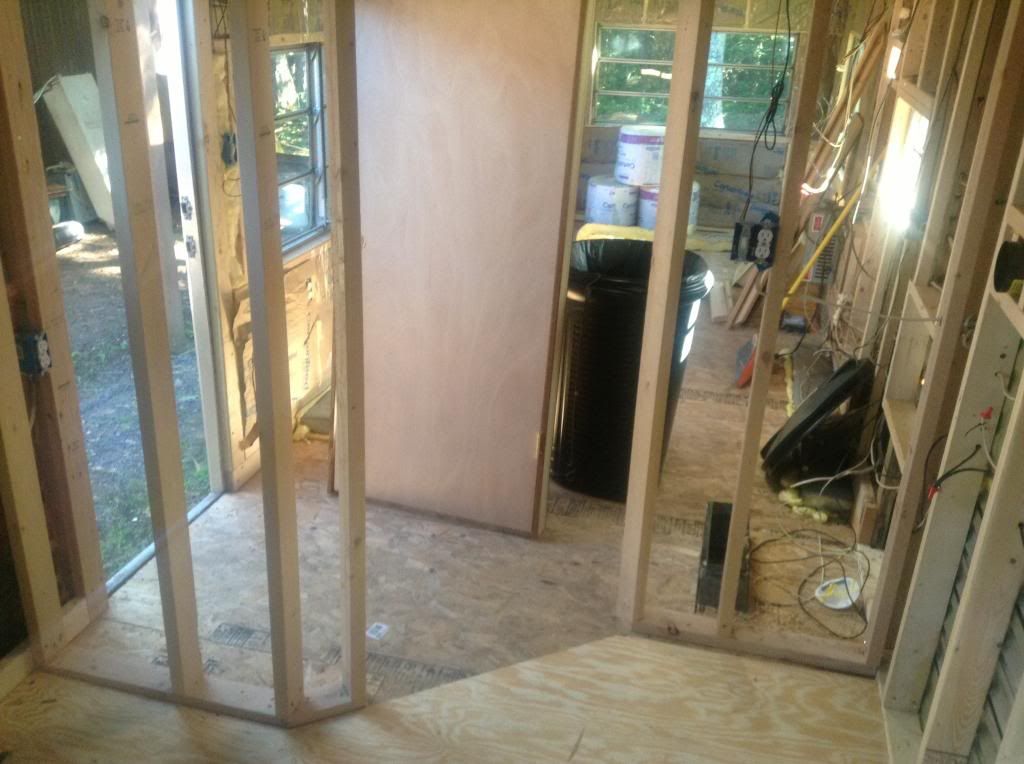
Floors were solid so far, so I ripped everything out of the living room & kitchen areas, so I could put down some half inch OSB for a thicker, stronger subfloor. I dont like feeling the floors flex under my feet! Over top of the OSB I'll be putting laminate flooring later on, with that blue underlayment.
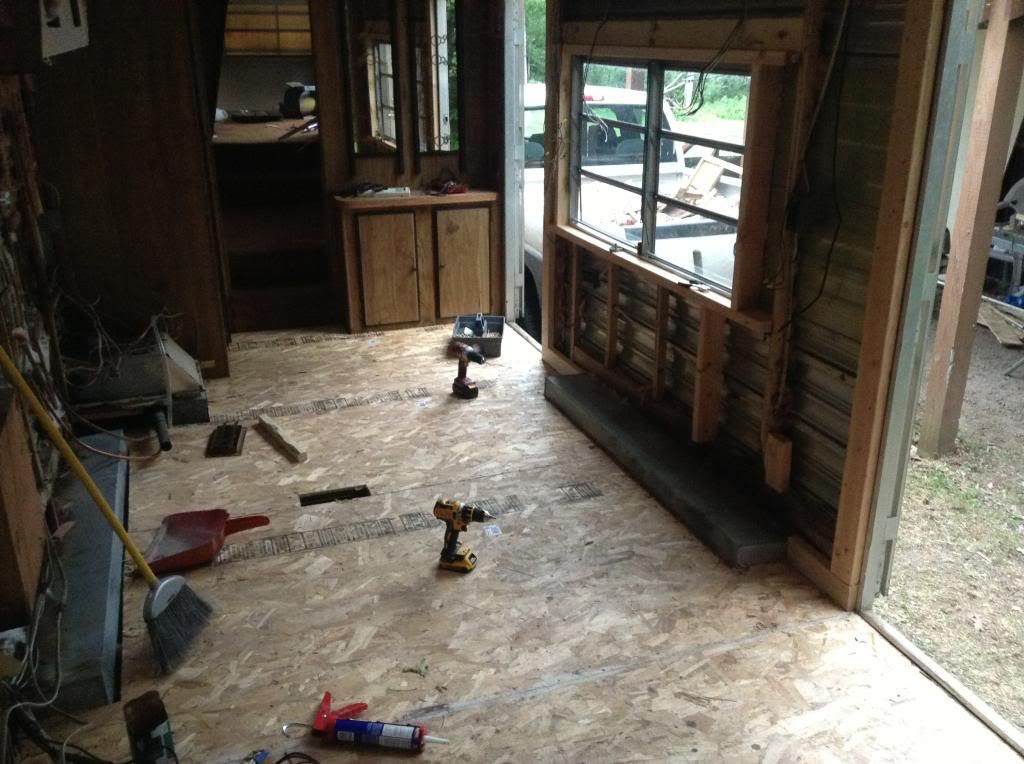
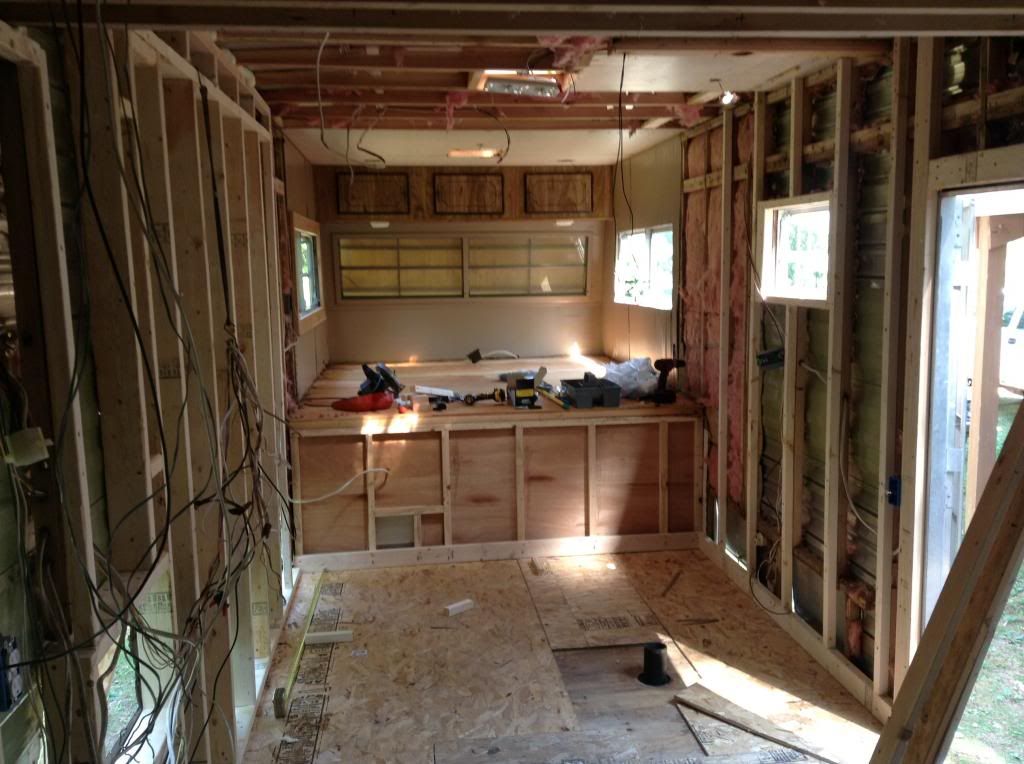
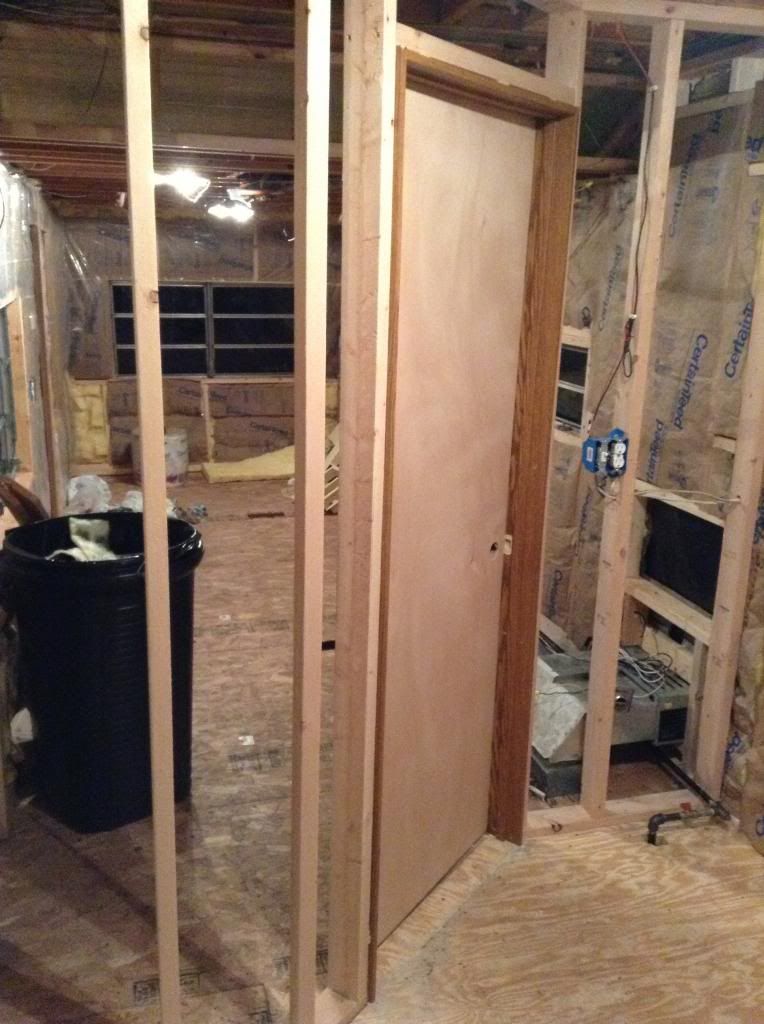
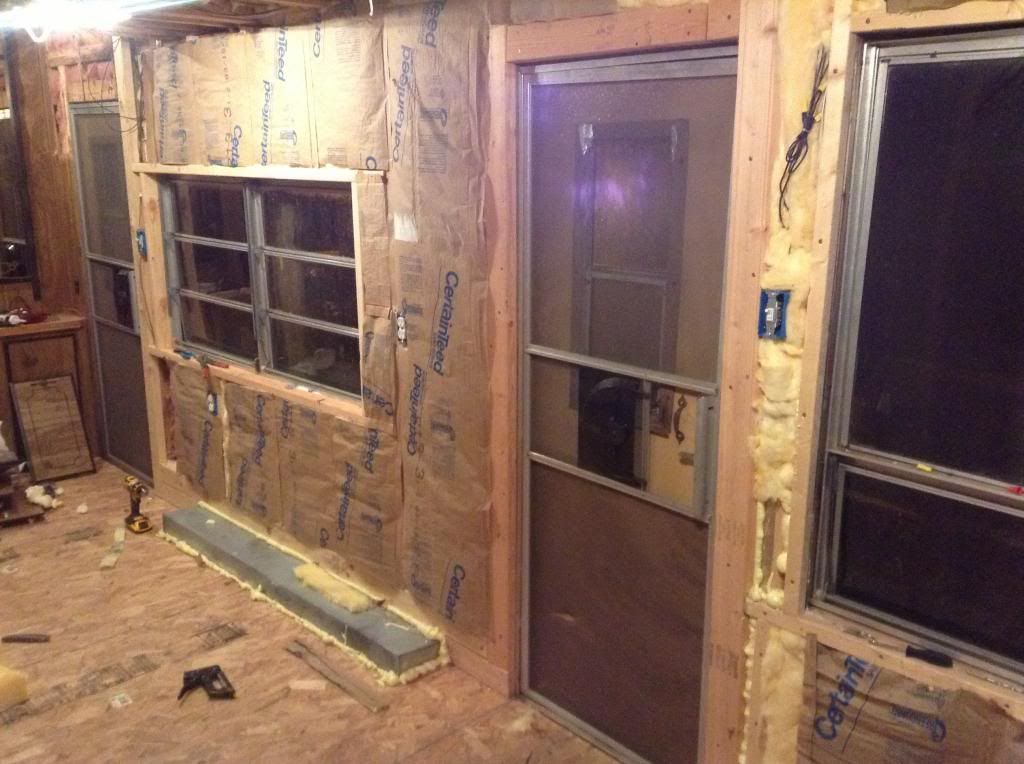
I also didnt like the idea of the walls being stapled 2x2s, and since I had plans on camping year round, why not go with 2x4 walls? So I doubled up the old 2x2s where they were still rot free, and completely tore out sections that were gone and framed those in with 2x4s. I am in no way a carpenter, so it might seem kind of redneck, but hey, I can hang from those walls and I'm 200lbs! Way stronger then factory.
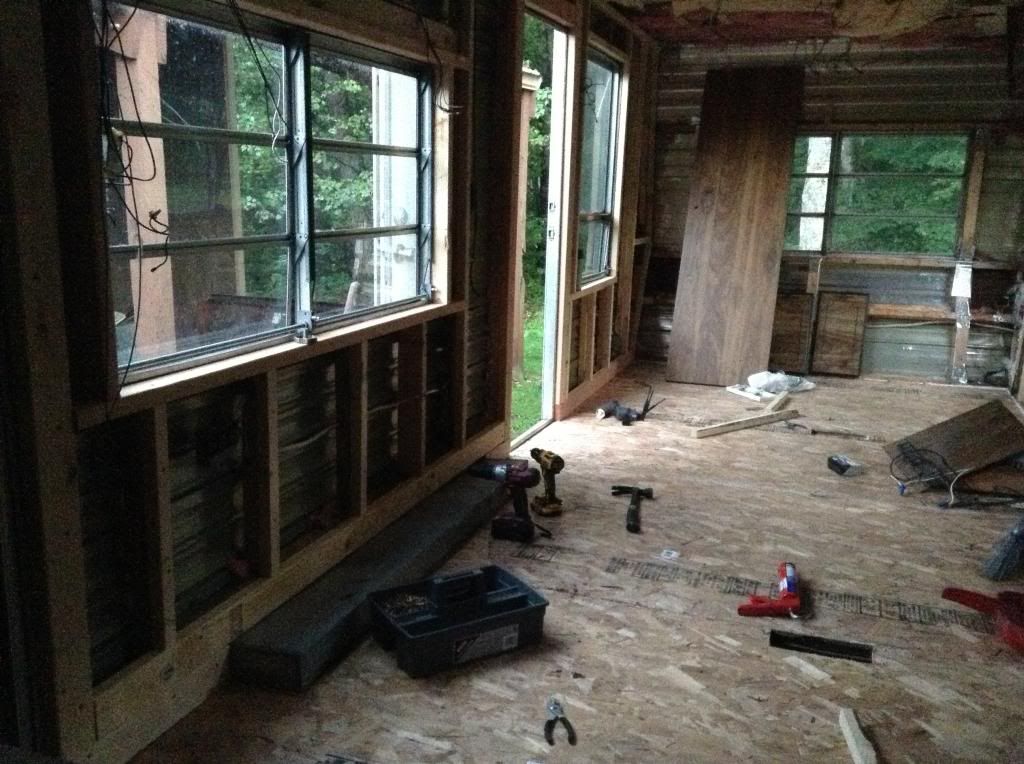
You can see some random places that previous owners had "repaired", makes me feel good about my work, lol. I could move these walls in and out 6-10" they were so rotten.

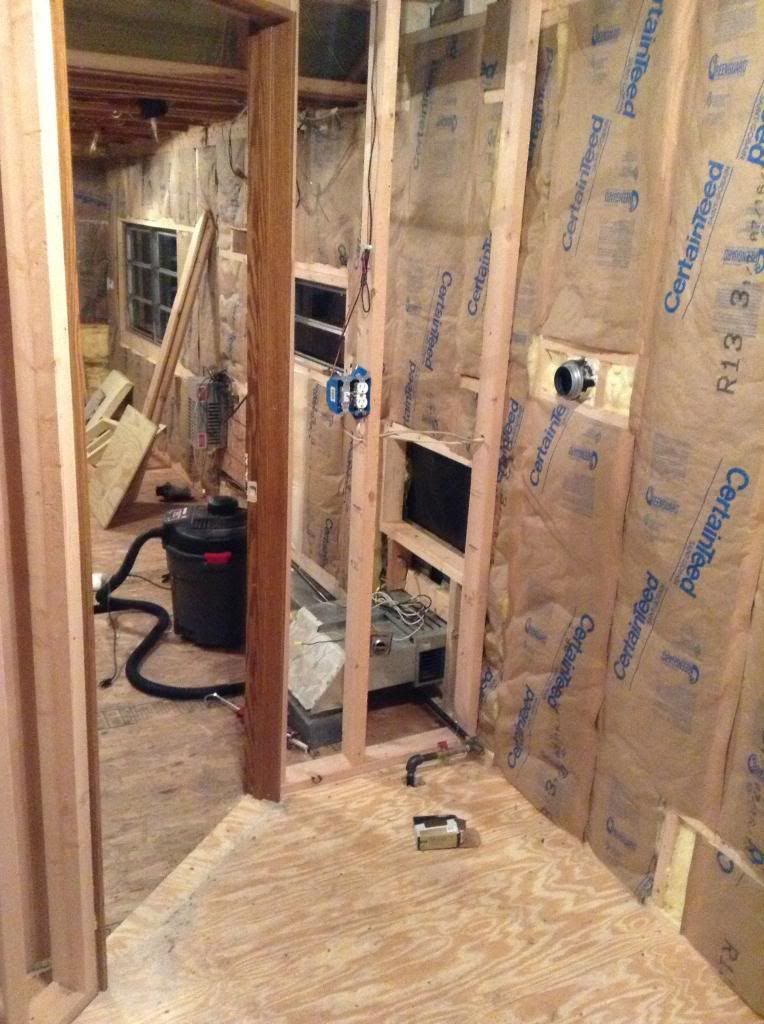
I started insulating the side I finished with R13, just to give myself something different to do. Pulling down rotten wood and soaking wet insulation gets pretty tiresome.
Also rebuilt the soggy breaker box and mounted the inverter on the inside of it. Breakers are accessed from outside.

Decided I would use poly as a vapor barrier, read people that say its good and some say its bad, well I guess I will find out. I want this thing to be air tight in the seems and walls, will have plenty of ventilation in actual vents and windows. I just line the walls with poly and staple it tight, then trim out the openings after.

More to come!
Well, was looking for a good deal on a 5th wheel in the 2500$ range, something older, late 80s early 90s, and figured why spend that much when I'll probably end up gutting it anyways. Dont really like the way these come from the factory, would rather have more open space and put the things I want inside it.
So here it is! Snagged this for 400$, "only a little water damage" the P/O said.
Well, it was pretty much trashed on the inside, so time to hook it up and bring it to where I'll be working on it. Pulling it with my 01 Sierra 2500HD Duramax.
Got started on ripping out some of those nasty cupboards, and wow, this thing sure was a rotten turd. Walls were mush, like wet cardboard.
Floors were solid so far, so I ripped everything out of the living room & kitchen areas, so I could put down some half inch OSB for a thicker, stronger subfloor. I dont like feeling the floors flex under my feet! Over top of the OSB I'll be putting laminate flooring later on, with that blue underlayment.
I also didnt like the idea of the walls being stapled 2x2s, and since I had plans on camping year round, why not go with 2x4 walls? So I doubled up the old 2x2s where they were still rot free, and completely tore out sections that were gone and framed those in with 2x4s. I am in no way a carpenter, so it might seem kind of redneck, but hey, I can hang from those walls and I'm 200lbs! Way stronger then factory.
You can see some random places that previous owners had "repaired", makes me feel good about my work, lol. I could move these walls in and out 6-10" they were so rotten.
I started insulating the side I finished with R13, just to give myself something different to do. Pulling down rotten wood and soaking wet insulation gets pretty tiresome.
Also rebuilt the soggy breaker box and mounted the inverter on the inside of it. Breakers are accessed from outside.
Decided I would use poly as a vapor barrier, read people that say its good and some say its bad, well I guess I will find out. I want this thing to be air tight in the seems and walls, will have plenty of ventilation in actual vents and windows. I just line the walls with poly and staple it tight, then trim out the openings after.
More to come!