Forum Discussion
DeadeyeLefty
Sep 29, 2012Explorer
OK, today's progress:
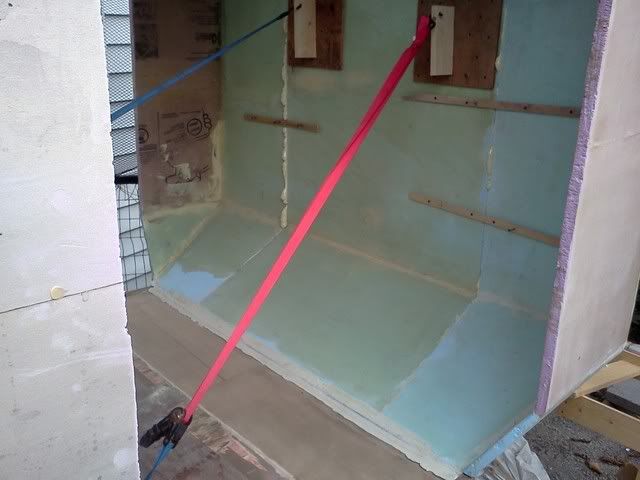
This is the 'before' shot. The delam in the cheap luan ply wouldn't have happened if I had kept it encapsulated...but my progress on this project has been pretty much zero this summer thanks to work (and that's not a complaint !!).
The top of the floor is glassed but you can see where water soaked in from the back edge. I sanded the delamming layers out and replaced them with glass. The back piece just went in ans is about to get sealed in epoxy.
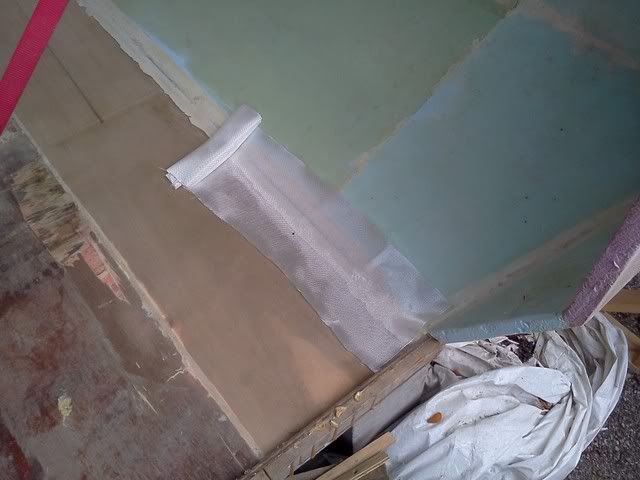
This is how the first layer of tape will cover the joint:
And the second layer of full-width cloth over that:
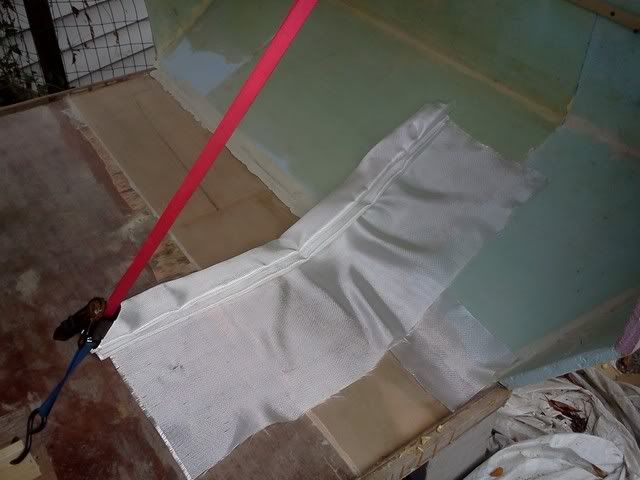
I was able to squeegee enough resin out of the cloth that I laid in another layer of 4" tape on top of everything else. By keeping a little extra cloth handy, you can use resin that would otherwise be waste and make your layup stronger.
Here's a final shot as she sits now with the resin curing:
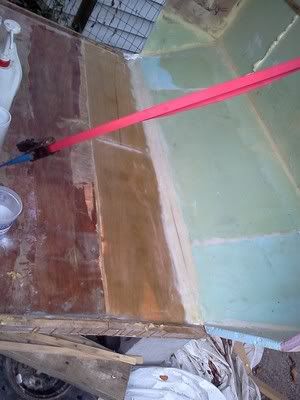
So now the back wall is permanently, structurally attached to the floor. Up until now, it's been a styrofoam box sitting on top of a deck. Once I start glassing the sidewall sections t the floor, I can release the ratchet straps that are currently holding the back wall plumb while today's glassed joint cures.
This is the 'before' shot. The delam in the cheap luan ply wouldn't have happened if I had kept it encapsulated...but my progress on this project has been pretty much zero this summer thanks to work (and that's not a complaint !!).
The top of the floor is glassed but you can see where water soaked in from the back edge. I sanded the delamming layers out and replaced them with glass. The back piece just went in ans is about to get sealed in epoxy.
This is how the first layer of tape will cover the joint:
And the second layer of full-width cloth over that:
I was able to squeegee enough resin out of the cloth that I laid in another layer of 4" tape on top of everything else. By keeping a little extra cloth handy, you can use resin that would otherwise be waste and make your layup stronger.
Here's a final shot as she sits now with the resin curing:
So now the back wall is permanently, structurally attached to the floor. Up until now, it's been a styrofoam box sitting on top of a deck. Once I start glassing the sidewall sections t the floor, I can release the ratchet straps that are currently holding the back wall plumb while today's glassed joint cures.
About DIY Maintenance
RV projects you can tackle on your own with a few friendly pointers.4,410 PostsLatest Activity: Jan 18, 2025