Forum Discussion
1,450 Replies
 M_GO_BLUE1Explorer
whporwil wrote:
Once again Dana Thanks. However I don't have the green and white wires you show attached to the valve assembely. What are they for?
Last night for the third time in three years I had a leak in our kitchen. Water is dripping down from behind our convection oven. Each time this has happened we had lots of wind and rain, last night was 3+ inches and we do have slid out toppers. Anybody figure this one out this one?
Had the same thing happen for the first time about 2 months ago with rains and high winds and we have the 1/2 time oven...out outside flapper for the oven vent was shut in place with the tabs so the only other place it could of come in at was the fridge vent...the wind has to be blowing the rain at just the right angle for it to happen though CHV_FRKExplorerIt may be coming from your vent but if you have a half-time oven there shouldn't be a hole cut in the wall. I wouldn't count on that, check it anyway from the outside. There should be two little tabs that fold in to keep the flapper closed. Here is the gallery of where I made my half-time vent through the standard microwaves' exterior vent. That should give you an idea of what's behind there. The only difference is the standard microwave vents straight through, no offset.
If you do not have a hole I would guess that water may be migrating from your behind fridge area. I added the screening for wasps and such. It seems to cut down on any water back there a little more during high winds.
On the green and white wires... those are for the front grey tank sensors. White is common and attaches to the lowest sensor. The green attaches to all the other sensors. The interior panel works off total resistance. That's why only two wires have go back to the panel. loydtExplorerMine does the same thing. It is coming in thru the range vent on the exterior. If you have the half time oven like I do, that exterior vent is not connected to anything.
- whporwilExplorerOnce again Dana Thanks. However I don't have the green and white wires you show attached to the valve assembely. What are they for?
Last night for the third time in three years I had a leak in our kitchen. Water is dripping down from behind our convection oven. Each time this has happened we had lots of wind and rain, last night was 3+ inches and we do have slid out toppers. Anybody figure this one out this one? - CHV_FRKExplorerI also added a 1/4 turn drain to our hot water heater to drain from use to use. I will still pull the entire assembly to drain for storage and flush out debris in the bottom of the tank. To flush I pull the pressure safefy valve so I can flush a greater amount of water through there using a 1/2" NPT to Hose adapter.
Anyway I used a brass 1/2" x Close nipple and a 1/2" x 1/2" quarter turn valve. I removed the compression part of the output and reistalled the nut to turn on the whole assembly. Don't forget to clean out your old teflon tape and install new on the entire nipple.
PARTS FROM LOWES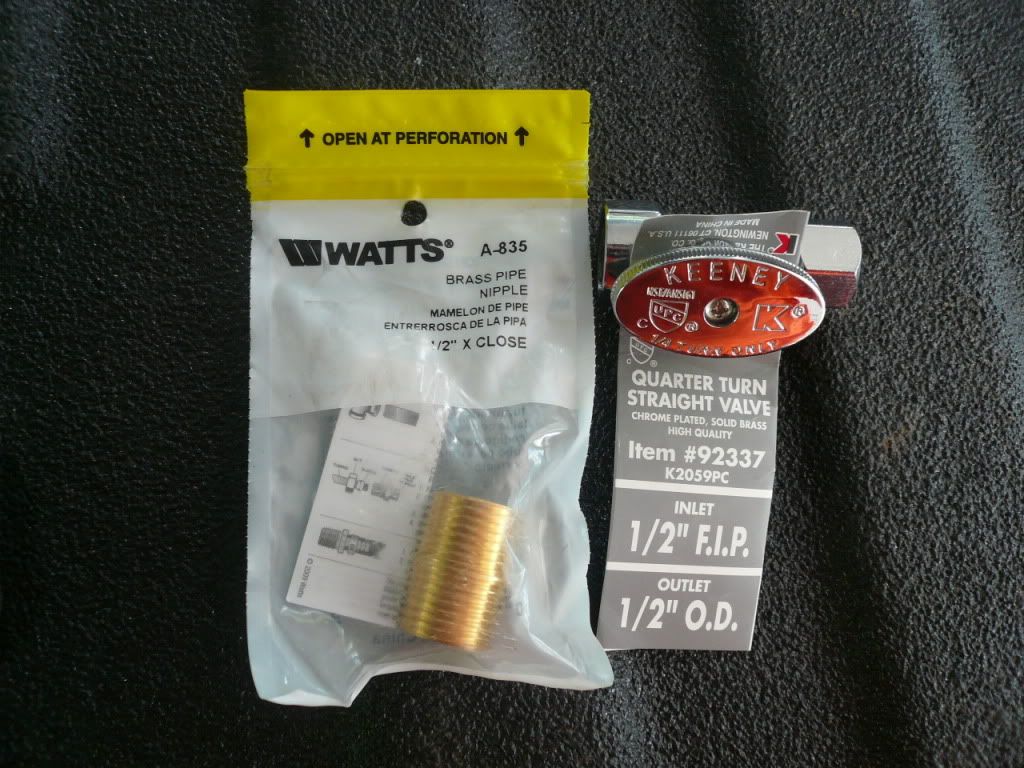
TIGHTENING UP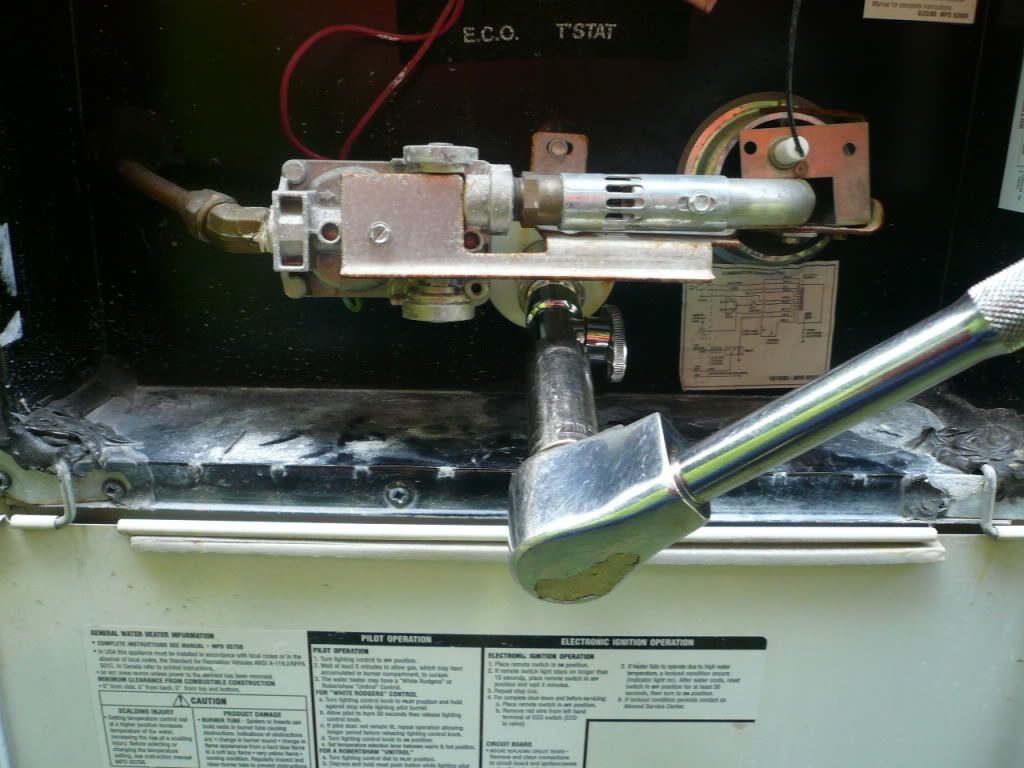
VALVE CLOSED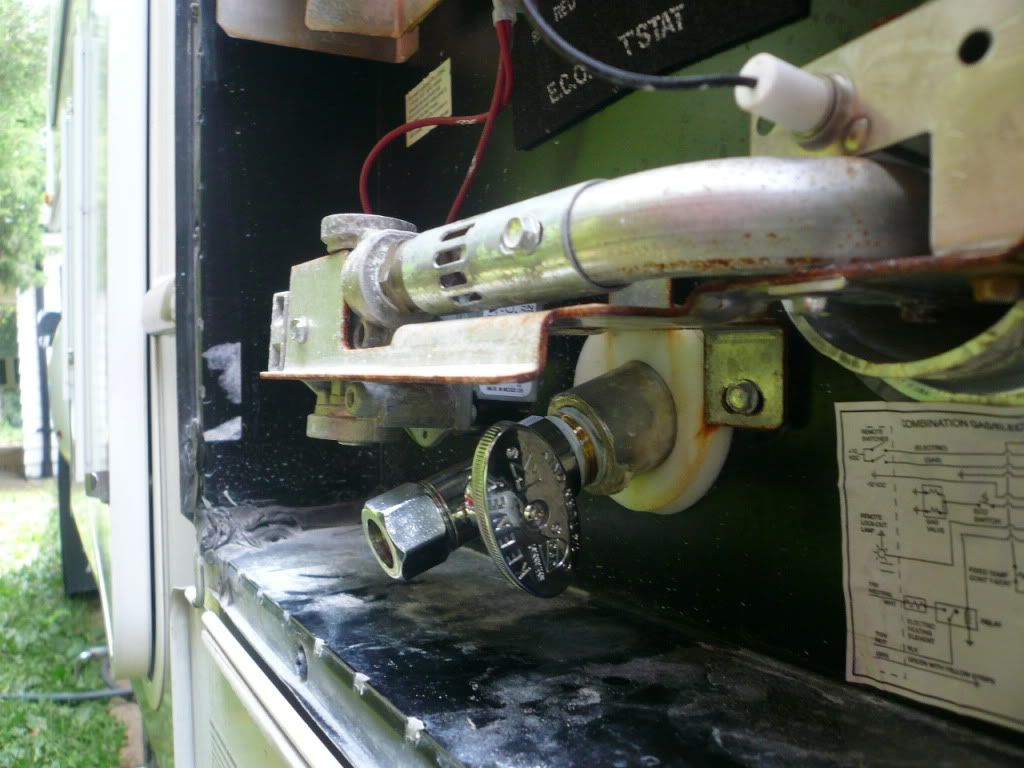
VALVE OPEN
CLEARANCE TO DOOR
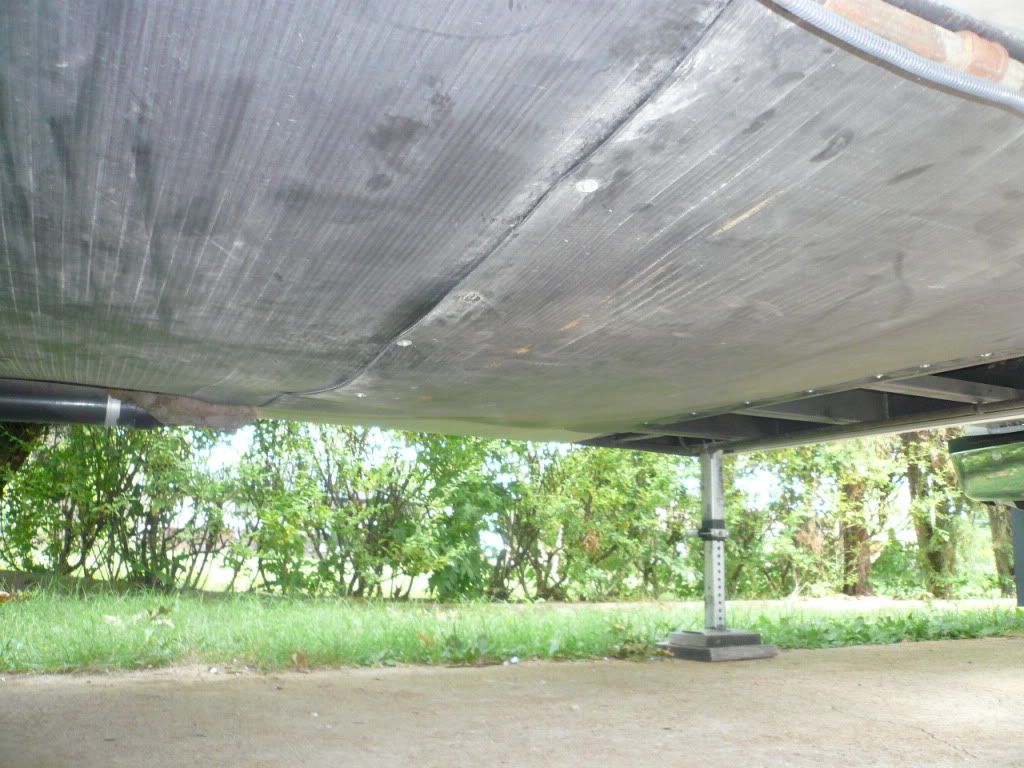
- CHV_FRKExplorerMy leak was on the black tank flush to tank connection.
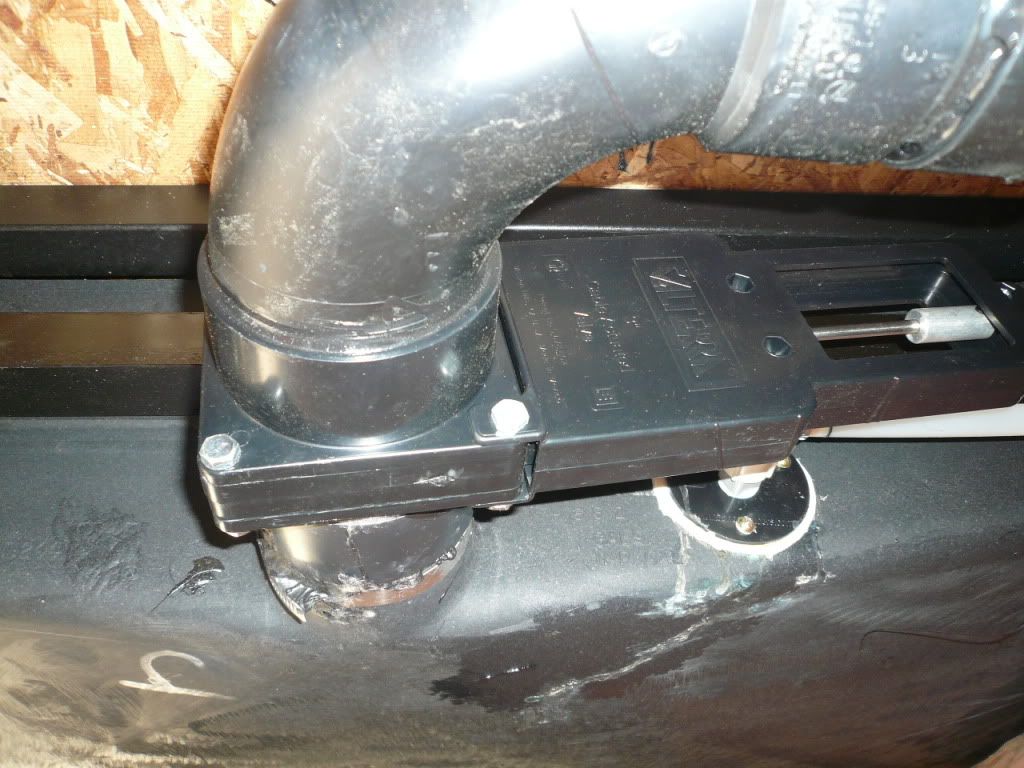

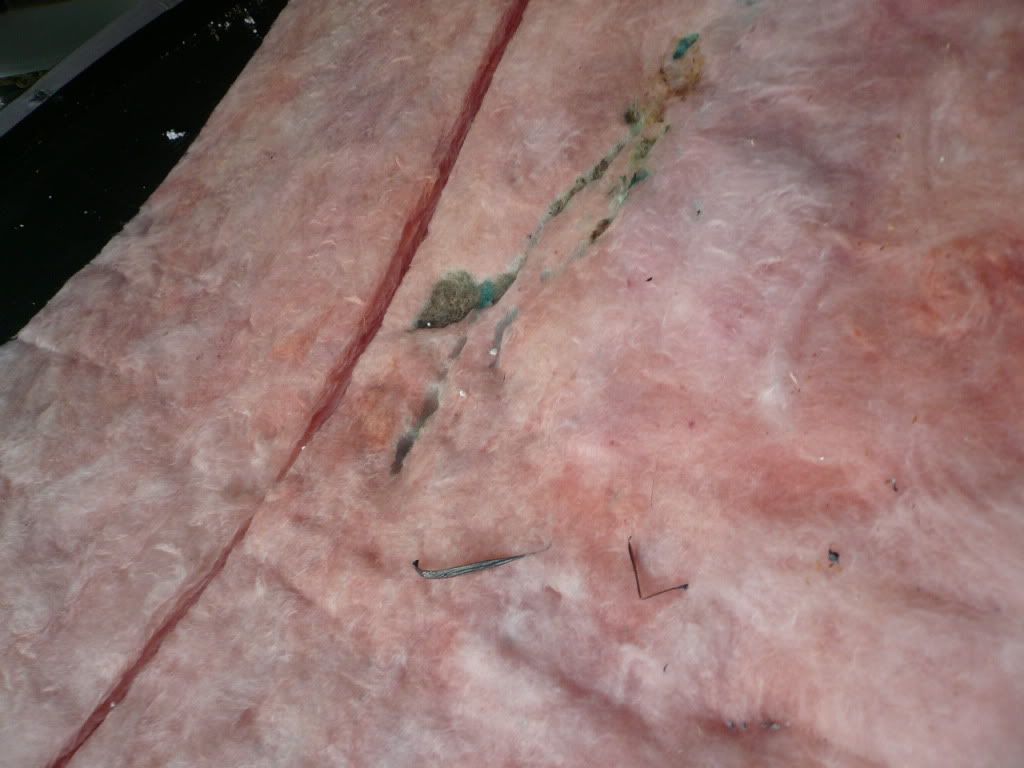
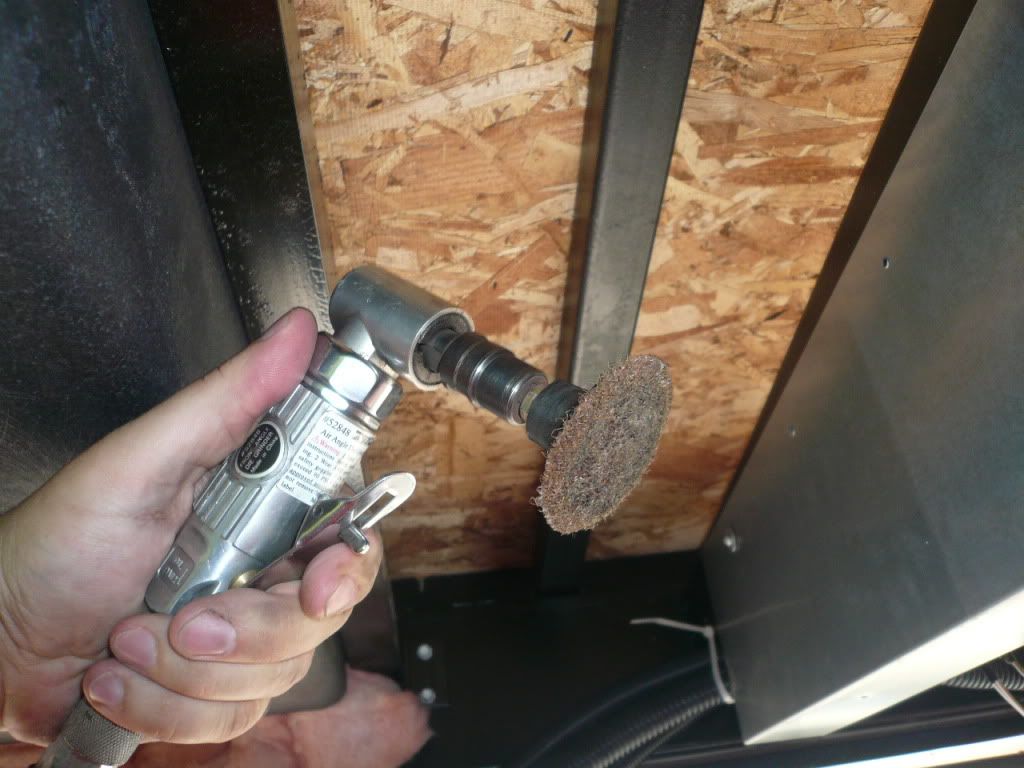
The silicon (if that's what they used) was separated from the tank on about 3/4 of the surface. As you can see they attached it where some of the embossed logo and writing is on the tank surface and there is additional embossing below the flush flange. After cleaning up I ground the surface flush with a 3m prep pad and cleaned the surface once again.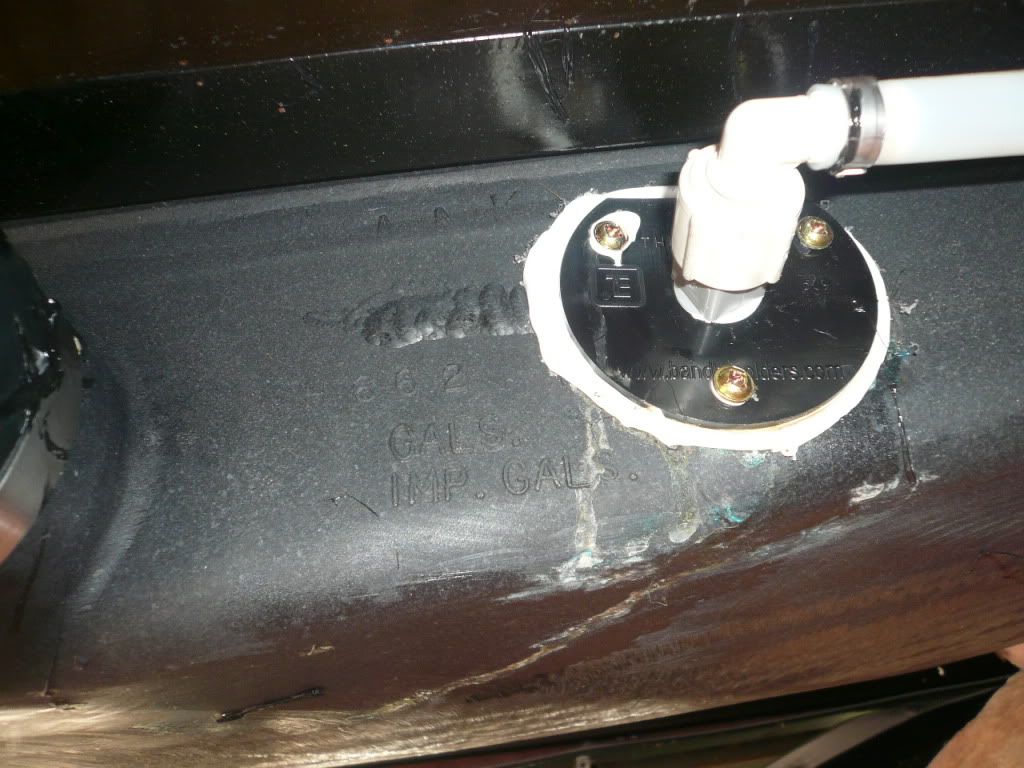
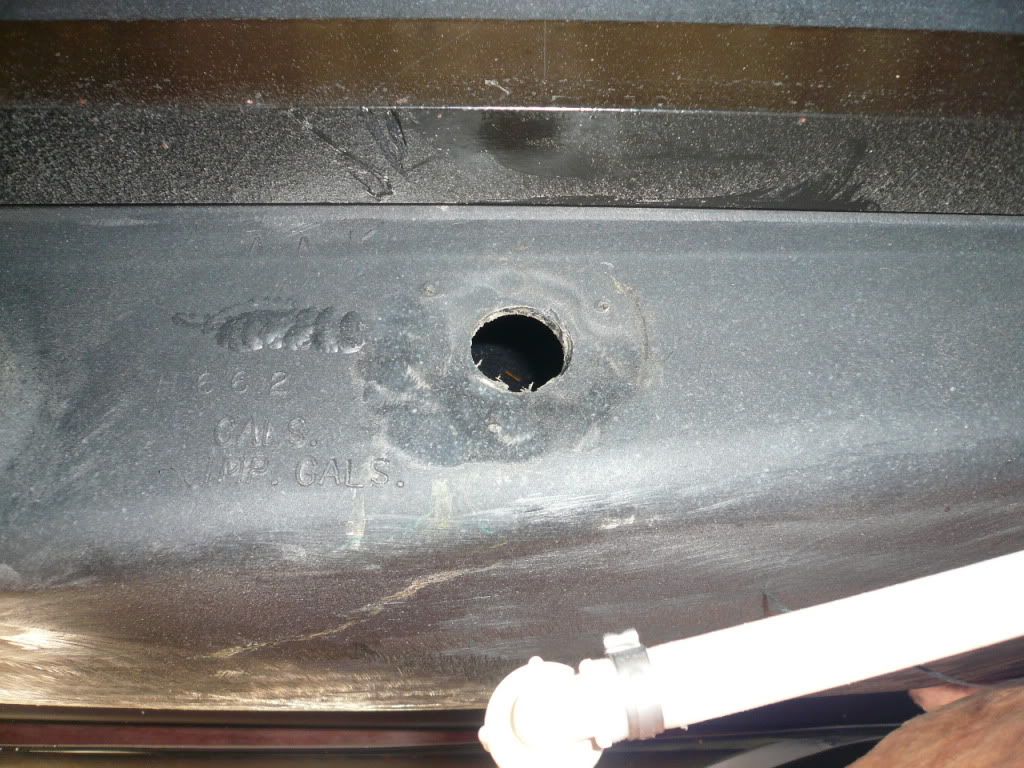
I flushed the connection and unclogged one nossel that was plugged up, cleaned, and then reinstalled with clear 100% silicon caulk. I allowed this to set up over night.

While the bottom was off I took the opportunity to clean and lube the valves since I've had a small black tank leaky valve. You really need to disassemble the entire valve to more easily reassemble the seals. This means not only the 4 bolts and nuts, but the 4 screws and nuts on the upper valve assembly where the cable attaches. I didn't cut my pipe as Loydt did, I just attached a rachet strap to the front frame and looped it around the piping to hold it while I cleaned, lubed with white lithium, and reinstalled the black tank valve. While I was here I did the front grey tank valve as well. That one actually stunk! I think I'll be adding flush connections to both grey as well. Anyway, I took the opportunity to add a little insulation although I don't think it will do that much, but I had a few pieces laying around the garage so I tossed them in. I also think that tank heaters will be in our future.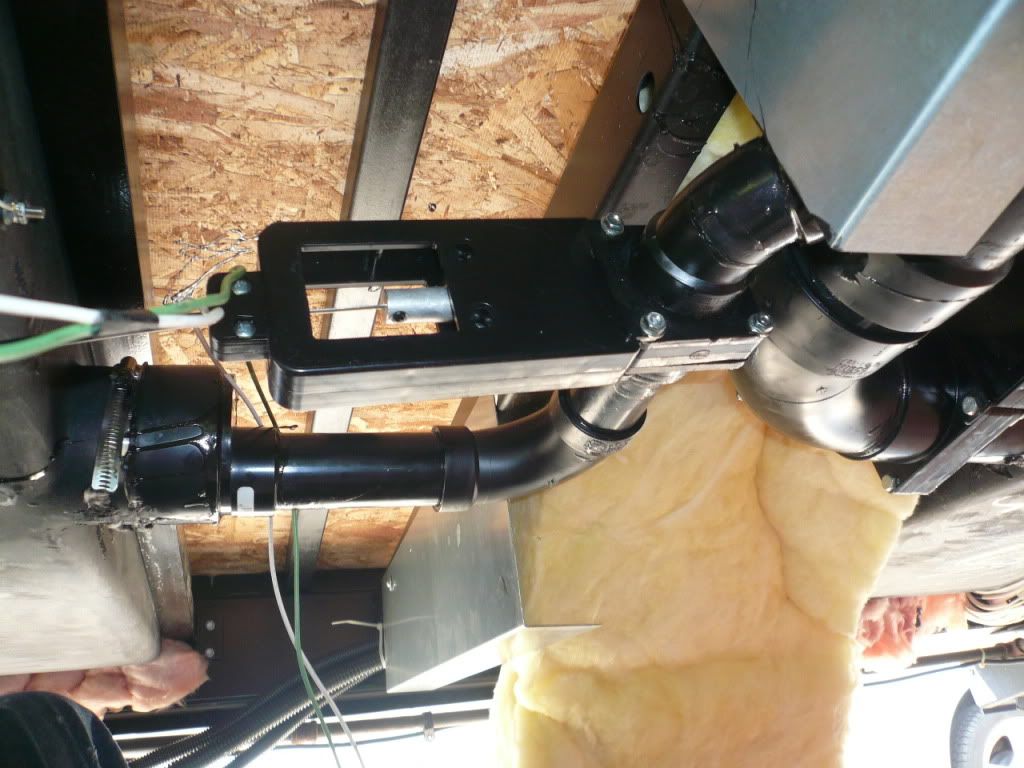


FYI... our underbellys are set up the same RLSA/RLTS. All the previous photos are under the front two panels. Here's a couple shots of what you can see from the little access panel in front of the axles.
LOOKING FORWARD-Rear grey tank and valve. With easy access this will be lubed later if need be.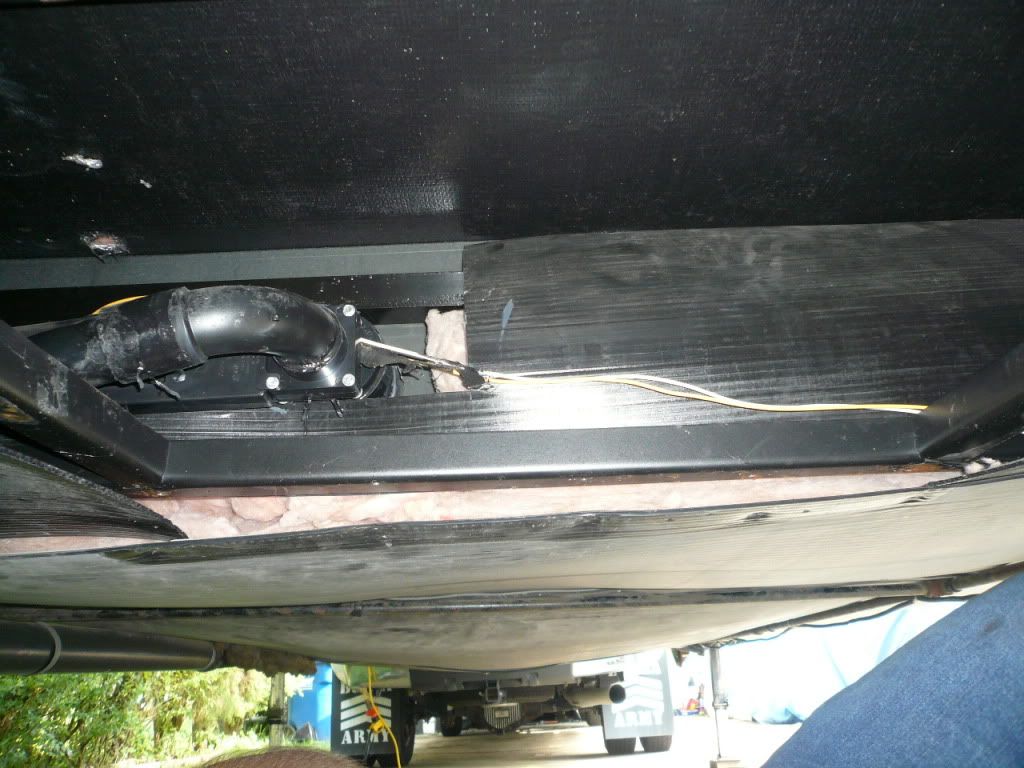
TOWARD CURBSIDE-Drive cog (COGSWELL COG) for the curb slide.
TOWARD REAR-Notice the slide motors are accesible from the access panel behind the axle.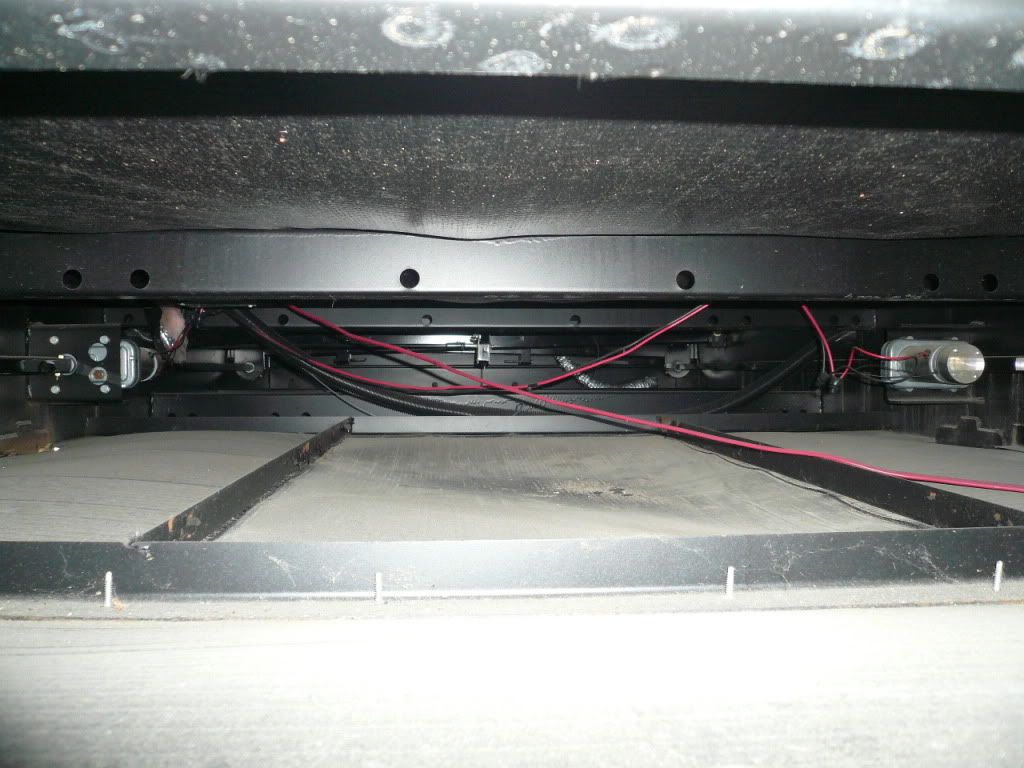
- M_GO_BLUE1ExplorerOurs was not a black tank but a grey tank drain valve which they had to remove the underbody to get at and fix...
- loydtExplorerWhat's up with all these black tank leaks? Where are you guys finding the problem?
- M_GO_BLUE1ExplorerThanks Dana...but being so far from being mechanically inclined I'll have someone else work on the grease fittings...may have to just take back to the dealer to have the work done on the fittings which may or may not solve the grabbing problem...
- CHV_FRKExplorer
M GO BLUE wrote:
Ok have a question for everyone and I should know the answer to this...
Where are the zirc(?) fittings on the Designer wheels and how much do I grease them?
Also we think we have a problem, slight though...this past trip when we are coming to a stop we feel the trailer wheels "skidding"..have eliminated most things but can't figure it out...see the posting I have in the TOWING section under "FIFTH WHEEL BRAKES"...
There is a little snap in insert on the centers of your center caps. Be careful prying these out if you want to do this w/o removing the wheels. I always remove the wheels personally. Inside the cap area there is a little rubber grommet that you will need to remove to get to the zerk fitting. Once you do one wheel and put it back together you'll see why I just pull the whole wheel!
You want to add grease to these slowly. I add maybe 3 pumps while spinning the wheel/hub. This will help the grease through the bearing and not blow/leak out the rear seal. If you are having brakes grabbing like that you may have had someone already fill them to vigerously. I would pull the wheels and the drums and make sure they are clean. You can do this will only removing the outer bearing. Then clean down and adjust the brakes.
Just a few things I've run into:
-first I had a grease cap that was now put on right at the factory and all the grease came out in my beauty cap.
-Look for the grease to be dried and cracked looking on the outer bearing. If it is I would recommend tearing down the whole thing and cleaning both bearings while replaceing the rear seal. I can get a compatible part number if you need it.
-If you have had grease leaking out the back you will need to tear down and clean. Pads are iffy, I might replace since they had been contaminated, but also just have the drums surfaced, not really turned the whole way, just ask them to cut them a little.
-also work one wheel at a time so you have another to look at.
Good luck... I have to post some of the work I did this weekend. I lubed valves and found/fixed a black tank leak... Still a little angry... will explain that later. Have lots of pics since our tank layouts are pretty much the same.
About Fifth Wheel Group
19,031 PostsLatest Activity: Apr 14, 2024