profdant139
Apr 27, 2014Explorer II
Drilling thru roof for solar mounts: risk of leakage?
I'm a reasonably handy person -- lots of do it yourself projects, some of them fairly successful. I am thinking about a hundred watt panel on my roof -- that's practically all I have room for, and the way we use power, that will be more than enough. I know that more is always better -- but I am not trying to run the microwave or the a/c on battery power -- just the LED lights and the fridge and the water pump.
We have two 110 amp hour batteries, and it takes us three days or more to run just one battery down to 12.1 volts (i.e, 50% state of charge), even in cold weather. So if it takes three days to use 50 amps (half a battery), it looks like we are using 15 amps a day. A hundred watt panel produces about 8 amps in an hour, under good conditions. (I am sure you will let me know if my math is wrong!)
I thought seriously about a portable panel (which can be moved into the sun), but it seems to be a bit of a hassle to deploy and store, plus there is a risk of theft. I have read that even if we park the trailer in the shade (which we usually do), the roof panel will still put out some power. I've located a good package (with a controller and cables) at Solar Blvd. So I am ready to move on this.
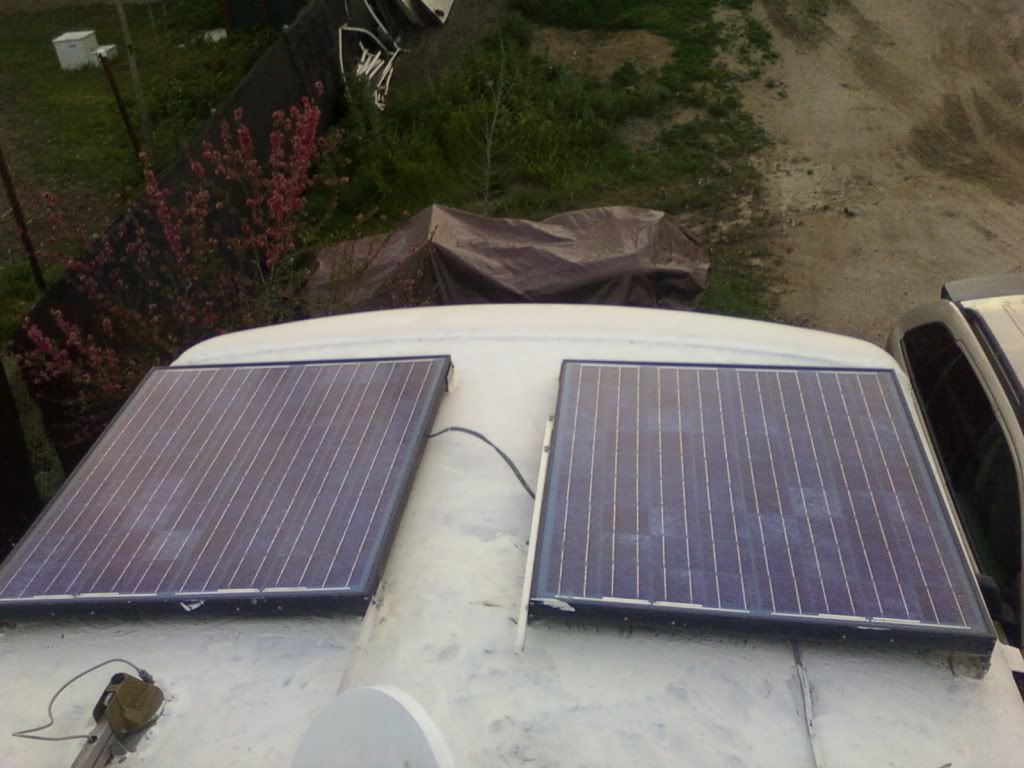
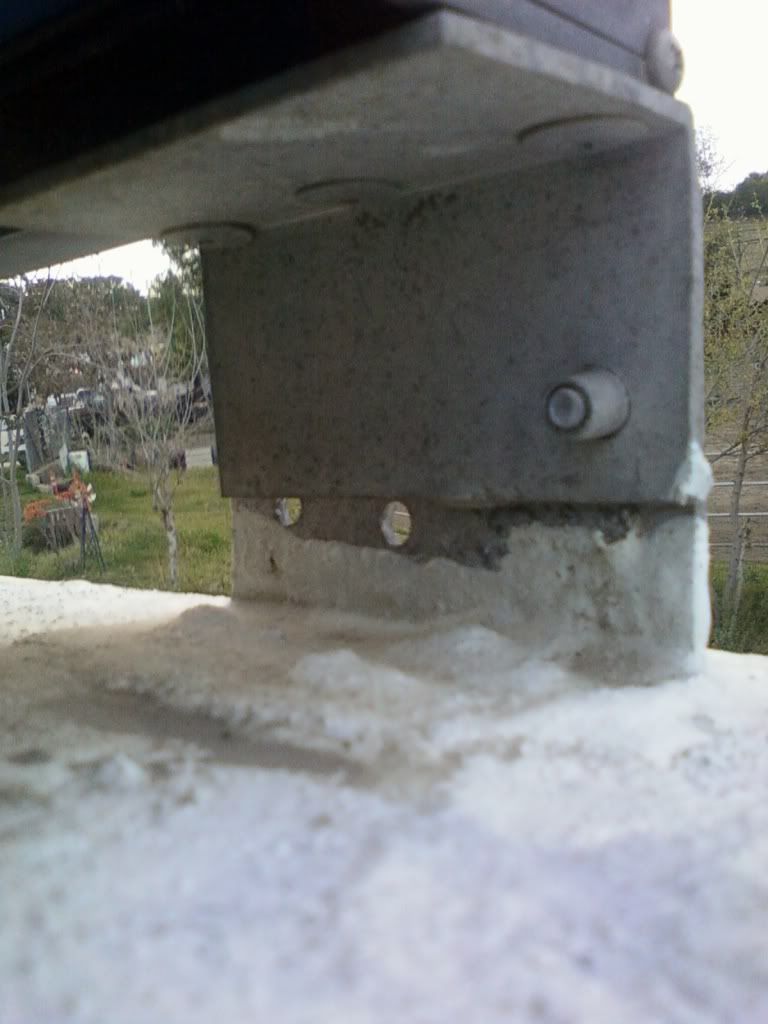
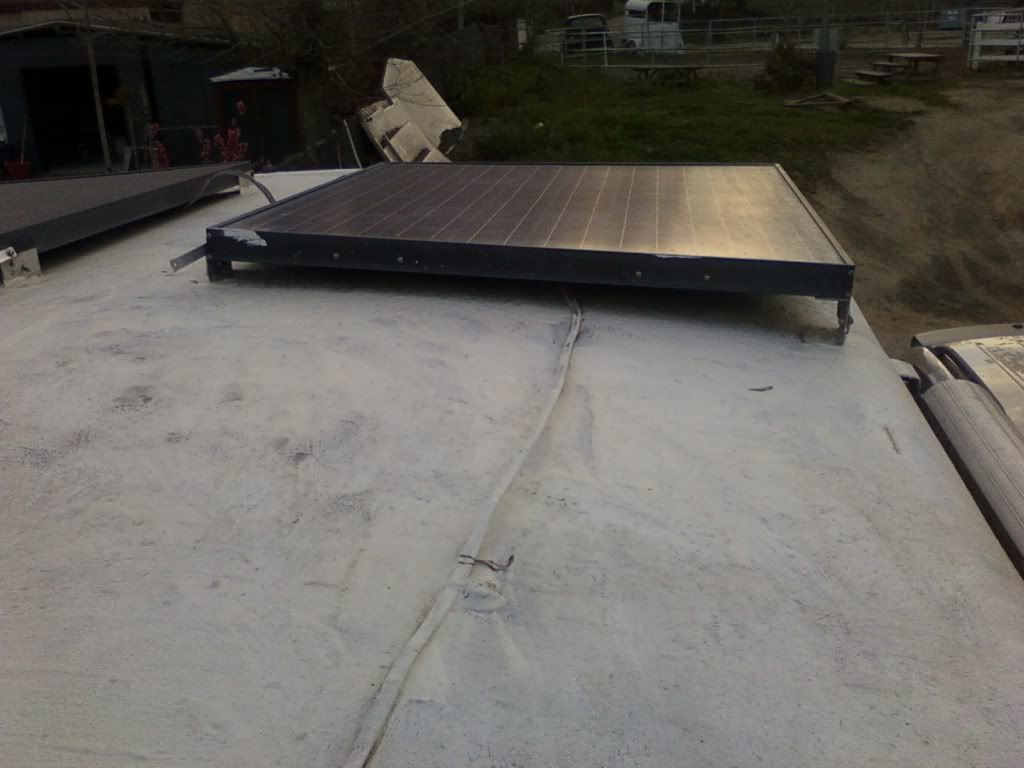
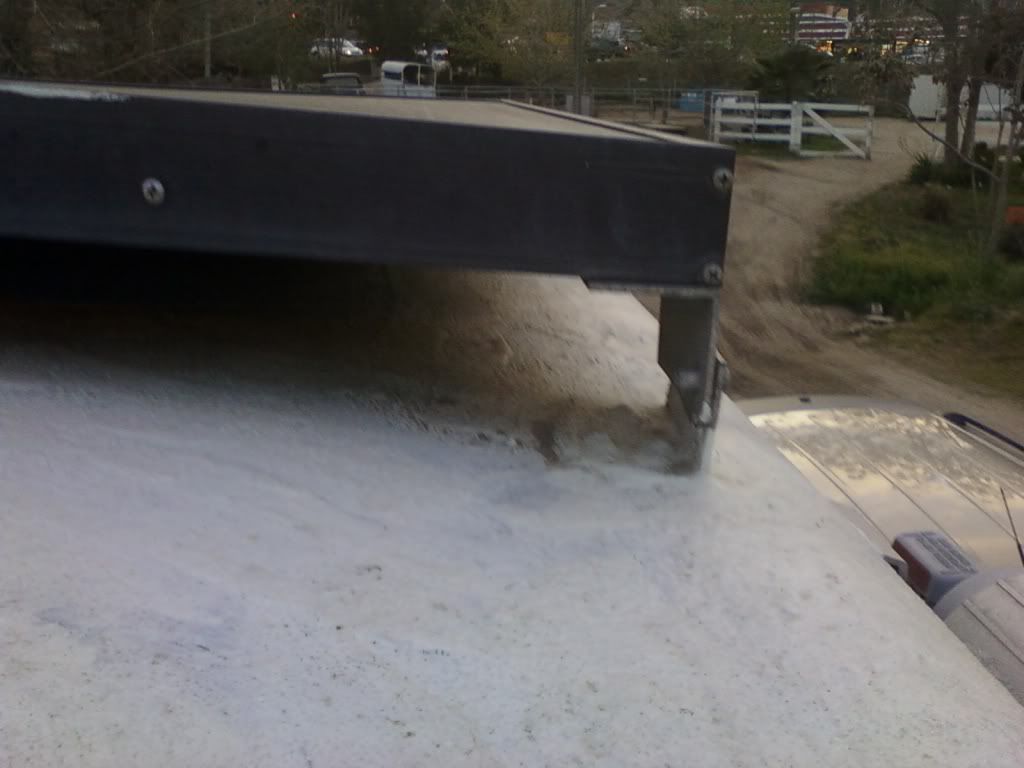
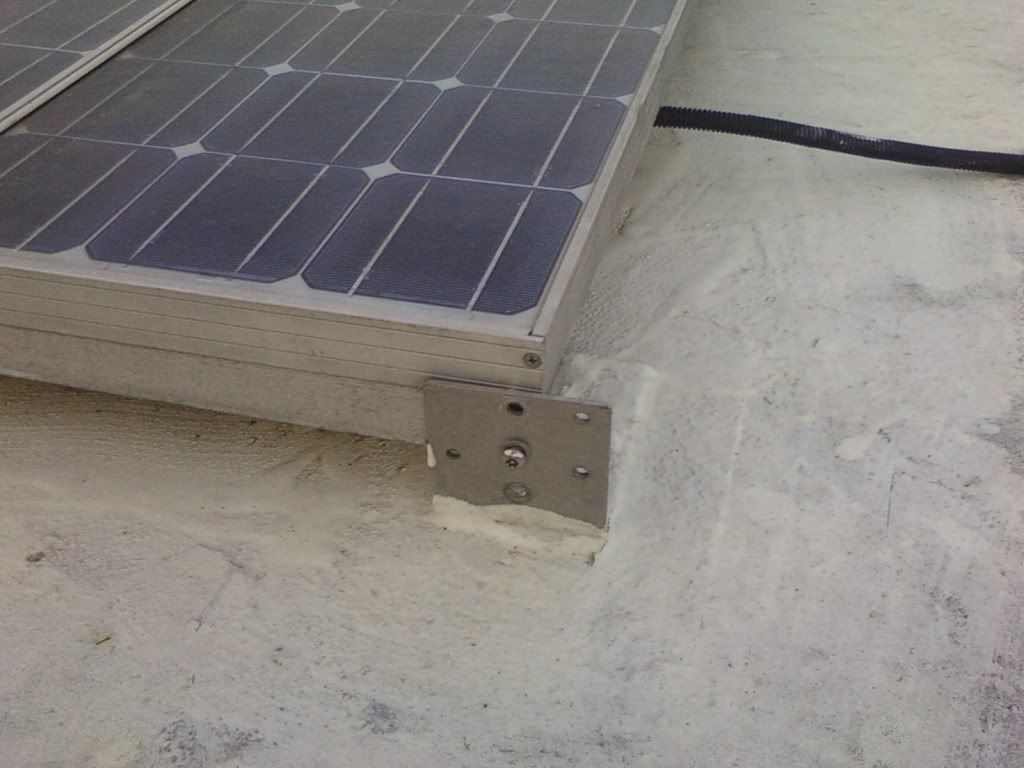
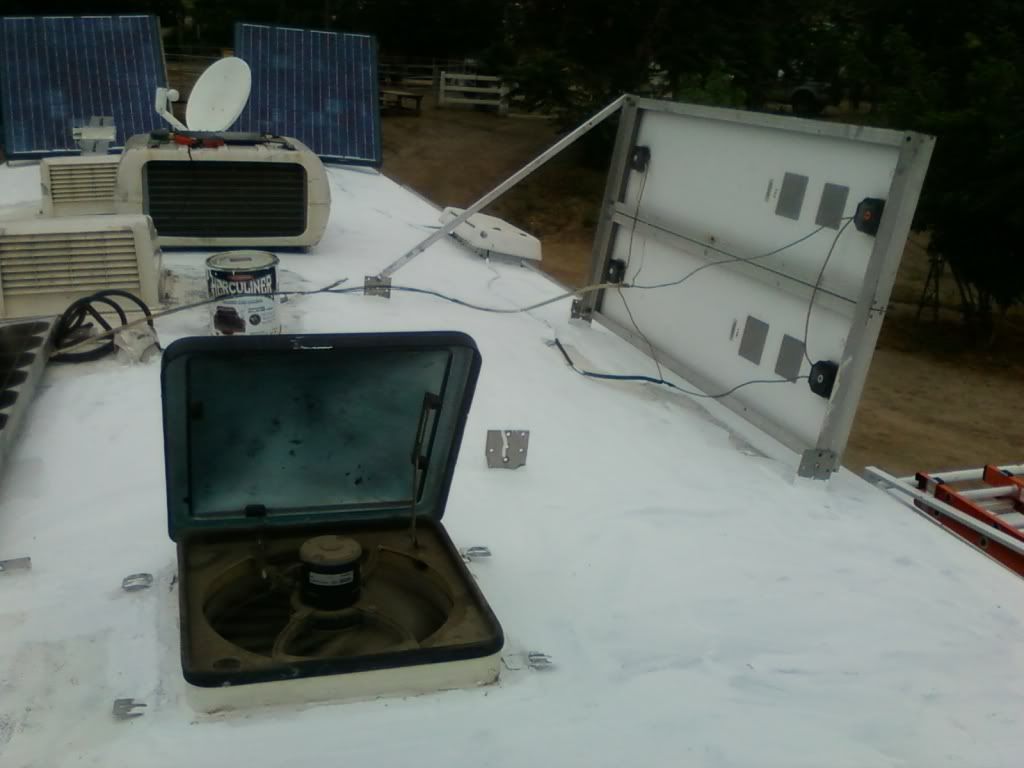
But here is what is holding me back -- as an old sailor, I have a natural aversion to drilling holes through the "hull." So that is my main question -- will the roof mounts for the panel, plus the cable heading down into the trailer, increase the risk of water damage? How does one seal those holes in a "bombproof" way?
Second, once I penetrate the ceiling and get the cable inside, do folks run the cable inside the wall? That would be tough -- the inner panel of the wall is bonded to solid foam. There is no void for the wire to run through. So I guess the wire would run down the wall in a plastic channel of some sort -- a little unsightly, but it's just camping, right?
Third, I assume that the controller and the meter will go under a seat (no other place to put it in my tiny trailer). Am I right in thinking that the power cable will run from the controller down through the floor and out to the battery, which is on the tongue in a box?
Fourth, there must be a way to "split" the power output so that I can charge my spare battery at the same time I charge my main battery? There are times when we run down the main battery to 12.1 volts, and then I swap out the spare. And of course, I always alternate which one will start the trip as the main battery, so that they get roughly the same amount of use.
Thanks in advance for your advice!
We have two 110 amp hour batteries, and it takes us three days or more to run just one battery down to 12.1 volts (i.e, 50% state of charge), even in cold weather. So if it takes three days to use 50 amps (half a battery), it looks like we are using 15 amps a day. A hundred watt panel produces about 8 amps in an hour, under good conditions. (I am sure you will let me know if my math is wrong!)
I thought seriously about a portable panel (which can be moved into the sun), but it seems to be a bit of a hassle to deploy and store, plus there is a risk of theft. I have read that even if we park the trailer in the shade (which we usually do), the roof panel will still put out some power. I've located a good package (with a controller and cables) at Solar Blvd. So I am ready to move on this.
But here is what is holding me back -- as an old sailor, I have a natural aversion to drilling holes through the "hull." So that is my main question -- will the roof mounts for the panel, plus the cable heading down into the trailer, increase the risk of water damage? How does one seal those holes in a "bombproof" way?
Second, once I penetrate the ceiling and get the cable inside, do folks run the cable inside the wall? That would be tough -- the inner panel of the wall is bonded to solid foam. There is no void for the wire to run through. So I guess the wire would run down the wall in a plastic channel of some sort -- a little unsightly, but it's just camping, right?
Third, I assume that the controller and the meter will go under a seat (no other place to put it in my tiny trailer). Am I right in thinking that the power cable will run from the controller down through the floor and out to the battery, which is on the tongue in a box?
Fourth, there must be a way to "split" the power output so that I can charge my spare battery at the same time I charge my main battery? There are times when we run down the main battery to 12.1 volts, and then I swap out the spare. And of course, I always alternate which one will start the trip as the main battery, so that they get roughly the same amount of use.
Thanks in advance for your advice!