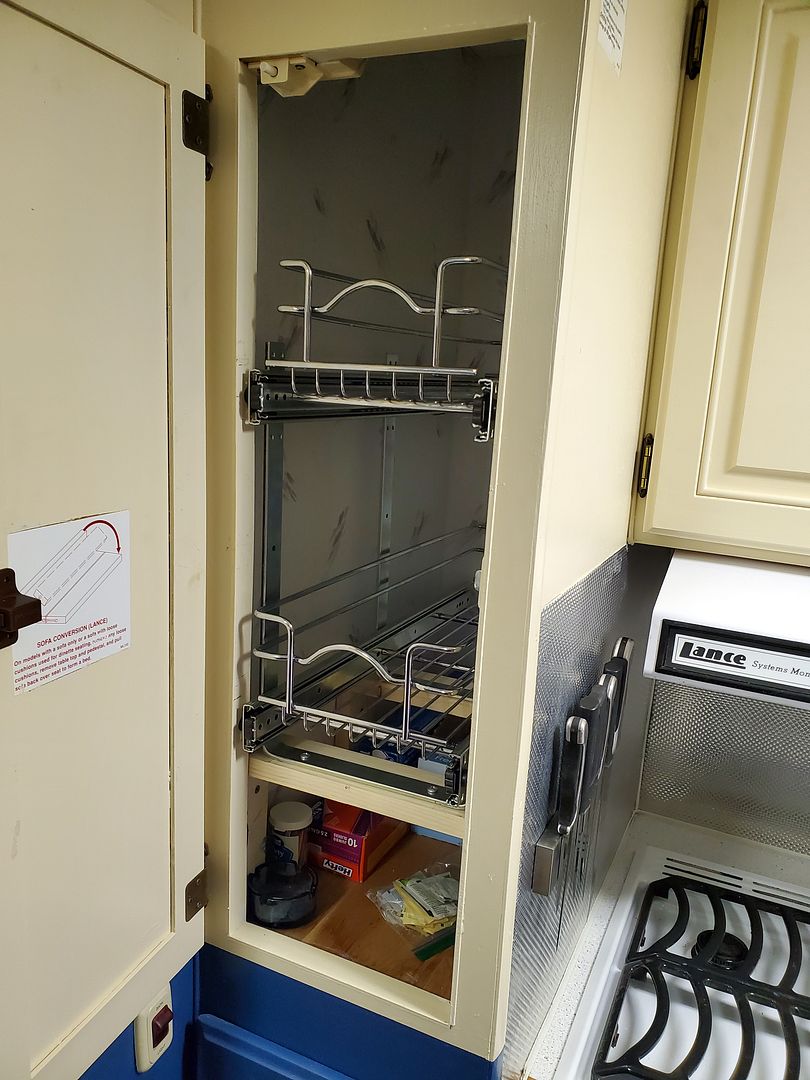
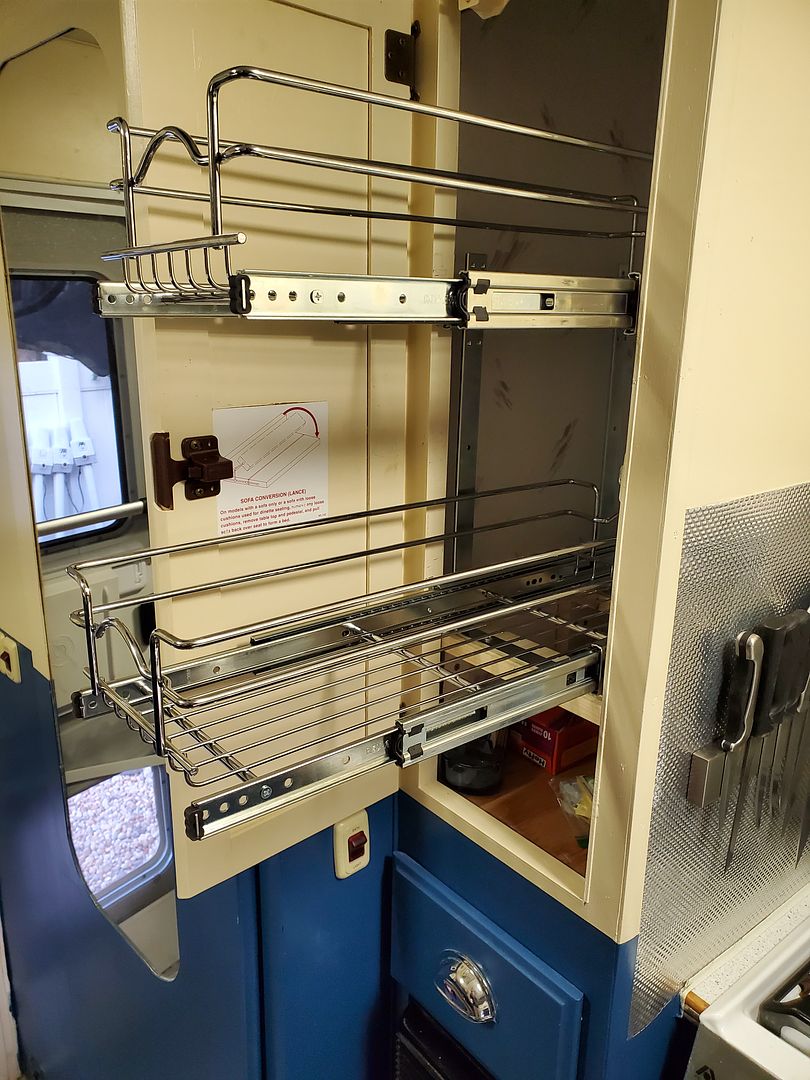
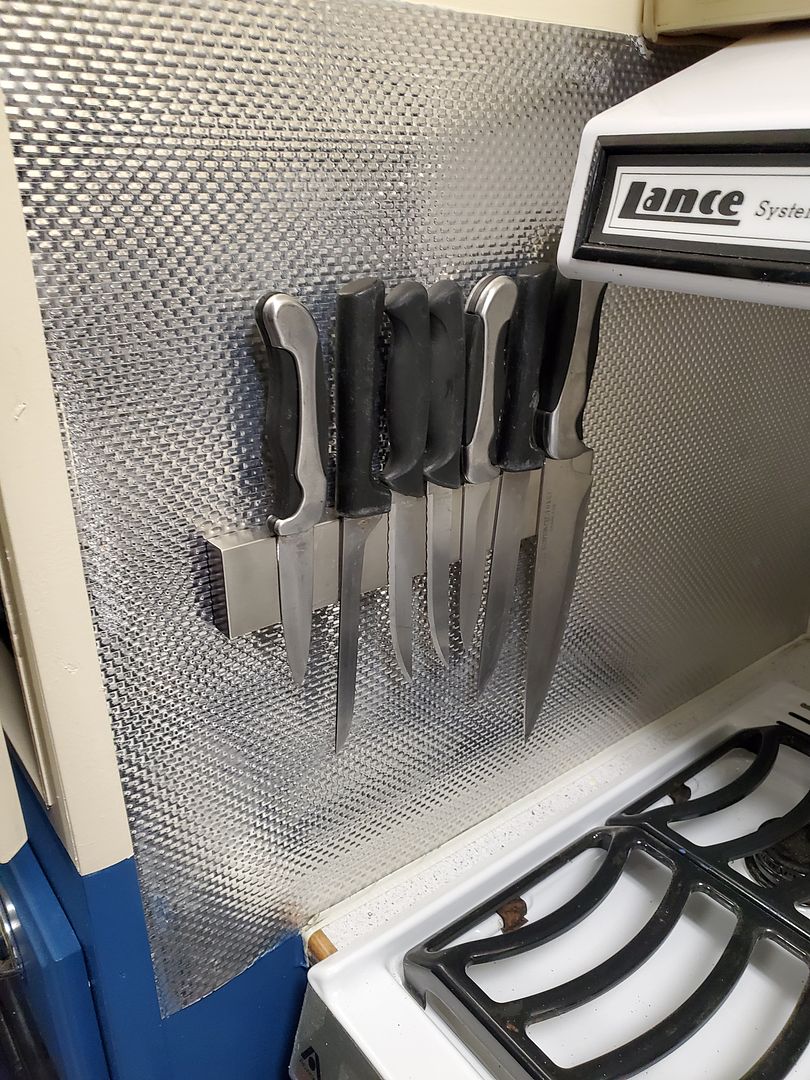
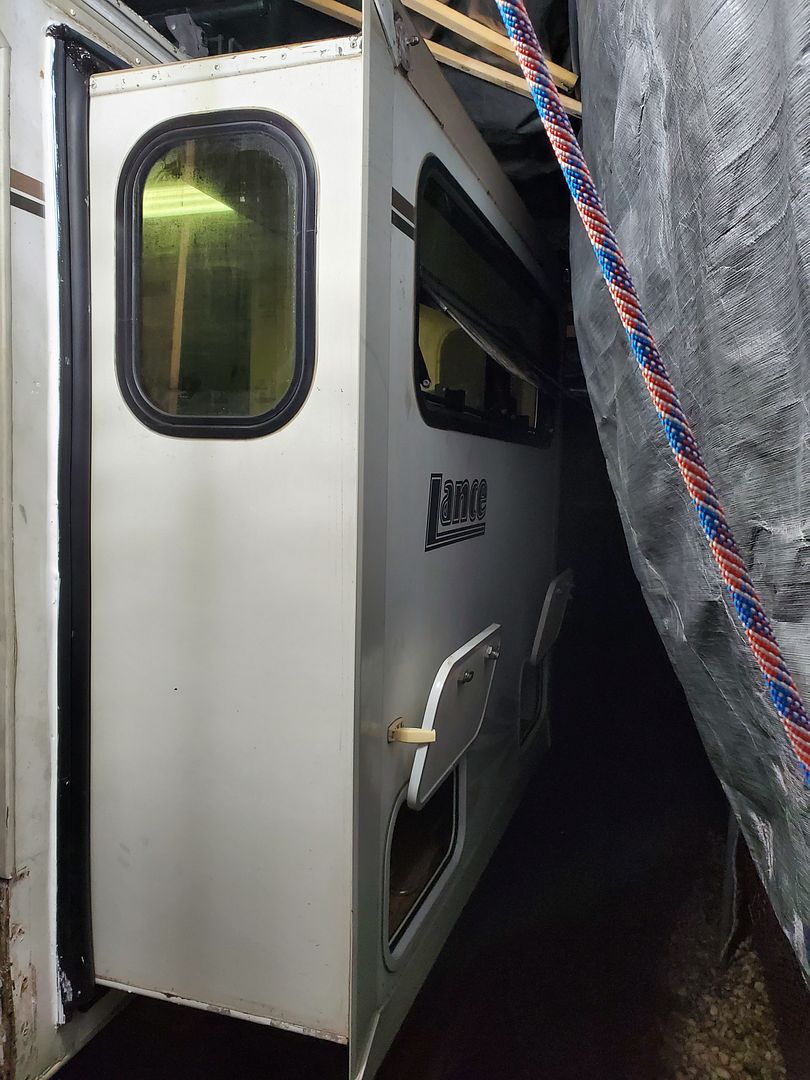
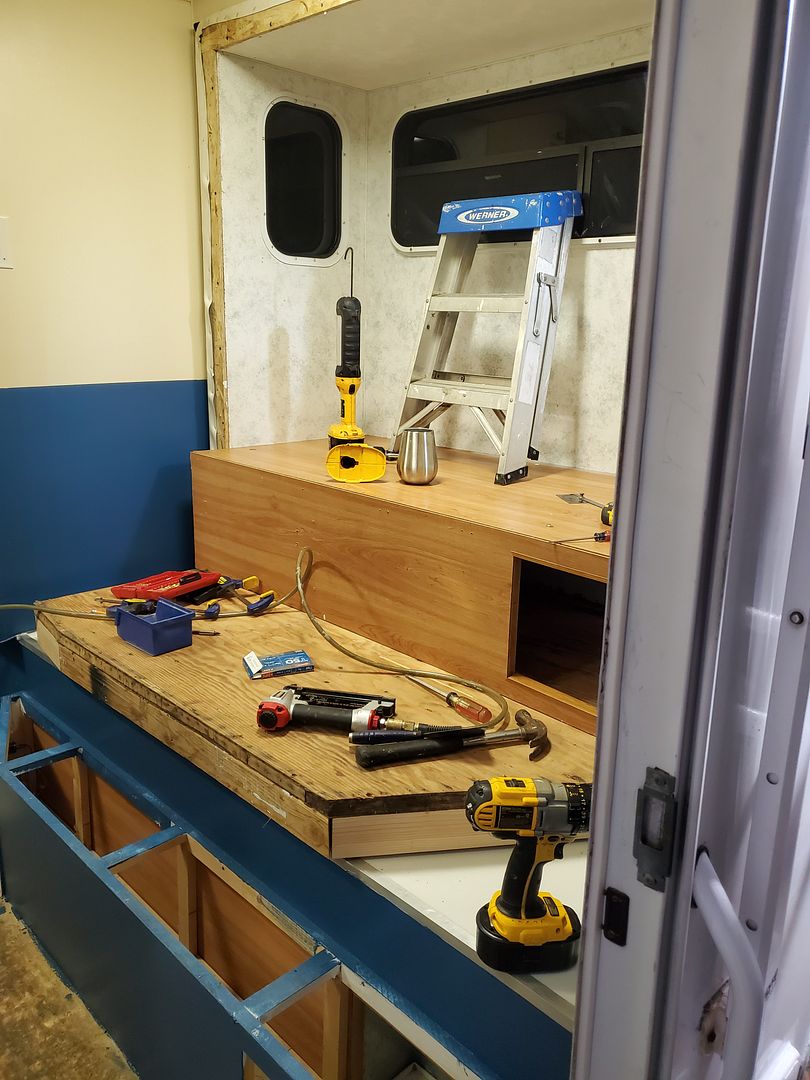
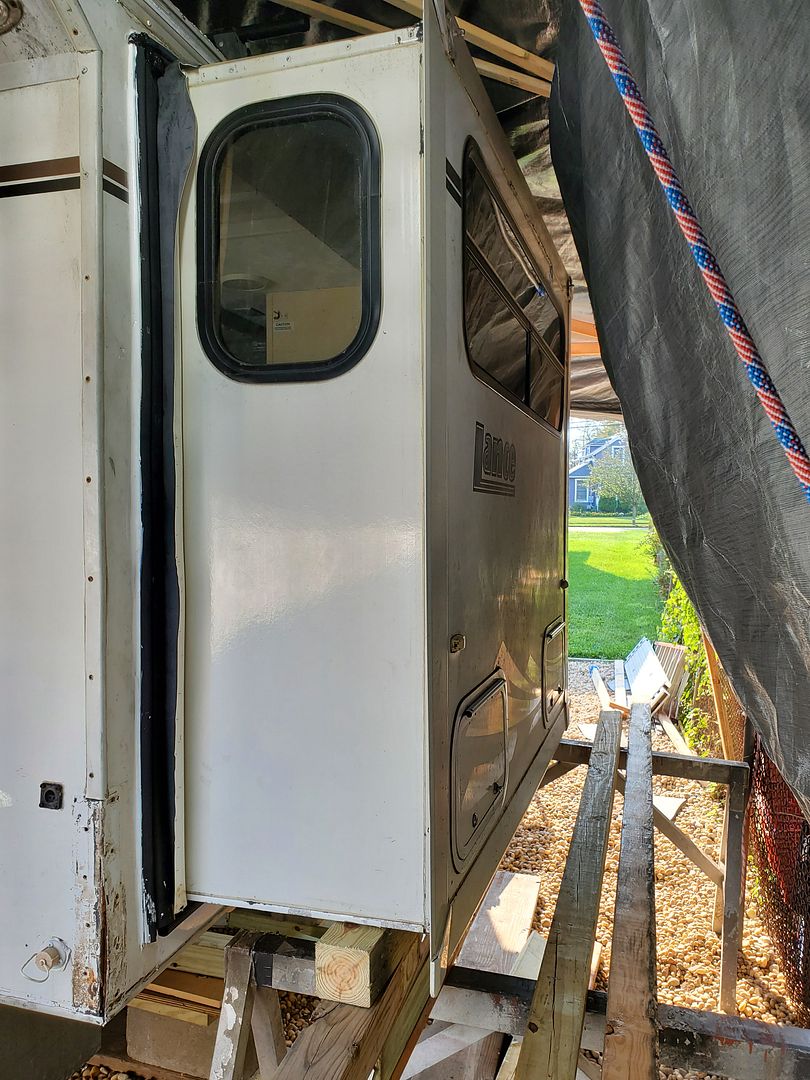
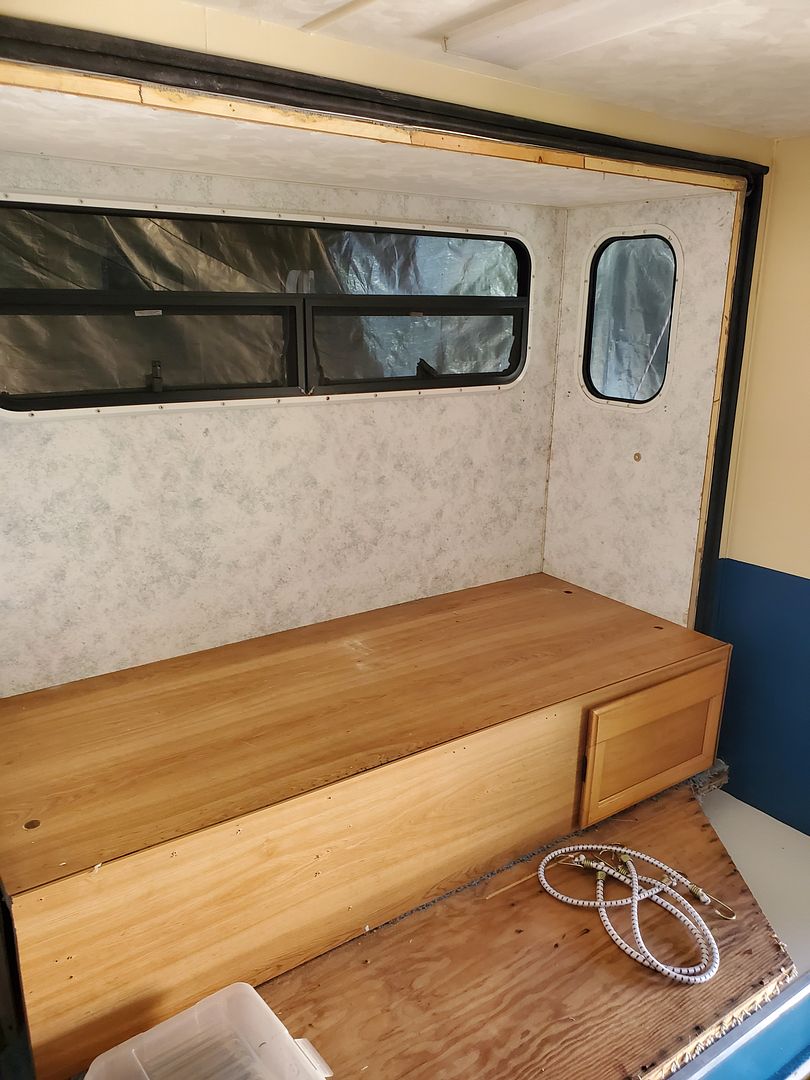
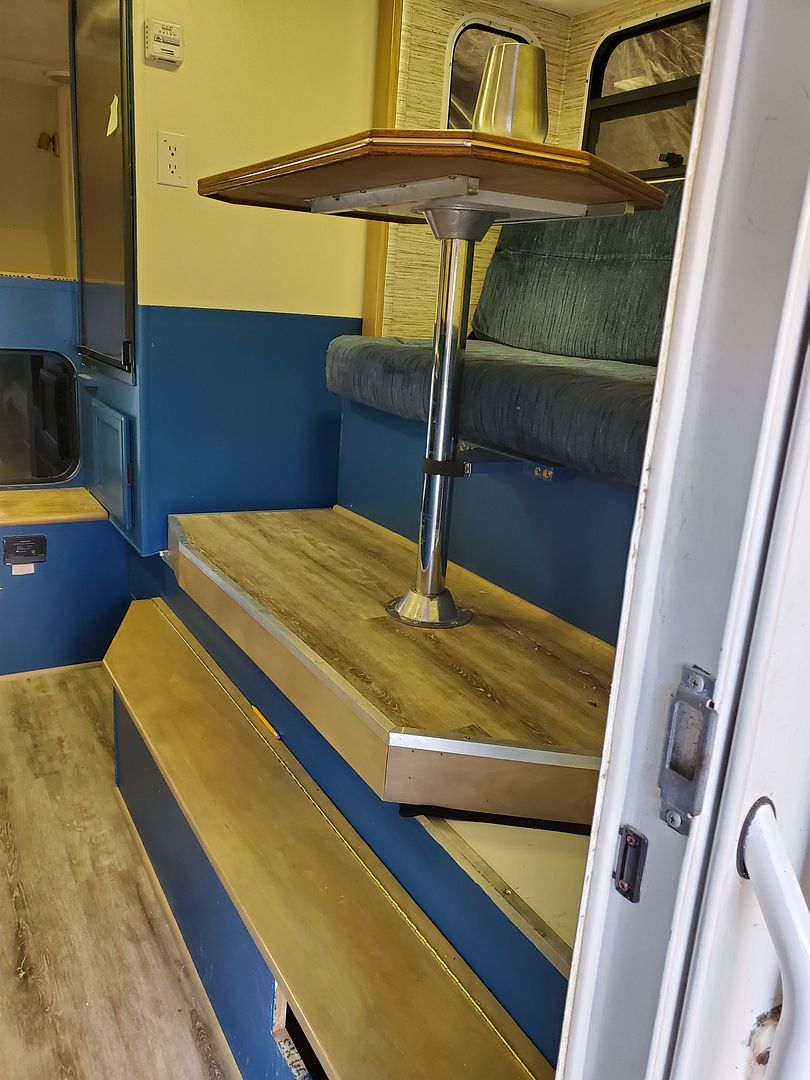
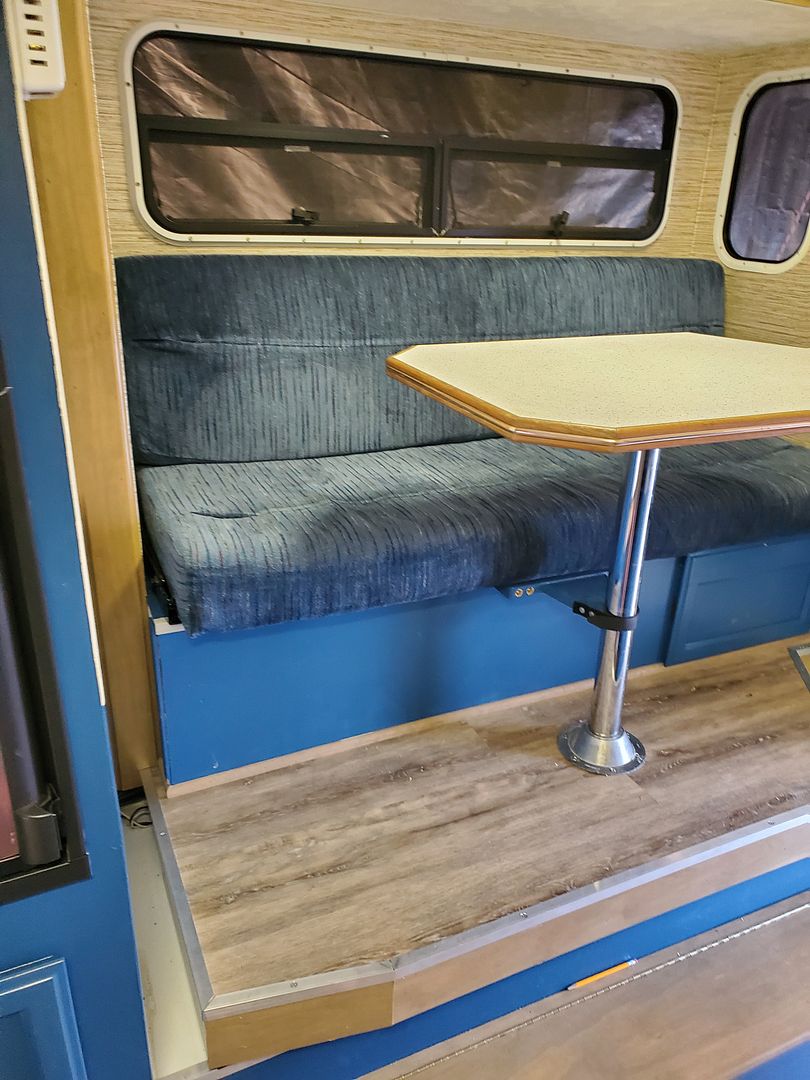
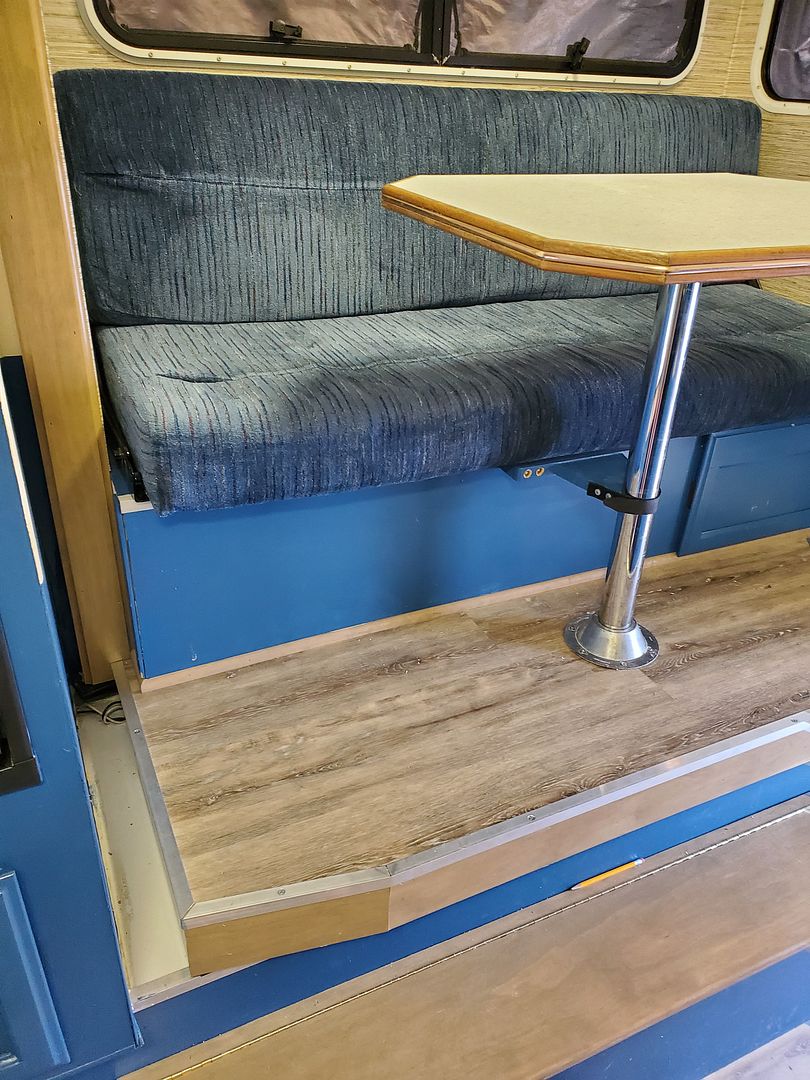
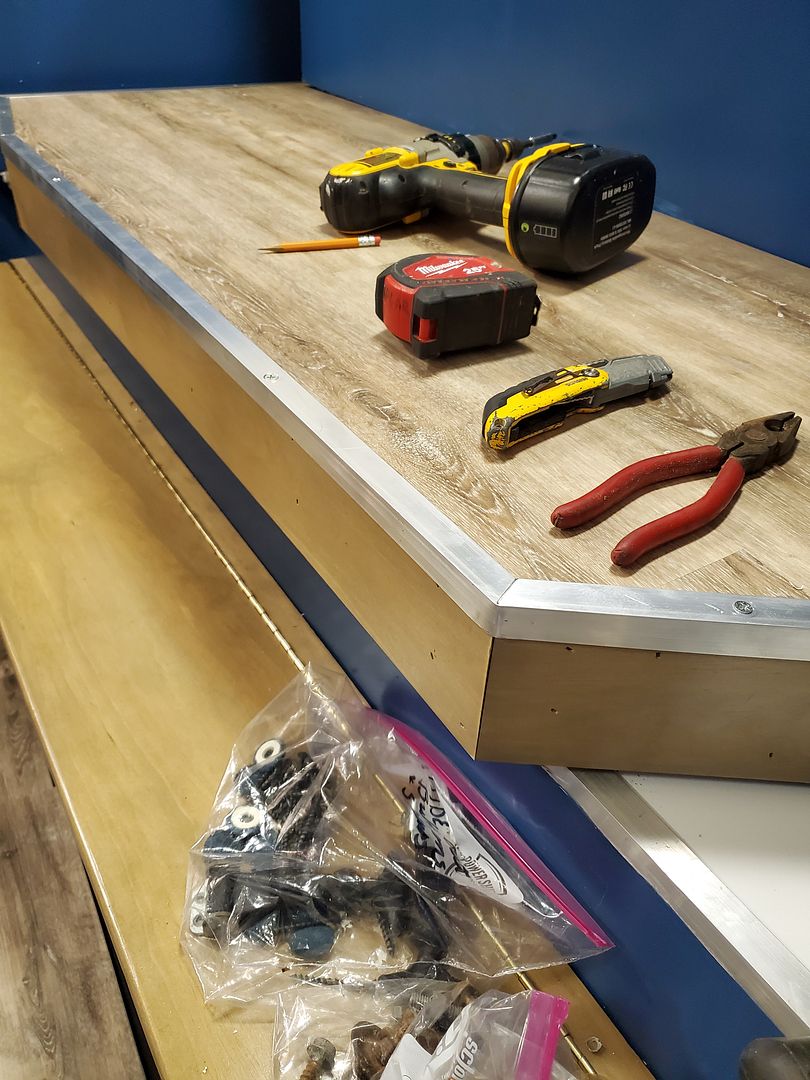
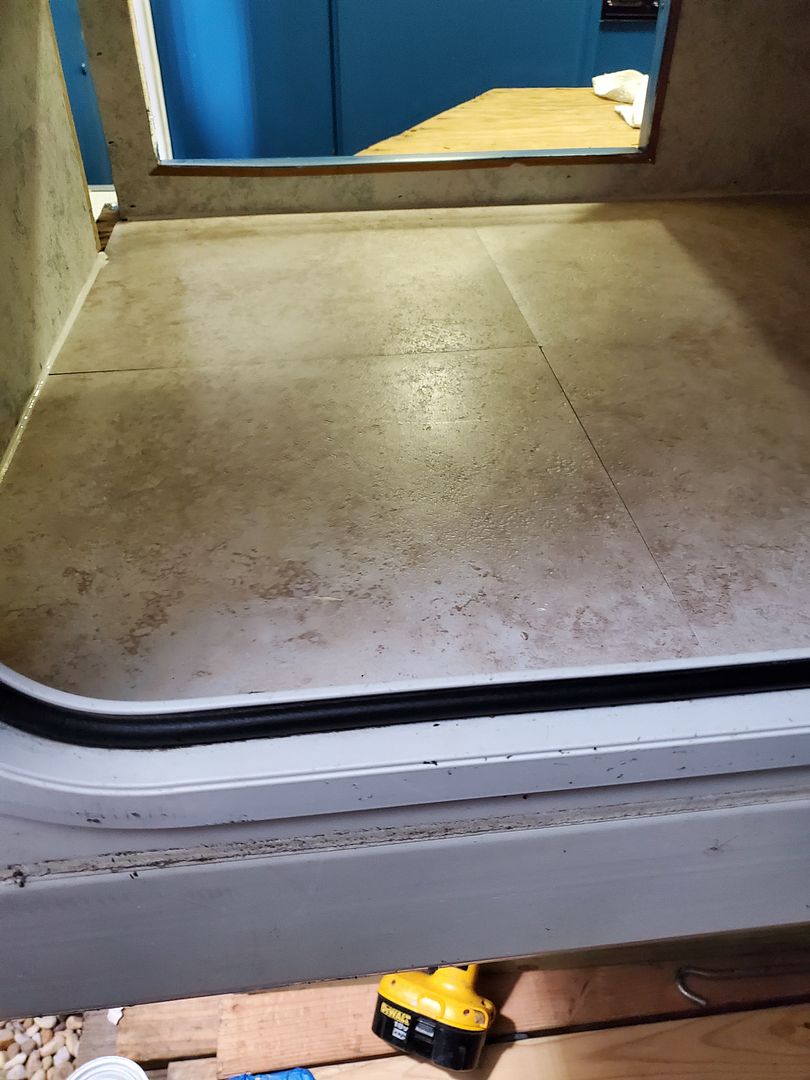
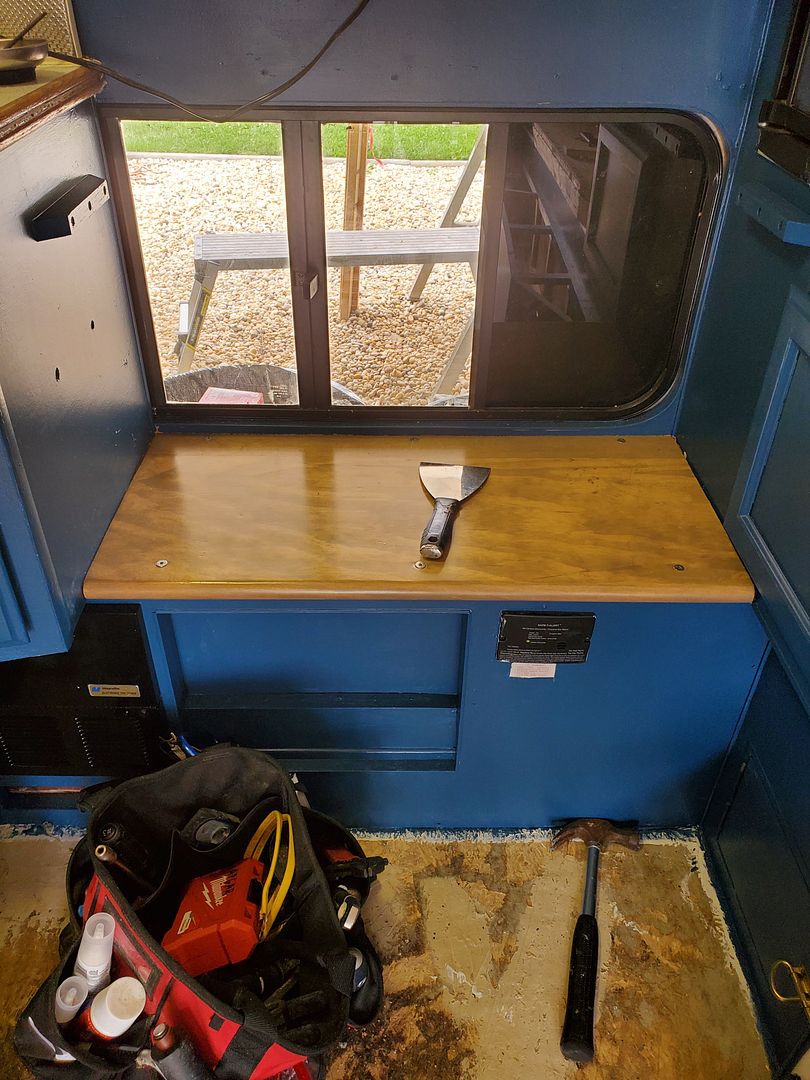
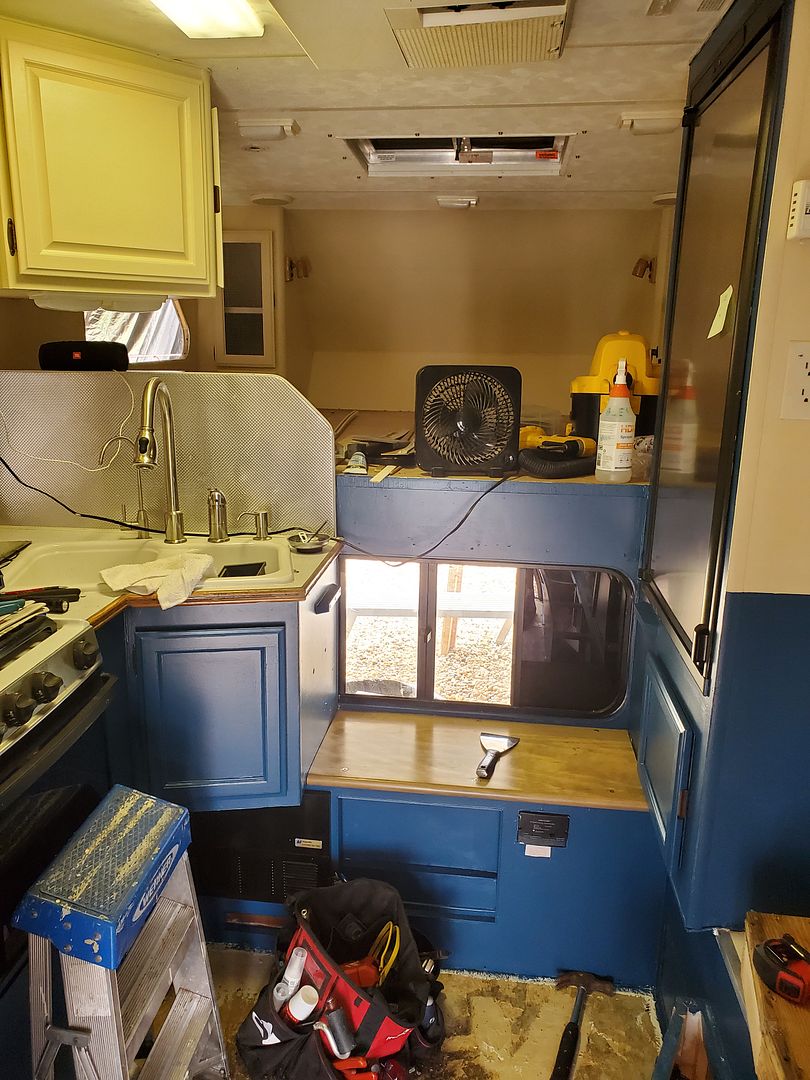
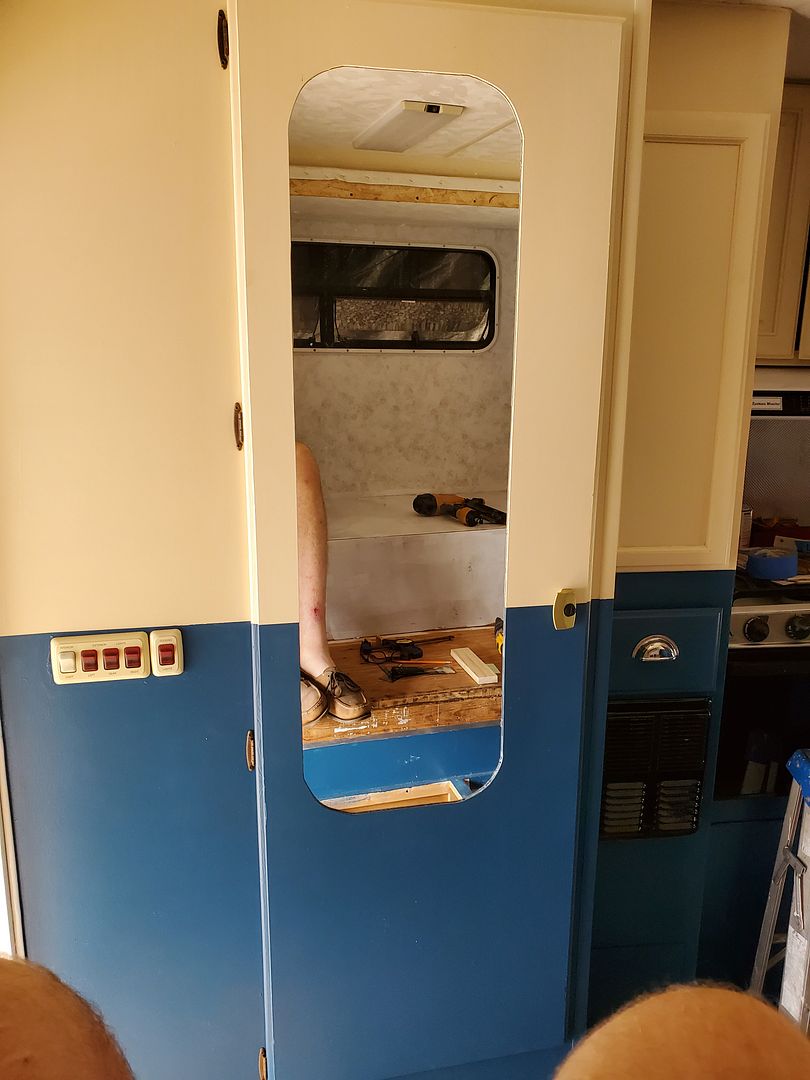
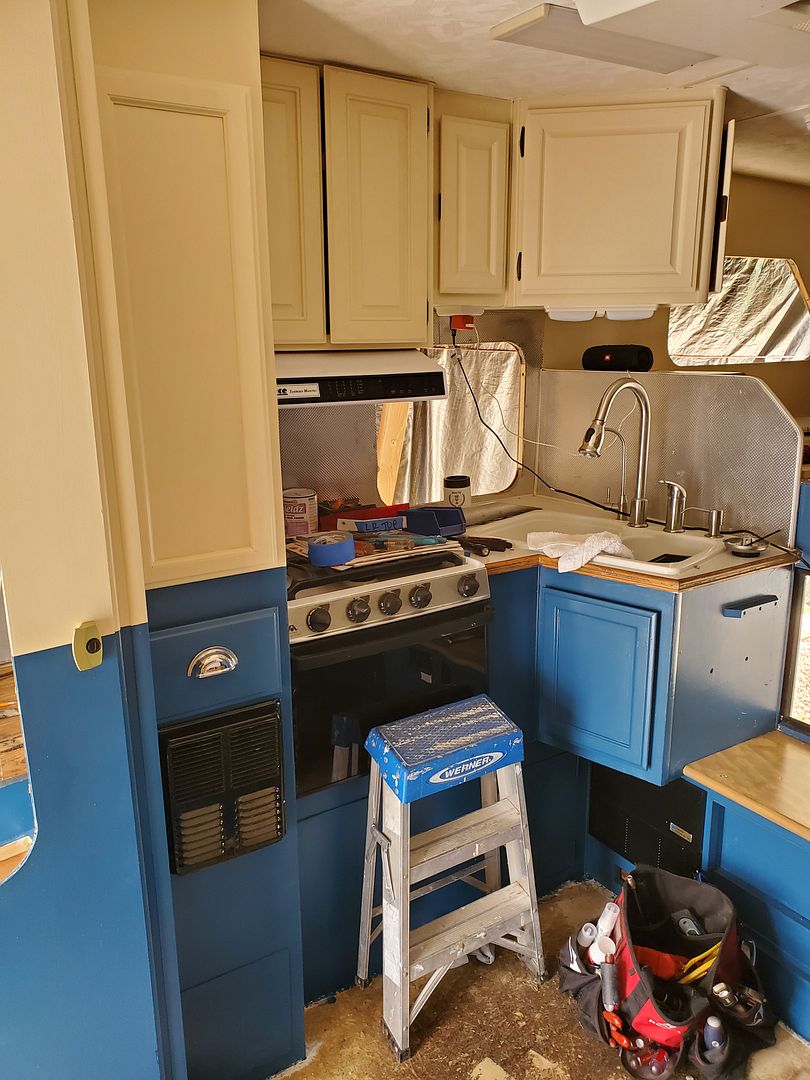
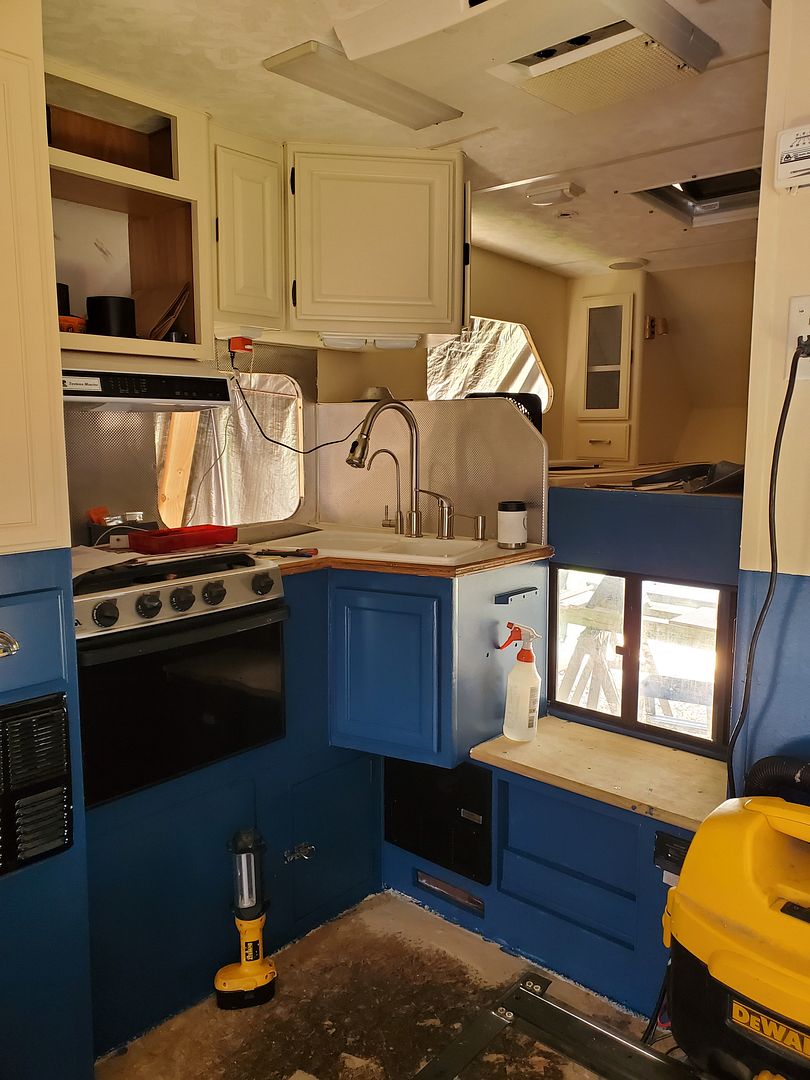
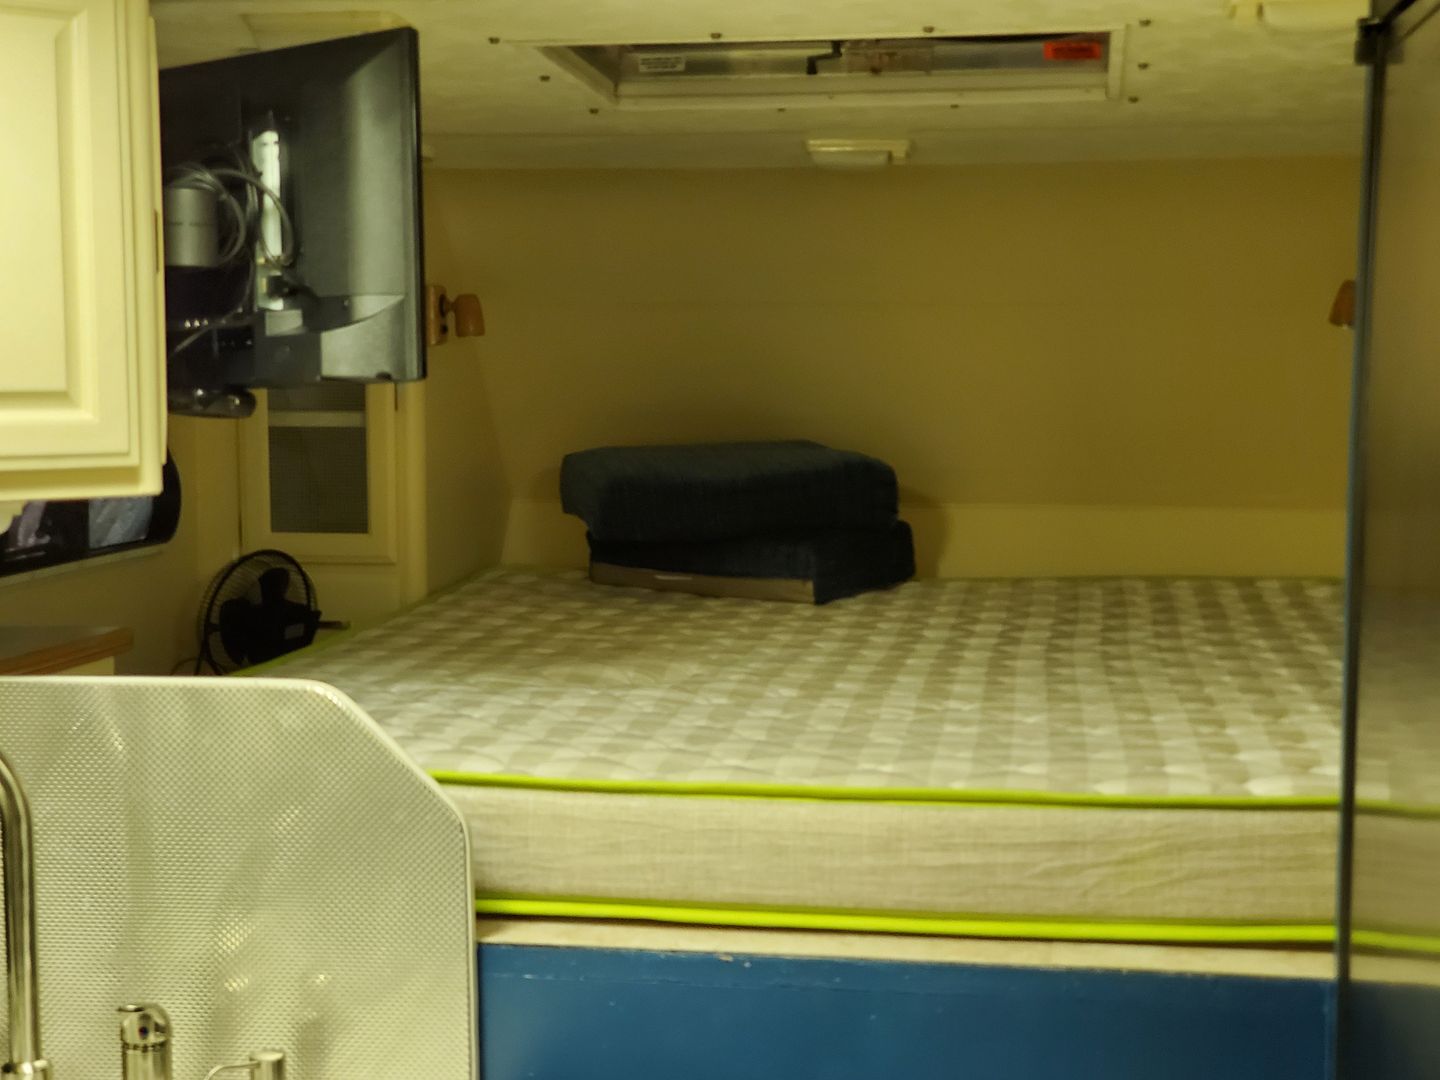
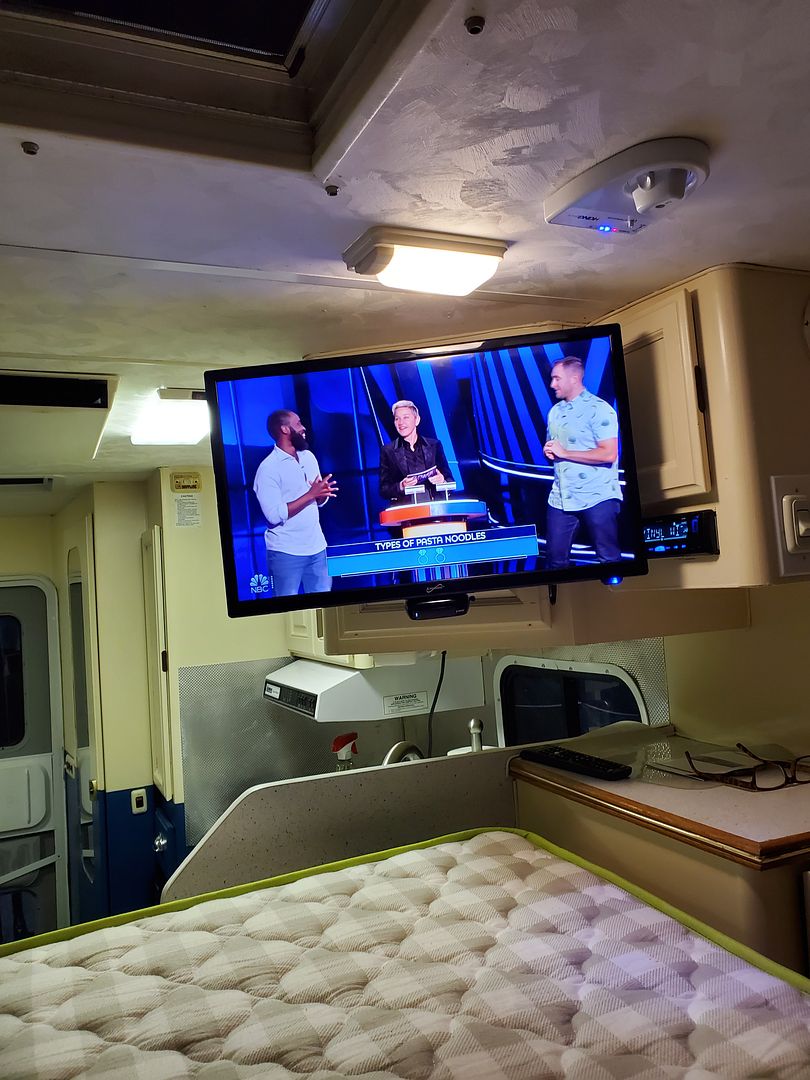
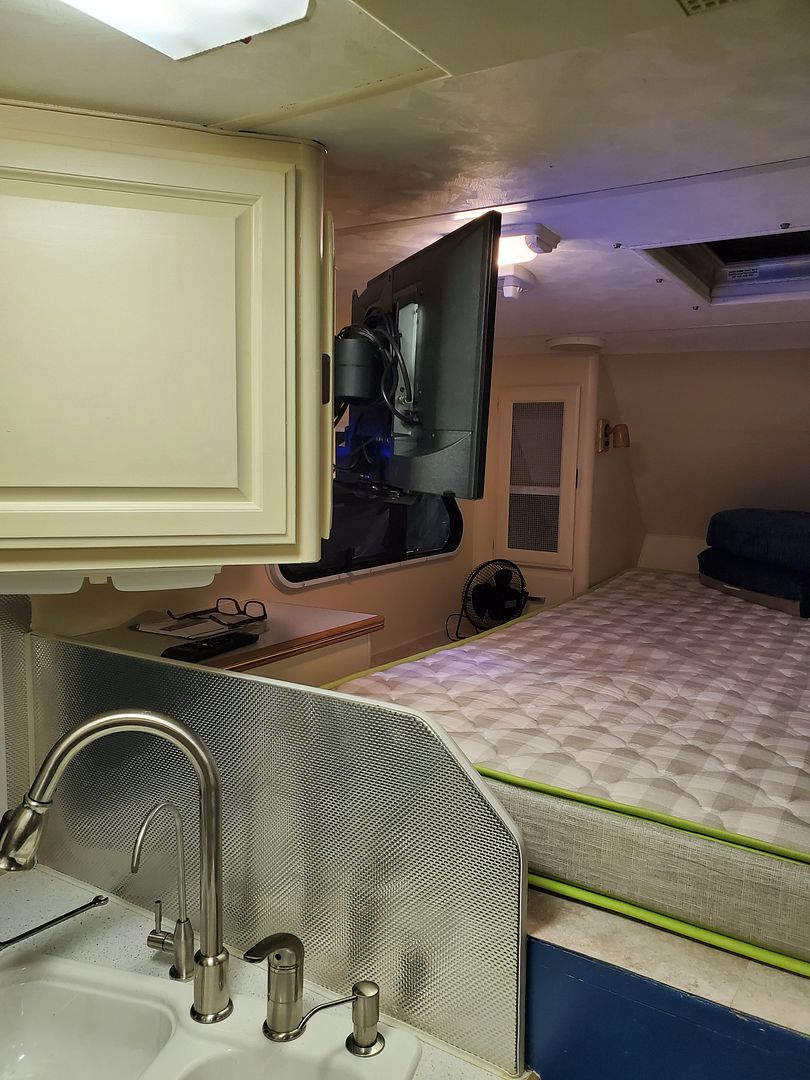
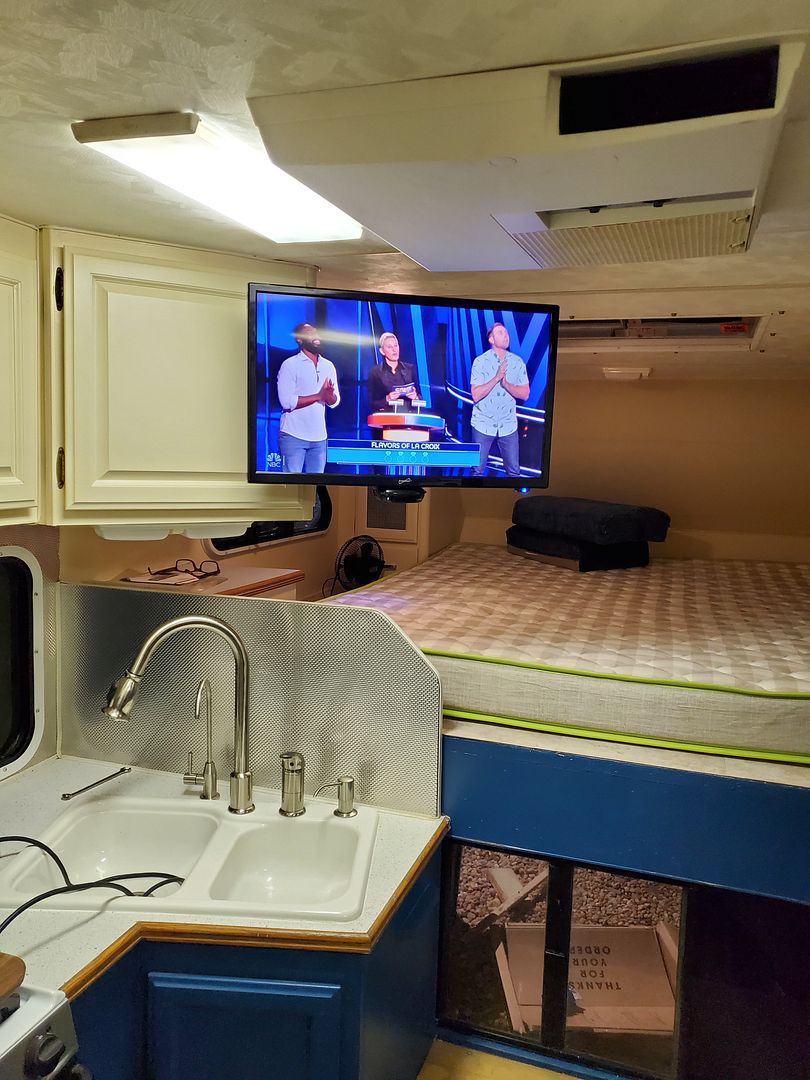
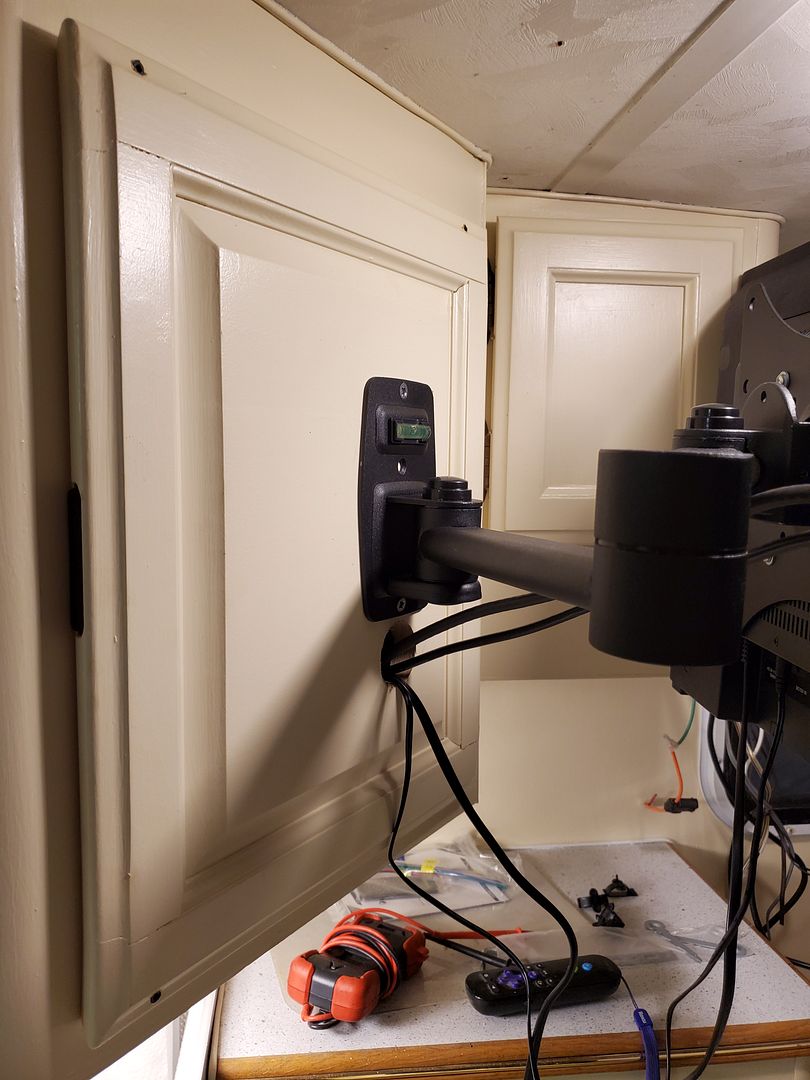
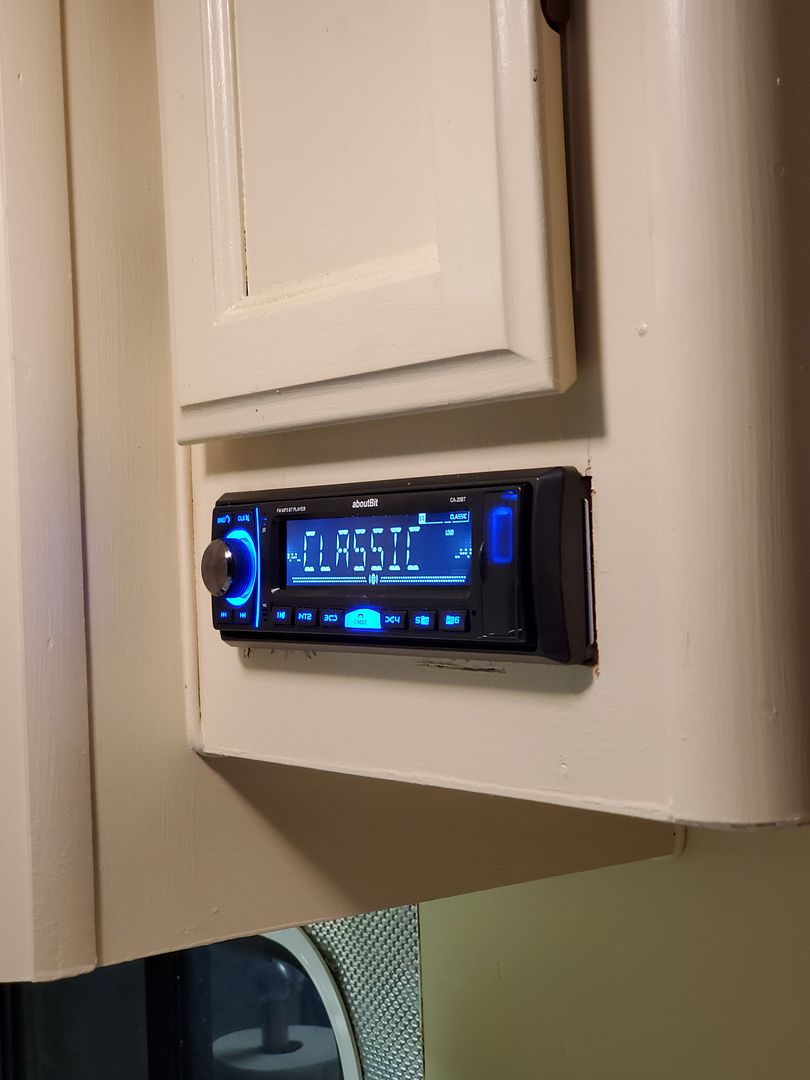
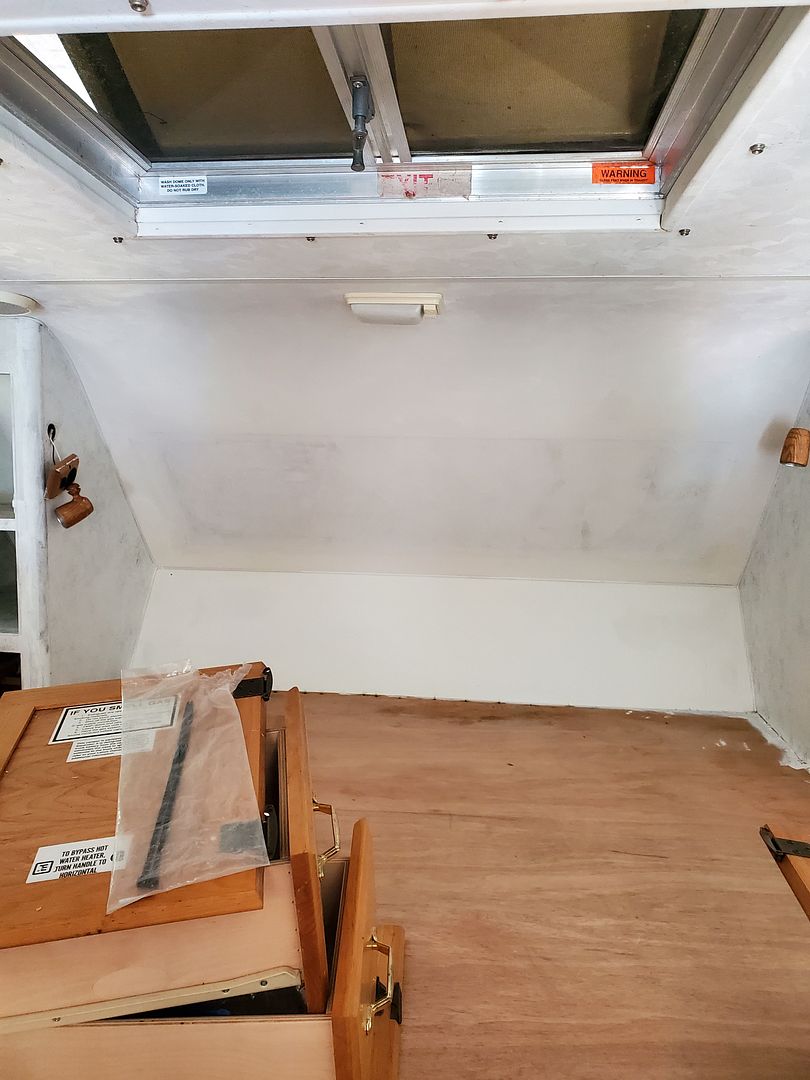
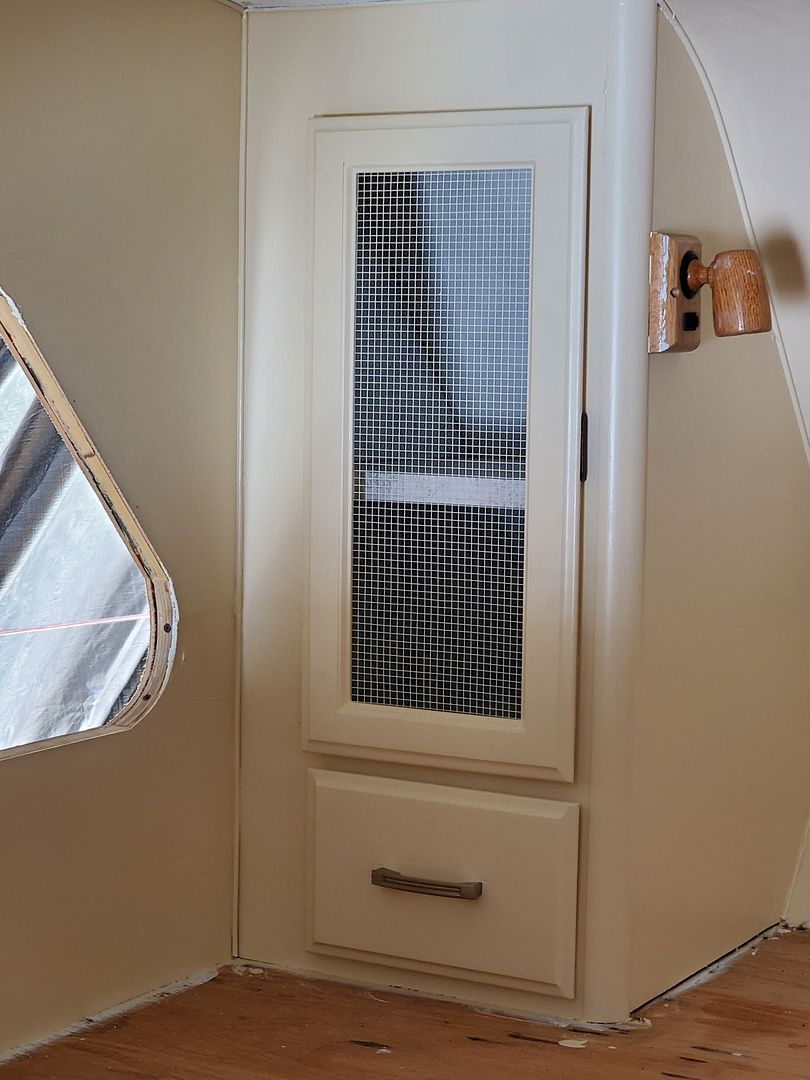
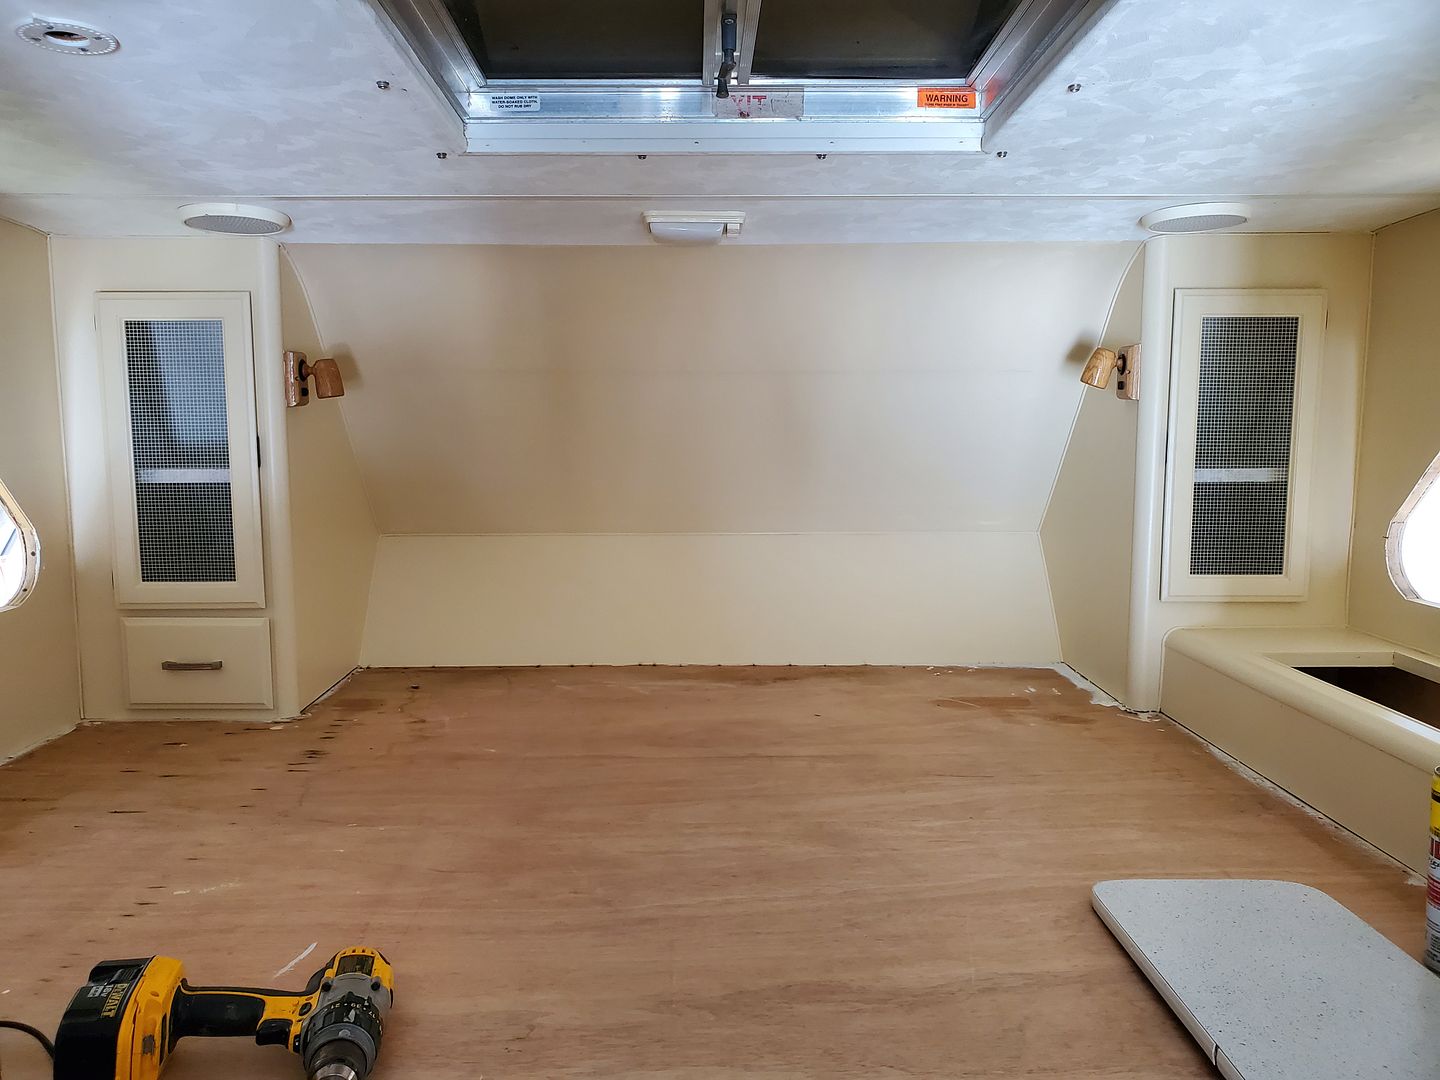
***UPDATE 08/17/2020***The backsplash is stamped metal, I think it's stainless. One of the RV salvage places had a roll of it, 4' wide @ $5 a LF. The backsplash is 9 running feet but only 20" tall, so we bought a 5' section and was able to cut that in half and use it.
There are a bunch of places on the web that sell the filon, the best price I found was at
RV Parts Nation, they have it at $15/LF. The filon comes from the factory in 500' rolls at 102" (8.5') wide, and retailers like RV Parts Nation will cut to order.
I needed 45' to do every surface but the back so 45 * $15 = $675, plus 3 gallons of the contact cement at $52/gal, plus tax I was about $850 out the door. Because of the length, the filon can only truck ship, and they wanted $500 to ship to NY, so I figured for that price I could drive out there and pick it up, plus do some salvage shopping! Found some great decals and other goodies along the way!
Work continues, I can't believe we are halfway thru August! One of our "finds" on our Salvage trip to Elkhart was a slab of solid walnut, glued up like a butcher block but only 3/4" thick. DW thought this would be great for a set of cutting boards.
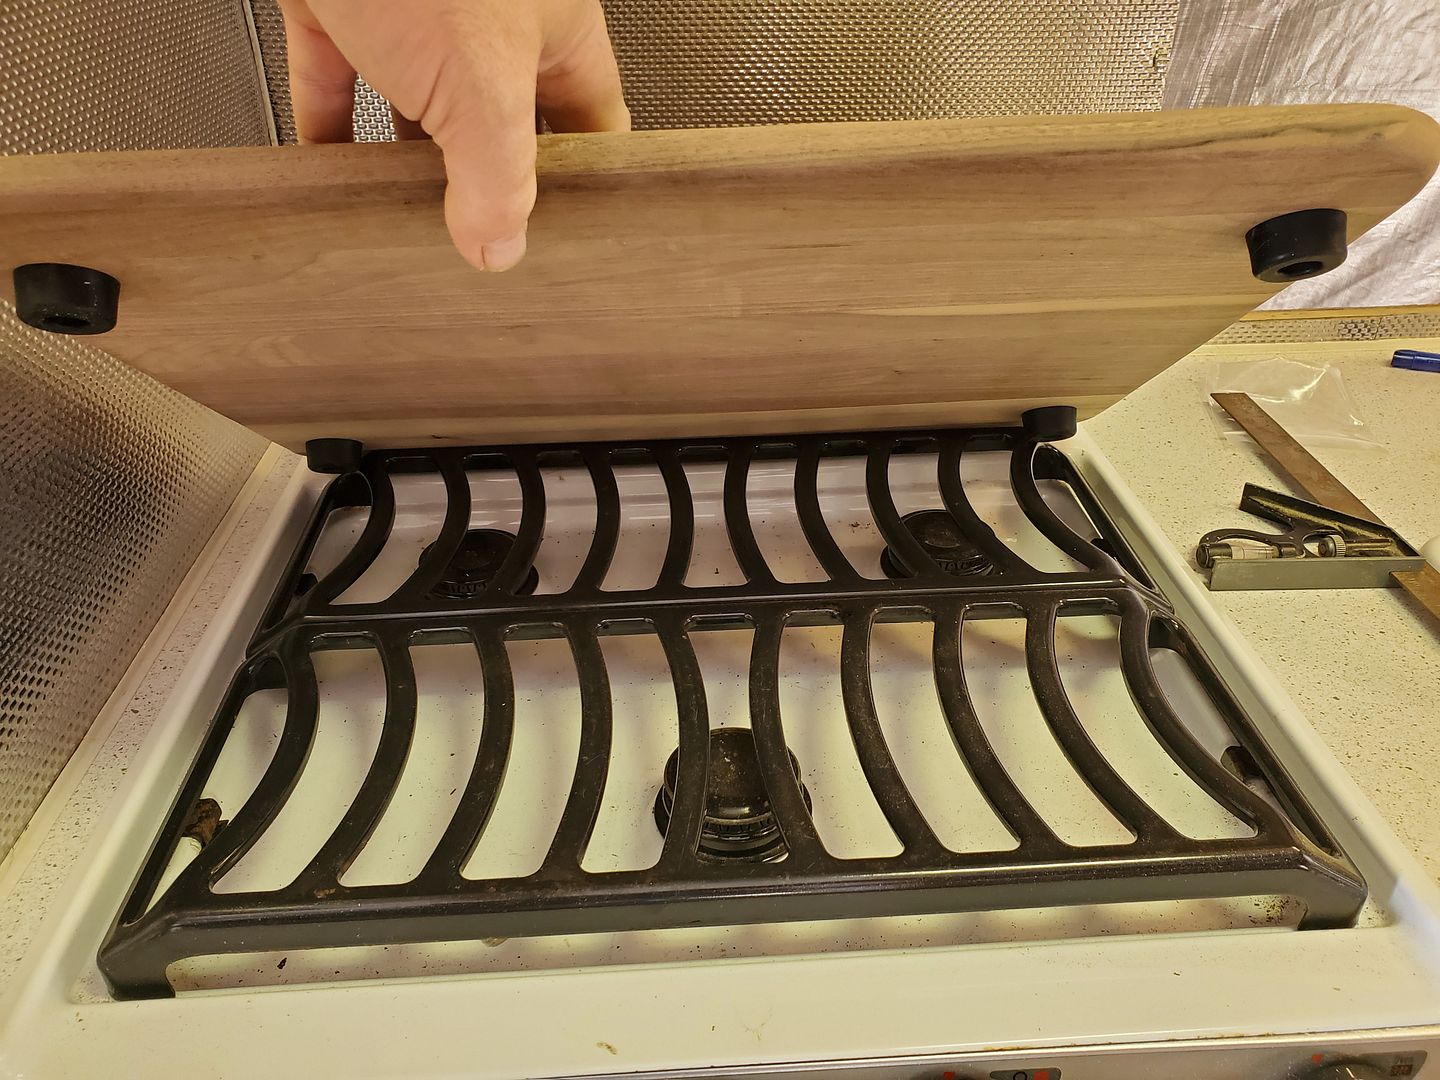
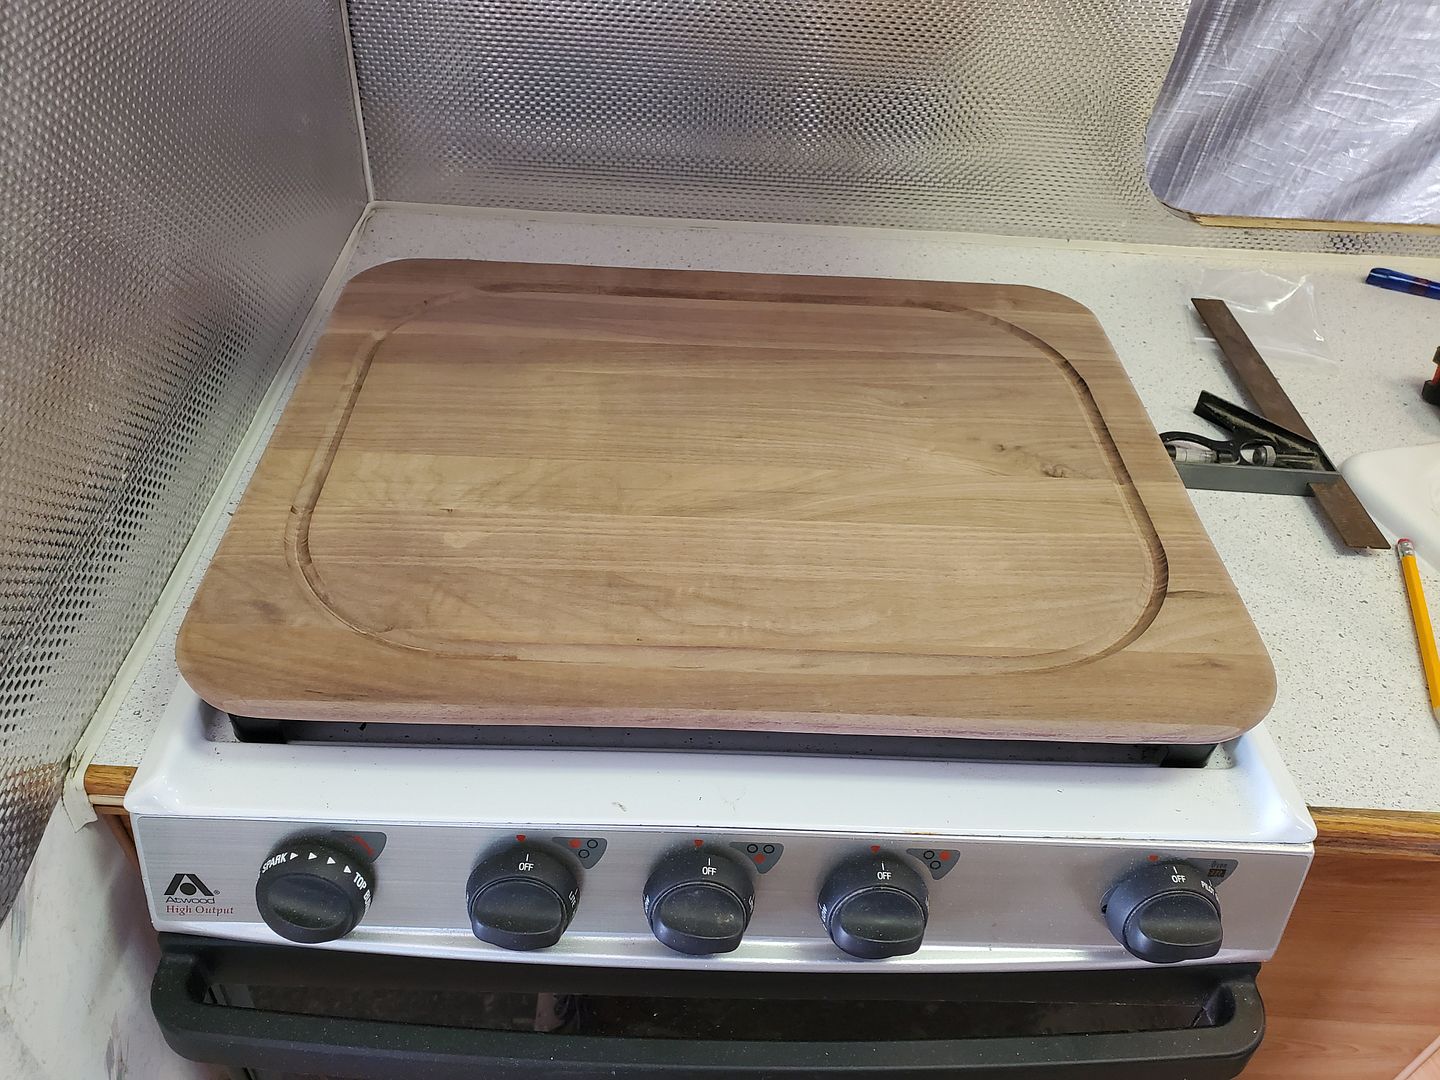
One of the mods I had made to our Terry TT was a cutting board that served as a stove cover. This Lance has a metal folding stove cover, so I removed that and made this cutting board. The rubber feet sit in the stove grate such that the board stays put when underway. Since taking this pic, DW has seasoned it with food-grade mineral oil so it has a rich, dark finish!
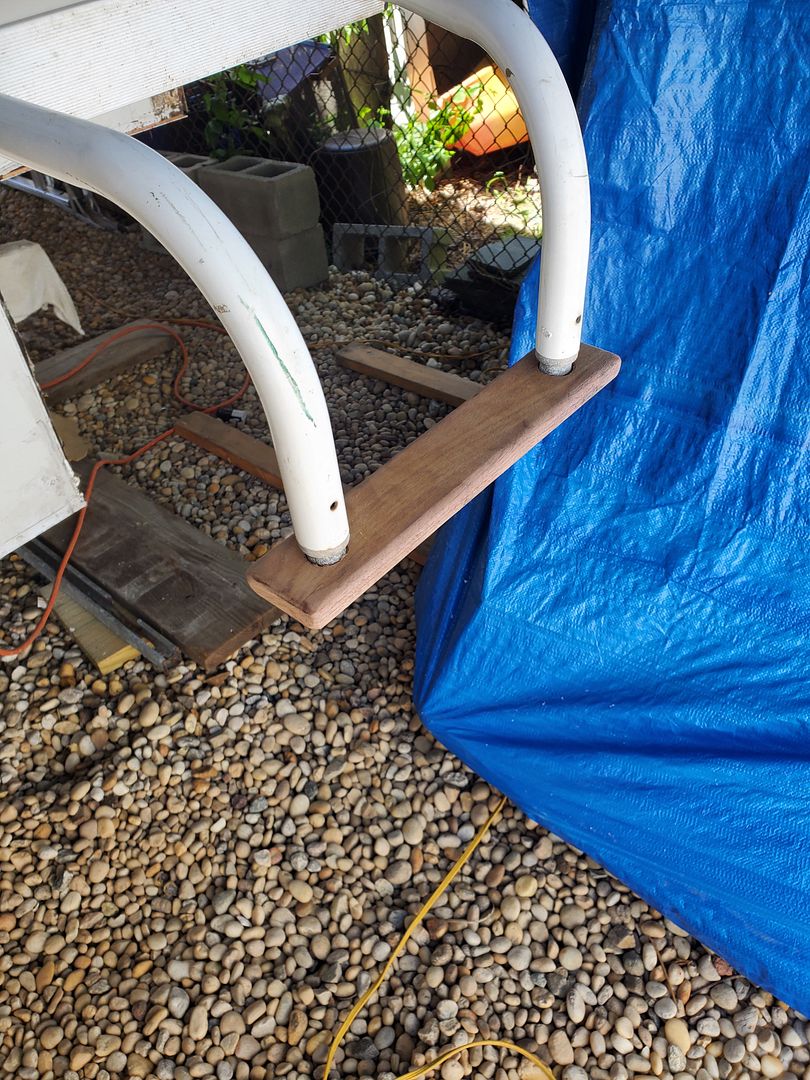
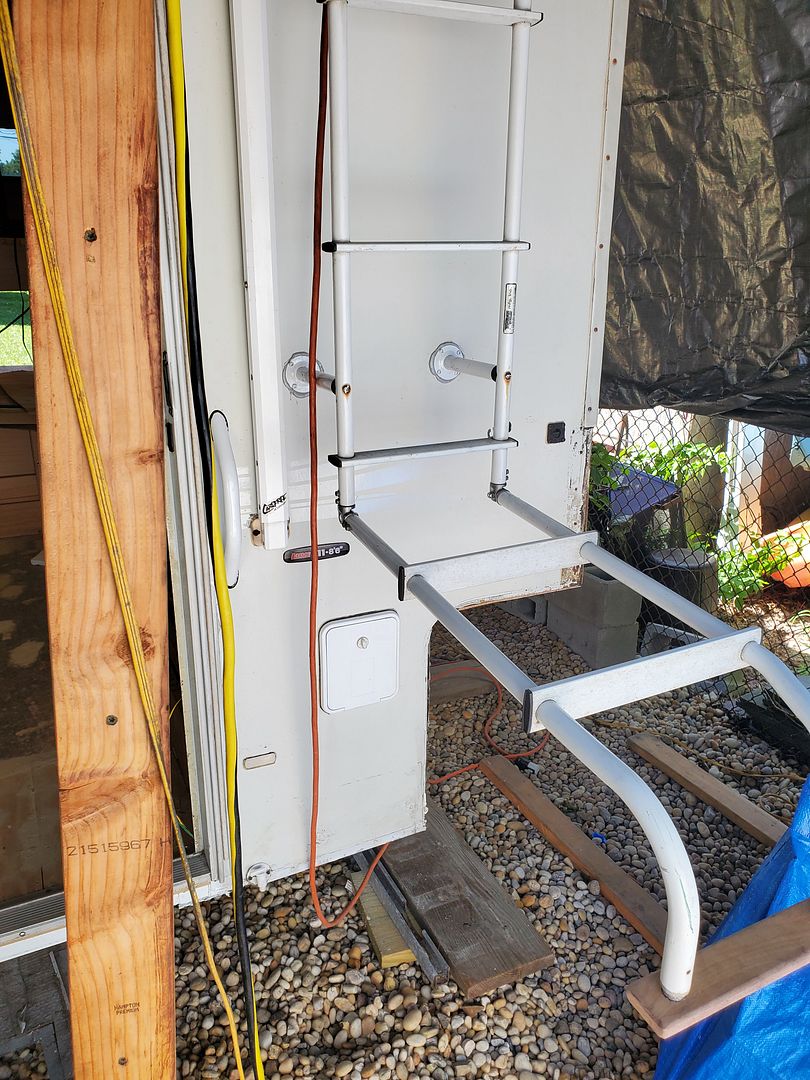
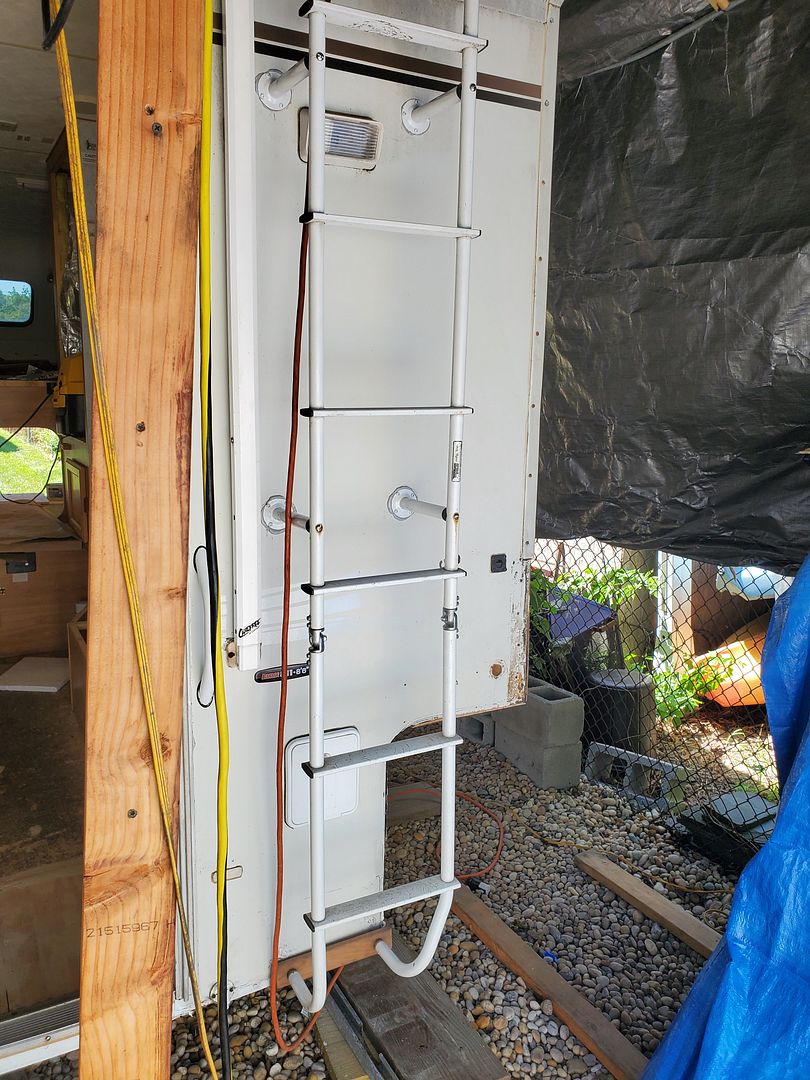
I also decided to fix the ladder. At some point, the ladder was hinged so that you could flip it for access to the fishing rod compartment. The hinge had been removed and the top/bottom ladder sections connected with steel tubing. The 2 standoffs were so rusty that the basically disintegrated when trying to remove the screw holding them to the ladder.
I decided to add 2 more standoffs to give the ladder some more stability (I'm 6'5") and put the hinges back so the ladder swings away. You can see by the "keeper" on the top section that the ladder originally had 180* hinges so you could swing up the bottom section and secure it with the keeper. Believe it or not, I scoured the web and could not find 180* hinges, the only thing I could find were 90* hinges. At least I can swing the ladder up to get into the fishing pole storage. I also uses a piece of the walnut to make a "foot" for the ladder so the ends don't dig into the fiberglas side of the camper like they were doing.
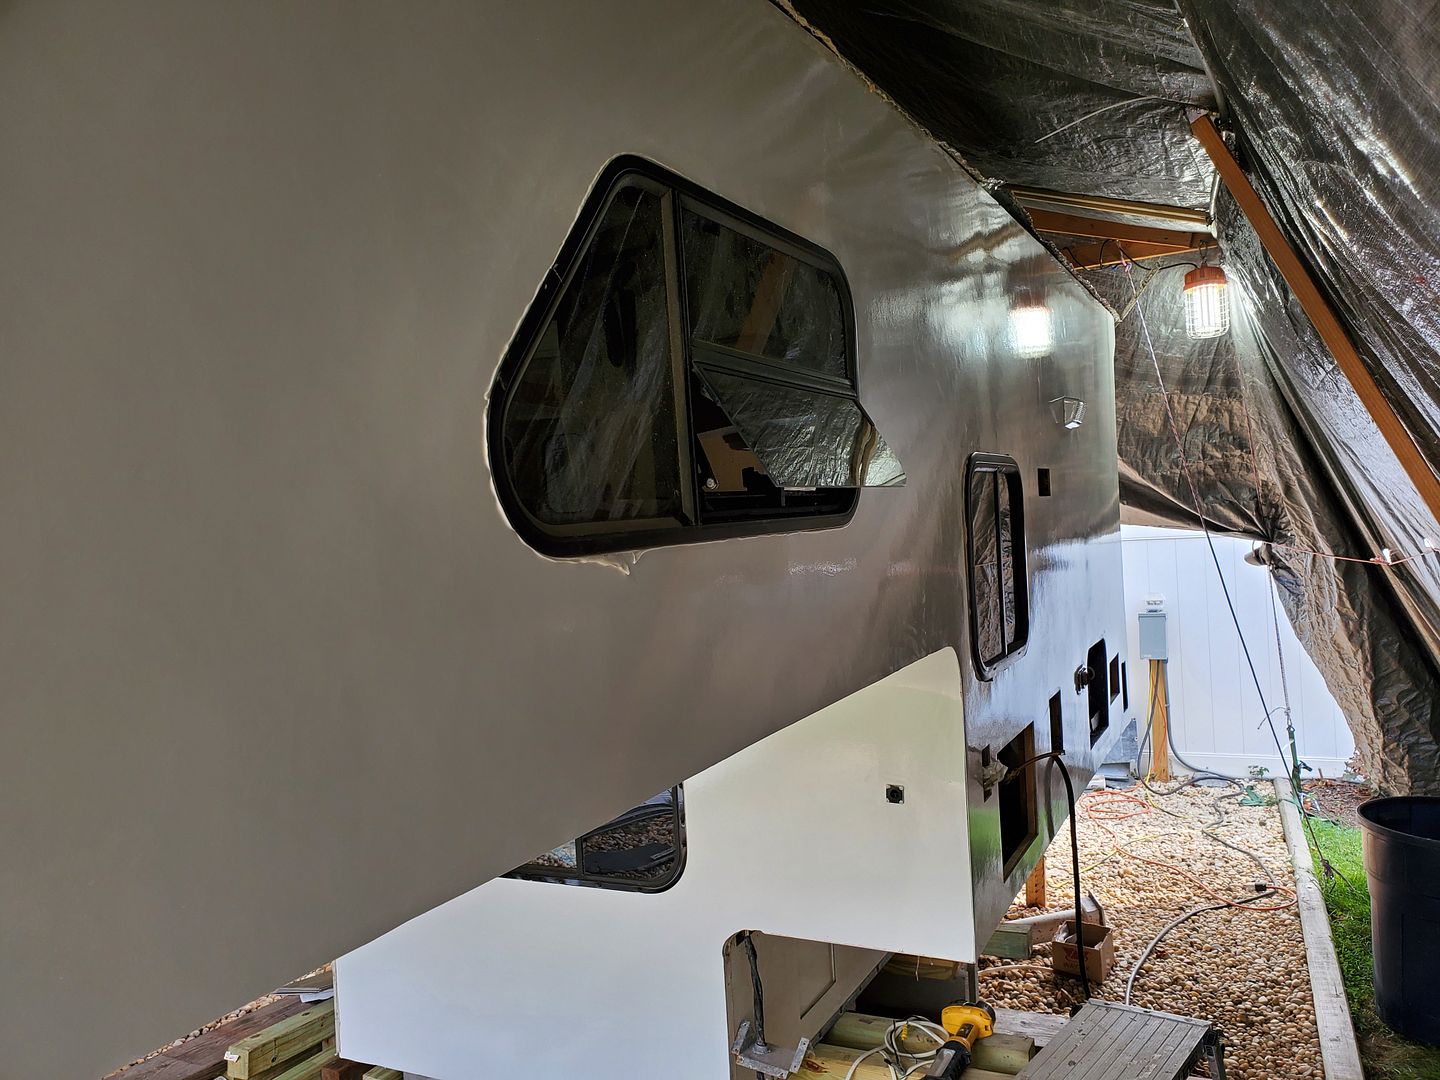
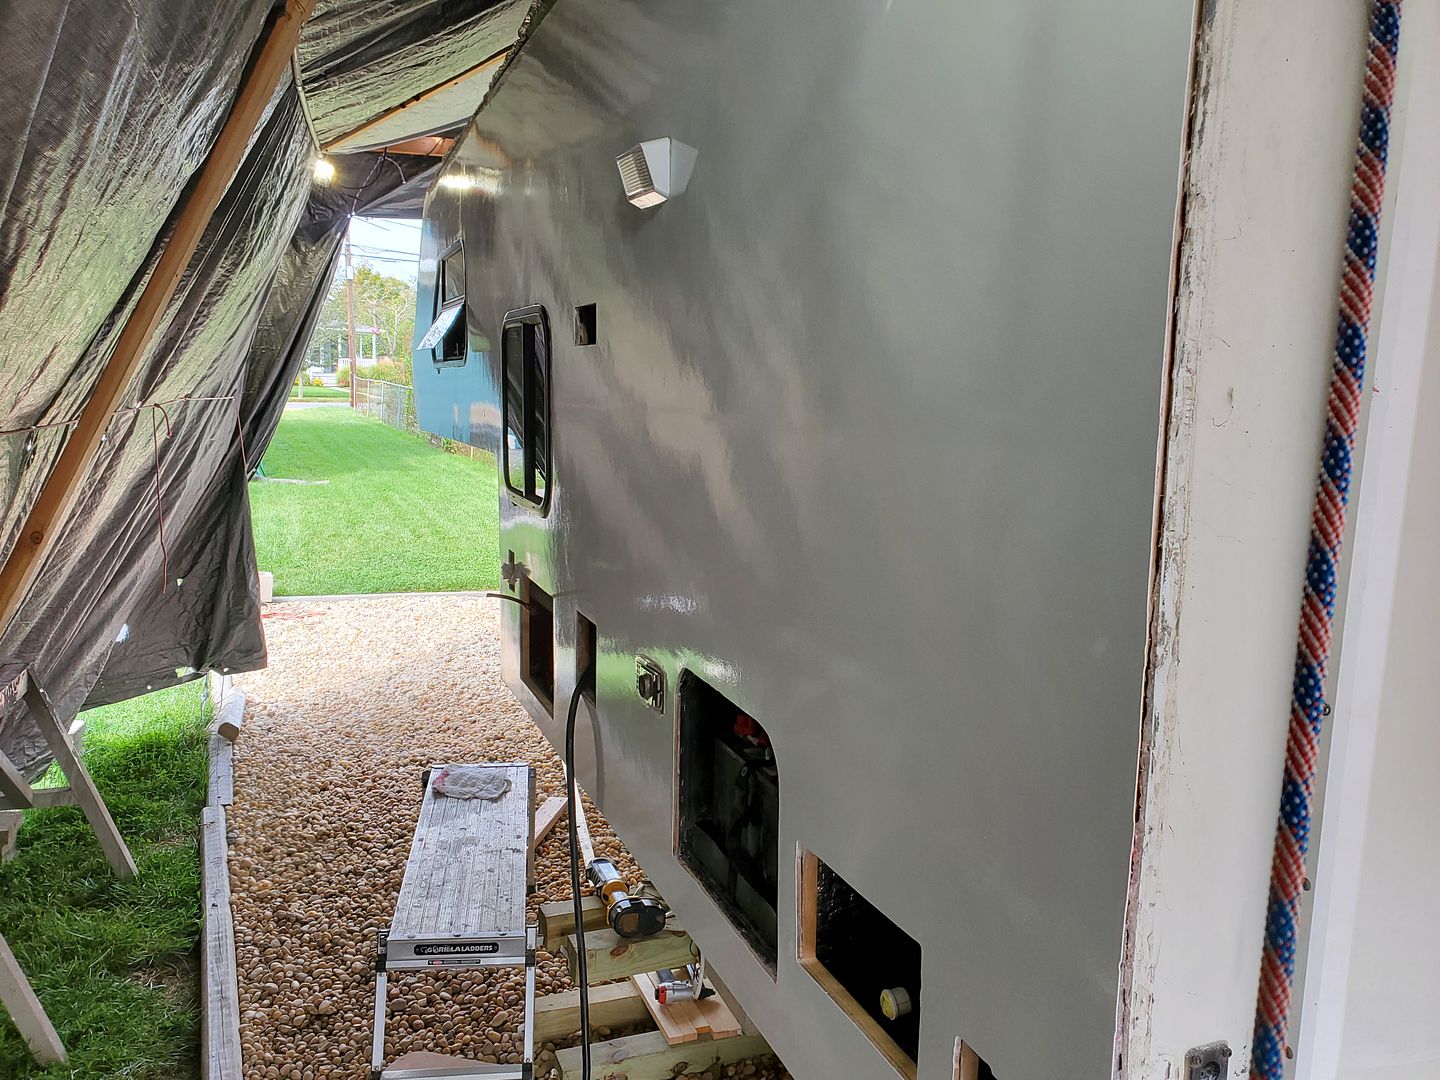
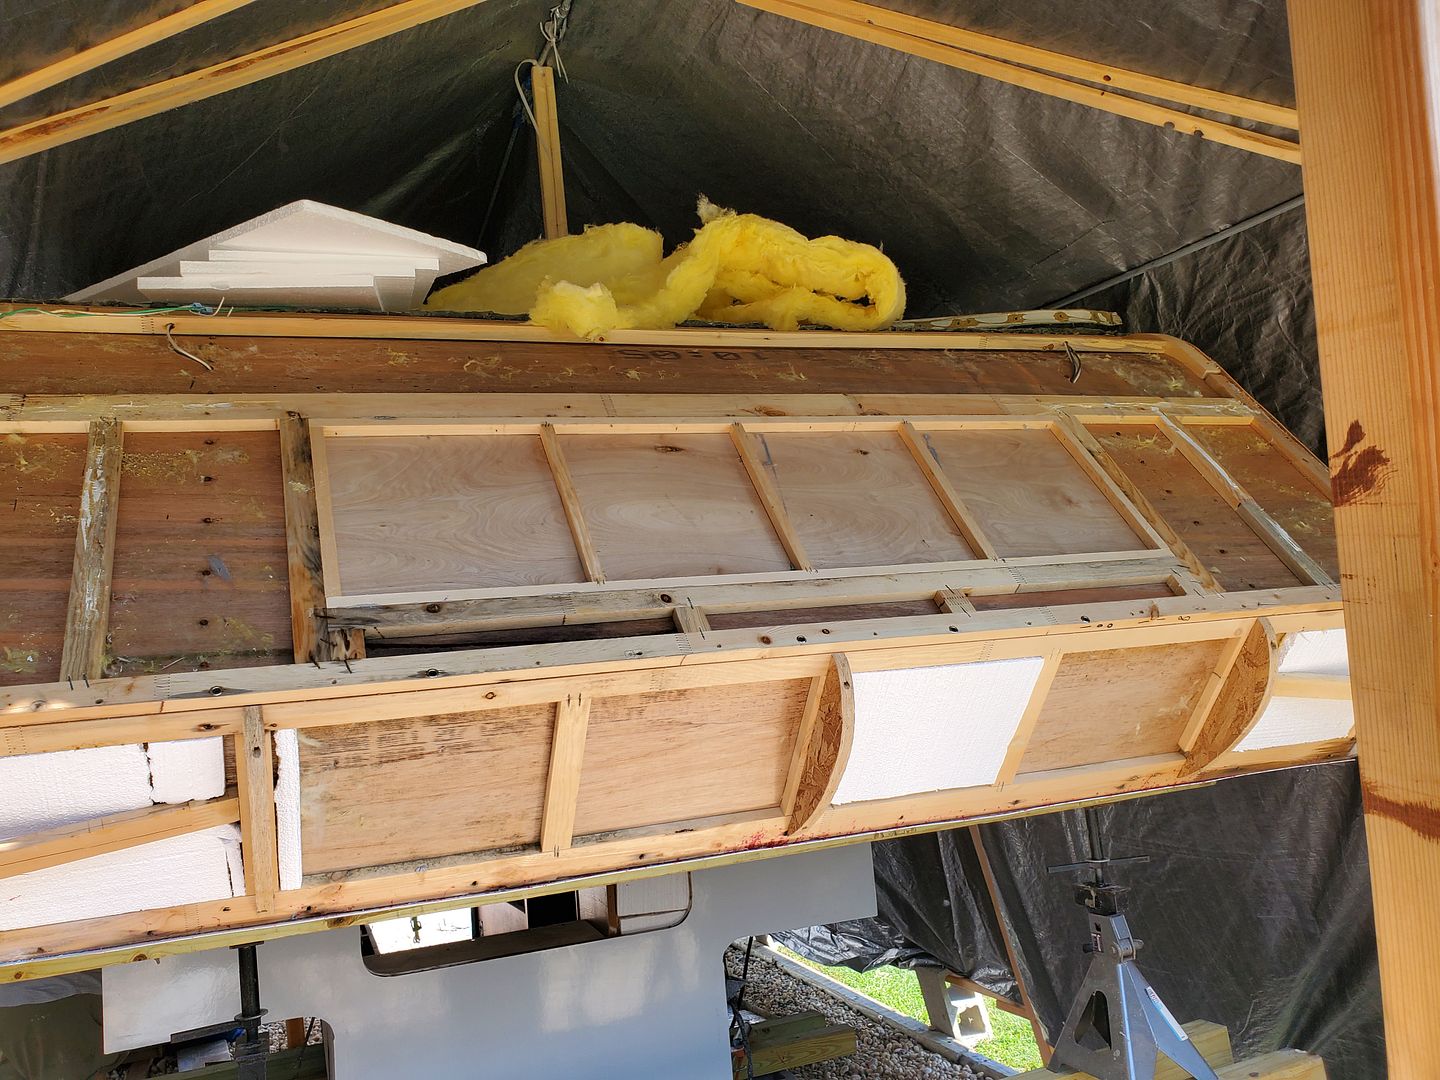
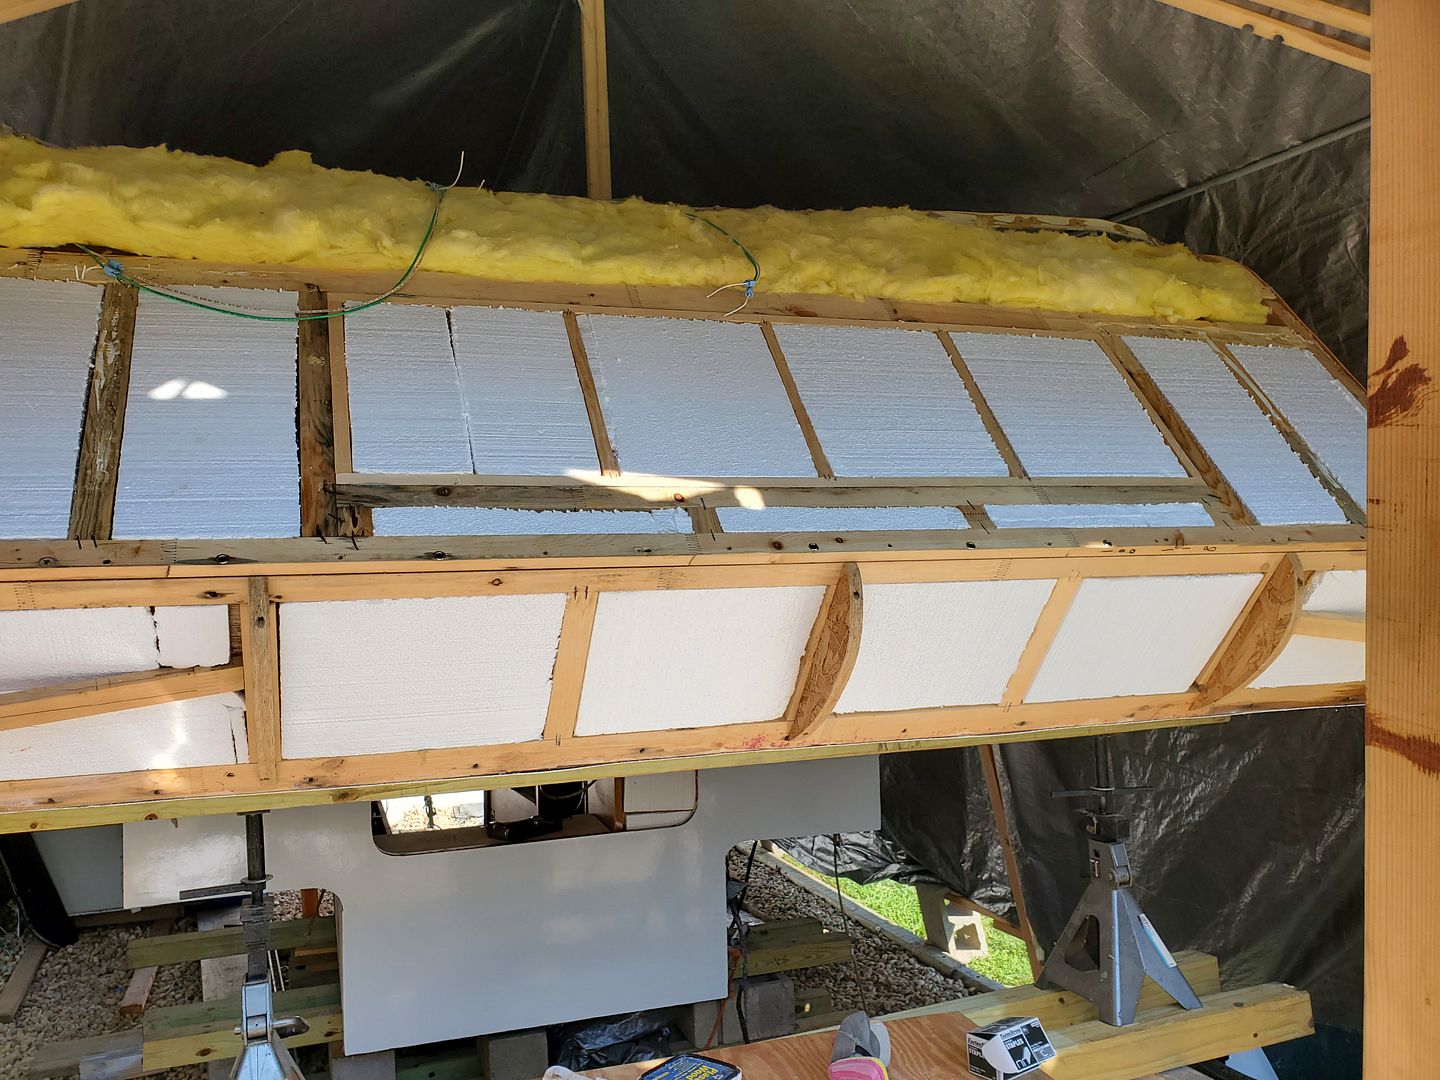
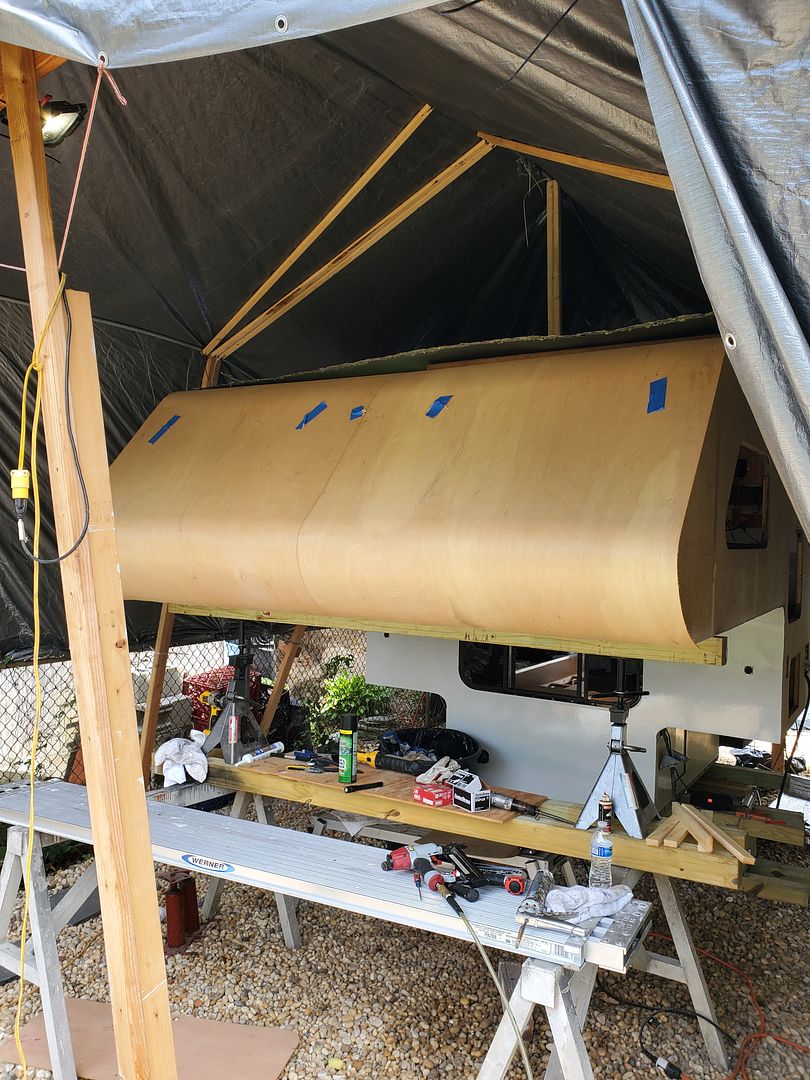
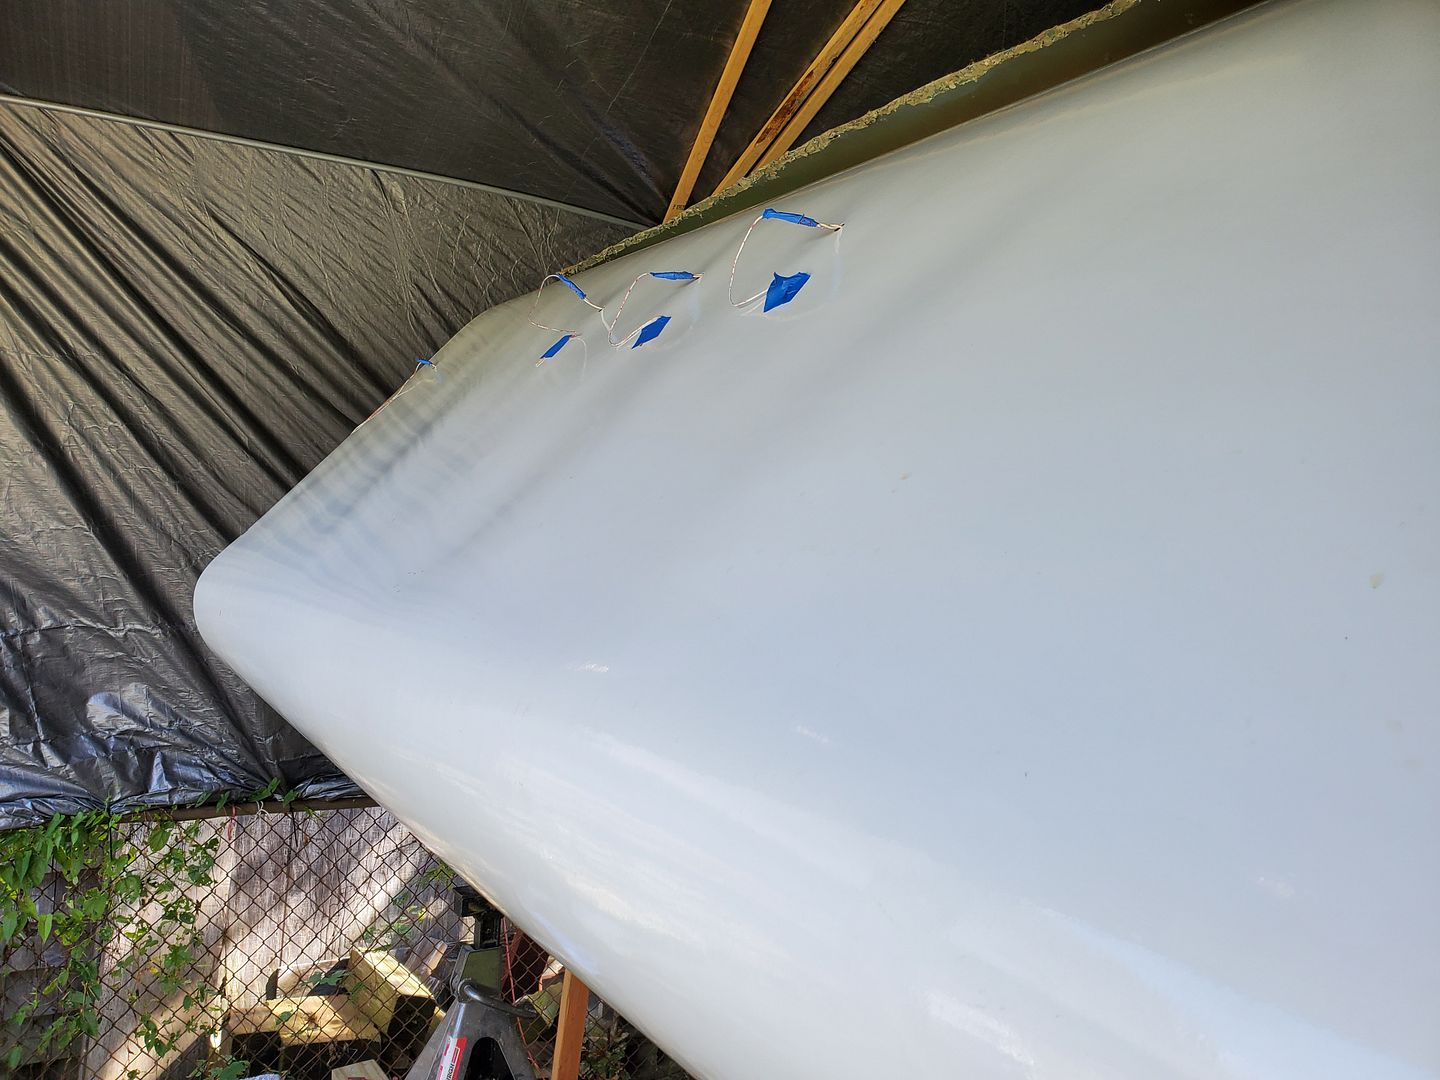
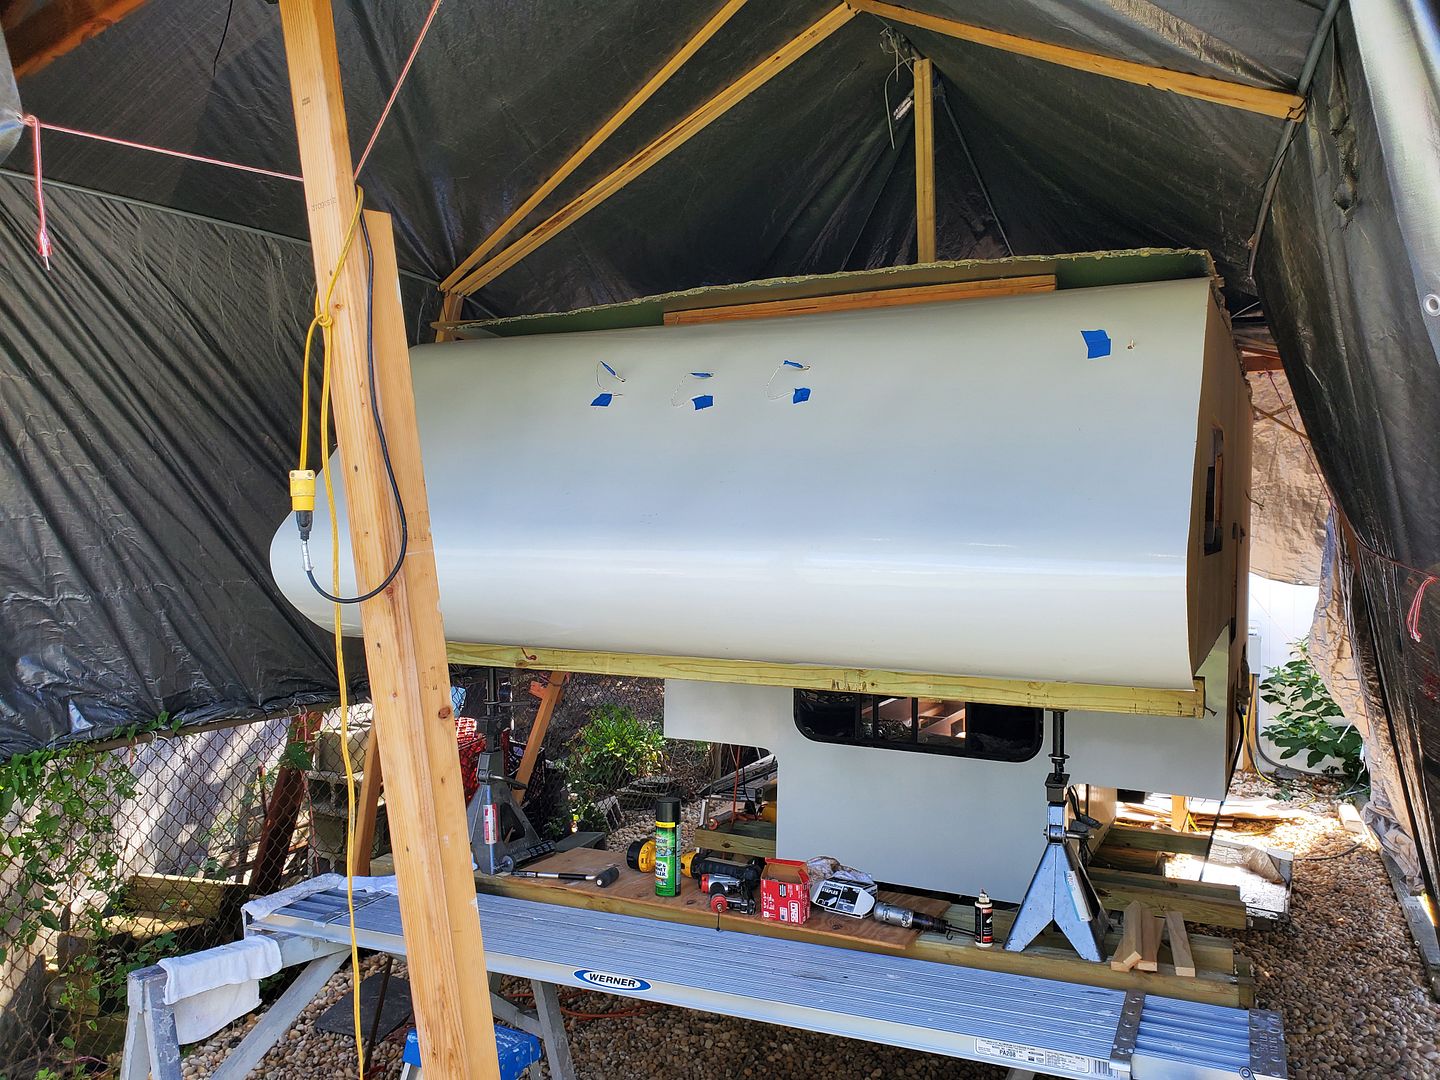
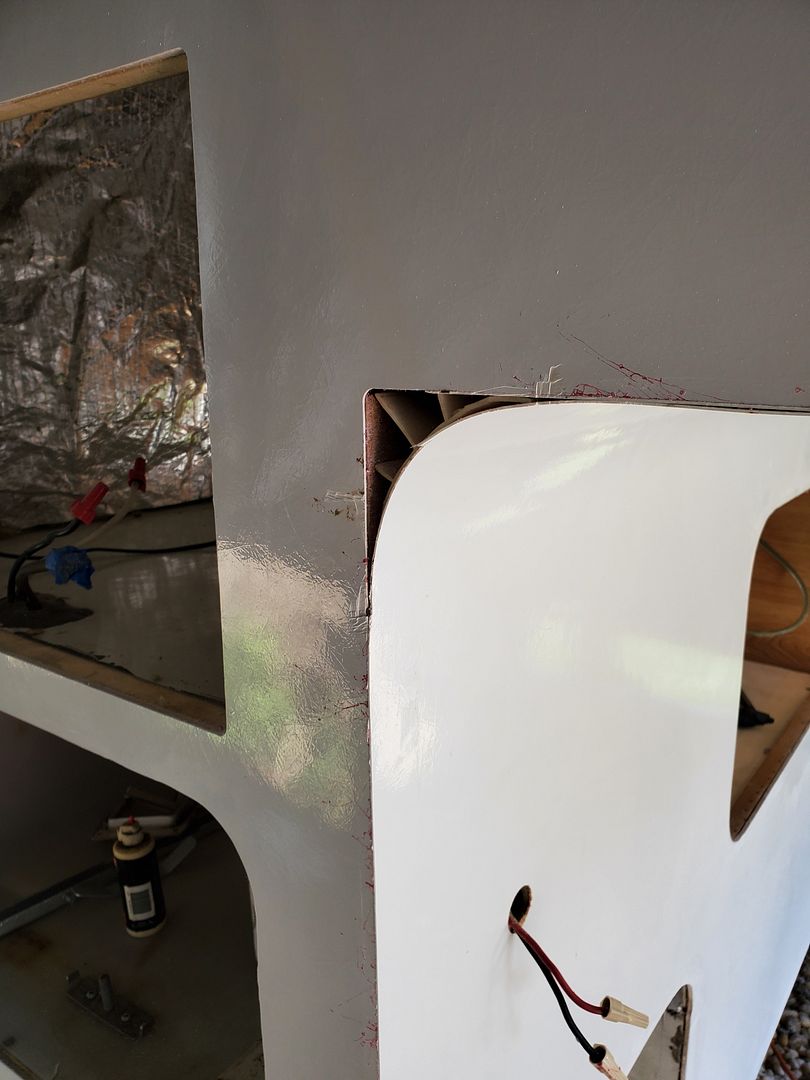
Also got the filon installed on the lower front and the bottom of the cabover. Note that the underside goes on first, then there are plastic radius guides that get stapled into the corner, then the front goes on. The front follows the radius guides to create that arched inside corner and there's a seam strip that covers the end about 6" or so from the front wall. They probably did this at the factory to eliminate having to seal that sharp inside corner.
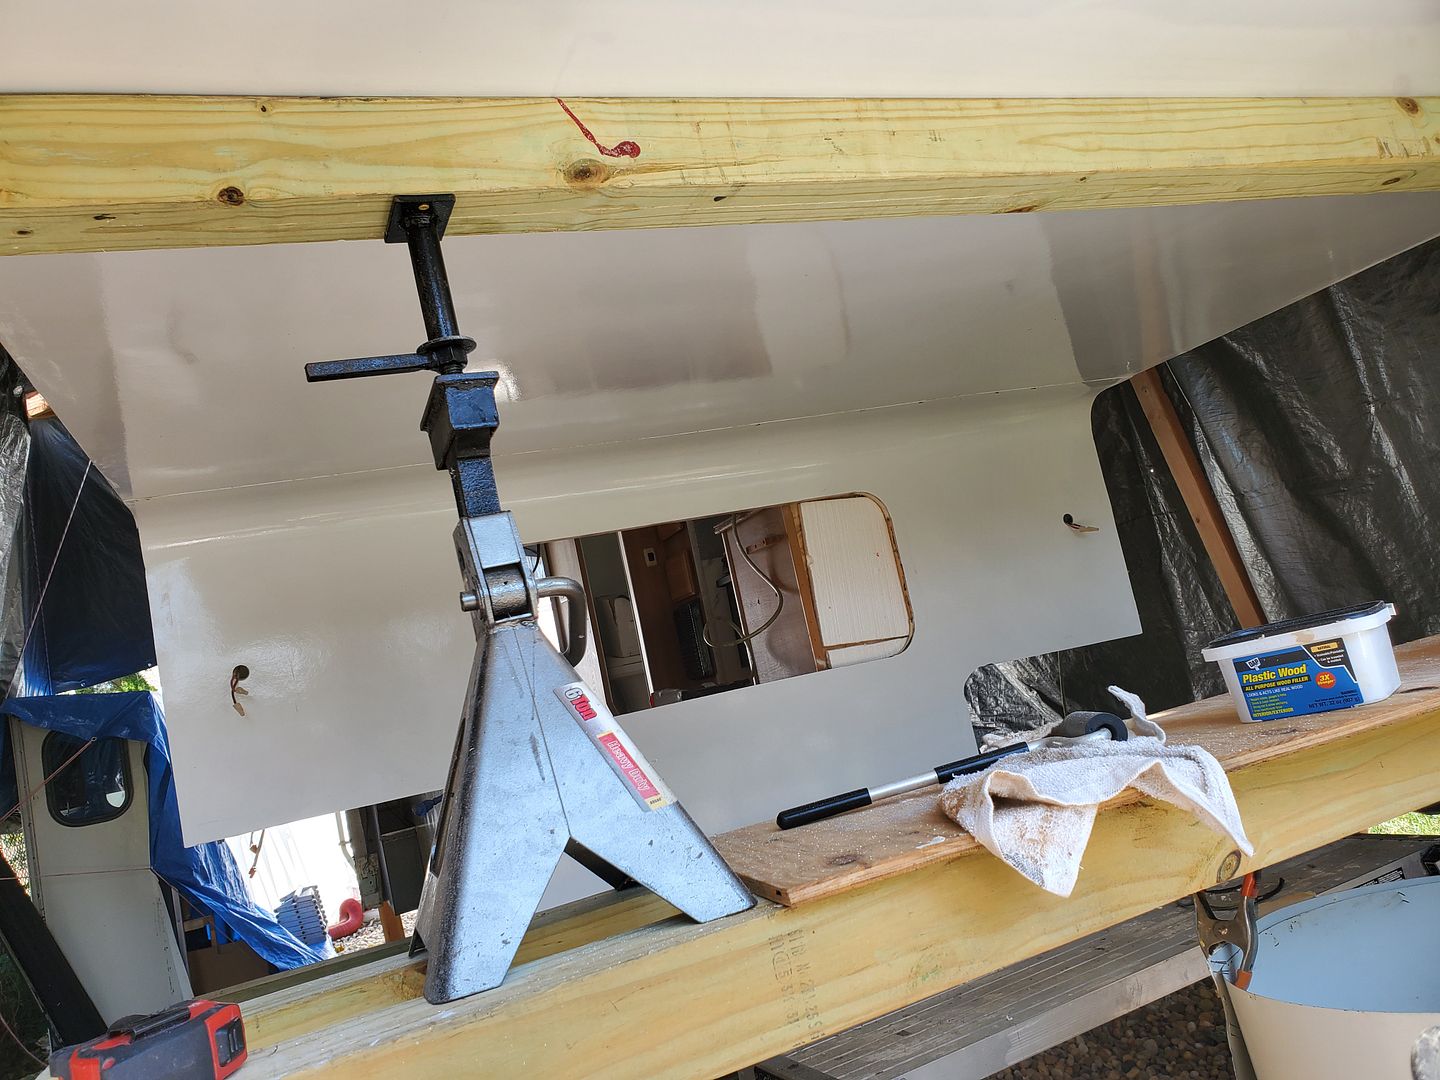
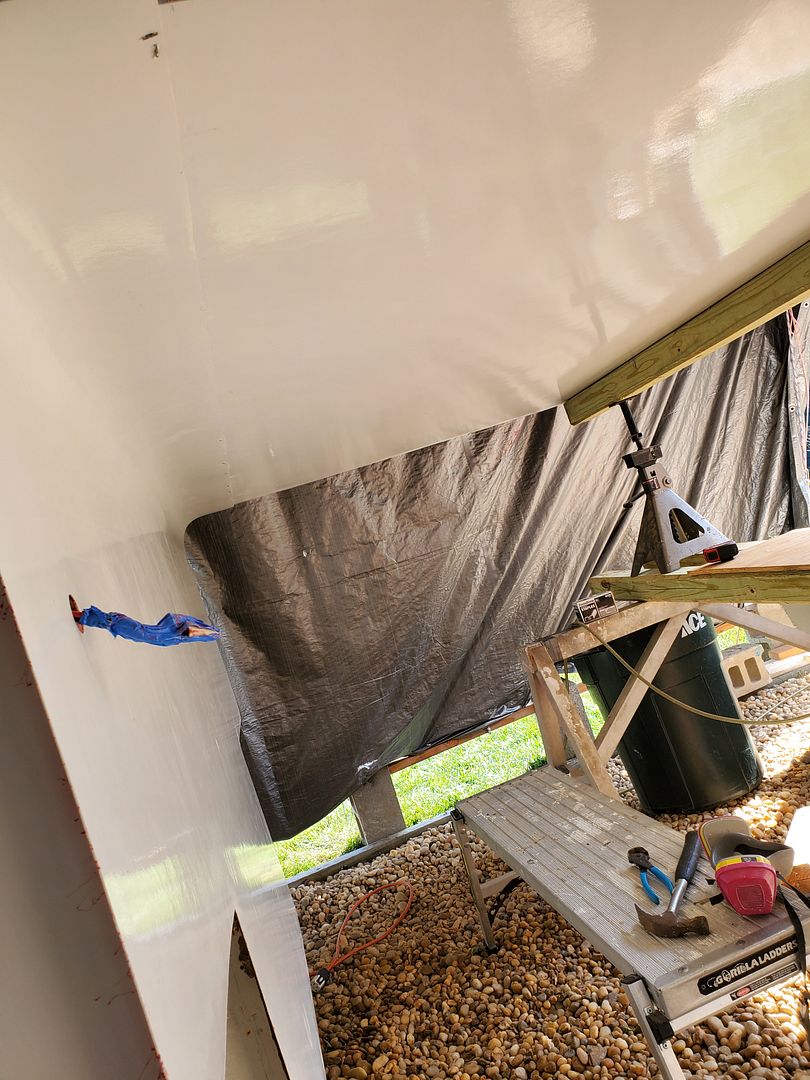
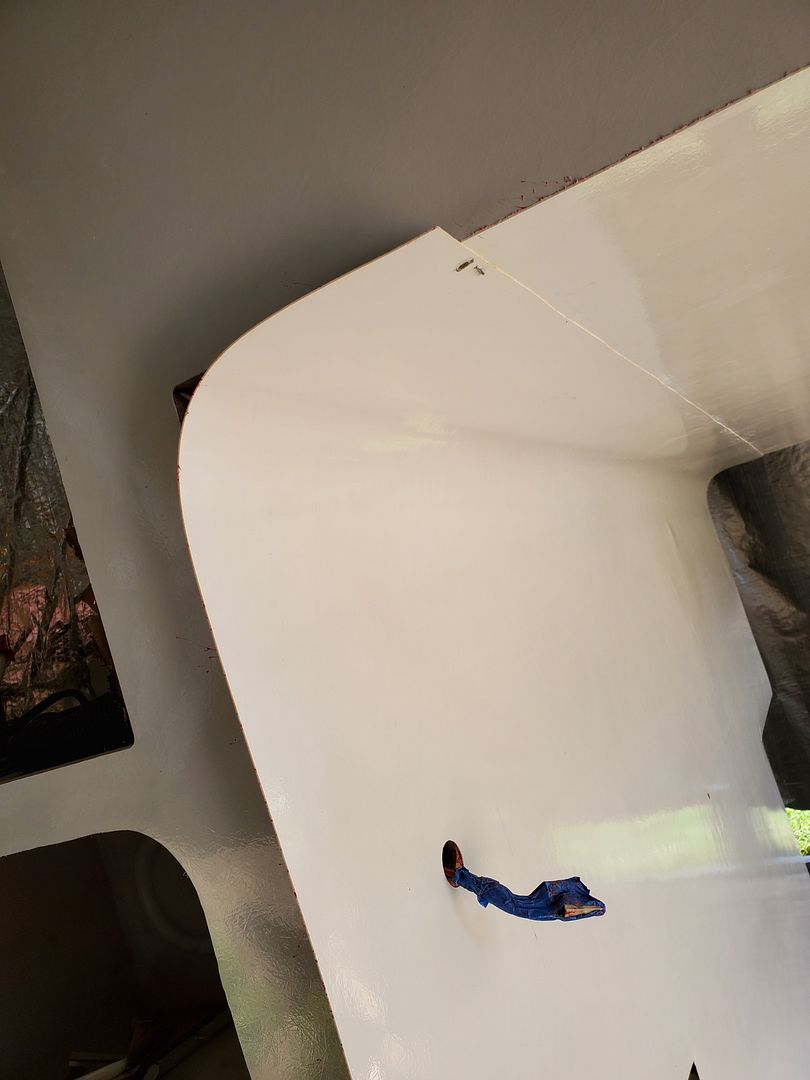
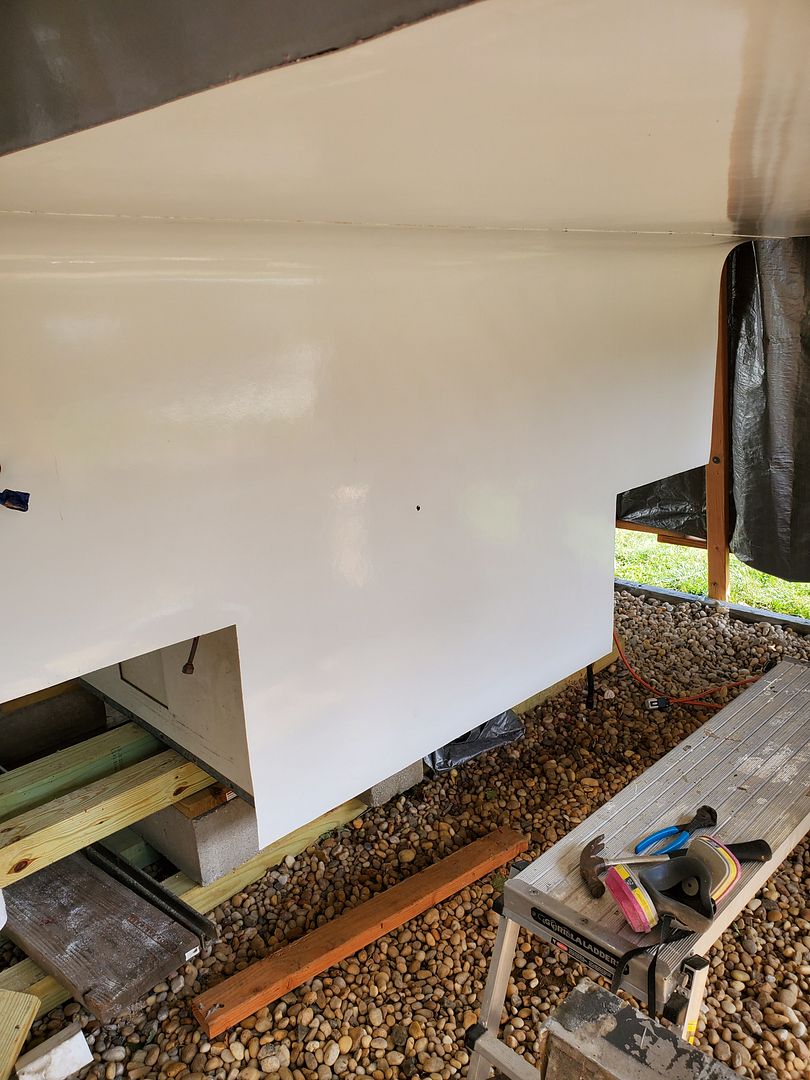
This also brings me to my first mistake...note that I carefully trimmed the right side that I put on forgetting that there was a radius on that inside corner. The side should have gone on AFTER the front, but the good thing the left side is on yet so that side will be correct. I'll need to see how much the trim covers and will probably wind up with a piece of Eternabond there. *sigh*
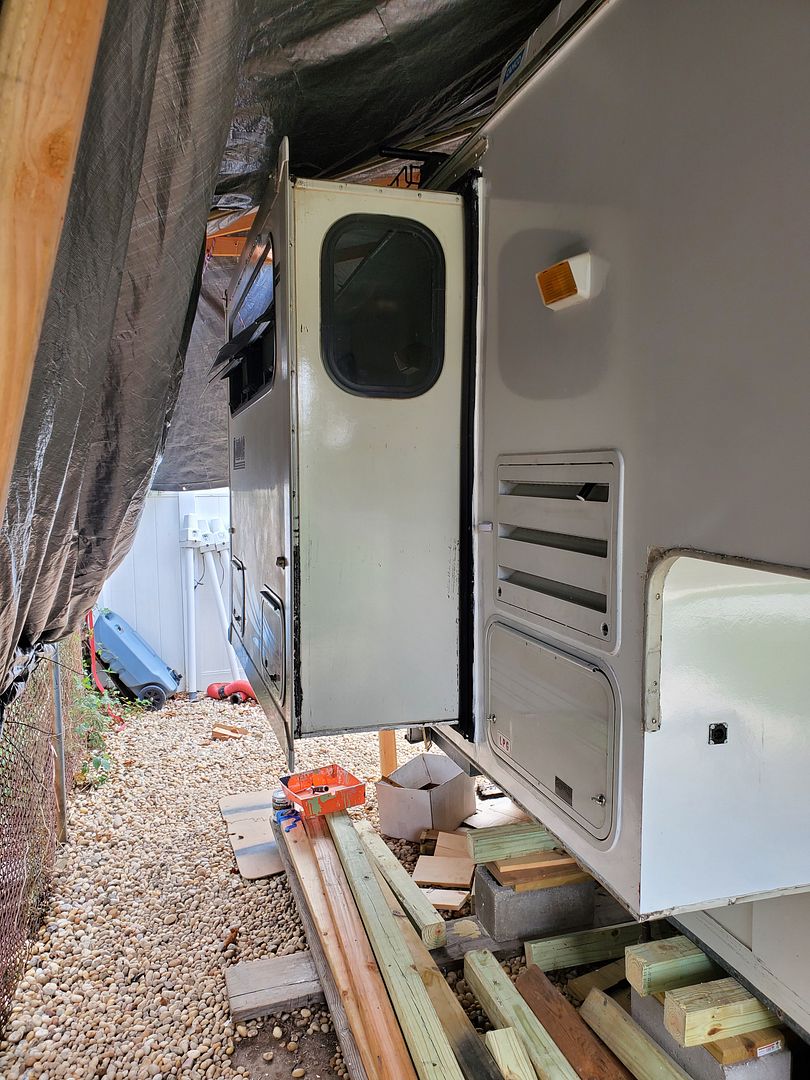
Notice that I still have the bracing in place under the cabover, and the reason I left that in place is because the forward blocking on the camper is about 15" behind where the front jacks would be, and also the slideout is still removed. With the weight/balance off like that, I don't want any chances of a tipover while we are up top painting the interior.
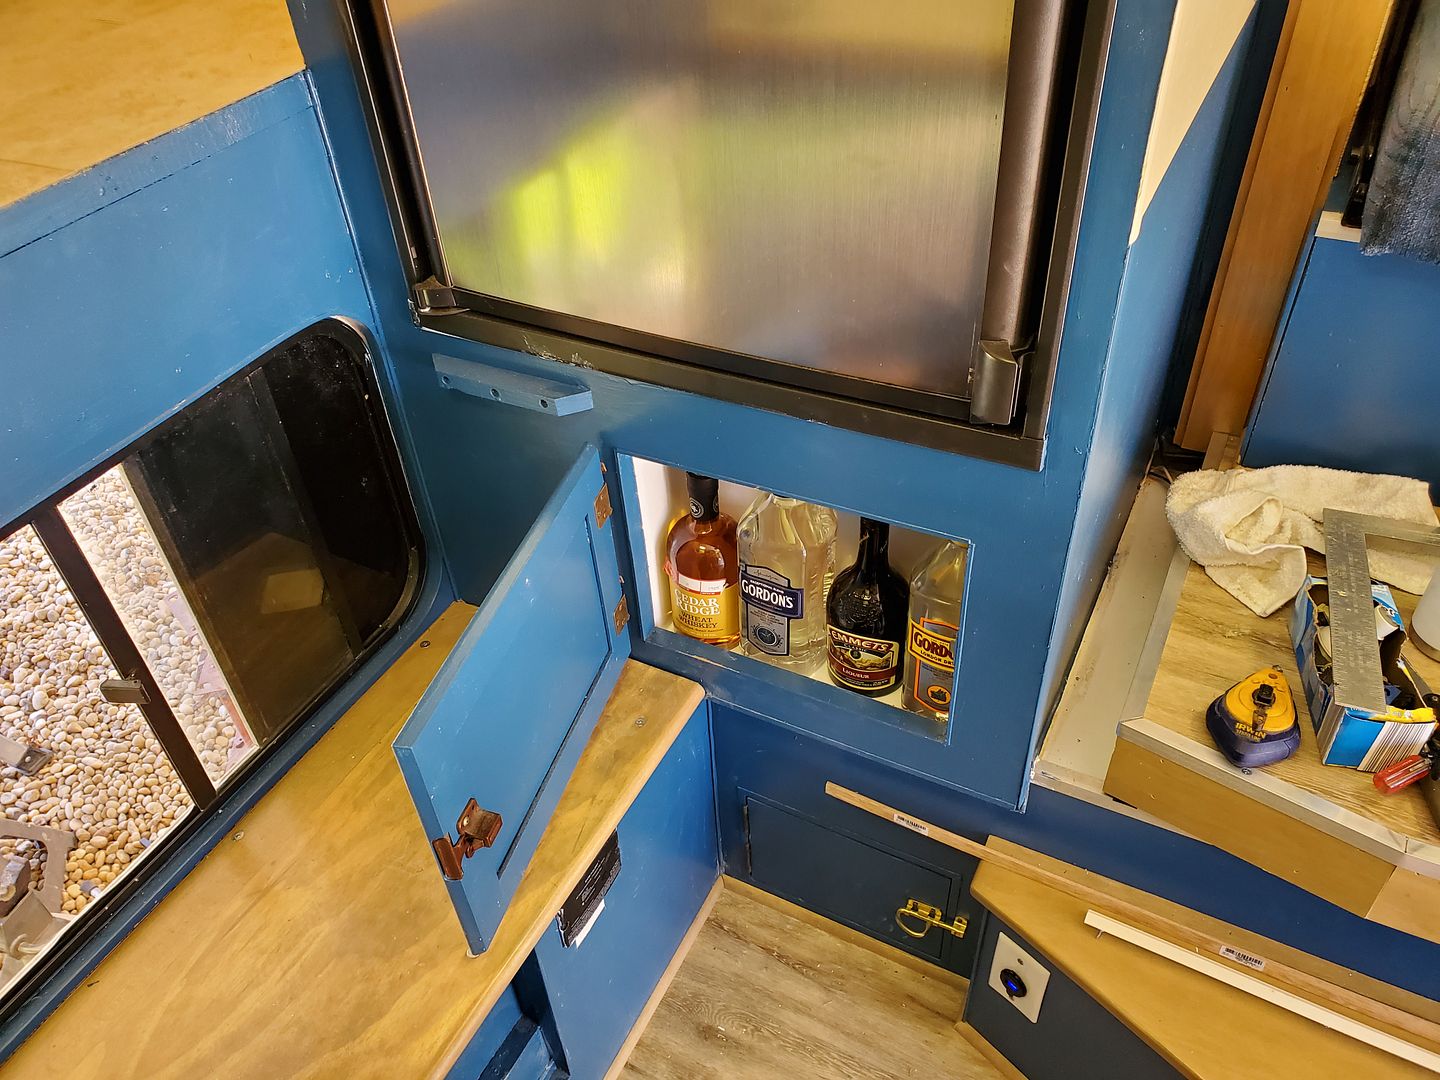
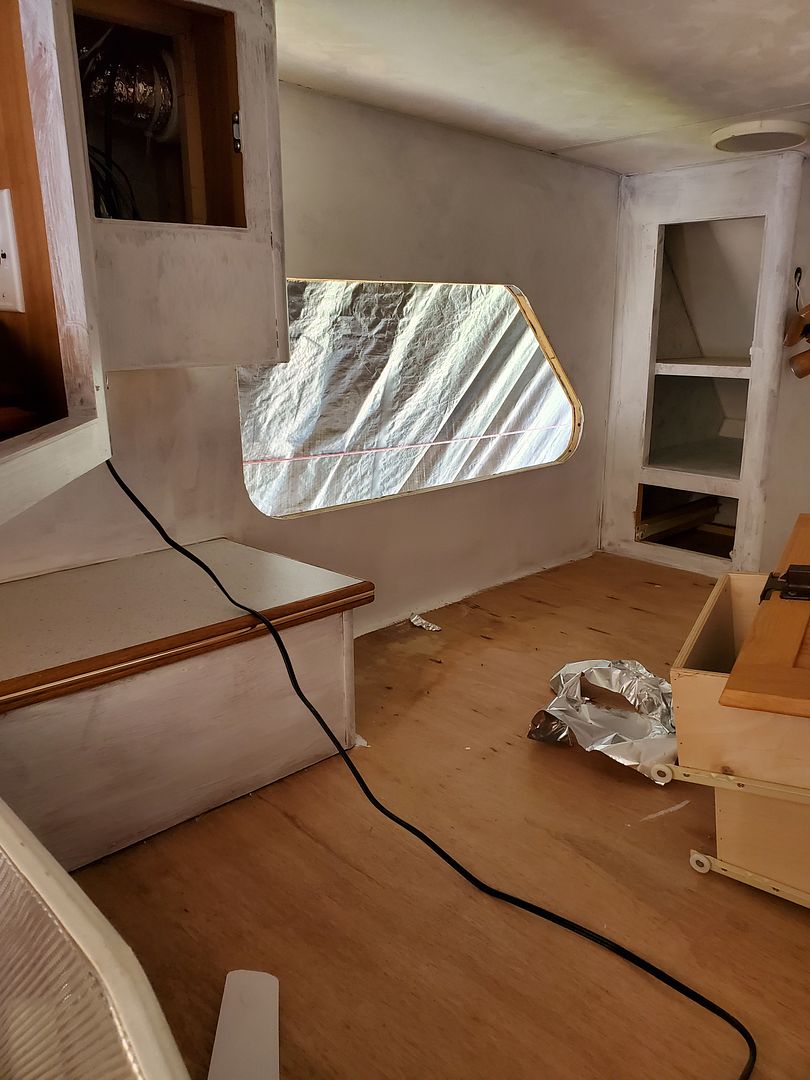
I also had the chance to get the new fridge installed. Some of you may recall the drama getting the old one out, having to disassemble it so it would fit through the entry door. With the big opening where the slideout goes, it was a relatively easy process to lift the fridge in there and get it installed.
The original was a Dometic RM 2554 3-way, and we replaced it with a Dometic RM-2551 2-way, which is essentially the same fridge without the ability to run on 12v. From what I've read the amp draw of the 12v setting is problematic, so we figure we'll just run this on propane like we did the TT. After all, the camper has 2-20lb propane bottles but only one battery.
Got the fridge from
National RV Refrigeration in Elkhart, IN. This was a brand new scratch/dent with full factory warranty for $550. They also do drive-in repairs, if you make an appt. in advance, they will rebuild your fridge in your RV while you wait!
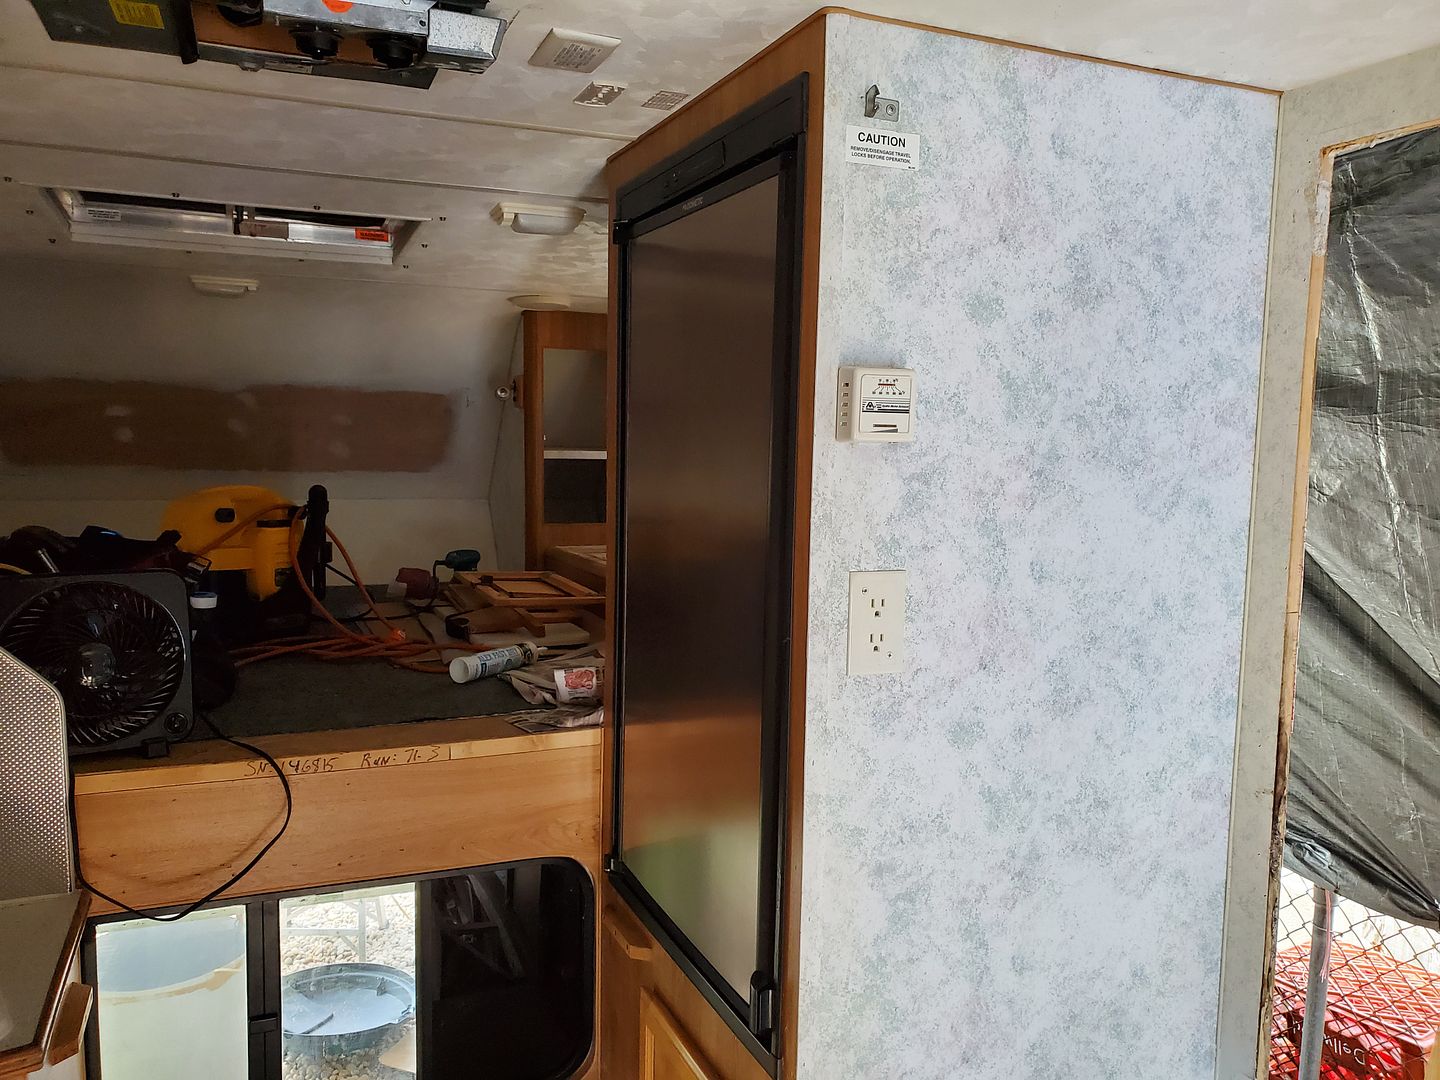
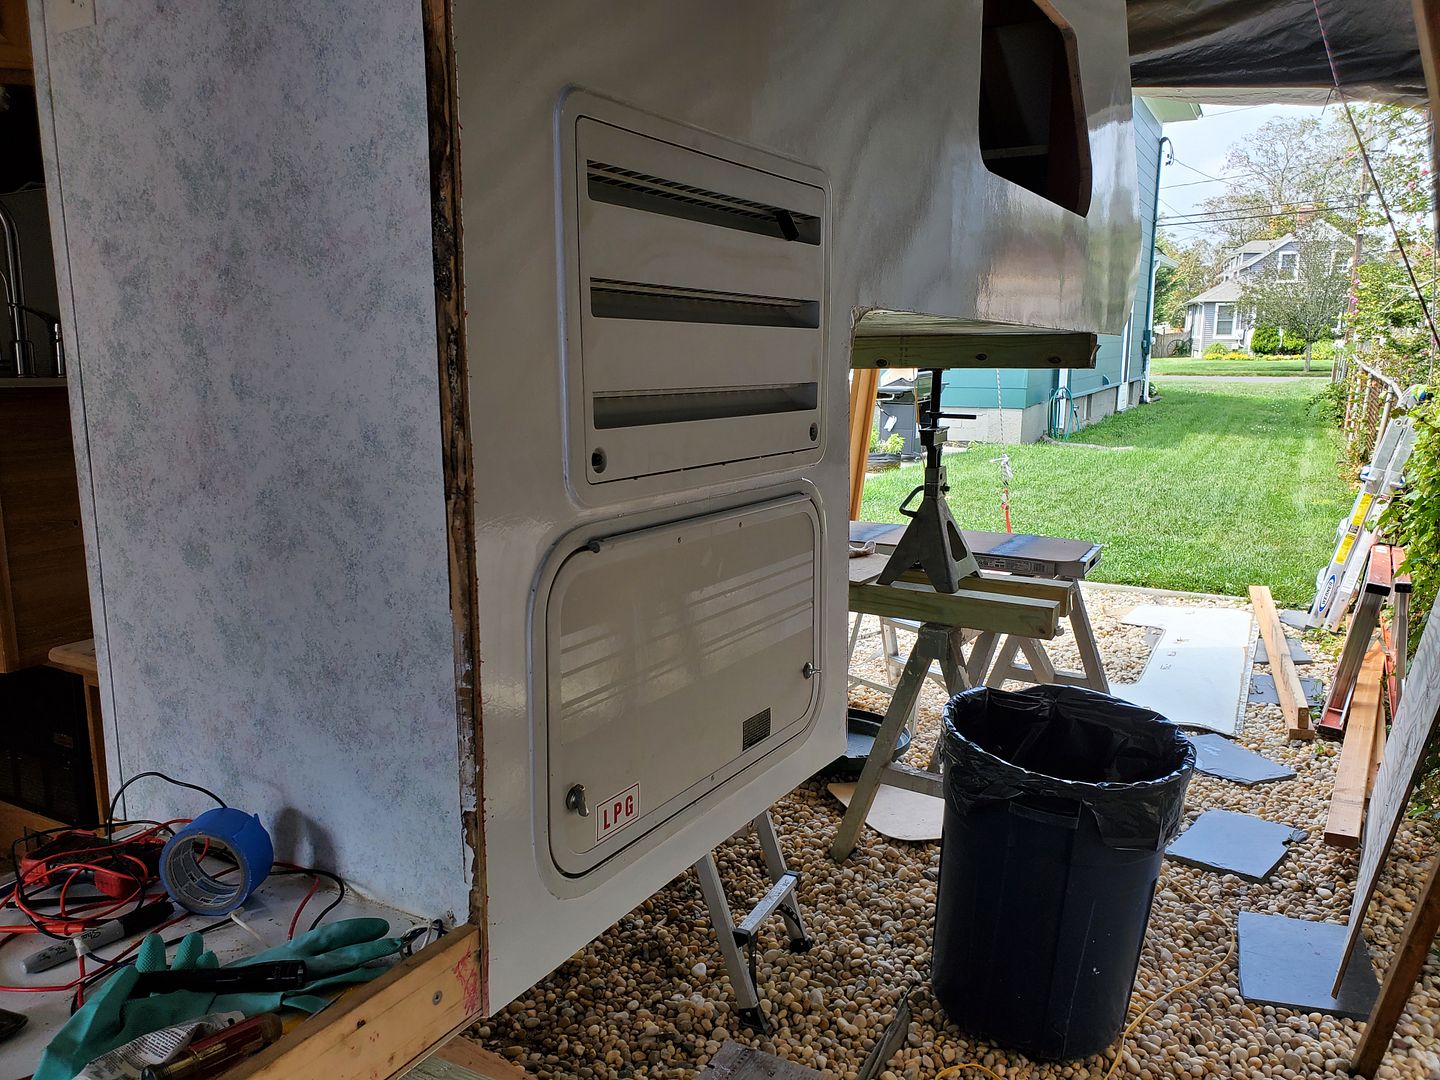
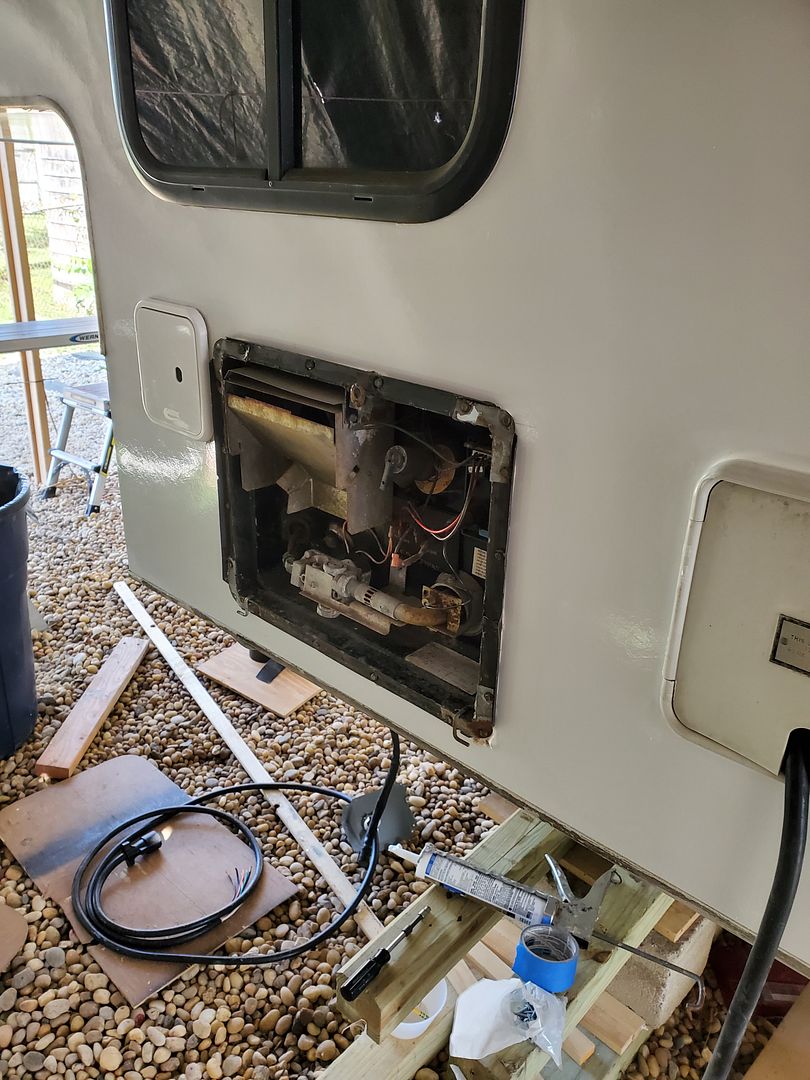
No pic of the back, but the new fridge came with a thermostatically controlled fan already installed on the back. Also note that the factory had the fridge drain routed around the propane liner and exiting through the bottom of the wing. I suspect that if that drain line got pushed up through the floor it may have contributed to the rot in that corner. This was the jack that tore off the camper and was the beginning of the end for the PO.
.jpg)
