USMCRet93
Dec 09, 2013Explorer
DVD Shelf
Having put in the coffee pot shelf and the TV, it was time to look at building a shelf to store DVD and Blu-Ray disks in the TT.
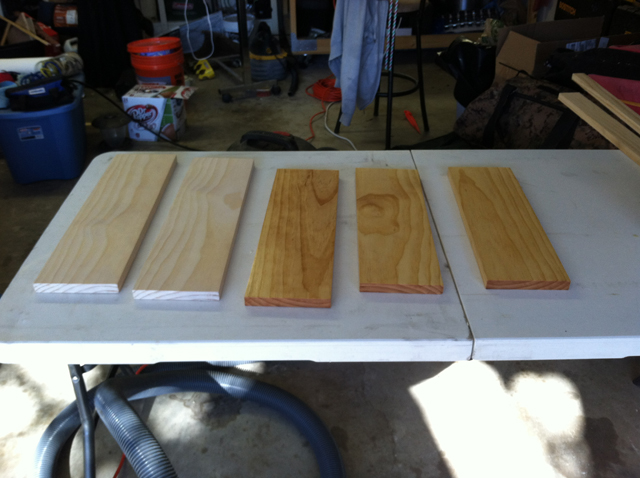
I started by taking measurements of the area where I wanted to install the shelf. Then I cut the wood pieces and sealed them with 3 coats (all sides) of polyurethane, sanding the wood between coats and finishing the final coat with 0000 steel wool.
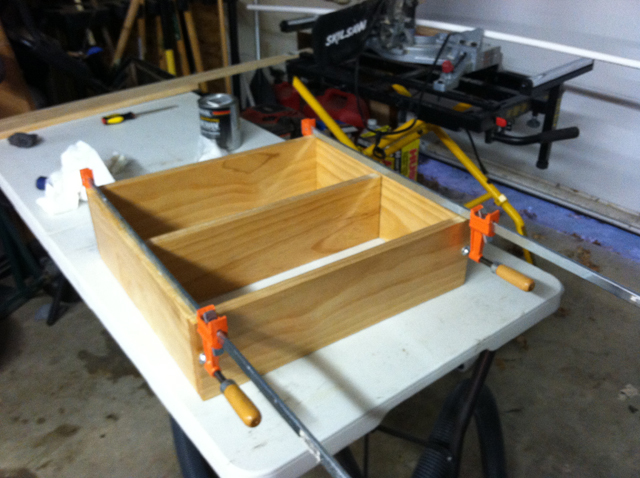
Once the wood was sealed and dry, I used wood glue on the edges and clamped the wood together to let the glue dry. After it dried, I used 1 1/2" brads around the edges to keep things together.
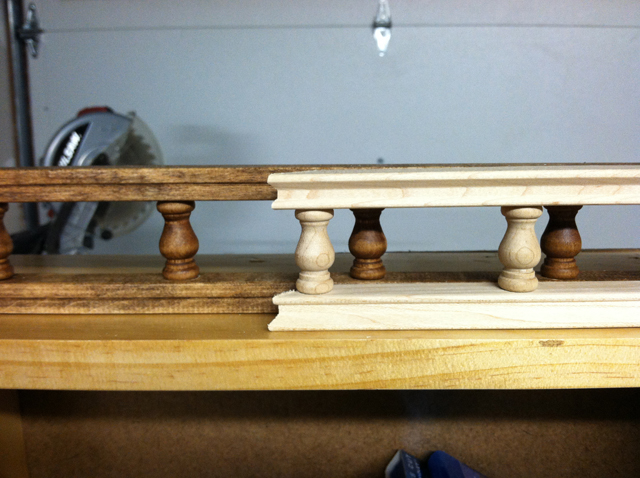
I used 1/4" fiberboard for the back of the shelf, and cut and fit the galley rail for the top of the shelf.
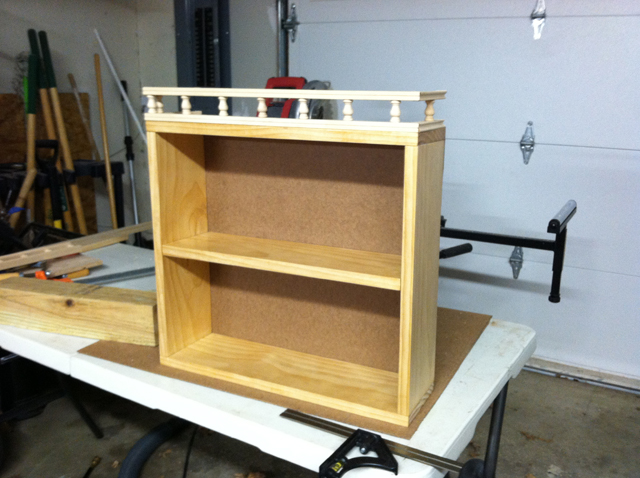
Seems I made one mistake with the galley rail... I cut it with the BACK of the rail (stained) showing, not the front (un-stained).
Once I corrected my galley rail mistake, I stained the rail and secured it in place with wood glue and 1" brad nails.
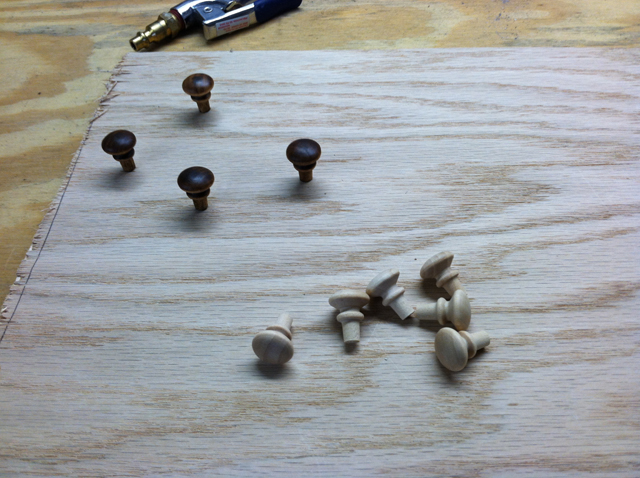
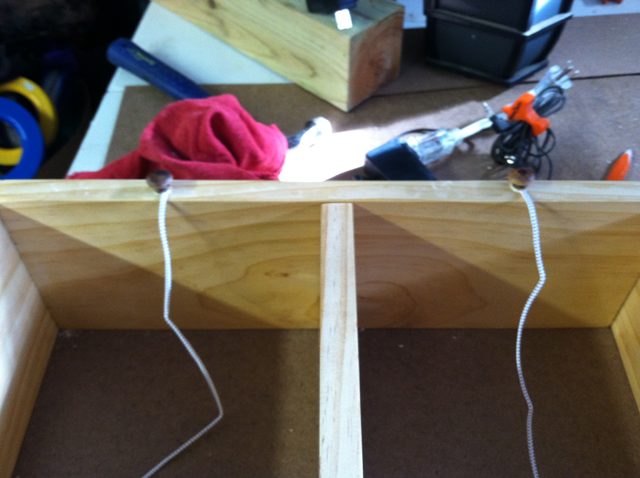
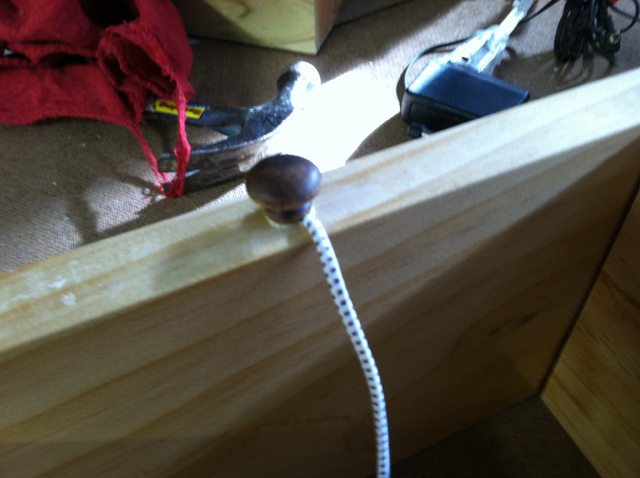
Next step was to provide some means to keep the DVD's from falling out of the shelves while traveling. I solved this by going to Hobby Lobby and getting (I don't know their proper name) some kind of button/dowel. I stained these, drilled four 1/4" holes, inserted bungee cord in the holes, and inserted the buttons in the holes with wood glue to secure them in place.
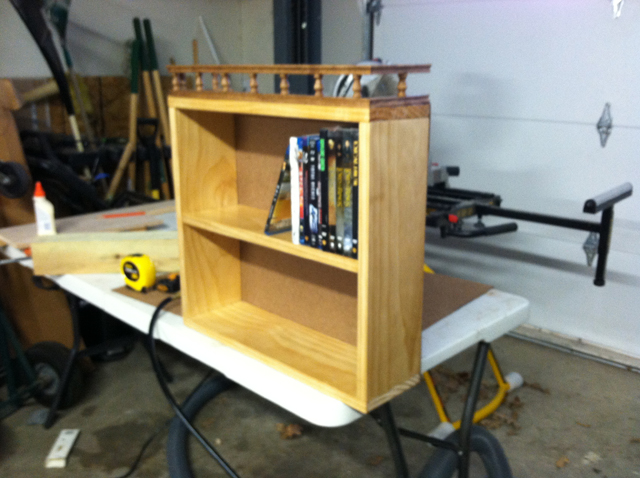
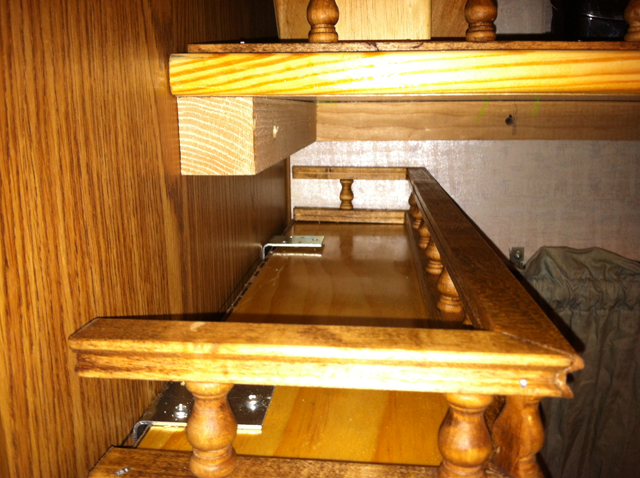
This is the shelf, completed and ready to install.

I secured the shelf to the wall using L brackets on top and bottom of the shelf. As you can see, there is a small area inside the galley rail for storage. I would have liked to have left more room, but I had to raise the shelf to this height to make room below for a door to a storage area to be able to be raised.
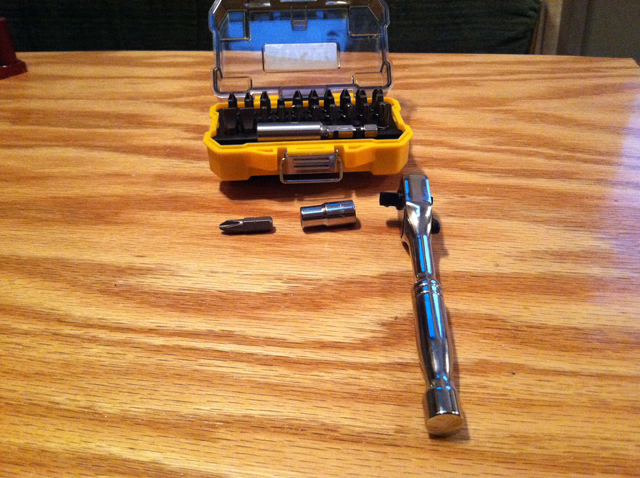
As you can see in the picture above, it was a bit of a tight squeeze on the right side. I pre-drilled the top and bottom holes on the right side, then used a 1/4" socket, ratchet, and phillips head bit to get into the tight space.
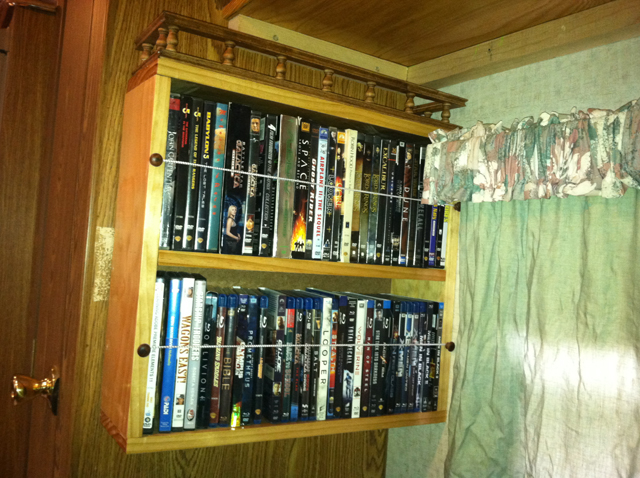
And here is the pic of the finished product in place, fastened down, and ready for our families first TT trip this coming weekend.
:)
I started by taking measurements of the area where I wanted to install the shelf. Then I cut the wood pieces and sealed them with 3 coats (all sides) of polyurethane, sanding the wood between coats and finishing the final coat with 0000 steel wool.
Once the wood was sealed and dry, I used wood glue on the edges and clamped the wood together to let the glue dry. After it dried, I used 1 1/2" brads around the edges to keep things together.
I used 1/4" fiberboard for the back of the shelf, and cut and fit the galley rail for the top of the shelf.
Seems I made one mistake with the galley rail... I cut it with the BACK of the rail (stained) showing, not the front (un-stained).
Once I corrected my galley rail mistake, I stained the rail and secured it in place with wood glue and 1" brad nails.
Next step was to provide some means to keep the DVD's from falling out of the shelves while traveling. I solved this by going to Hobby Lobby and getting (I don't know their proper name) some kind of button/dowel. I stained these, drilled four 1/4" holes, inserted bungee cord in the holes, and inserted the buttons in the holes with wood glue to secure them in place.
This is the shelf, completed and ready to install.
I secured the shelf to the wall using L brackets on top and bottom of the shelf. As you can see, there is a small area inside the galley rail for storage. I would have liked to have left more room, but I had to raise the shelf to this height to make room below for a door to a storage area to be able to be raised.
As you can see in the picture above, it was a bit of a tight squeeze on the right side. I pre-drilled the top and bottom holes on the right side, then used a 1/4" socket, ratchet, and phillips head bit to get into the tight space.
And here is the pic of the finished product in place, fastened down, and ready for our families first TT trip this coming weekend.
:)