Forum Discussion
3,114 Replies
 nyokieExplorer
Rbertalotto wrote:
I had built a new table a few weeks ago. This is used when the dining area is converted into a bed or if I have my grandsons with me and it's raining outside:
But when I'm camping alone it is simply too big and in the way. I was wandering around Lowes and I saw they sell nice round table-tops in various diameters. I bought one in 24" for $17 and gave it three coats of clear poly....Bought an extra table mount off Ebay for $5.95 and vola!

You like?
How does that round table compare in weight to the factory one? About the same? I assume the round is real wood vs fiberboard factory. starcraft69ExplorerChecked for any leaks we got rain today!!!!
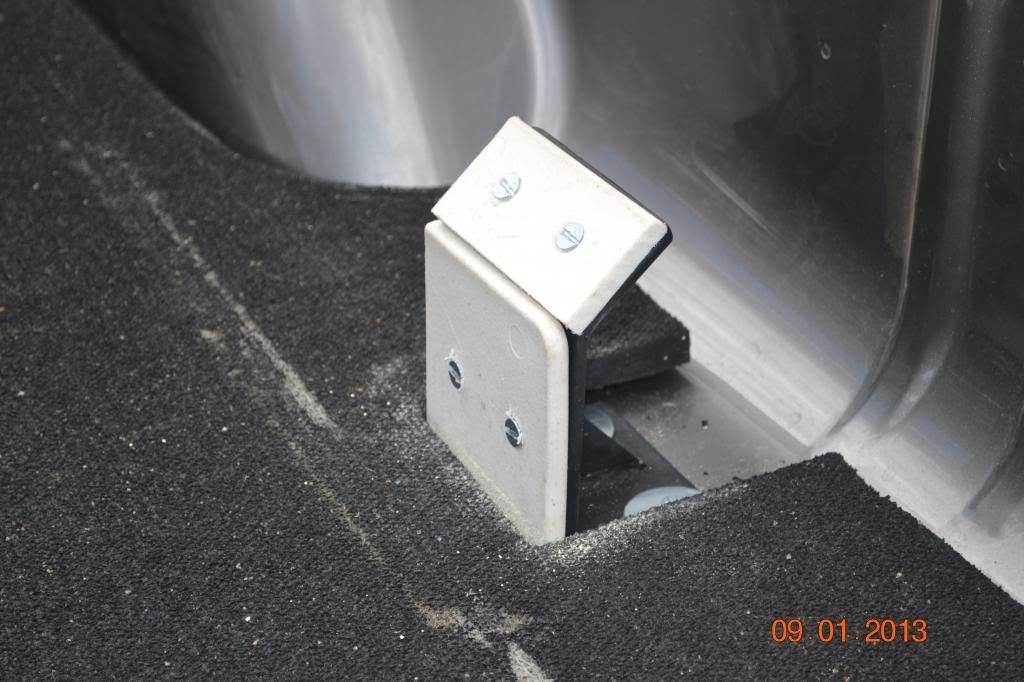
 JumboJetExplorerDidn't exactly do anything to the TC, but I did start the modification and installation of my frame mounted tie downs for my new RAM. I originally purchased them for my 2004 Ram 2500, moved them to my 2008 RAM 3500 SRW (no modification needed), and installing them on my 2013 RAM 3500 DRW.
Rear tie downs are on and I will pick up some 1/4" x 2" steel tomorrow along with some 4" bolts to attach the front pieces.

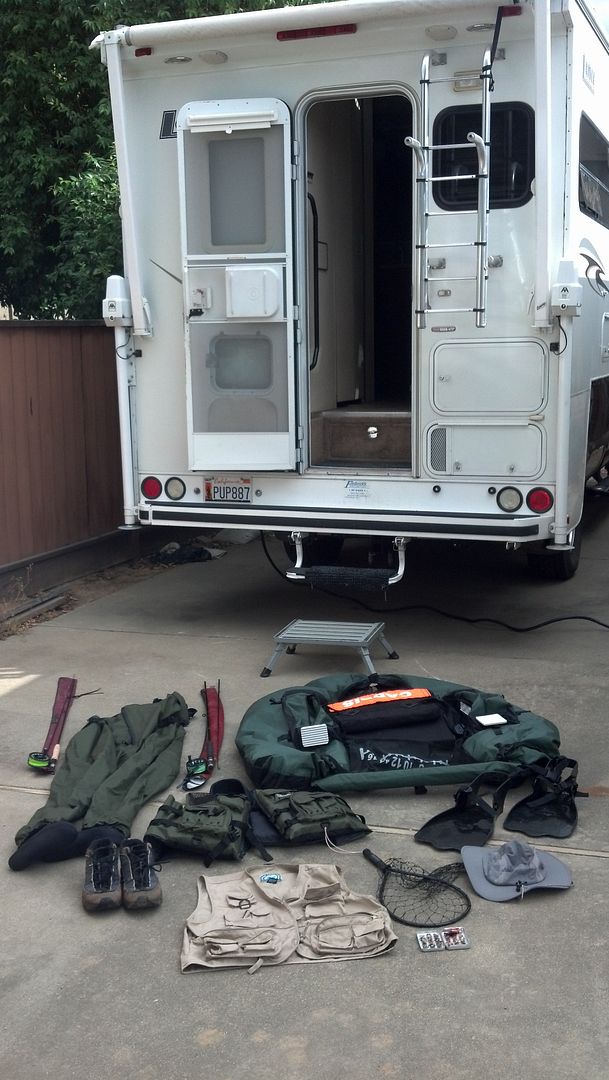
 Buzzcut1Nomad IItracked down and organized all my fly fishing gear then loaded it into the Lance so I can take off after work on Friday, be lakeside in the Sierras that night fish all day Saturday from dawn to dusk then rip back home to work a one day horse show on Sunday work the next 5 days then take off on a two day fishing trip the following weekend....YES
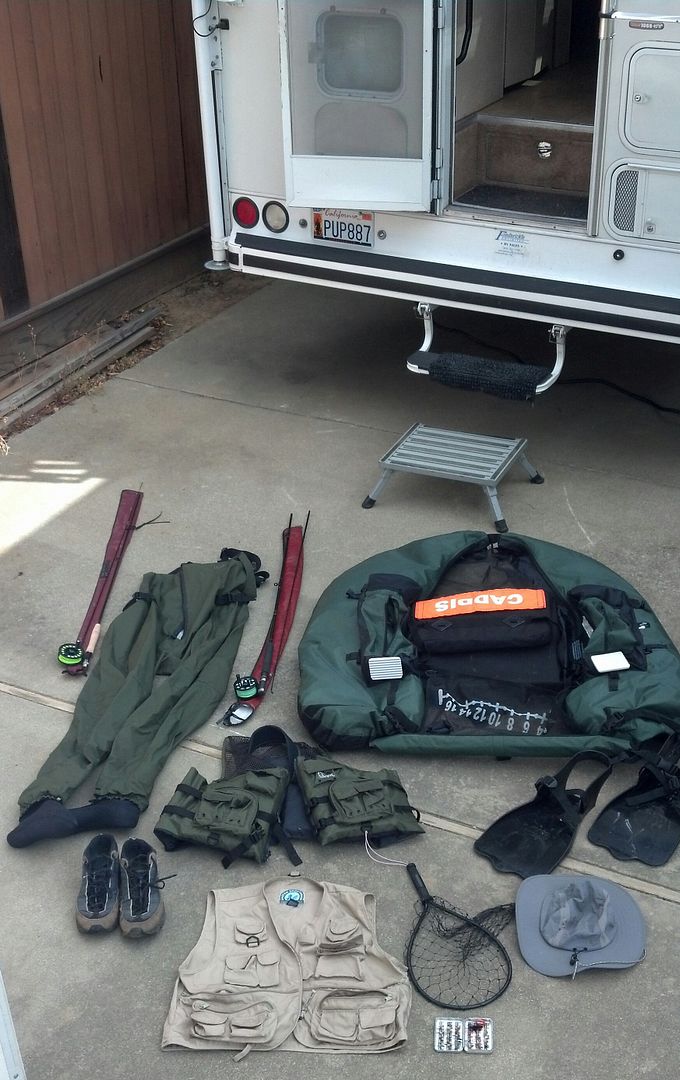
 jimh406Explorer IIINice job on the hatch.
- Buzzcut1Nomad IIJerry, any auto graphics printing company can make a decal for the hatch that will match the Lance decal. I'm sure there is one that can do it in the Sac/ Auburn
- Ski_Pro_3ExplorerI wanted to add this hatch in order to access the other dining bench hatch and decided it deserved it's own thread, so here it is!
I began by calling Lance to confirm that I could purchase a hatch from them and that there wasn't anything hidden in the wall of the slideout that would be compromised by the hole I needed to make. Lance engineers confirmed there was no problem and a part # was sent to me. I ordered the part and it arrived. So, now the install;
Started by using the INSIDE lip of the hatch frame to mark out the size of my opening from inside the camper. I drilled 4 holes; one at the exact center of each side.

Next, I took the hatch and marked out on the outside of the camper the OUTSIDE of the lip, using the 4 holes as a guide along with the bottom edge of the slide to square it up.


To cut the opening, I used a jigsaw. When doing this, I cut from the outside since there wasn't sufficient space inside to maneuver the saw. Use a blade that cuts on the DOWNSTROKE, not upstroke or you may tear the laminate siding. Here's a photo of the saw and blade to see what I'm talking about;
The hole is cut;
The hatch I was sent is different than the hatch that came installed on the original access. This hatch has a much deeper lip; the full thickness of the camper wall. The original hatch wasn't as deep, but came with a clamp system that pinches the wall tight. I'd prefer the original to the one mailed to me. Reason being; the original is tensioned to the wall.

After dry-fitting the hatch to the opening, a little filing was required. It was a tight fit, too tight. I had to notch for the rivets in the hatch lip in order to get the final flush fit;

Now the hatch fits very snug in the opening and flush to the outside wall. I could probably leave it like this, but for moisture wicking in. It's not going to just fall out, that's for sure.
Lance recommended I seal the exposed edge of the new cut opening. I did that with the adhesive / sealant I chose to attach the hatch. I used this stuff and rubbed it on the raw cut edge and inside the flange opening of the hatch that would meet against the camper. I used about half the tube total with VERY little ooze to wipe off. I chose this stuff because I had it on hand.
I used C clamps and spring clamps to hold the hatch tight to the camper wall as the adhesive set up. It's a latex-type product and I worked it with a wet cloth towel and a bucket of water to make the final finish look good.
For the final attachment, I used self drill or tapping screws 2 1/2" long that reached deep enough to bite into an aluminum angle bracket that is under the slide out.
The final product. Turned out nice. I discovered the decal/sticker on the chunk of wall I had removed is not reusable. It's very thin and tears very easy. I'd like to get the decal so it's like the other, original hatch cover and blend in more, but what can ya do?
So there you have it; Cost was about $55 for the hatch from Lance plus shipping, another $60 for the saw and blade from Home Depot. I can now stuff things under the bench and not have to pull everything out to find the buried stuff in the back. The back is now the front!! Ha! My grand daughter discovered she can fit in there and peak out too. I'll post a photo of that later...
Hope this helps someone else out there unlock hidden storage and ease of access. Sure hope Lance realizes they should have this as at least an option. Much better than the slide-out drawer they offer now for that bench seat as an option in my opinion.
Jerry - CAJWExplorerToday I Washed/Waxed TC and Truck. Installed my under bumper storage rack (listed under separate post). Installed my newly built camper guides (69 Avion, thanks for the ideas)and gave them a test run. Loading was slow, but very precise as with 1/2" total clearance, one doesn't do this too quickly.
 ">Loading guide
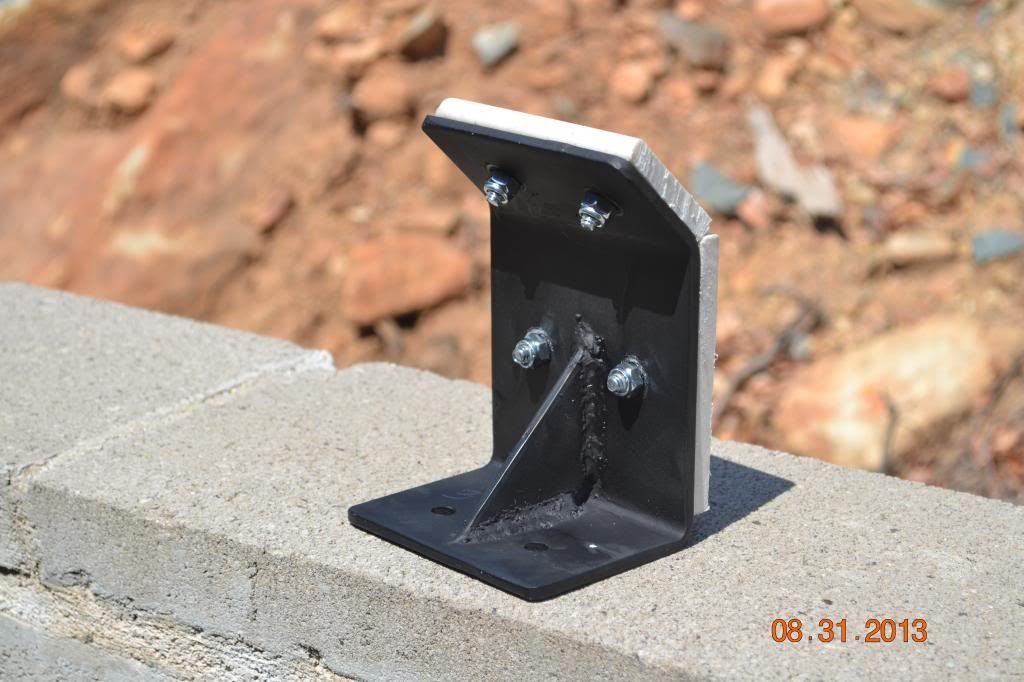 ">Loading guide back
  ggadwaExplorerWell I finally pulled the trigger on getting a Wireless Back Up Camera after seeing how nice the Voyager Camera was on my friends 2013 1160 Eagle Cap.
Since we already have a video monitor in the form of our Rand McNally RVND-7720 GPS (which we really like by the way) I purchased the Voyager Wireless Camera with wireless receiver and without monitir . Installed the Receiver behind the Glove Box on the FORD F350 and just to make things easy and neat I removed the rear center clearance light on the EC950 and wired the Wireless Camera in its place.
Made for nice install and now I can actually see the Harley Hauler trailer behind us as well anything else I may want to see...like tailgators or crowded camp spots.
GARY- dakonthemountaiExplorerI added two more led interior light bulbs... and sat in it wishing I was camping! Hopefully next weekend I'll take it out for 3 days.... :)
Dak


About Truck Camper Group
285 PostsLatest Activity: May 01, 2026