Carb_Cleaner
Sep 09, 2014Explorer
Exterior Fridge Fan Installed - Quick and Dirty
A couple of L brackets secured to the wall, some zip ties, a dual throw/single pole switch and an in-line fuse.
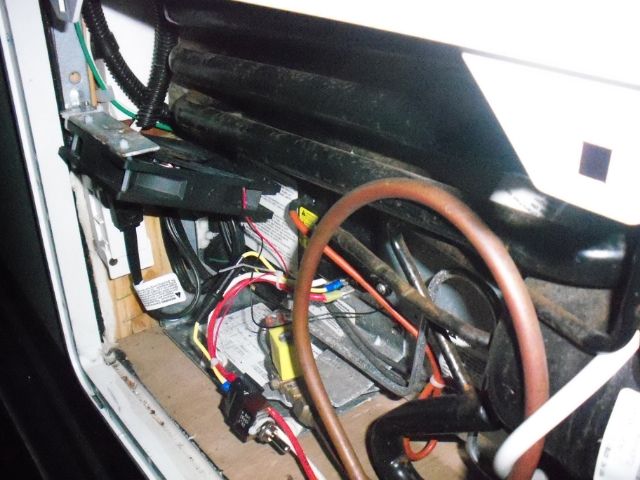
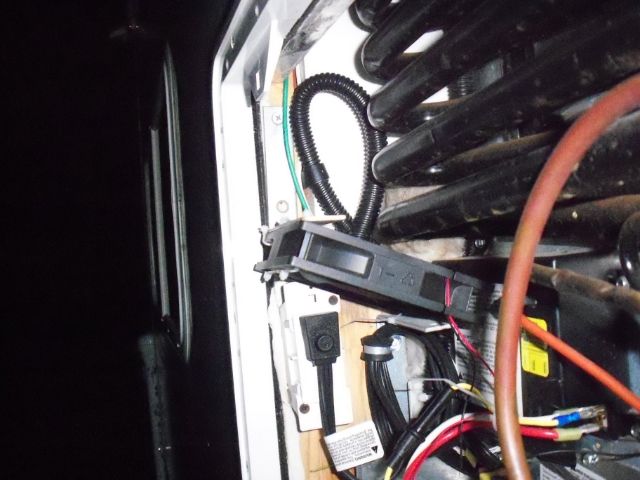
Fan from Ebay (MyNewFan), Electronicshaus.com, 120mm (4.75") ball bearing, 90cfm, .18 amps. Clicky It barely fits. The top of the fan fits between a couple of the exterior vents. If it didn't lay that way, it wouldn't fit. I realize some flow is sacrificed due to my bracket arrangement. I might have been better off with two, smaller fans, but here we are. If two fans would push more air and/or draw less current, I'm open to suggestions. I found a route for the wires into my under-step utility area, but I got impatient about drilling a hole and figured good enough (which never is) for now. I used a dual throw switch because I have a snap switch, 85 degrees, for the other power source. The DTSP switch permits a constant ON over-ride, OFF or thermostat controlled. I haven't installed the snap switch thermostat, yet. It's on the list. I understand you need to secure the snap switch to metal for proper function. Any suggestions or hints about that would be cool, too.
I finished my abbreviated install the night before a trip, with a flashlight. Raise your hand if you've had to complete a last minute project in the dark, on a ladder, while your SO bounces the camper around loading stuff and asking questions about spare keys or other annoying stuff.
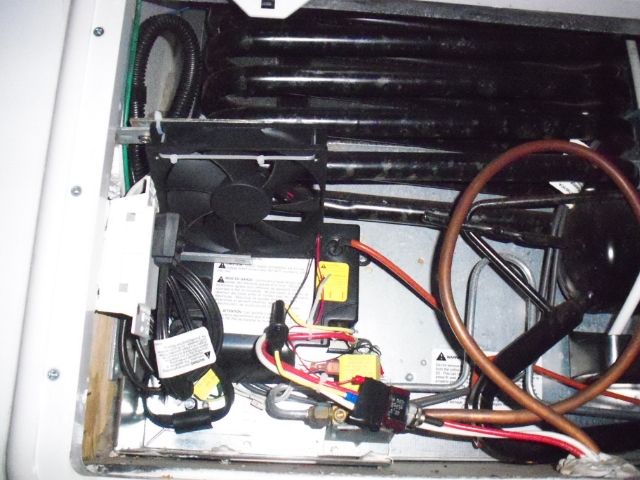
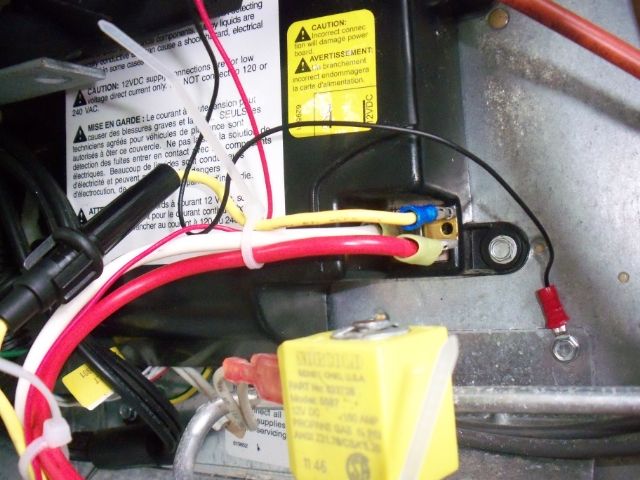
The red, ring terminal is the fan's ground. I used a two-into-one splitter off of the existing, positive 12 Volt to gain a terminal for the in-line fuse. It can be disassembled with no evidence of its existence.
