Forum Discussion
30 Replies
Sort By
- Dusty_RExplorerI glue a round bubble level to the doghouse where it is easy to see from the drivers seat.
- EMD360Explorer
ron.dittmer wrote:
You can determine if your trim represents the floor by placing a level on the floor, then place it against the trim. If the bubble is in the same place, then the two match. That is easy enough to determine the accuracy of your reference point.
I'm going to try that. I'm just curious if my logic was a reasonable option.
You are right. "Good enough is the enemy of best." - ron_dittmerExplorer IIIEveryone has their own idea of "Good Enough". As for me, I like having all the levels accurately represent the floor. At least then I know how sloppy I am during the leveling process out in the field.
You can determine if your trim represents the floor by placing a level on the floor, then place it against the trim. If the bubble is in the same place, then the two match. That is easy enough to determine the accuracy of your reference point. - EMD360ExplorerI didn't level the coach perfectly. I stuck the levels on even with the door and dash trim. When I use them to help level, I use a bubble level in the refrigerator to make the final judgement. Half a bubble out of level is acceptable. I can't really tell the difference inside between that and completely level bubble in the middle. The graduated levels probably are not all that accurate anyway. We keep as level as we can to extend the life of our refrigerator and to make the water drain well.
Was there something wrong with my cab trim logic? I may have overlooked something about leveling. I am obviously not a perfectionist. :) - ron_dittmerExplorer IIIWhen installing those little stick-on levels, make sure to first level the floor of the motor home in all directions using a calibrated level. A calibrated level will measure the exact same when rotated 180 degrees. With the RV house floor level, stick on your little levels "level".
As I mentioned before, I place a level front-to-back and side-to-side by the driver. I also have one placed outside in back and just forward of each rear tire. It helps to see right at the rear tires, how many blocks to stack up. I really should also stick a level by each front tire. - wbwoodExplorerWe use a small carpenters level on the counter top. Once you've leveled an RV several times, you can almost guess exactly what is needed and where. We have 3 bags of Lynx levelers. If it takes more than that to level the RV, then we need to adjust where we are parked or need another campsite.
- tenbearExplorerThey may be calibrated in inches, but this is dependent on wheel to wheel spacing. Front wheels are not as far apart as the rear wheels and the front to back wheel spacing varies from rig to rig. You have to learn what he numbers mean on your rig.
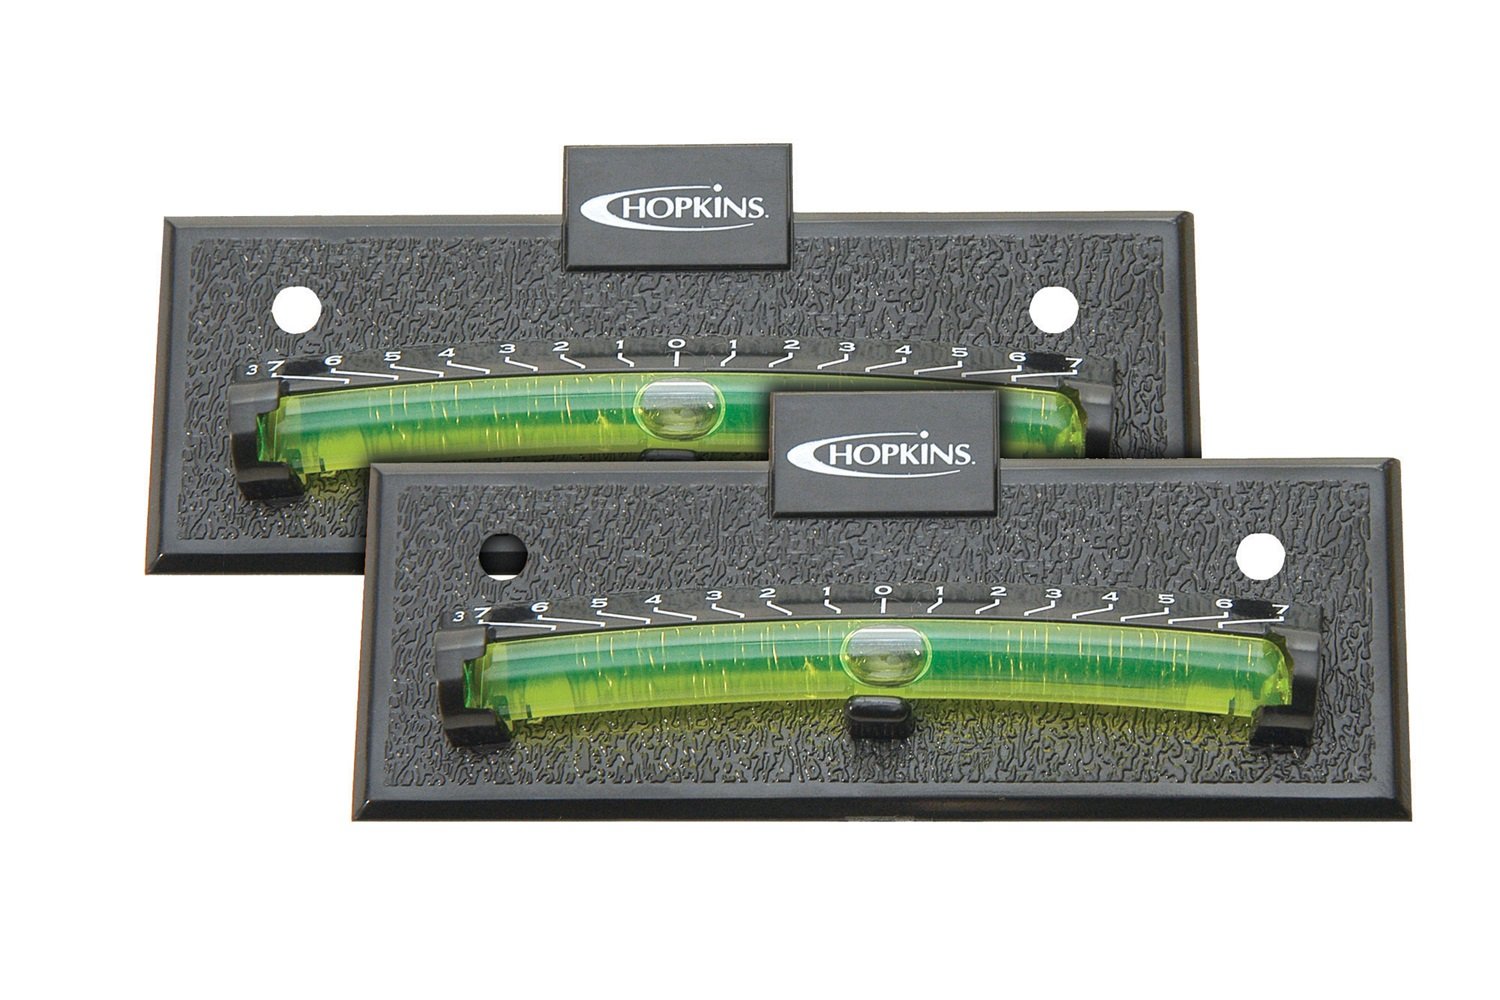
- chrisandoctaviaExplorerThanks - I actually have a set of these Hopkins Levels as shown above that I bought recently - but the one on the door just came off (need to find some better adhesive)
- EMD360ExplorerI bought a set of these levels--

and mounted them inside. They might be the Hoppy levels the others mentioned.
The graduated marks are for inches out of level. Now we can tell if the campsite is level without leaving the RV. Also lets us know how many inches of blocks approximately for each side or front to back.
We always support both rear tires too. We use a combination of tri-levels, the ramp type of blocks and the plastic squares.
Asphalt can be difficult to level on if the blocks get pushed out of place by the tires. But for the most part these levels have simplified the process for us.
By the way, I realized the RV does not have to be level to apply these. Just apply level with the interior door and dash trim. - tenbearExplorerX2 on the Hoppy levels. After you have used them a while, you can figure out what blocks you need and drive up on them. Personally, I like 2 x 6s in 3 different lengths, tapered on the ends.
About Motorhome Group
38,718 PostsLatest Activity: Nov 06, 2018