BruceMc
Jun 11, 2019Explorer III
Replaced dinette with theatre seats
I had plans to enhance and improve the dinette section in our 2250 Sunseeker. The cushion bottoms were getting mushy & we could feel the plywood through the foam. Generally, these factory seats stand up a bit longer, but it was becoming painfully obvious we needed to do something, particularly when we have 3 or 4 or 5 people in the unit for several miles.
My plans included rebuilding the seats so the back and seat would be at an angle, and the seat backs would (at least) be high enough for our shoulder blades.
To that end, I ordered new medium density 17 year foam for the cushions from FoamByMail.com, but it was really no better than the existing cushions. I probably should have ordered the firm foam instead. I was going to take the current bottoms & make them the backs, but all of that is now moot....
After discussing it with my wife, we decided to do something radically different. She's a dialysis patient, and there are times she simply needs to stretch out & rest. The 2250 floor plan with the dinette just doesn't give us that option, even with the swivel seat that I installed earlier this year (post on Forest River Forums):Swivel seats in Chevy 4500-redux. The swivel seat allows one to set in the passenger seat facing into the coach, but it doesn't recline much, nor does it get the feet up.
Thus, we went from this:
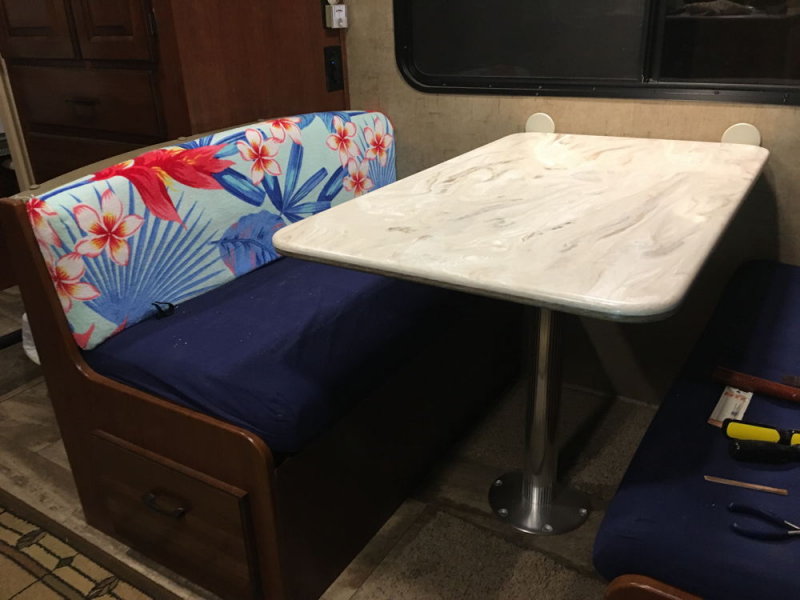
to this:
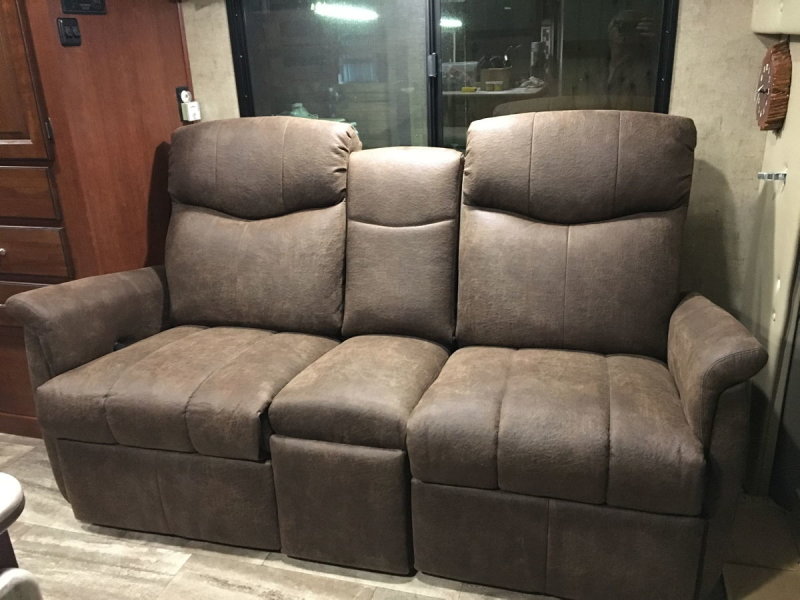
The process - Remove the old:
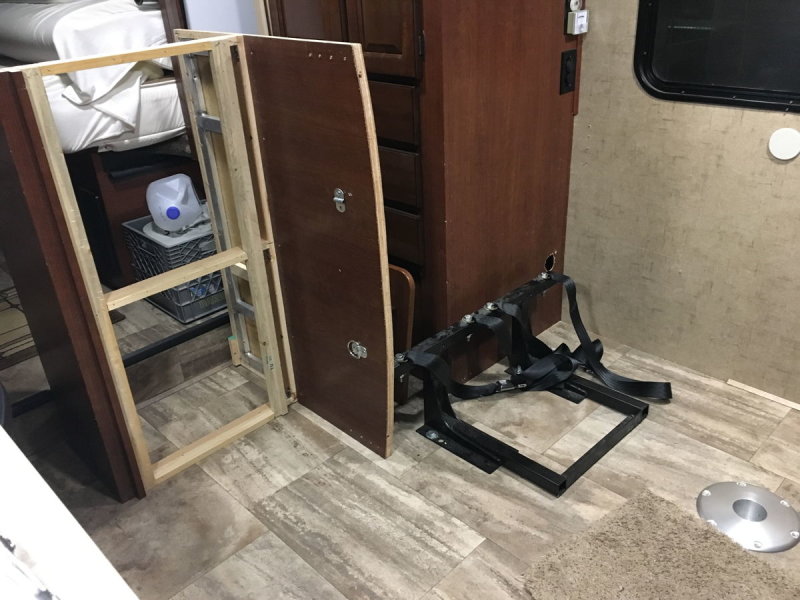
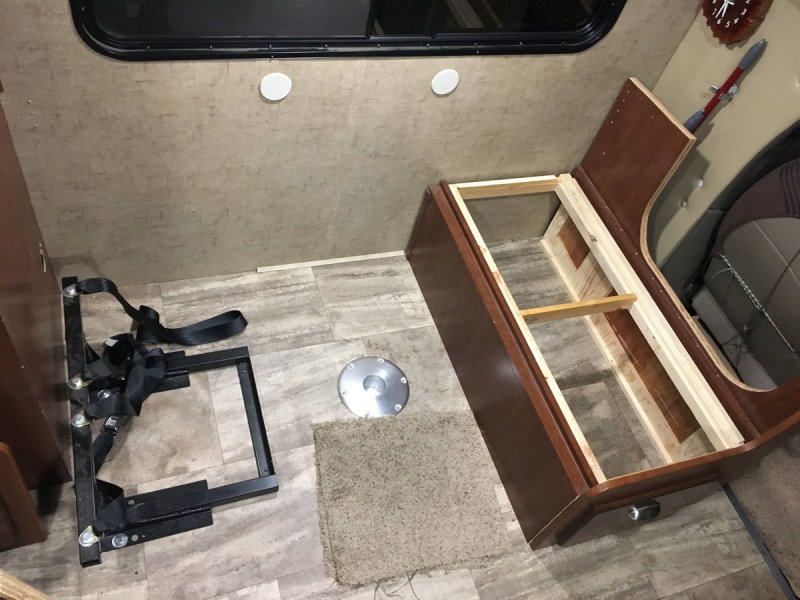
(More pics starting with these are on my photo hosting site: 2016 Sunseeker Mods PhotoAlbum on PBase. Click Next or click on the image to go back to the album. These images are toward the bottom of the set.)
While there are a lot of options, we were looking for a local supplier where we could go examine the product, set on it, snooze, measure, etc... After some research, we purchased this set off the floor from: Countryside RV Interiors - Junction City, Oregon
Whenever someone considers installing recliners/theater seats/etc in their unit, they are concerned about how to get that big thing through the door... Well, it all comes in fairly easy to handle sections:
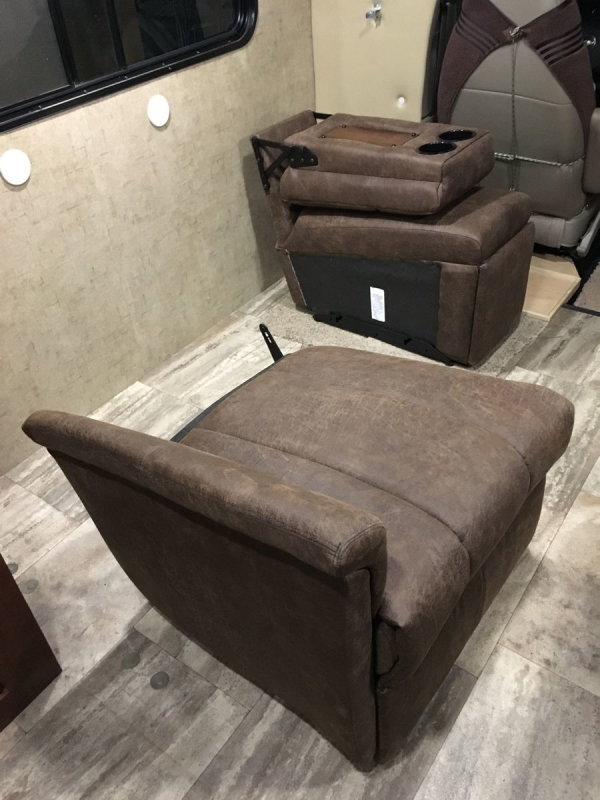
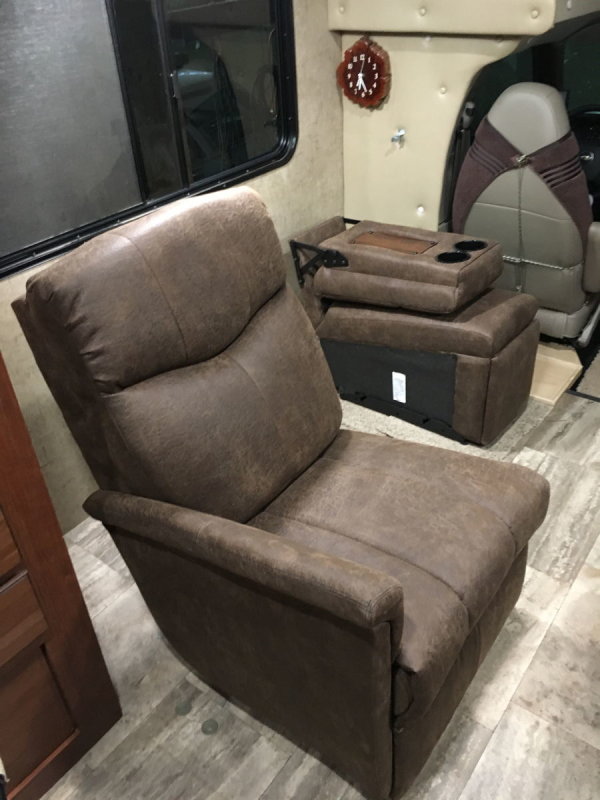
The center section could easily be another recliner, or two/three/four/etc recliners can be attached. The configurations are numerous with this setup.
The advantages:
o Very comfortable seats with good back rests
o Comfortable seating angles
o Recline, feet down or up
o More room to work in the kitchen (unless someone's feet get in the way), as these are about 4" narrower than the dinette
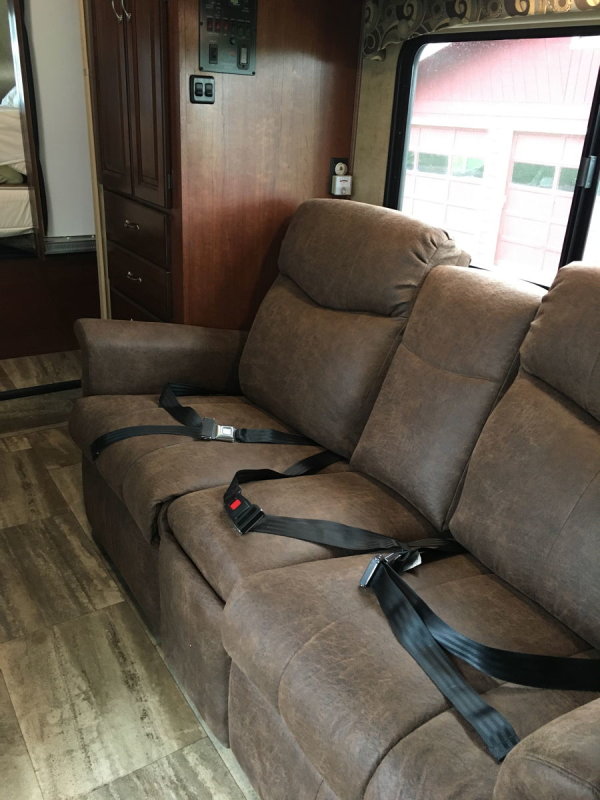
o Gained one more seat belt position - had two, now have three:
Disadvantages:
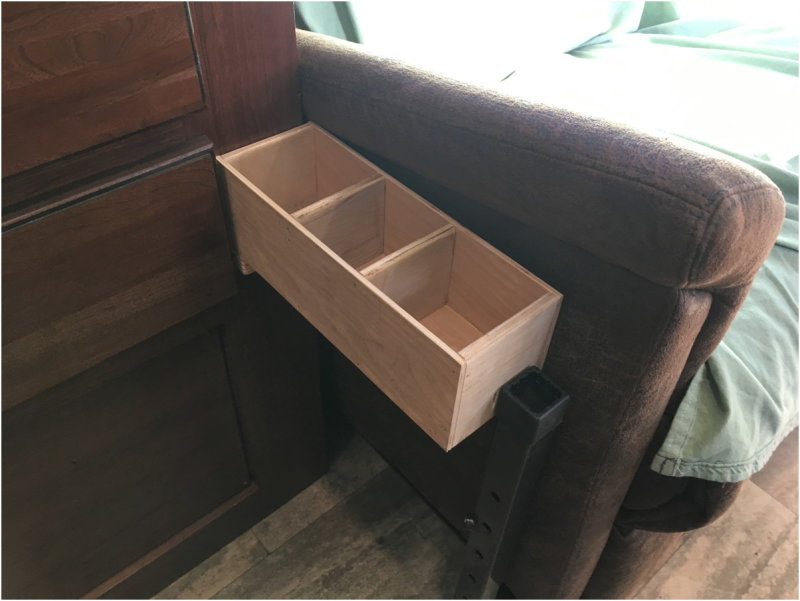
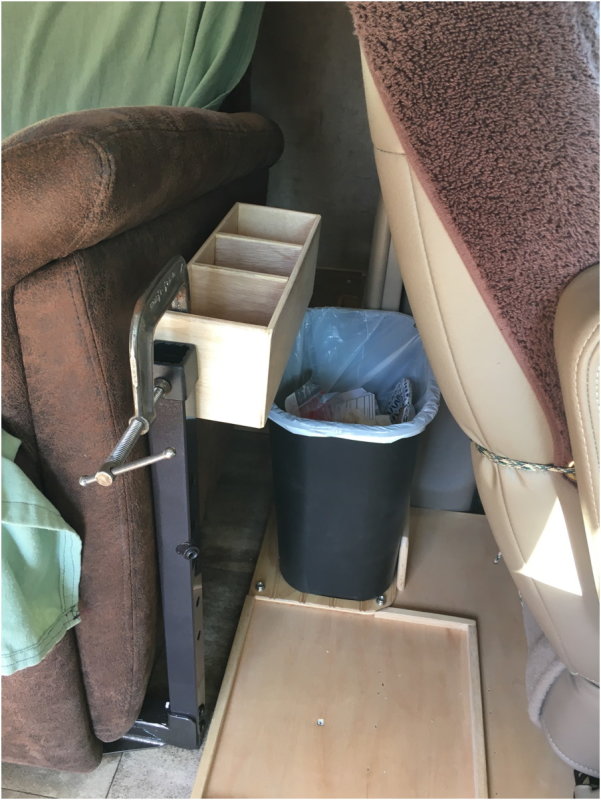
o Lost the storage under the benches - though I'm working on storage boxes behind and below
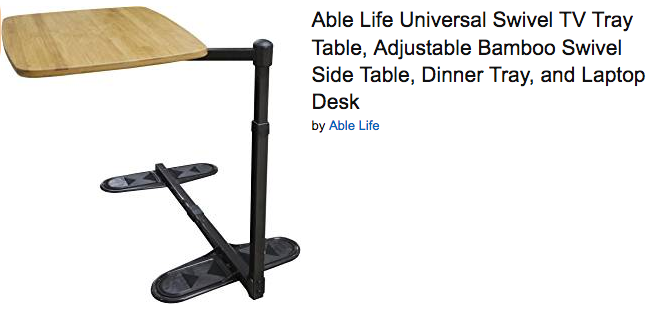
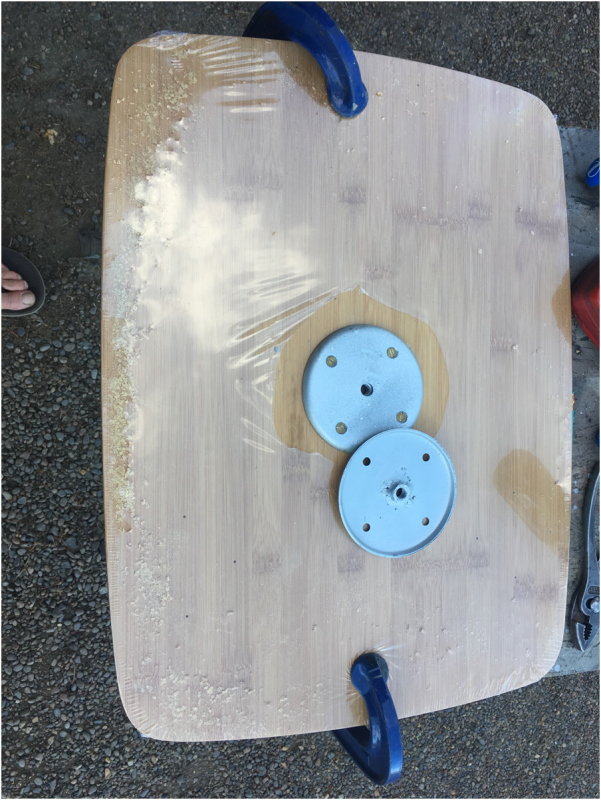
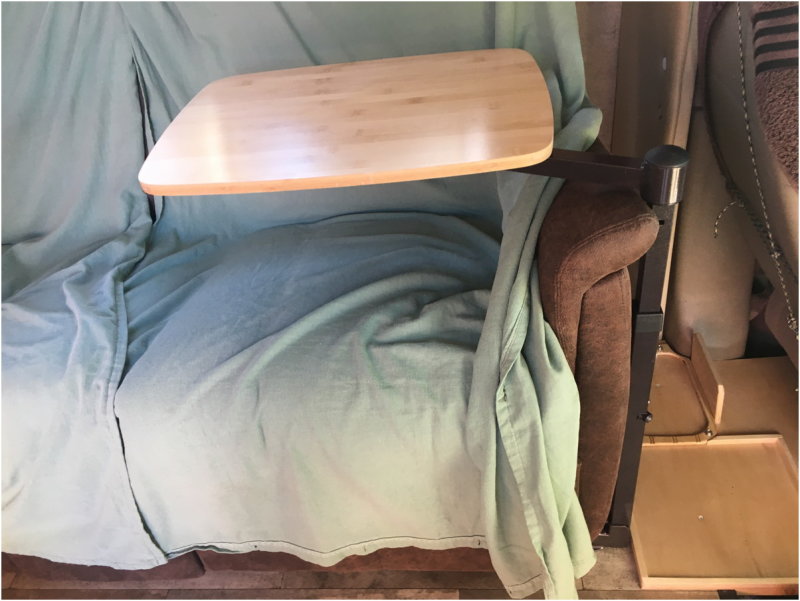
o Lost the nice Corian table that I just finished. To replace the table, I'm working on a pair of swing away tables using sections of that top, and looking at other options
o Lost one seating position - had 4, now have 3. (Though the center doesn't recline, it's pretty cushy)
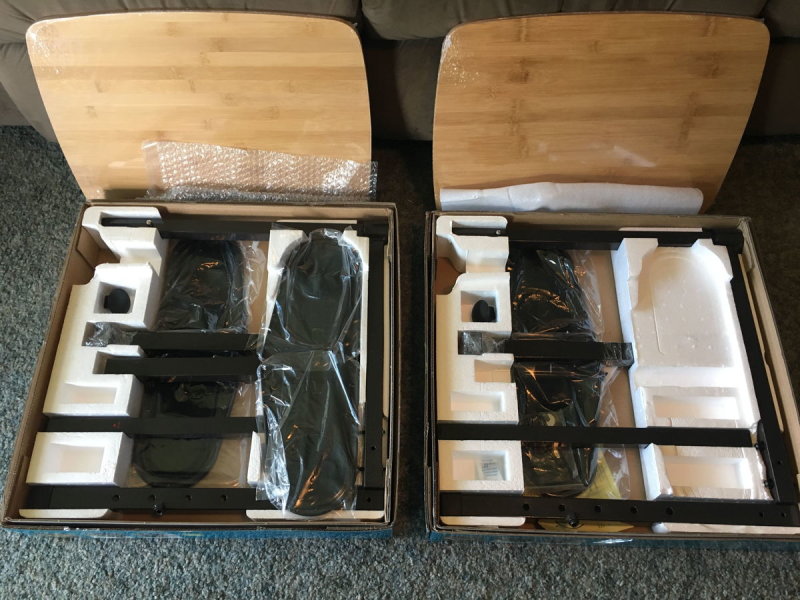
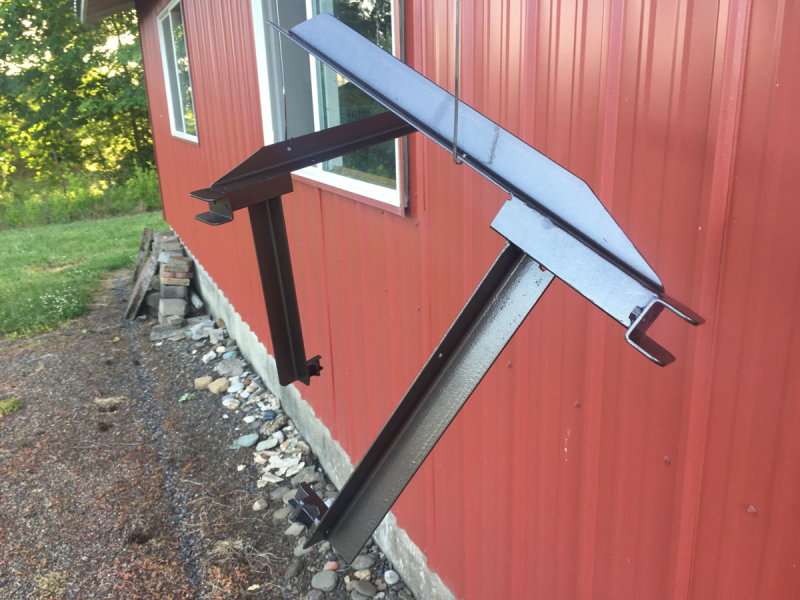
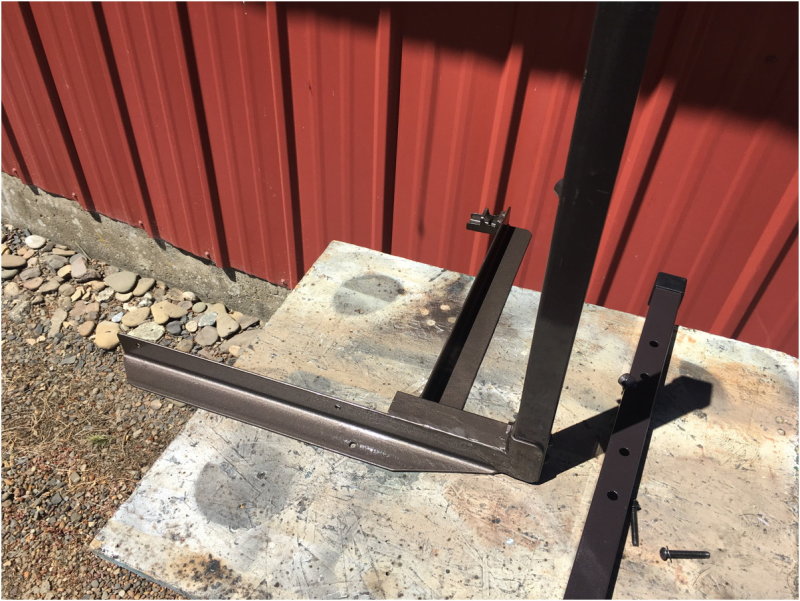
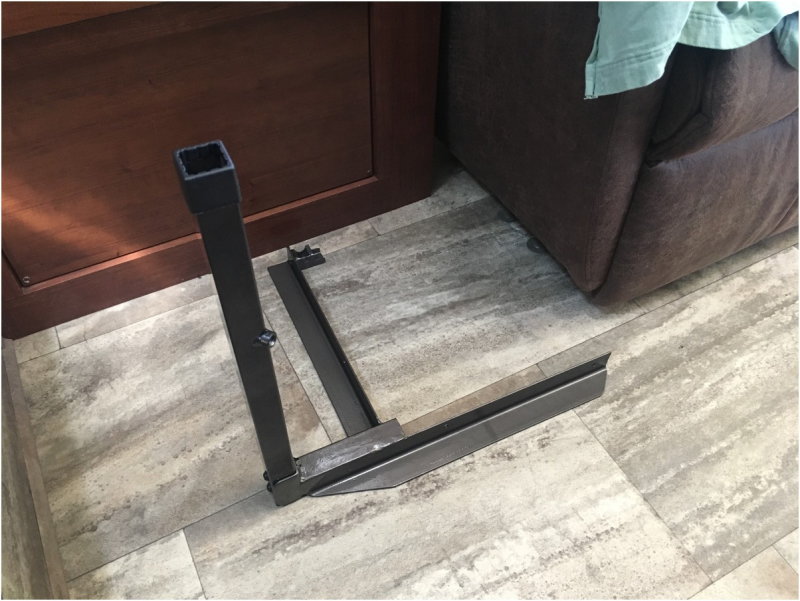
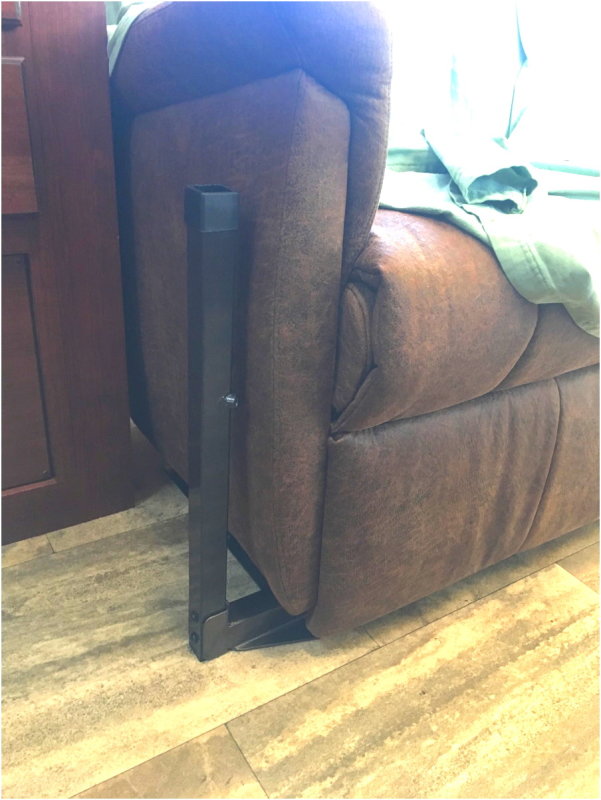
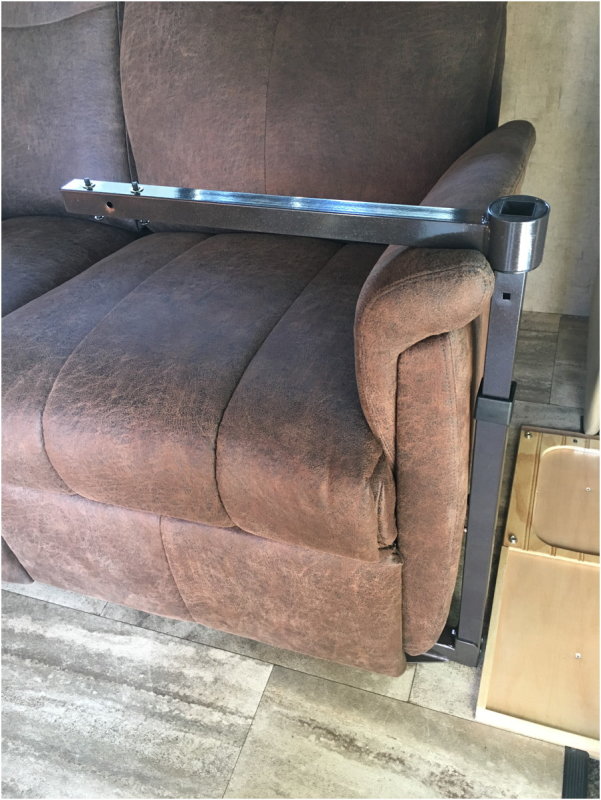
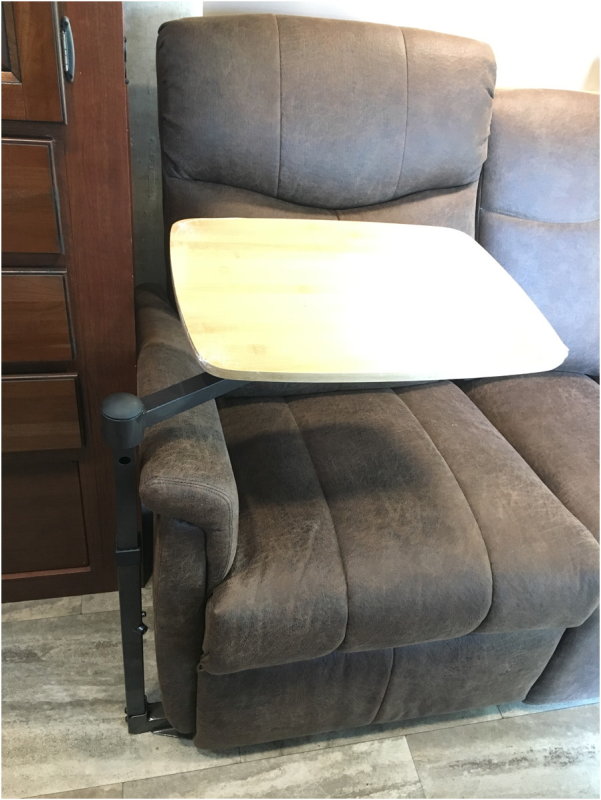
As mentioned, I'm currently working on a pair of swing-away tables for the two recliners, and will post that project as I complete it.
My plans included rebuilding the seats so the back and seat would be at an angle, and the seat backs would (at least) be high enough for our shoulder blades.
To that end, I ordered new medium density 17 year foam for the cushions from FoamByMail.com, but it was really no better than the existing cushions. I probably should have ordered the firm foam instead. I was going to take the current bottoms & make them the backs, but all of that is now moot....
After discussing it with my wife, we decided to do something radically different. She's a dialysis patient, and there are times she simply needs to stretch out & rest. The 2250 floor plan with the dinette just doesn't give us that option, even with the swivel seat that I installed earlier this year (post on Forest River Forums):Swivel seats in Chevy 4500-redux. The swivel seat allows one to set in the passenger seat facing into the coach, but it doesn't recline much, nor does it get the feet up.
Thus, we went from this:

to this:

The process - Remove the old:


(More pics starting with these are on my photo hosting site: 2016 Sunseeker Mods PhotoAlbum on PBase. Click Next or click on the image to go back to the album. These images are toward the bottom of the set.)
While there are a lot of options, we were looking for a local supplier where we could go examine the product, set on it, snooze, measure, etc... After some research, we purchased this set off the floor from: Countryside RV Interiors - Junction City, Oregon
Whenever someone considers installing recliners/theater seats/etc in their unit, they are concerned about how to get that big thing through the door... Well, it all comes in fairly easy to handle sections:


The center section could easily be another recliner, or two/three/four/etc recliners can be attached. The configurations are numerous with this setup.
The advantages:
o Very comfortable seats with good back rests
o Comfortable seating angles
o Recline, feet down or up
o More room to work in the kitchen (unless someone's feet get in the way), as these are about 4" narrower than the dinette
o Gained one more seat belt position - had two, now have three:

Disadvantages:
o Lost the storage under the benches - though I'm working on storage boxes behind and below
o Lost the nice Corian table that I just finished. To replace the table, I'm working on a pair of swing away tables using sections of that top, and looking at other options
o Lost one seating position - had 4, now have 3. (Though the center doesn't recline, it's pretty cushy)
As mentioned, I'm currently working on a pair of swing-away tables for the two recliners, and will post that project as I complete it.
