Travlr41
Aug 09, 2014Explorer
Baseplate installation on a 2013 Miata
Some background: I had sold my 2010 Jeep Wrangler toad and was on the way home from Fayetteville, Arkansas with my new 2013 Miata toad (hopefully) when I got the message from Discount Hitch that Roadmaster said the baseplate made for the 2006 to 2011 Miatas would not fit. Yikes, no pressure there! With encouragement from the Miata baseplate guru Healeyman I went ahead and installed the Roadmaster 52728-1 baseplate. I'm very pleased with the results and it goes to show that although there are 3 versions of the NC Miata, they are all the same under the skin.
Resources for this installation are:
The Roadmaster installation manual
Healeyman's 2010 Miata baseplate installation
Here are some installation observations:
Here's the start
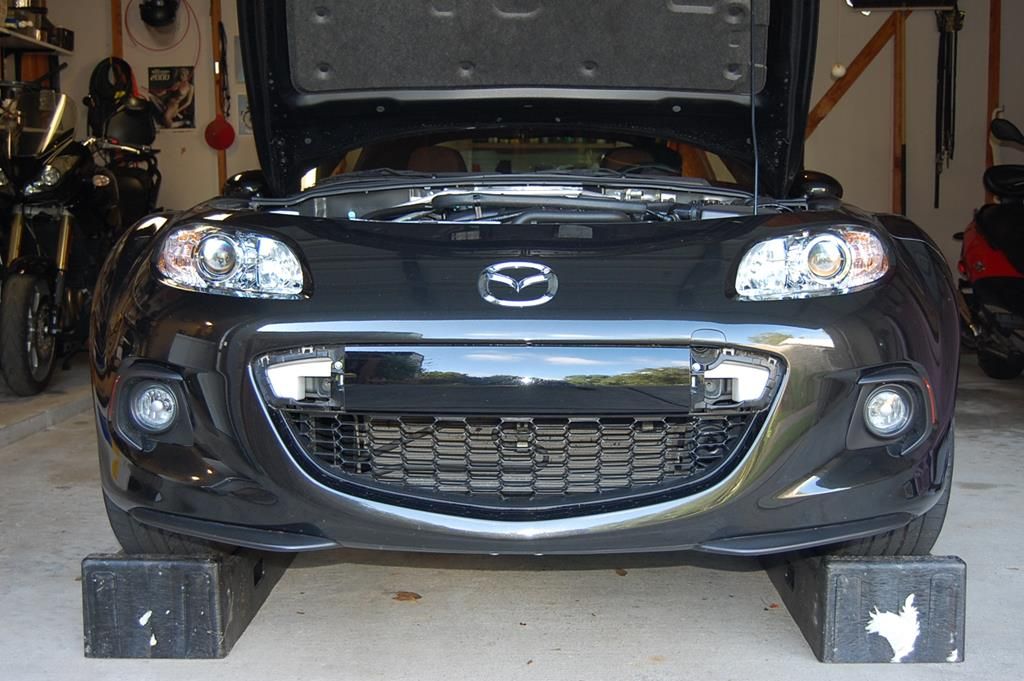
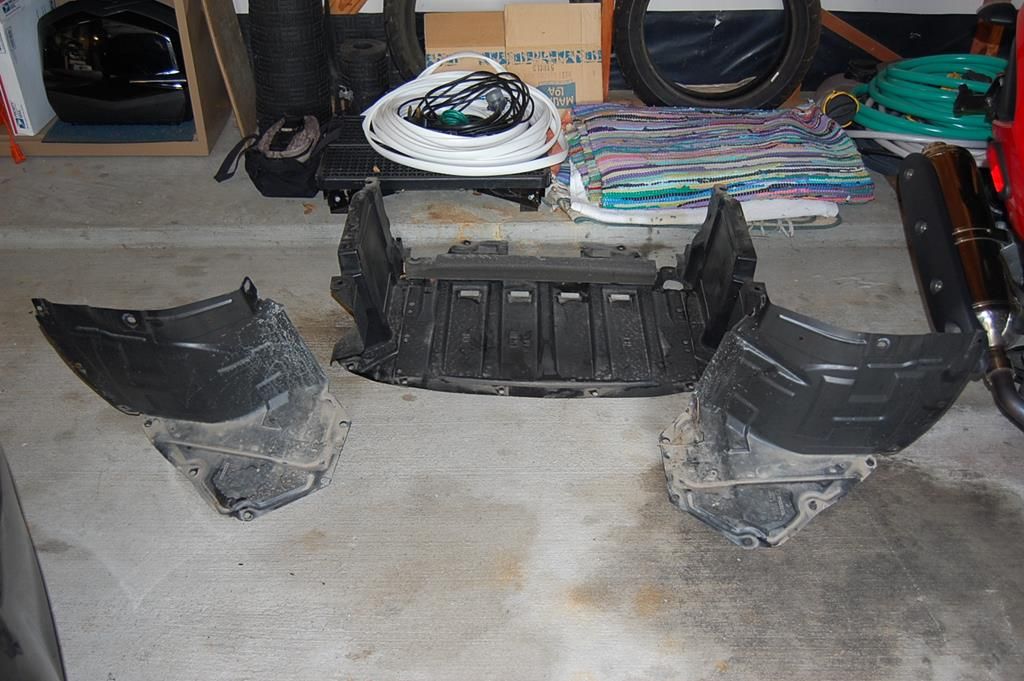
Getting the front and center splash guards off
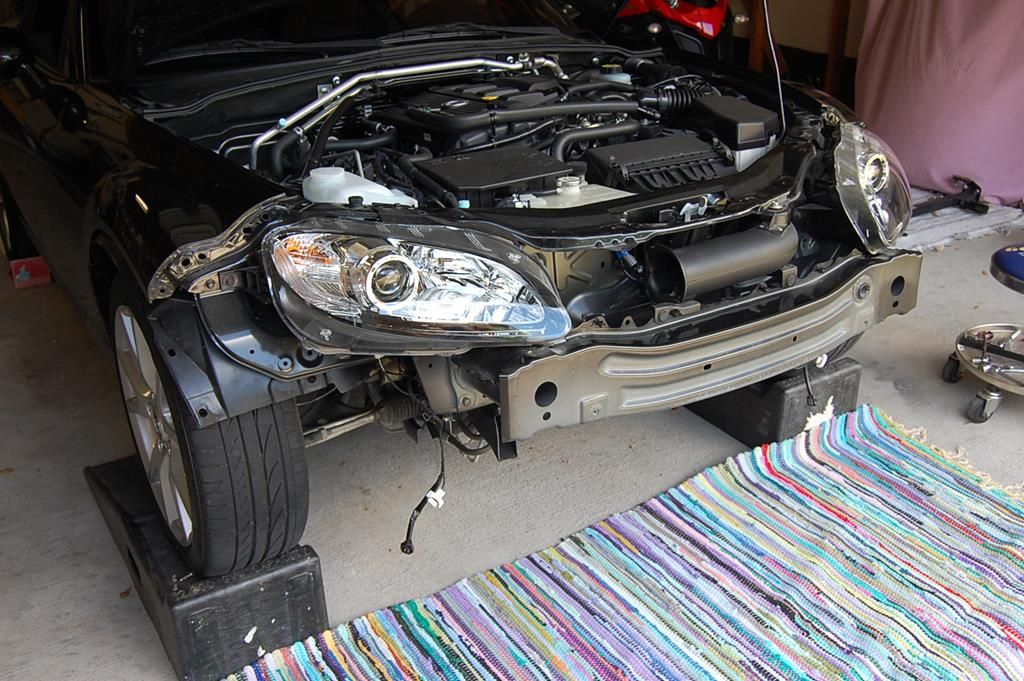
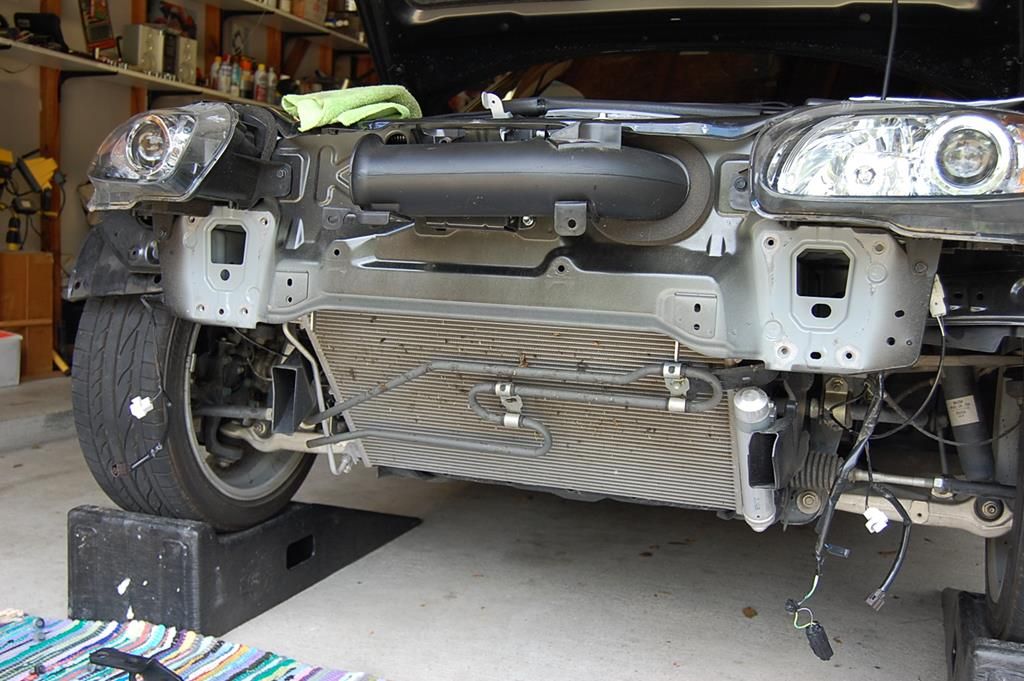
Looks like dunebuggy with the fascia panel off
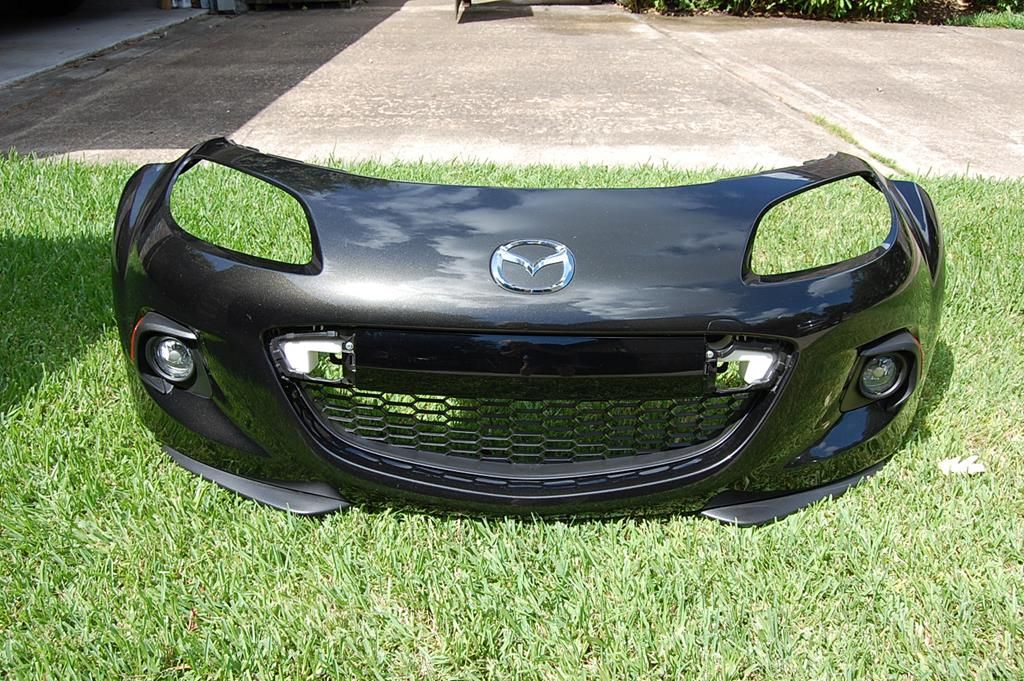
This is what you need to get out of the way
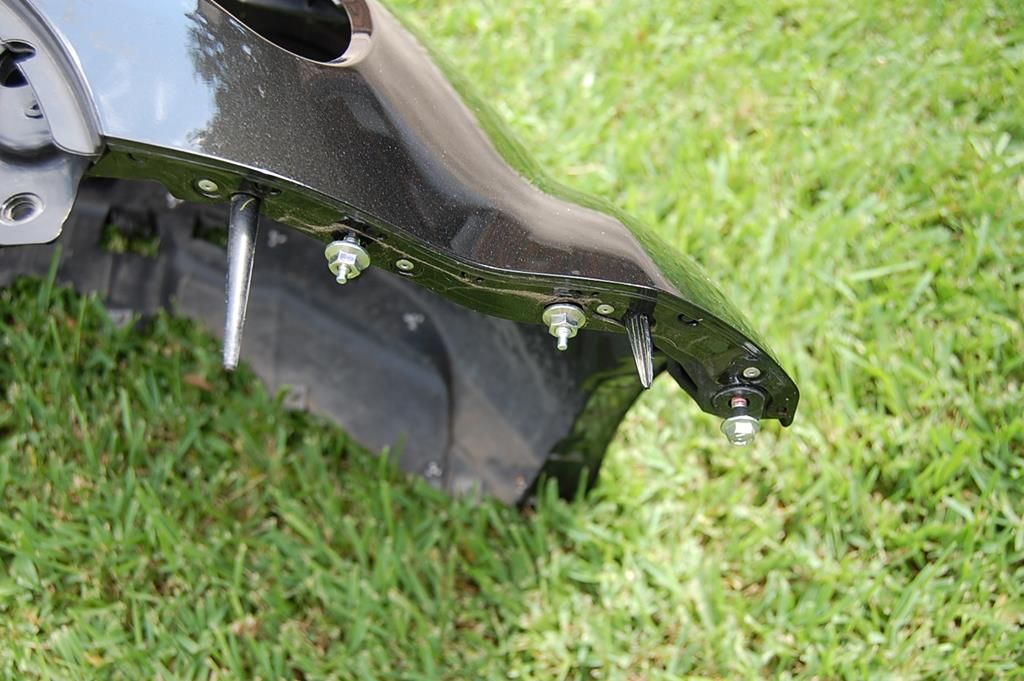
These are the nuts and bolt that you have to remove all the plastic for
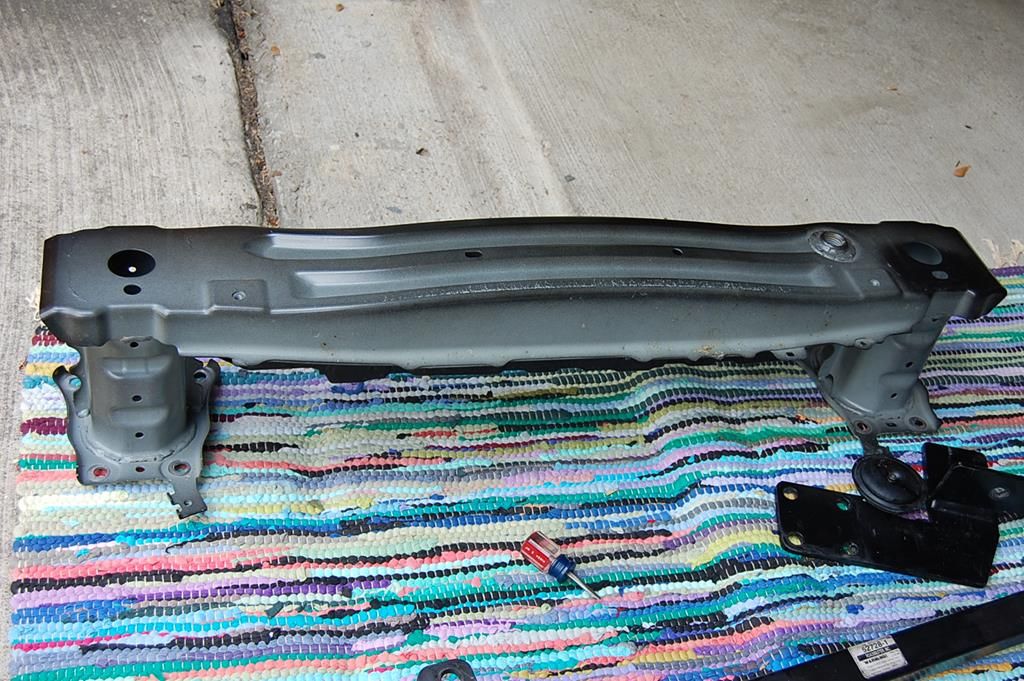
This is the bumper core. You can see the holes the need to be enlarged to 1/2"
With the bumper core off, you can fish in the nut plates through these holes
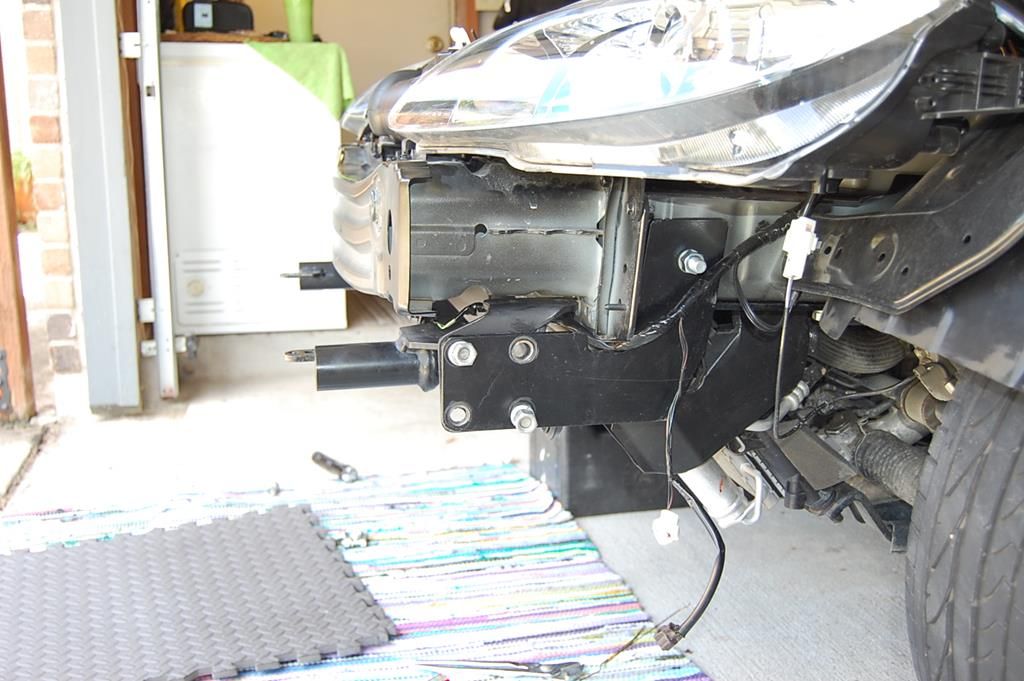
Here we are loosely fit up
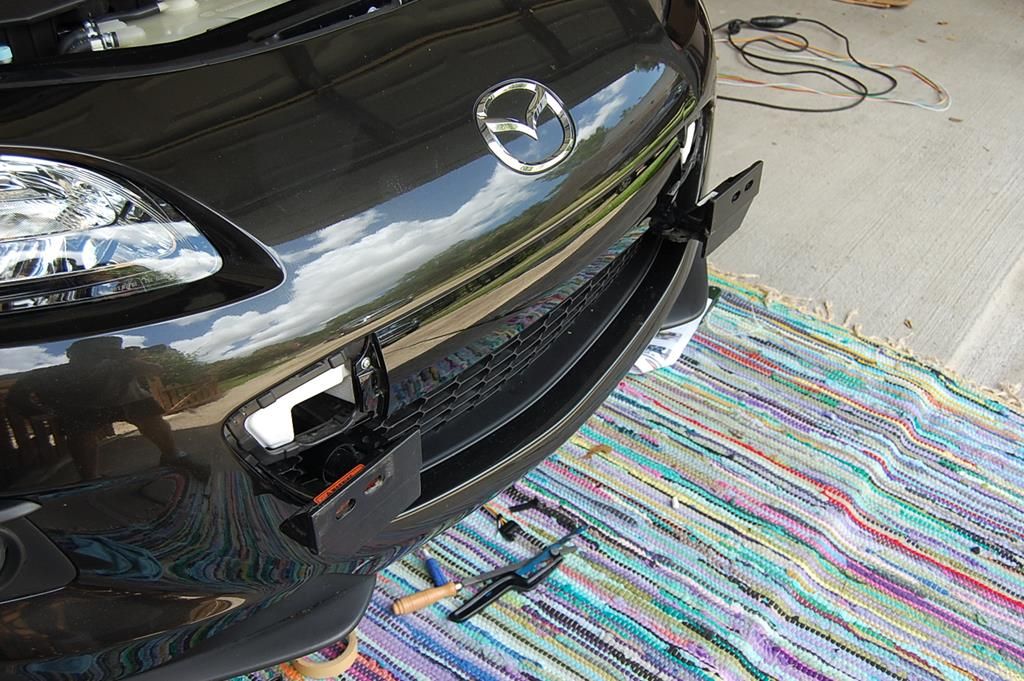
Here we are with the fascia back on and checking the brackets
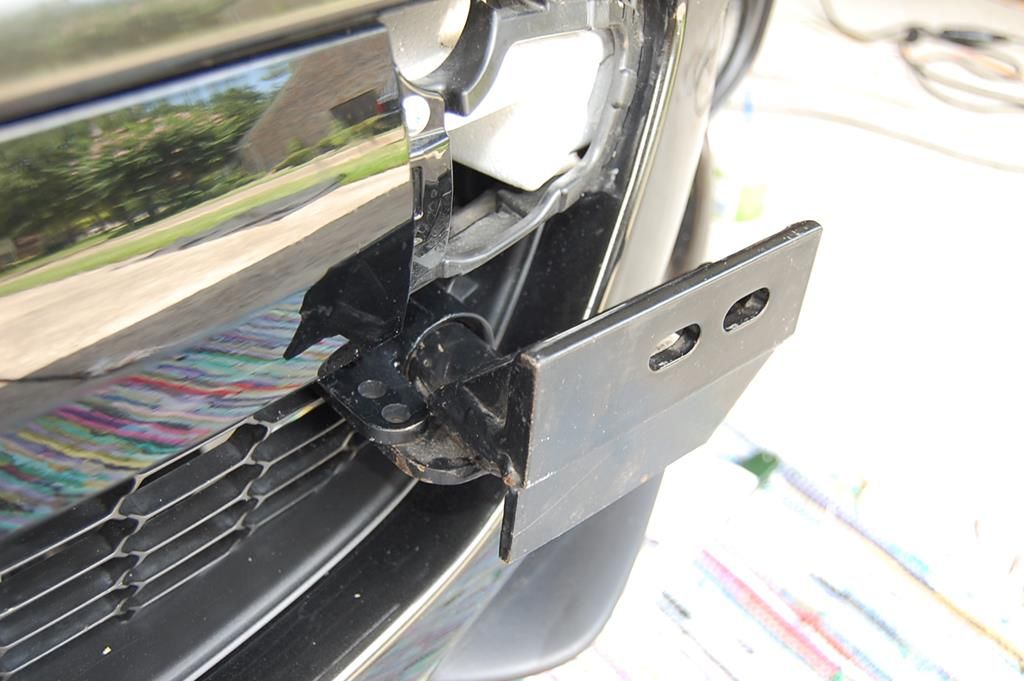
A closer look
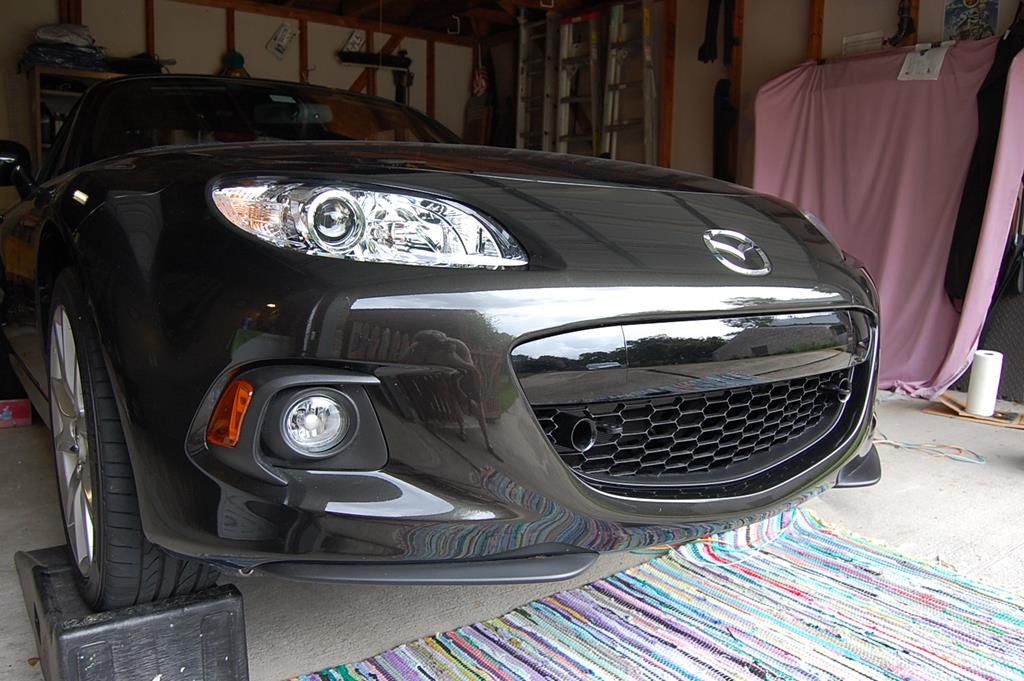
Real pleased with the final installation
Resources for this installation are:
The Roadmaster installation manual
Healeyman's 2010 Miata baseplate installation
Here are some installation observations:
- Healeyman has a floor jack and jackstands so he removes the front wheels. This makes removal of the fender liners, splash guards and fender bolts/nuts easier but is not required. I used my Miata ramps
- I had a used baseplate, so I had to fish the nut plates into the main rails with a magnet and coat hanger. To make it easier, I removed the bumper core as per instructions. Healeyman is more coordinated and skips this step
- What ever you do, don't follow the directions to drill out the bumper core holes once it has been removed
- Fit up the whole assembly loosely, then drill out the holes for the 4 vertical bolts on the main cross-member (hat tip to Healeyman)
- The center splash shield's vertical sections have to trimmed. A box knife works but sometimes goes out of control
- Cutting holes in the nice new grill is stressful, but it turns out not much has to be removed
- Because the grill is recessed in the 2013 and 2014 models, the towbar receptacles stick out farther and can be used in a normal fashion (not true for 2009 to 2012 models)
- There are a hundred plastic fasteners, screws, bolts and nuts to keep track of. I organized with baggies
- You will have 2 fasteners and 2 screws leftover (don't panic)
Here's the start

Getting the front and center splash guards off

Looks like dunebuggy with the fascia panel off

This is what you need to get out of the way

These are the nuts and bolt that you have to remove all the plastic for

This is the bumper core. You can see the holes the need to be enlarged to 1/2"

With the bumper core off, you can fish in the nut plates through these holes

Here we are loosely fit up

Here we are with the fascia back on and checking the brackets

A closer look

Real pleased with the final installation
