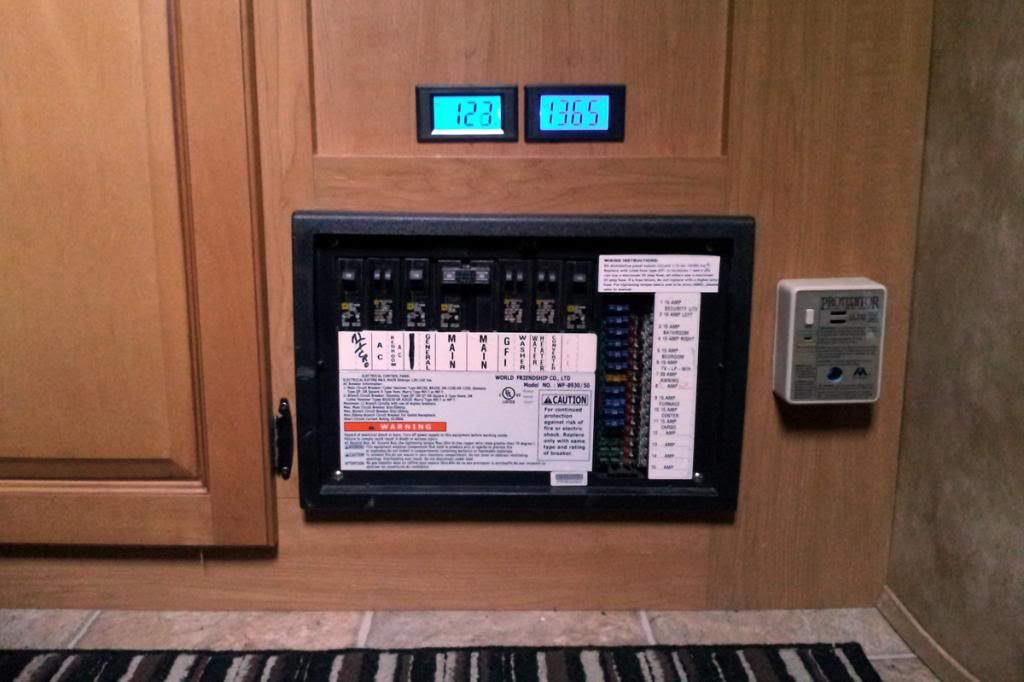
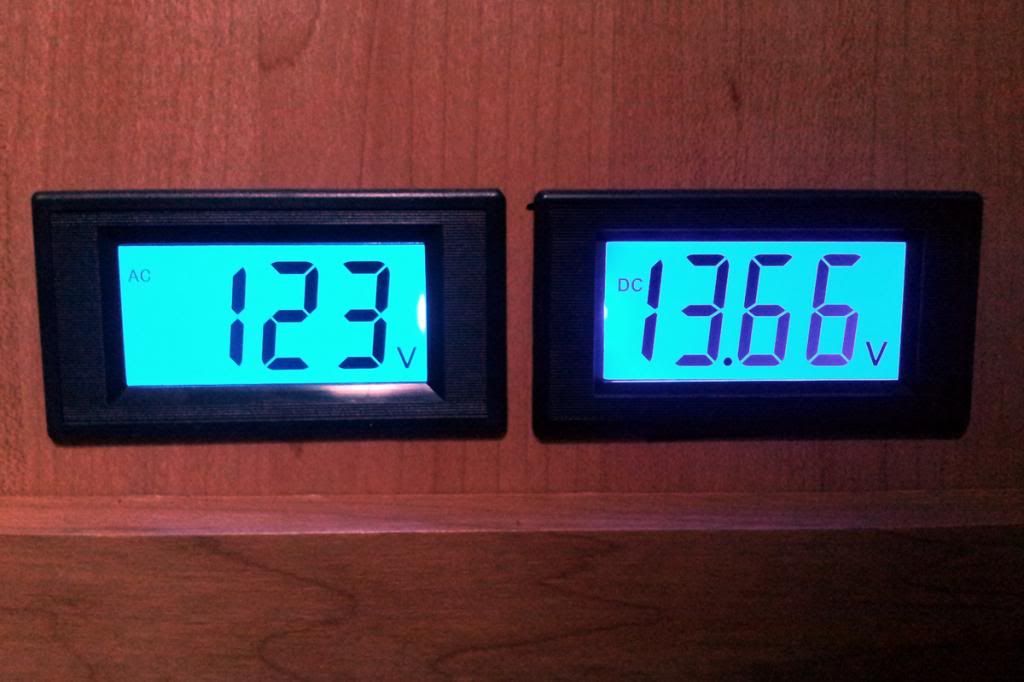
I had to add a ON/OFF swith to my three meters i installed. They were too bright to leave on. I first thought they would make a good night lite but turned out to be WAY TOO BRIGHT hehe...
Good job on your layout.
I use my homemade meter setup all the time especially when camping off the power grid. It is very important to me to know when I am approaching the 50% state of charge point which is approximately 12.0VDC. I am hoping this is going to occur around 8AM in the morning when I can usually be allowed to run my generator to re-charge my battery banks so I can do the battery run again the next day/night battery run...
My panel only includes two 7-30V DC VOLTMETERS and one 0-75A +/- DC CURRENT meter. looks like this using meters from Sure Electronics Ebay China...

My monitor case is a Lowes specialty three gang switch Wall plate mounted vertical and I was able to use RTV to glue the meters to the openings. All of this is mounted inside a standard three bay PVC electrical switch box (LOWES) and fed with flexible 3/4-inch PVC conduit from the battery bank main Blue Sea switches. My on/off switches are Radio Shack toggle switches mounted on the rear of the panel which I have easy access from a cabinet door. They was going to be mounted on the front panel but I ran out of patience hehe... Turned out pretty good for me...
All of cabling from the battery switch area is secure, out of sight, and fused feeding the power monitor panel. The power monitor is also enclosed in secure PVC panel.
My cables coming from the battery switch are fused at 1AMP using in-line fuses. The current monitor is a hall effect donut current tap and is also fused with 1AMP in-line fuses.
This is where I tapped into my battery bank to get my Dc voltages an DC current monitor.

My Battery monitor is mounted directly below the Jenson AM/Fm Radio on this cabinet side panel so I can view from both inside and outside the OFF-ROAD POPUP trailer.

Roy Ken


