Forum Discussion

Tucson_Lawrence's avatar
May 06, 2013

2004 Damon Challenger upgrades-handle, valances & diner tops

I hope it's OK, but I'd like to keep a running post here about our upgrades we are doing to our 2004 Damon Challenger we bought in November.
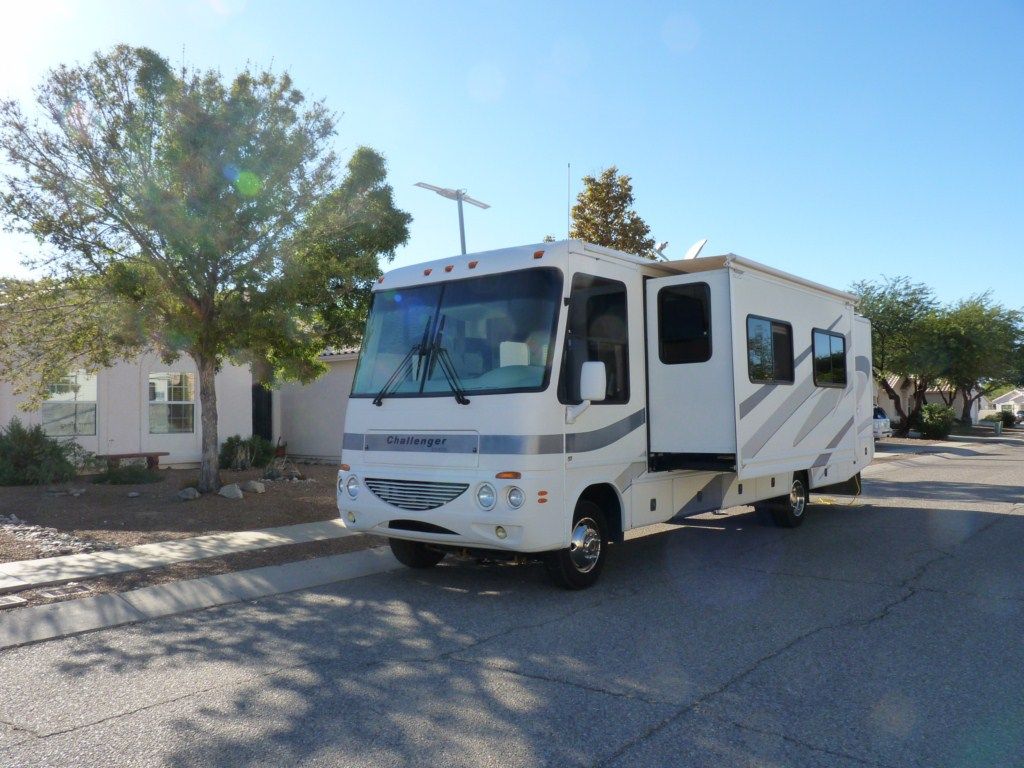


At first, our "to do" list was quite short-
- get our 2012 CRV equipped to tow
- switch out the old original plastic toilet with a porcelain one
- tear out wardrobe area and build bunk beds

Since then, our "to do" list has grown a bit... all of the above plus
- replace or refinish all the brass hardware including shower surround
- refinish the gelcoat in the shower
- add 12v usb ports and power points to the boys' bunk areas
- replace the main mattress
- replace the bedroom lights
- replace all incandescent bulbs with LEDs
- recover dining room dinette cushions
- rebuild dining room table
- recover/simplify window drapery/valances
- paint interior
- replace or refinish kitchen counters
- relocate or replace television
- add additional seat belts and properly anchor those already in place
- fix or replace captain's chairs
...not to mention general upkeep and maintenance!

Pics and updates on how things are coming along to come... we've done quite a bit all ready and I'd like to both share my experience (as well as my budget) and would love any tips/hints etc any of you can provide.

V/r
Lawrence
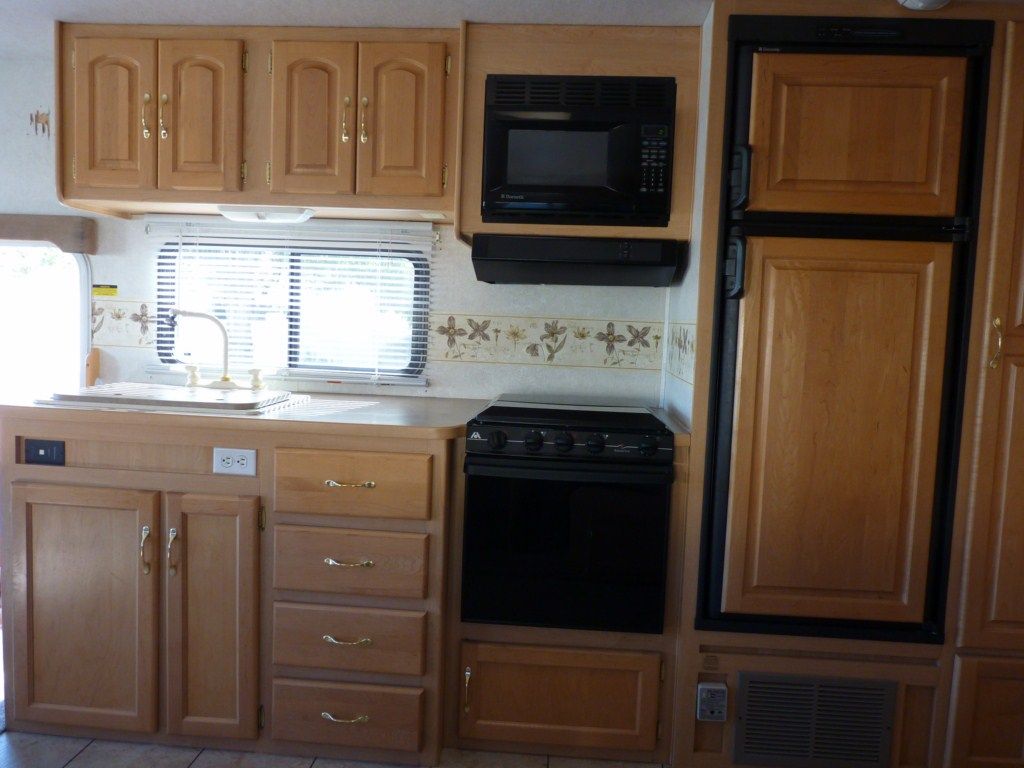
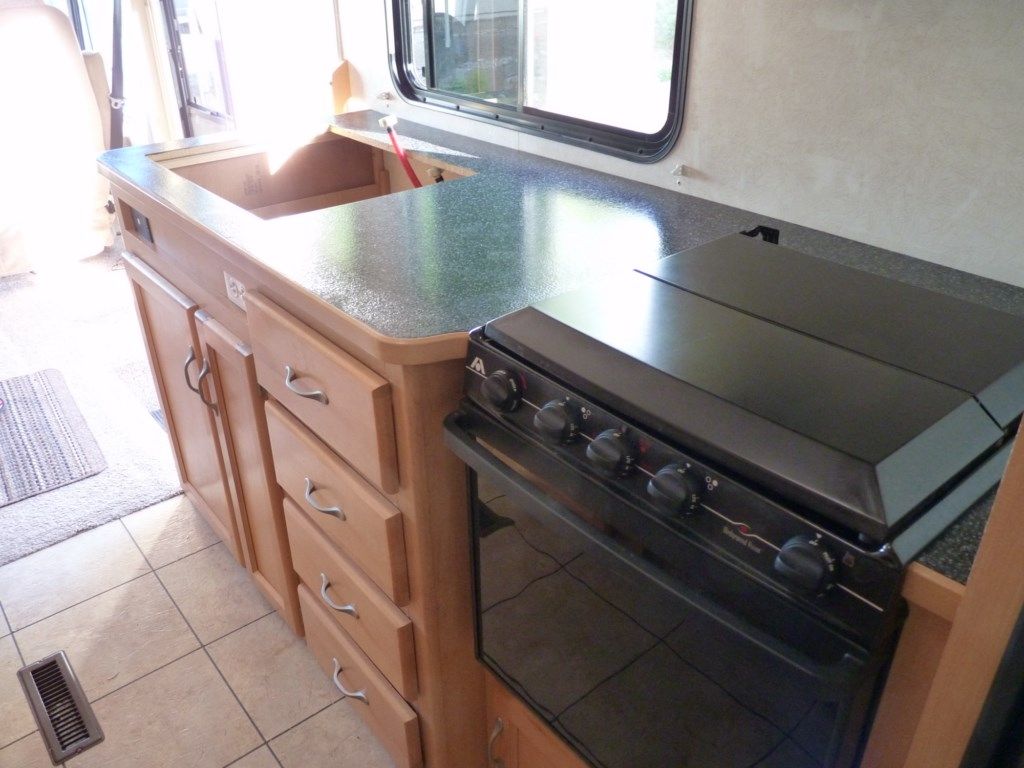
  • The kitchen counter wasn't bad.... but it wasn't good either

    Although I keep leaning towards just getting some corian (I have the ability and the tools to shape man made countertops) the cost would be prohibitive to refinish something that although not exactly appealing, wasn't all that bad.

    Hard to see in this pic... but it is this color of laminate...


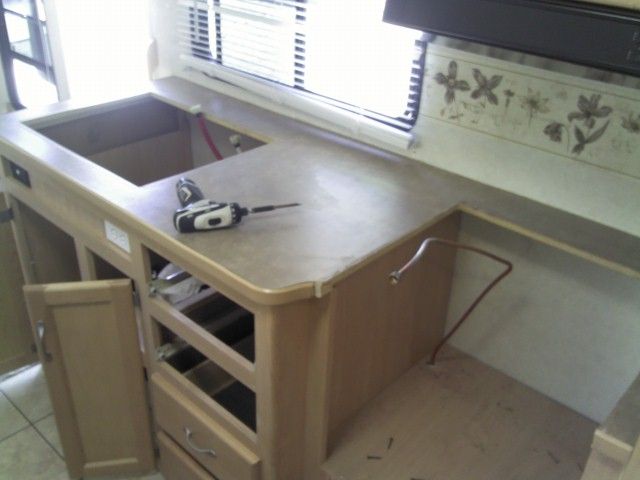
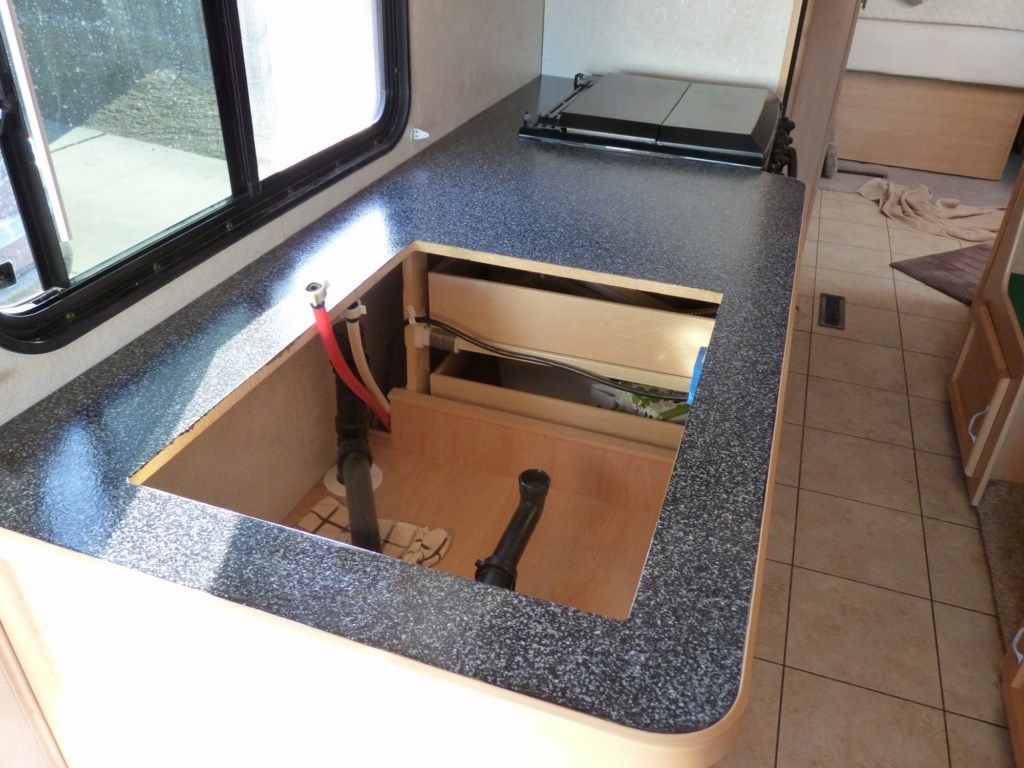
    Well... out came the kitchen (and bathroom sinks, oven, and counters...)
    and into the shop they went.

    Options-
    1- replace with corian or other manmade surface.
    cost- about $400 if I did the work myself

    2- add a piece of laminate sheet on top to change the color.
    cost about $170...
    but there was a problem. On the edge of the countertop is a PVC edgeband. If I just add more laminate on top, the edgeband wouldn't match up in height... so this wouldn't work...

    3-redo laminate and underlay
    cost about $220

    4- (and what we went with) Rust-Oleum counter transformations kit
    cost- $112
    http://countertops.rustoleumtransformations.com/

    With the money back satisfaction guarantee, I figured I couldn't lose. (and I almost didn't in the end)

    First, remove countertops

    Second, CLEAN - CLEAN - CLEAN (and then TSP and then clean some more)
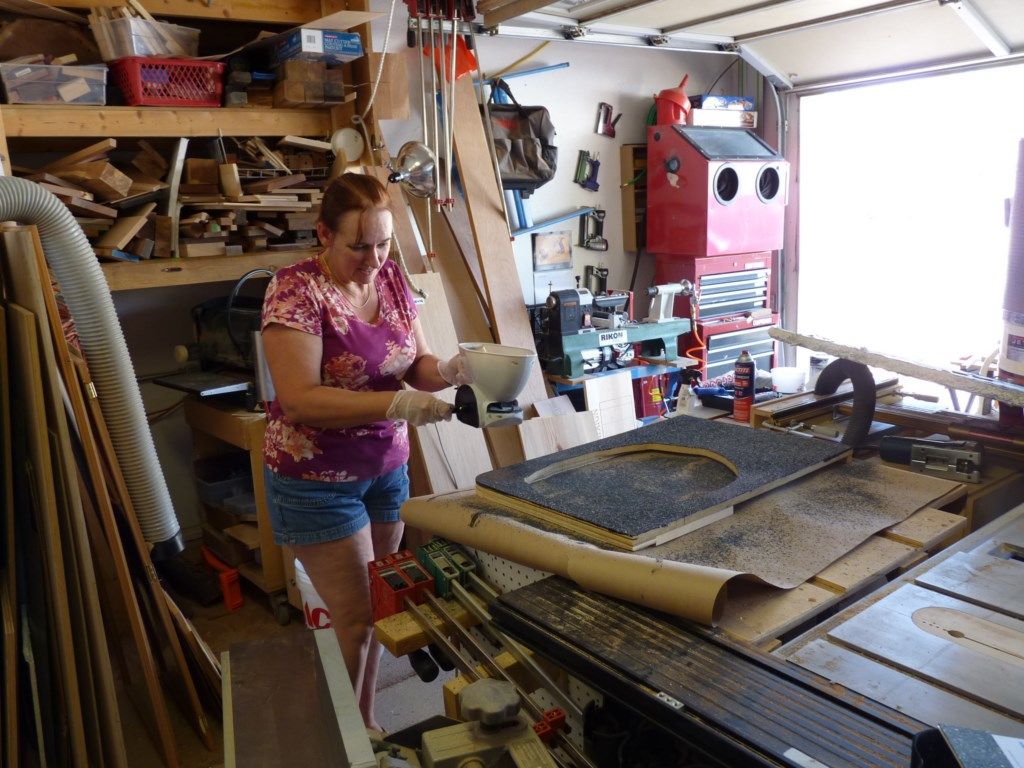
    Third, Add adhesive and then (with my beautiful assistant's... uh... assistance...) add chips


    On a side note, the "removal" process revealed several "interesting" build quality issues such as sink holes that looked like they were cut out by a drunken beaver and cabinets held together by 608 differently lengths of screws with stripped out heads... (sigh..)

    Next, sand sand sand... the kit came with a small bit of diamond plate that quickly gave up the ghost so I moved on to my ROS with good dust collection


    Finally, add the 2 part epoxy, roll on... let dry and enjoy... almost...


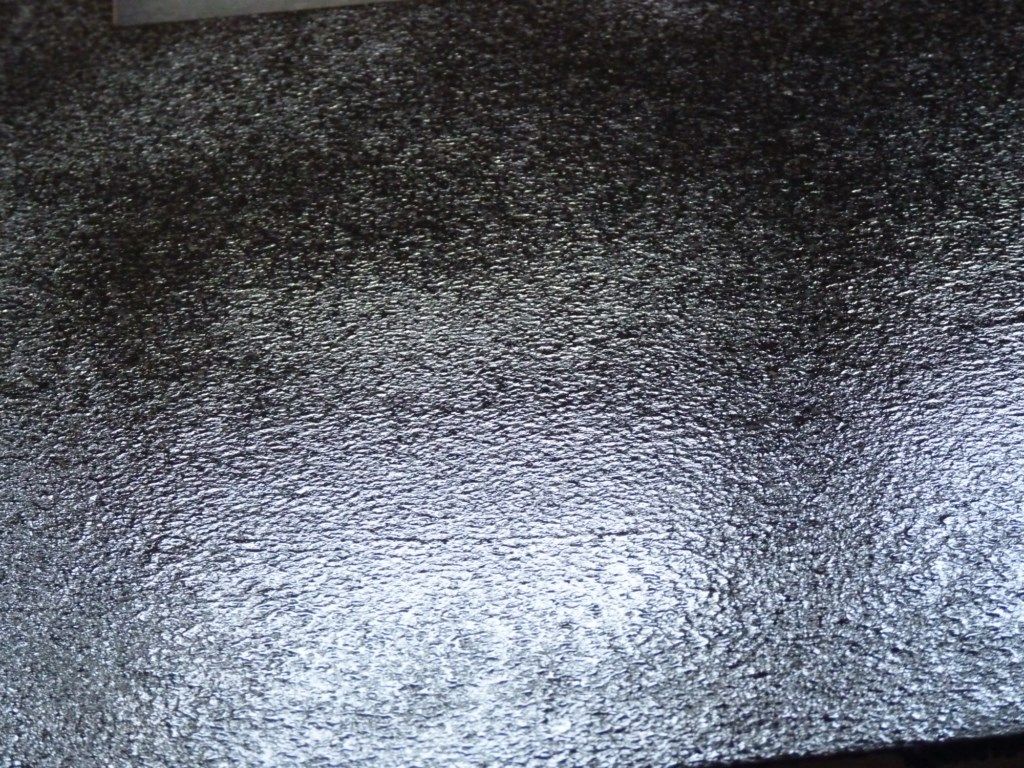
    the finish ended up drying to a quite ripply orange peel... sanding only started to break through to the chips and simply wasn't acceptable. I called rustoleum and asked if there was a fix available and the technician was VERY helpful and both offered some alternatives and ALSO very generously offered a full refund on the product as we were not satisfied with their product out-of-the-box

    I even told the tech that it was probably usable as-is but would be trying additional materials as recommended to get it up-to-snuff and she still said they would send a refund. I very much appreciated the pleasant and unexpected way in which rustoleum stood up for their 100% satisfaction guarantee even though I was not fishing for a refund.

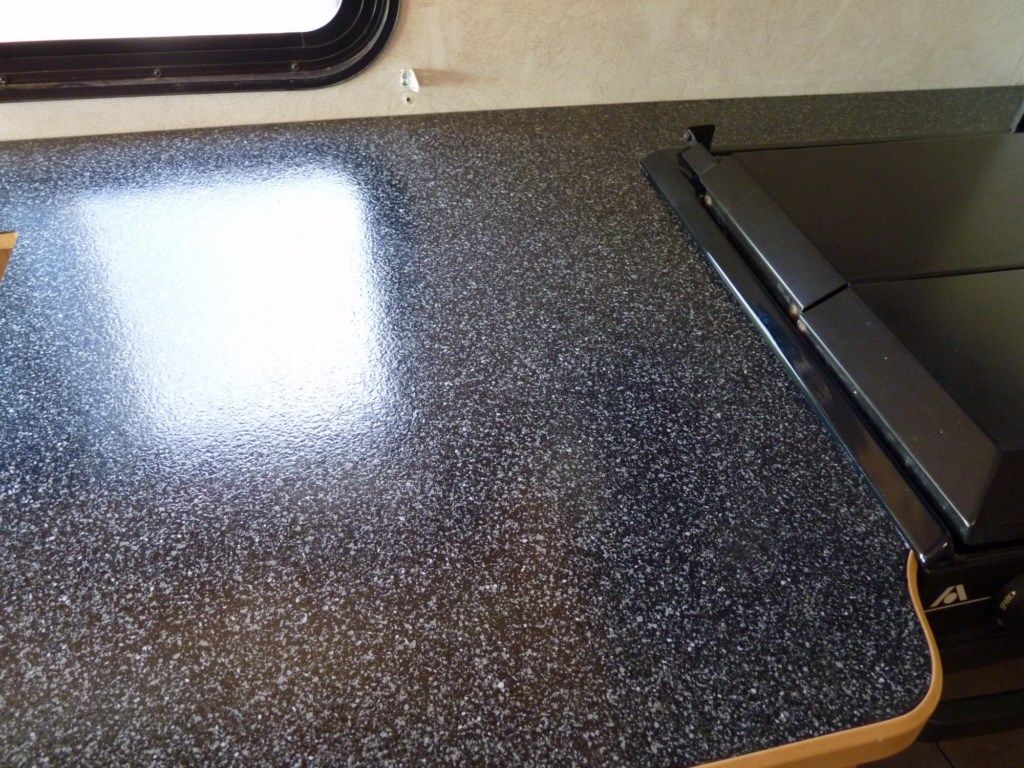
    So after a LOT of additional sanding, $39 additional dollars worth of west-systems 2-part marine epoxy, and some buffing with micromesh, the final results are pretty darned good IMHO.


    A new stainless steel sink is on the way too... pics to come of that...but in the meantime, I am quite thrilled with the results of the refinishing job and think it looks much better.

    Cost
    - Kit $112 (refunded - did not cure properly due to low humidity) great job again rustoleum.
    - West-system 2 part epoxy - altered mix for low humidity (thanks John at West Systems for the assistance!) $39
    - Sandpaper - $15
    - Time- approx 8 hours- not including several days' cure times (would have been less except for the topcoat SNAFU

    The bathroom counter was done as well, but I've got a little surprise in store for that one and will add more at another time...

    Thanks for reading and please comment/ask any questions you have. I'm enjoying sharing this experience with you,

    V/r
    Lawrence


    (we got the refund check in the mail 3 days after the phone call- great job rust-oleum in backing up your product!) It looks like our drastic lack of humidity (about 3-5%) may have been the culprit. I believe that this product will work "out of the box" quite well in most climates and really like the final result
  • hardware remodel -

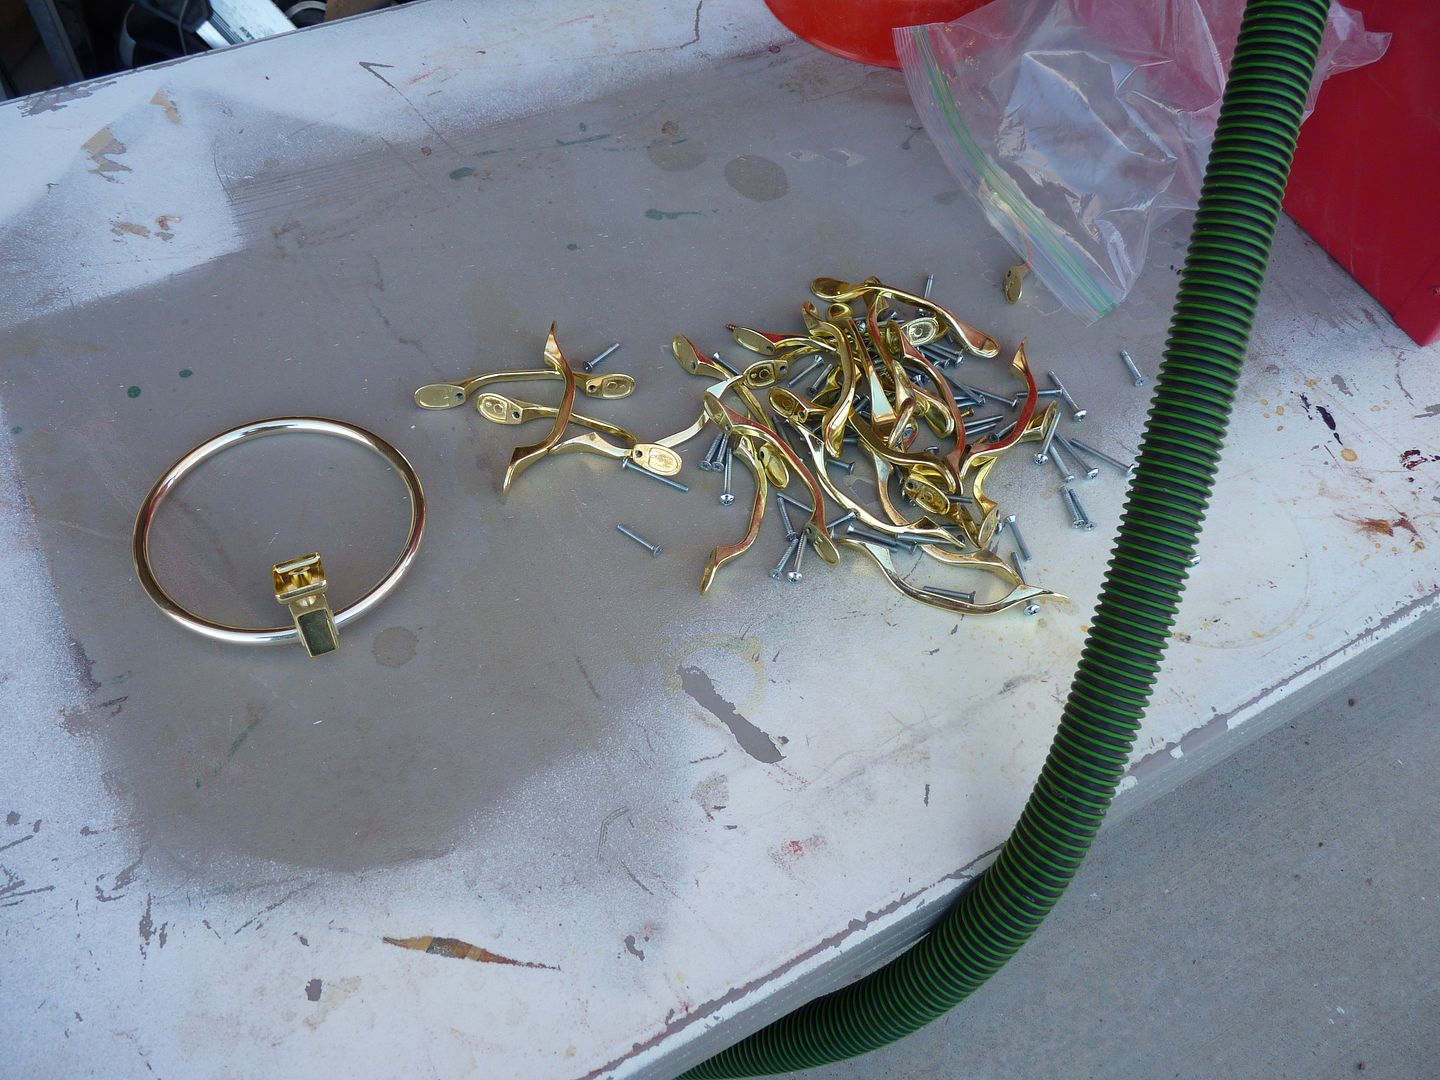
    My wife and I both HATE shiny brass hardware. Because we bought our motorhome at a very good price, we weren't going to look a gift horse in the mouth and let a little thing like 149 pieces of shiny brass stand between us and our 6-wheeled dreams.

    First thing was to remove a couple of pieces of brass hardware from cabinets that were destined to be torn out... if the refinish didn't work out it would be no harm, no foul.


    I then broke out my trusty sandblast box, some aluminum oxide, and a good respirator.... after sandblasting the paint off I primed and then painted the handles with 2 thin coats of rustoleum satin nickel paint. After these cured I sprayed them with 3 quick coats of satin lacquer with a quick rub down with a paper bag before the final coat. This left the handles looking better than new.

    I then removed and refinished ALL of the gold from the coach, including the shiny lamp... which got both a coat of nickel and a sandblast on the glass to give it new life.


    Even the screwheads were refinished by putting them into foam, sandblasting and then finishing...


    Why go to all this trouble instead of just re-buying? Although I could buy similar replacement hardware for about $300, it likely would not have matched up to the holes/fade patterns on my cabinets. Refinishing created the look we wanted at a very low cost


    -Cost
    1 can grey primer - $3.50
    1 can satin nickel spray paint $7
    2 cans satin lacquer $12

    Total- $22.50

    Time - approx 6-8 hours

    Next up... the kitchen counter

    comments/questions/anecdotes etc are always appreciated...

    V/r
    Lawrence