Forum Discussion
U_P__BLDR
Apr 16, 2012Explorer
westend wrote:hilandfrog wrote:
Great work it really looks nice.
I wasn't smart enough to use separate pieces of wood around my stove:(
Times like this it becomes apparent that I'm good at following directions.... I'll know better for "next time"
While I did use different wood and some stain I didn't use different stain on the 2 woods, also used polyurethane but not one as shiny as yours.
3 coats with sanding and mineral spirit wipe downs between.
I can't tell by your pics, did you leave a lip UP on the top of the counters?
I did, figured the extra 3/8ths" being left UP, would stop things from sliding off and if not it will tip them over for bigger more spectacular spills.
I'm working on lighting and filling all the staple holes w/ wood putty, and the cracks along cabinets w/ flexible stuffs in a tube.
So close, yet not there, YET.
Repo
Thanks, Repo!
A little secret: I only added in the additional boards around the stove because the over-all countertop length is longer than the edge-glued panel. Any other method is going to be just as good, I'm thinking.
No, I didn't add a topside lip. That is a good idea, though. I'm not too woriied about containing spills, when I'm in the kitchen the floor and everything else gets to be a mess, lol.
Yeah, the finishing aspects with woodworking really eats up time. The Minwax Helmsman varnish dries to sand/recoat in 4 hrs. or so. A guy can be doing other things, of course, but the thing being finished is always the next thing to be installed, it seems.
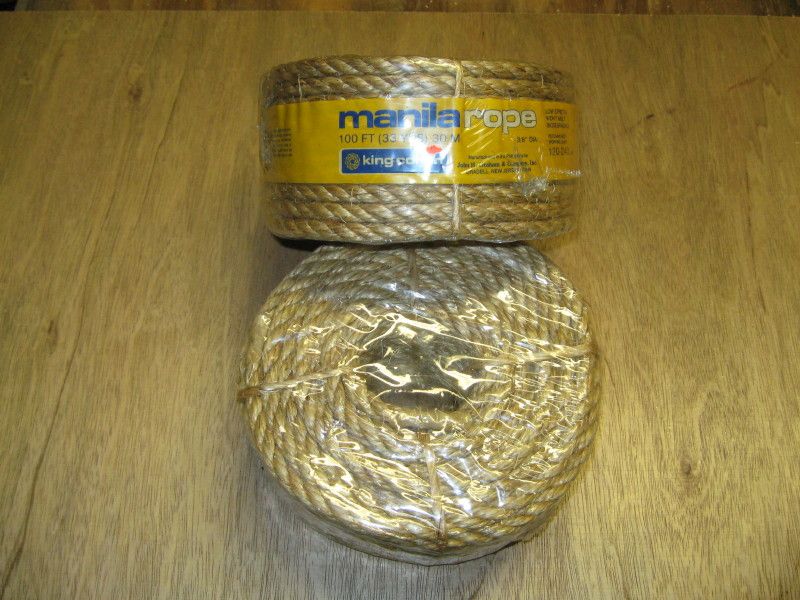
Since I'm going with the cowboy look, I'm using this for most of the inside joints:
It should be fairly easy to glue and brad-nail the rope into place.
I wondered what you were going to trim the inside corners with, you mentioned you had a creative idea for that. Pretty cool, how are you going to attach it?
About Travel Trailer Group
44,070 PostsLatest Activity: Aug 07, 2020