I am going to go into some detail on adjustment of the friction sway control and why some people, including me initially, have had trouble with adjustment of the sway control bar. Draw-Tite, Husky, and others use the same bar with their own name put on it.
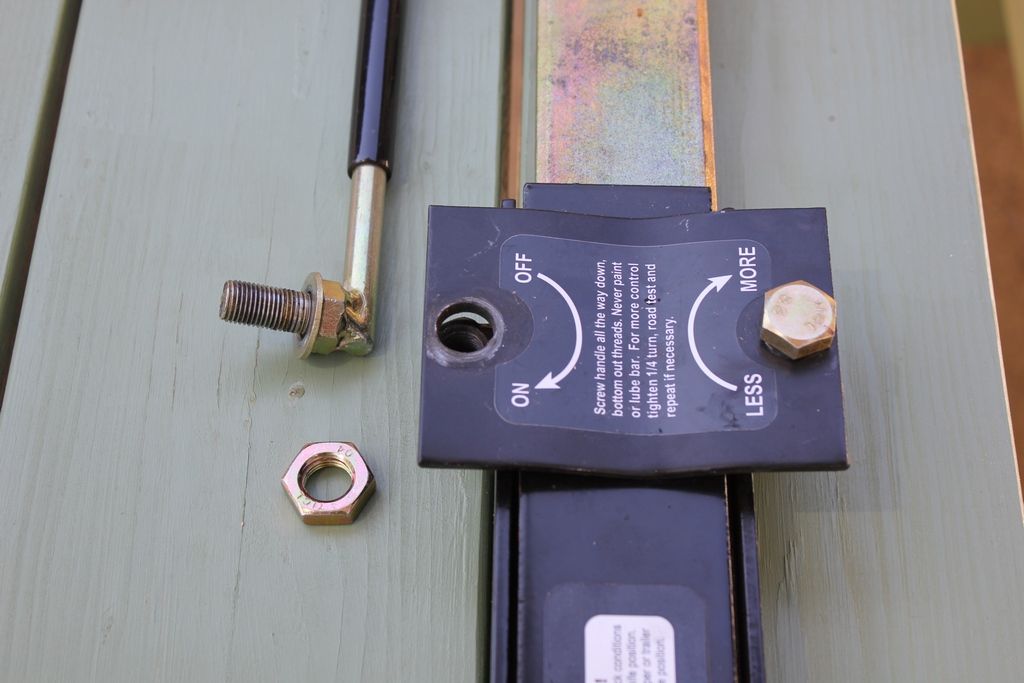
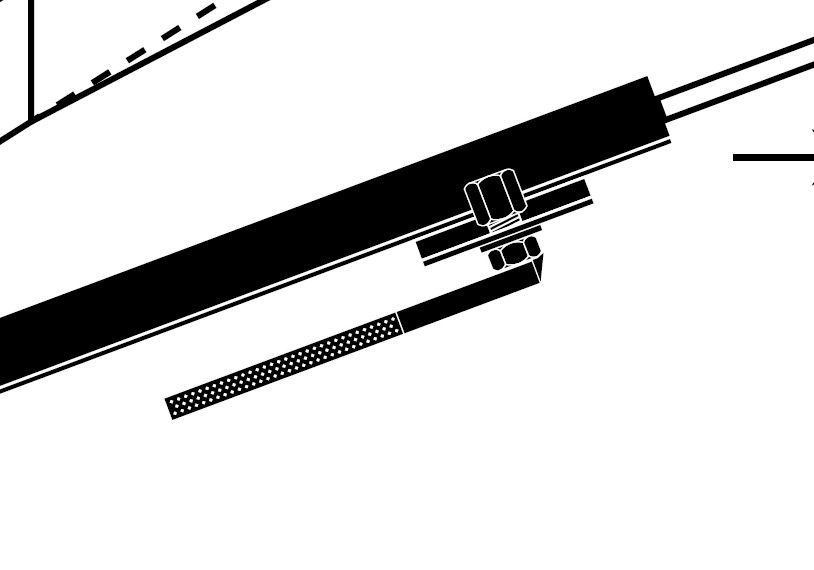
The instructions on the sway bar tell you to turn the handle all the way in and bottom out the threads. Look at the drawing below. This is the way they used to be built. They are certainly not built that way now. This is the reason that so many people have complained about the fact that you can't get the plate to bottom out without the plate being so far cocked over. It is amazing that they changed the design without adding the required spacer.
The bottom bolt is really easy to adjust by hand once you relieve the tension on the top bolt.
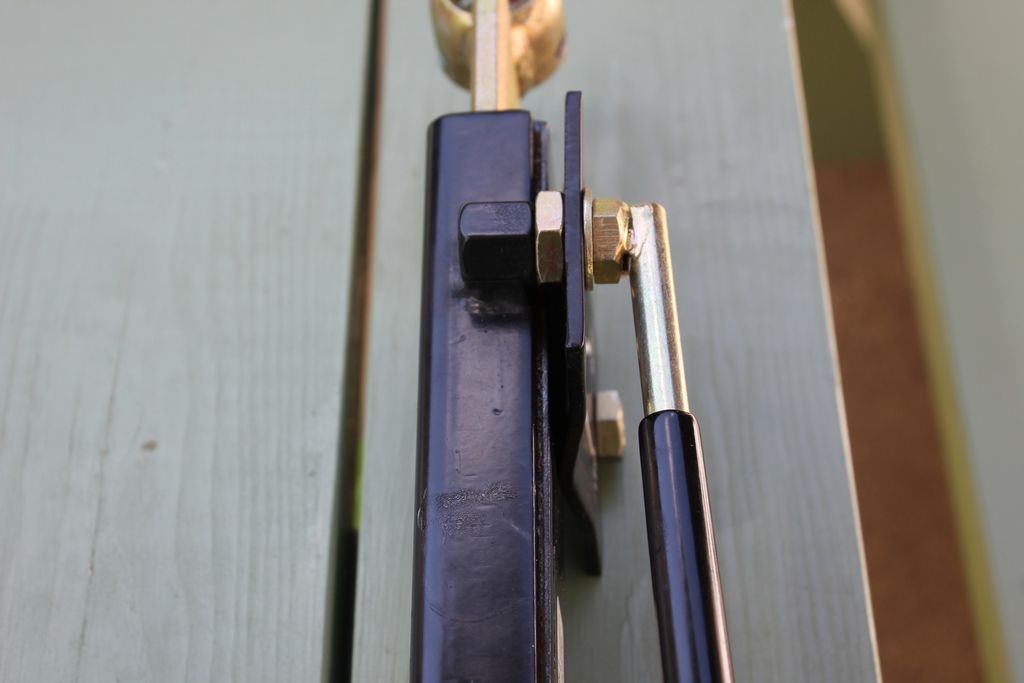
I went over to a very good hardware store, you know the kind with all of the little specialty boxes, to find the "right" spacer. I bought a metric jam nut that is 14mm x 1.5 pitch. The top bolt just slides through this nut. It is just the right thickness. I have adjusted the bottom bolt to give me what I think is the correct tension on the sway control pad. By putting the spacer in I am able to consistently put the correct tension on the bar once I finalize the adjustment on the lower bolt. Notice in the second photo that the rocker pivot is about centered.
Note: If you want the handle parallel to the bar when the bolt is bottomed out and the spacer is not quite right then get a selection of washers and substitute these for the spacer.