wannabegone
Sep 13, 2016Explorer
Another Solar Install
I finally have my solar installed, I want to thank all who gave me feed back and advise Calling Solar Gurus. I knew I was going with the factory installed solar wiring in my 2008 Lance 1181 so I decided to go with the Morningstar TristarTS-MPPT-45 Charge Controller from solarhome.org with the Morningstar Remote Temperature Sensor RTS. To keep an eye on the system I added the TriStar TS-RM-2 Digital Remote Meter 2 also from solar home.org I made my decision on the panels several times before finally settled on the Solar Cynergy 120 Watt 12 Volt Solar Panel from solarblvd.com
Before I go any farther let me commend the customer service of both solarhome.org and solarblvd.com. When I ordered the charge controller and the meter I also ordered the battery temperature sensor. I received a call from a number I did not recognize the next day. It was a rep from solarhome.org asking if I was really wanting 2 of the sensors, I didn't realize one came with the controller and it was nice of them to call and clarify. When the panels were delivered the box was damaged, my wife pointed it out to the shipper and all he said was there shouldn't be any thing wrong with the contents. he kept asking her if she wanted accept or decline the package, when she opened the box and found a scratch on the panel the shipper stated it would be fine and pulled out of the driveway. My wife called solarblvd.com and after a little information had another one on the way. Hats off to both companies.
After deciding on the equipment it was time to figure out where to put it. The solar panels were easy, on either side of the hatch on the front of the cab over. The charge controller was a little more difficult, I originally wanted to put in the driver's side rear compartment
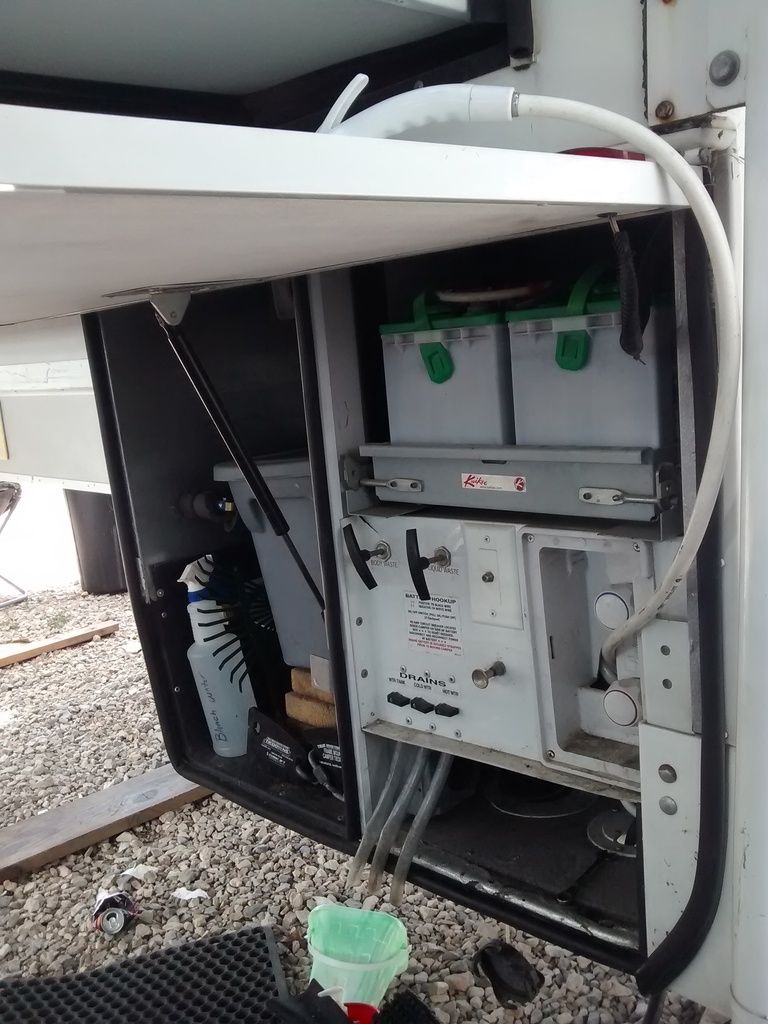
but the battery compartment is certainly not where it needs to be unless I wanted to completely want to commit to sealed batteries, which I do not. After going around and around with myself and getting help from the wife on the best location I finally decided on the small cabinet beside the stove below the counter

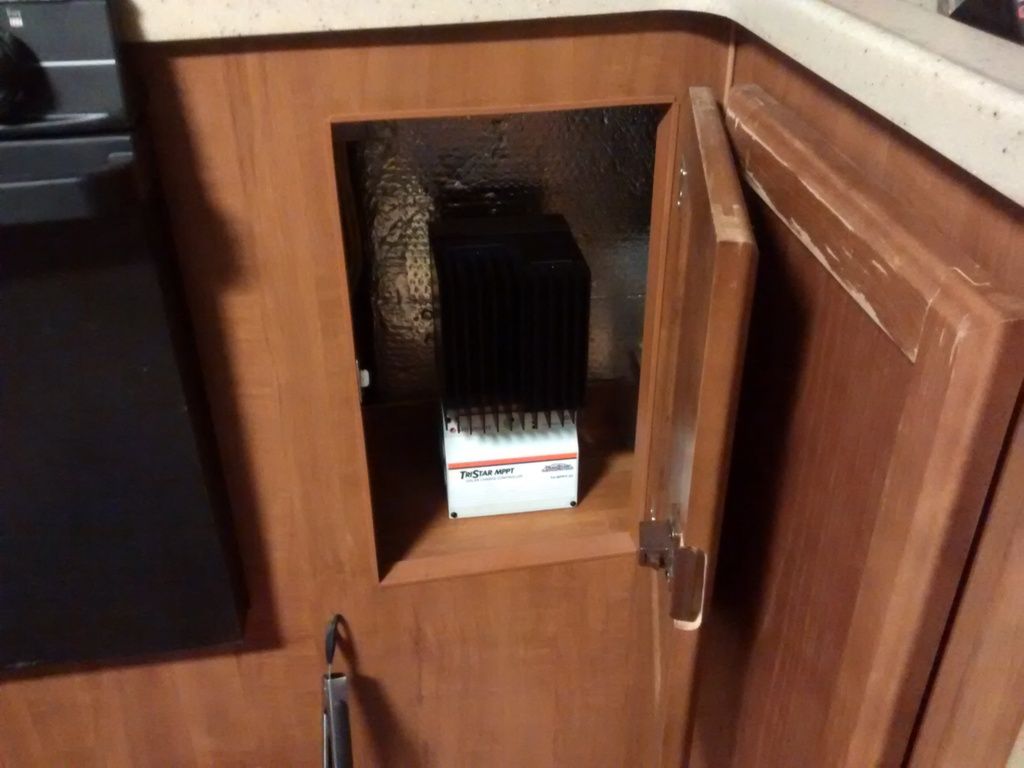
I had already found the solar wiring in the cabinet over the sink
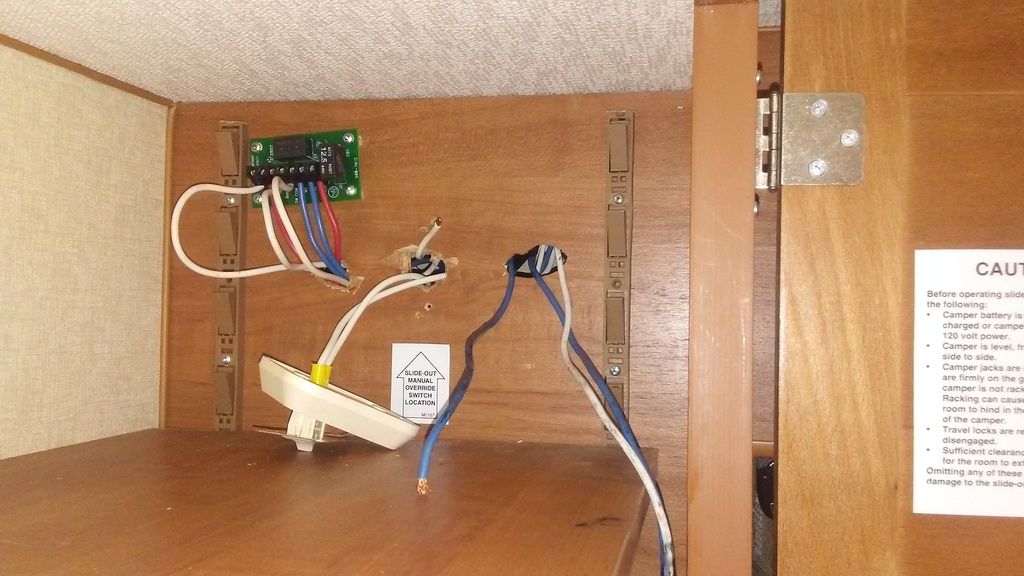
there was the blue and white wires and an additional blue wire, I had to dig around in the hole with a pick to find the second white wire. I could not find the blue or white wire in the battery compartment, after much digging I finally found a blue win the under floor drawer area near the rear of the TC
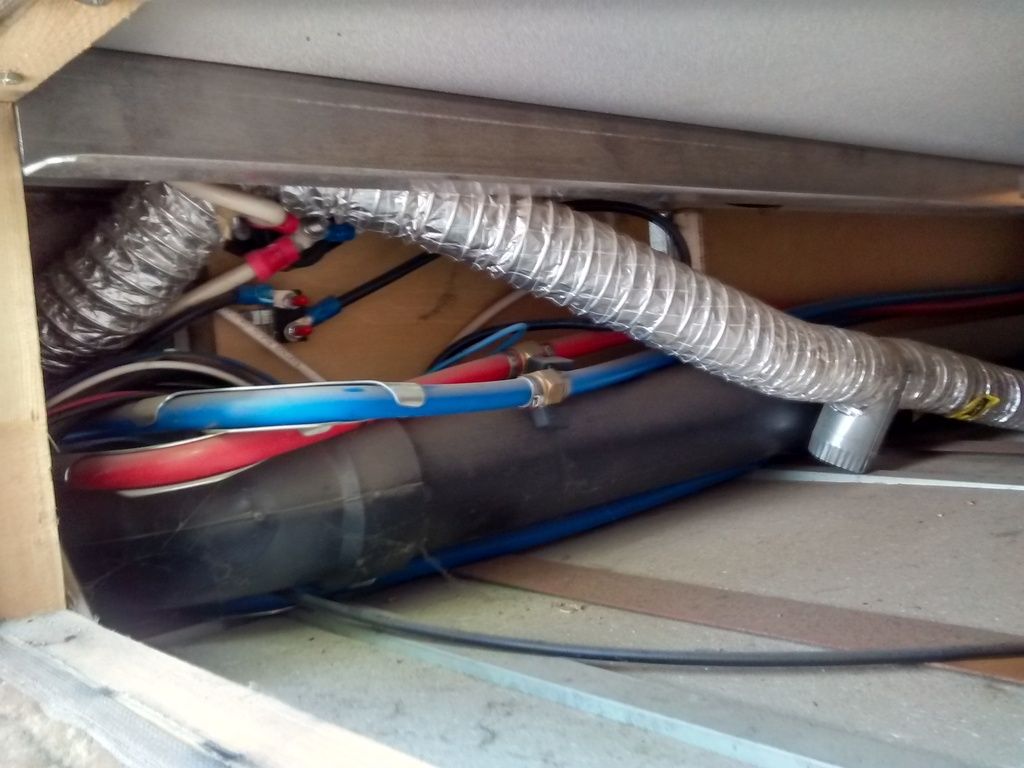
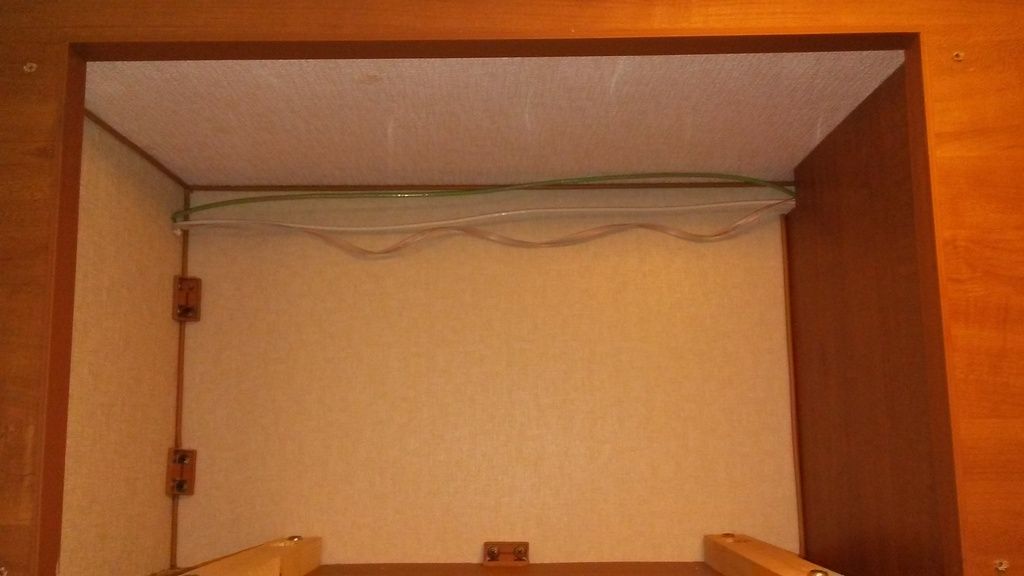
and verified it was the same wire in the cabinet above the sink. I have found different information about the prewire from different sites since we purchased the 1181, none mentioned that even though there are 2 blue and 2 white wires in the cabinet there is only a blue wire near the battery compartment. I found the second white wire in the cabinet is wired directly into the campers ground circuit. When looking at Lance's wiring diagram I realize that the factory installed the charge controller was mounted in the cabinet where the wiring so the wiring worked for Lance but not for me. I stayed with the wiring from the roof and from the existing wiring I continued 12ga wire behind the microwave
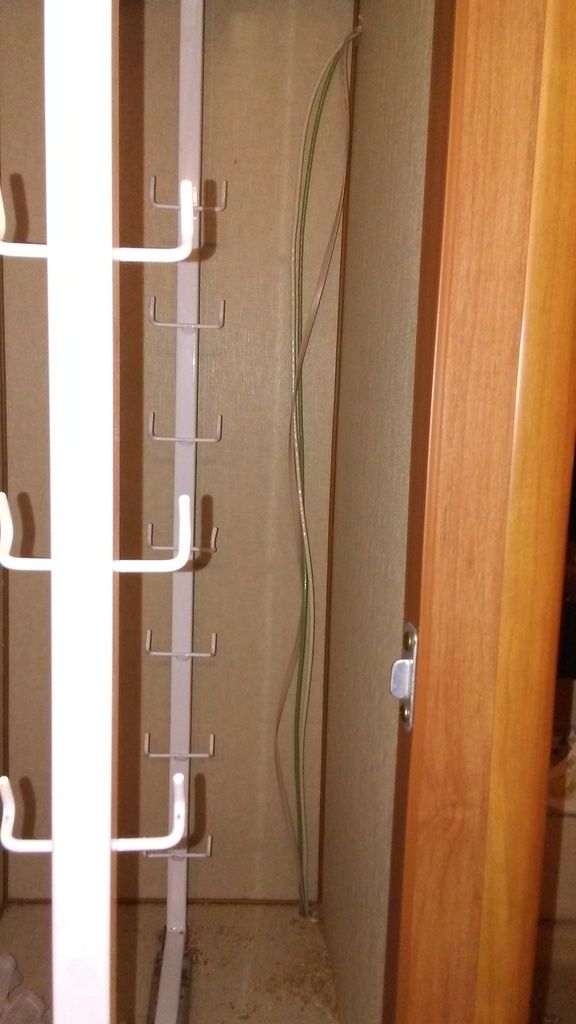
down through the pantry
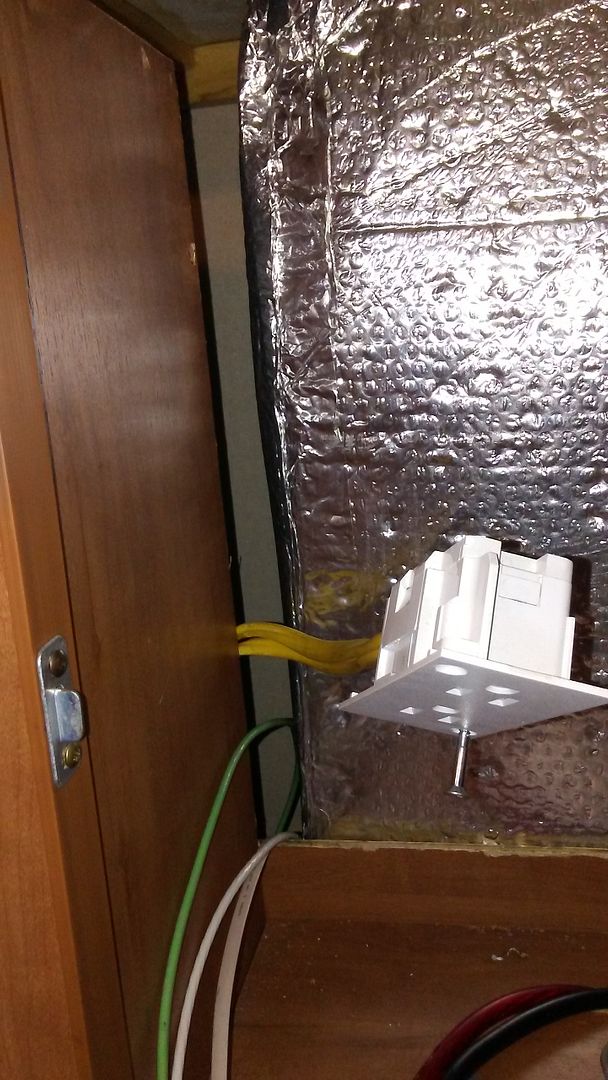
behind the stove and out into the cabinet where the controller will be
I had already decided to install the meter in the cabinet above the sink near the Lance information center so I ran it's wiring along with it. I thought the 4ga battery wires and battery temperature sensor would be simple, down out of the cabinet, across through the drawer area under the floor but thankfully before I started drilling I remembered the grey tank is where I was going to run the wire. So I went with the next best think. Out of the cabinet, though the floor
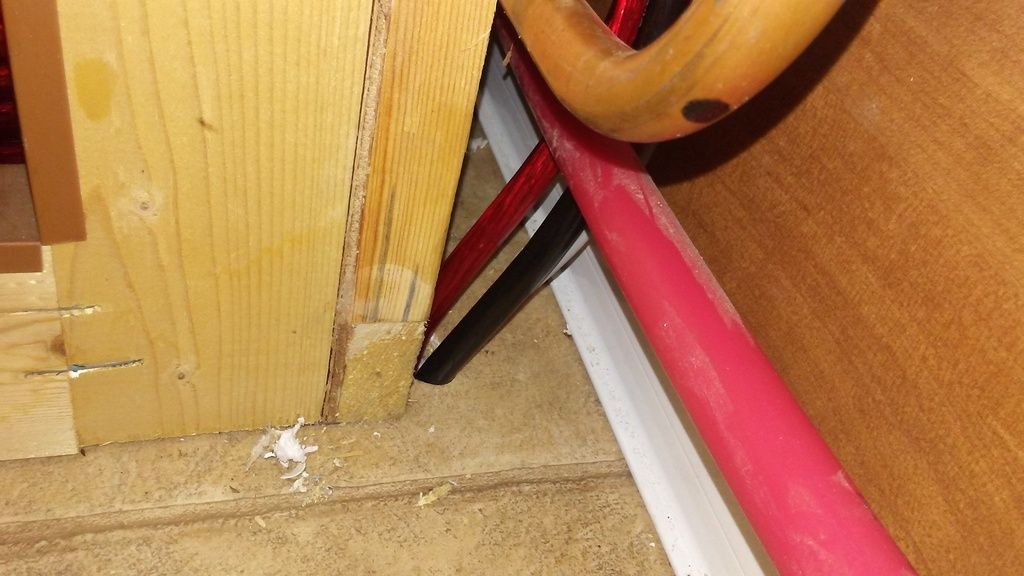
into the curb side basement area
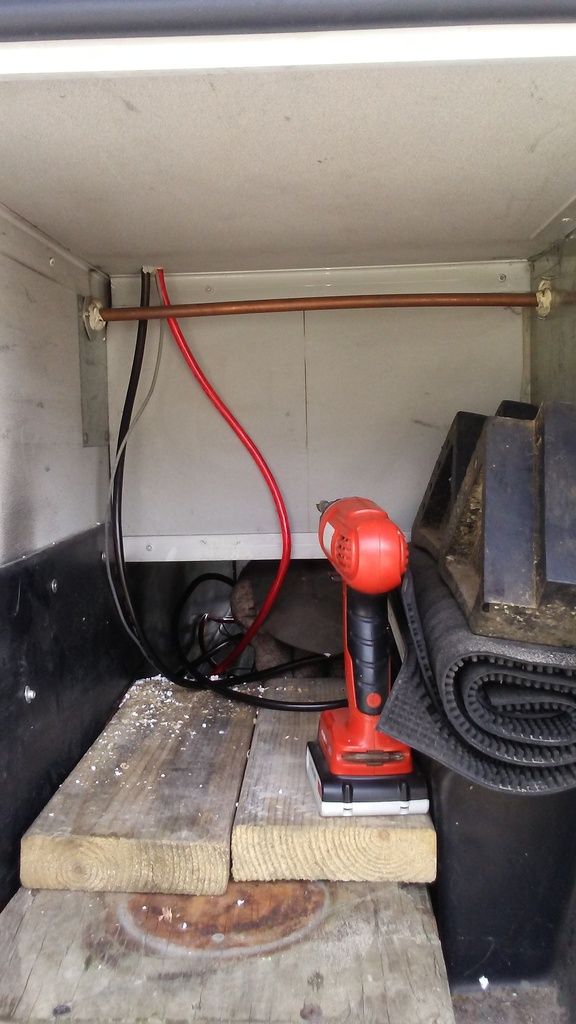
under the basement area
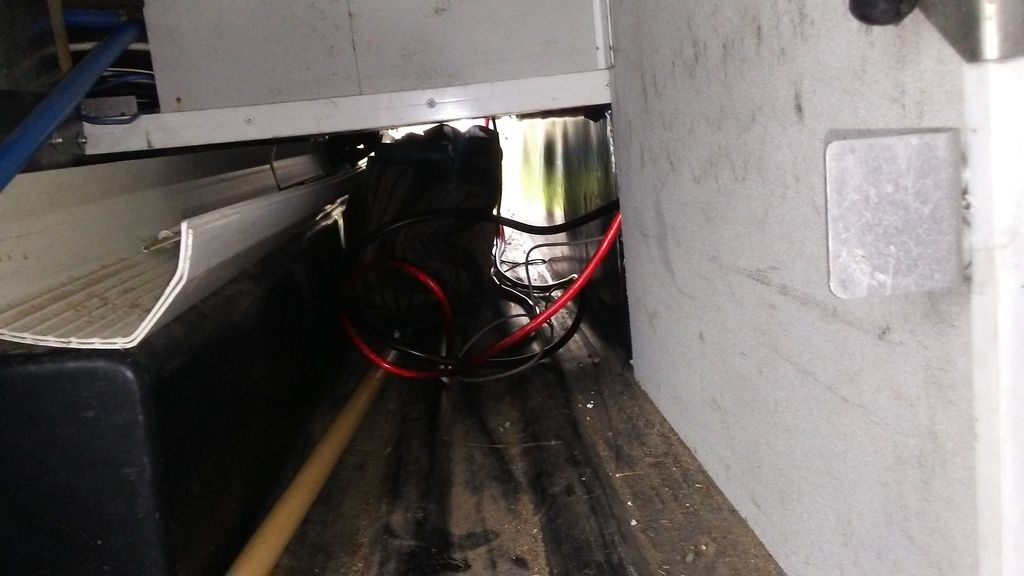
onto the battery area. The battery cutoff switch
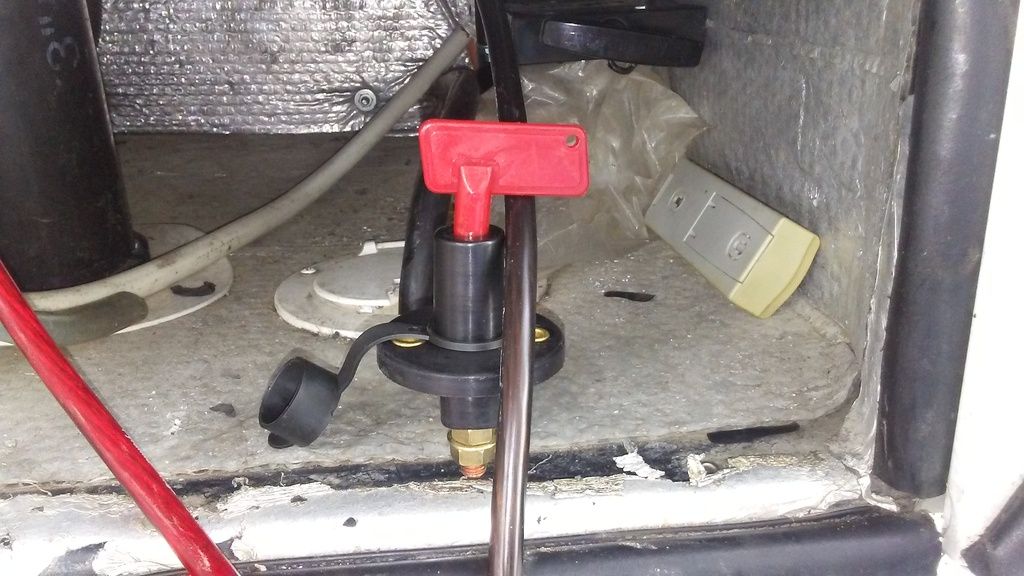
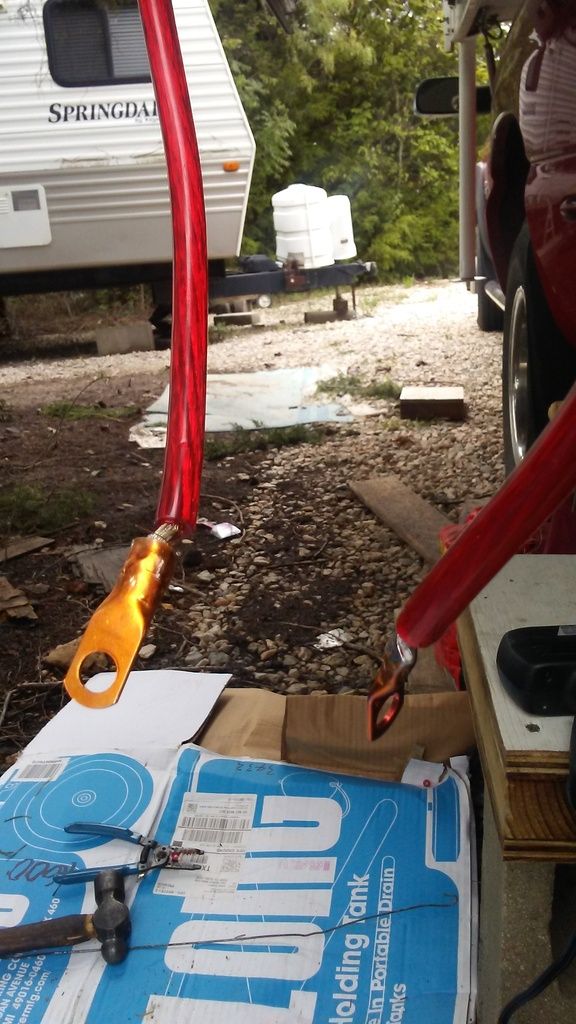
and the terminal tool I purchased for the 4g terminals
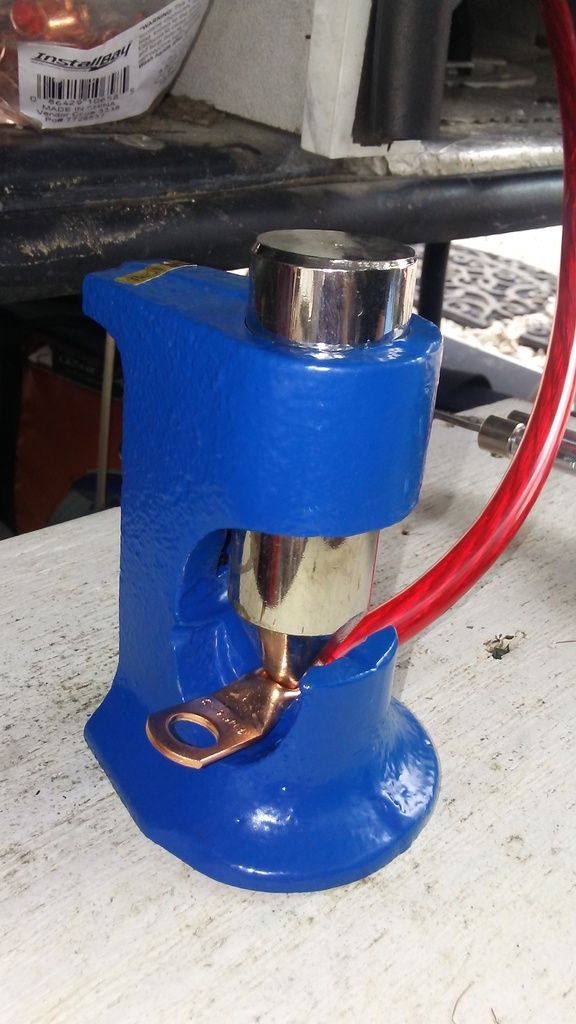
Now that all the interior wiring was as run it was time to install the interior components and secure the wiring. The controller was first, I wanted to keep the area open for the air to cool the unit but keep any items from the adjacent cabinet, the wife volunteered a basket she had picked up at a thrift store
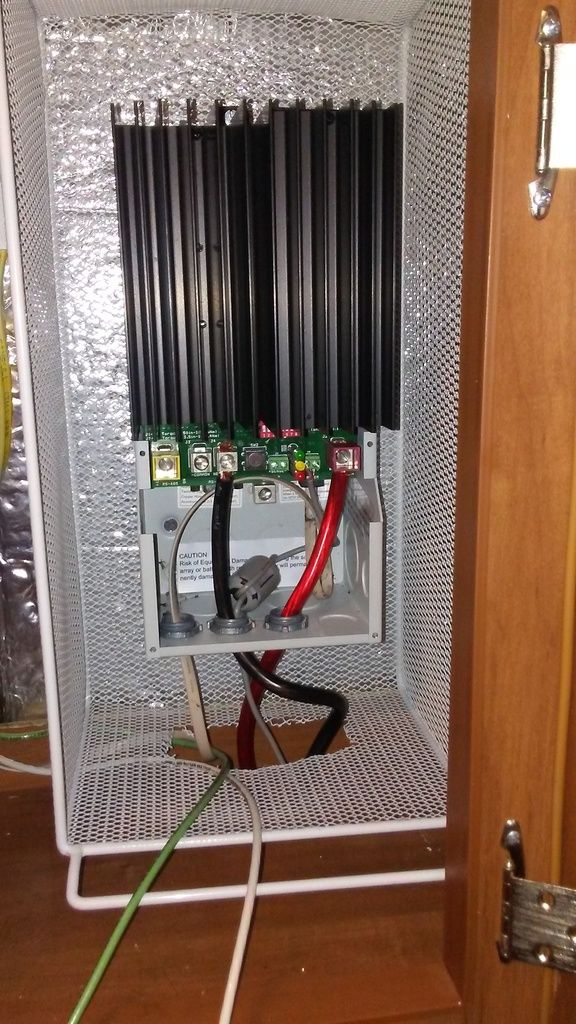
After getting the controller wired up I installed the meter
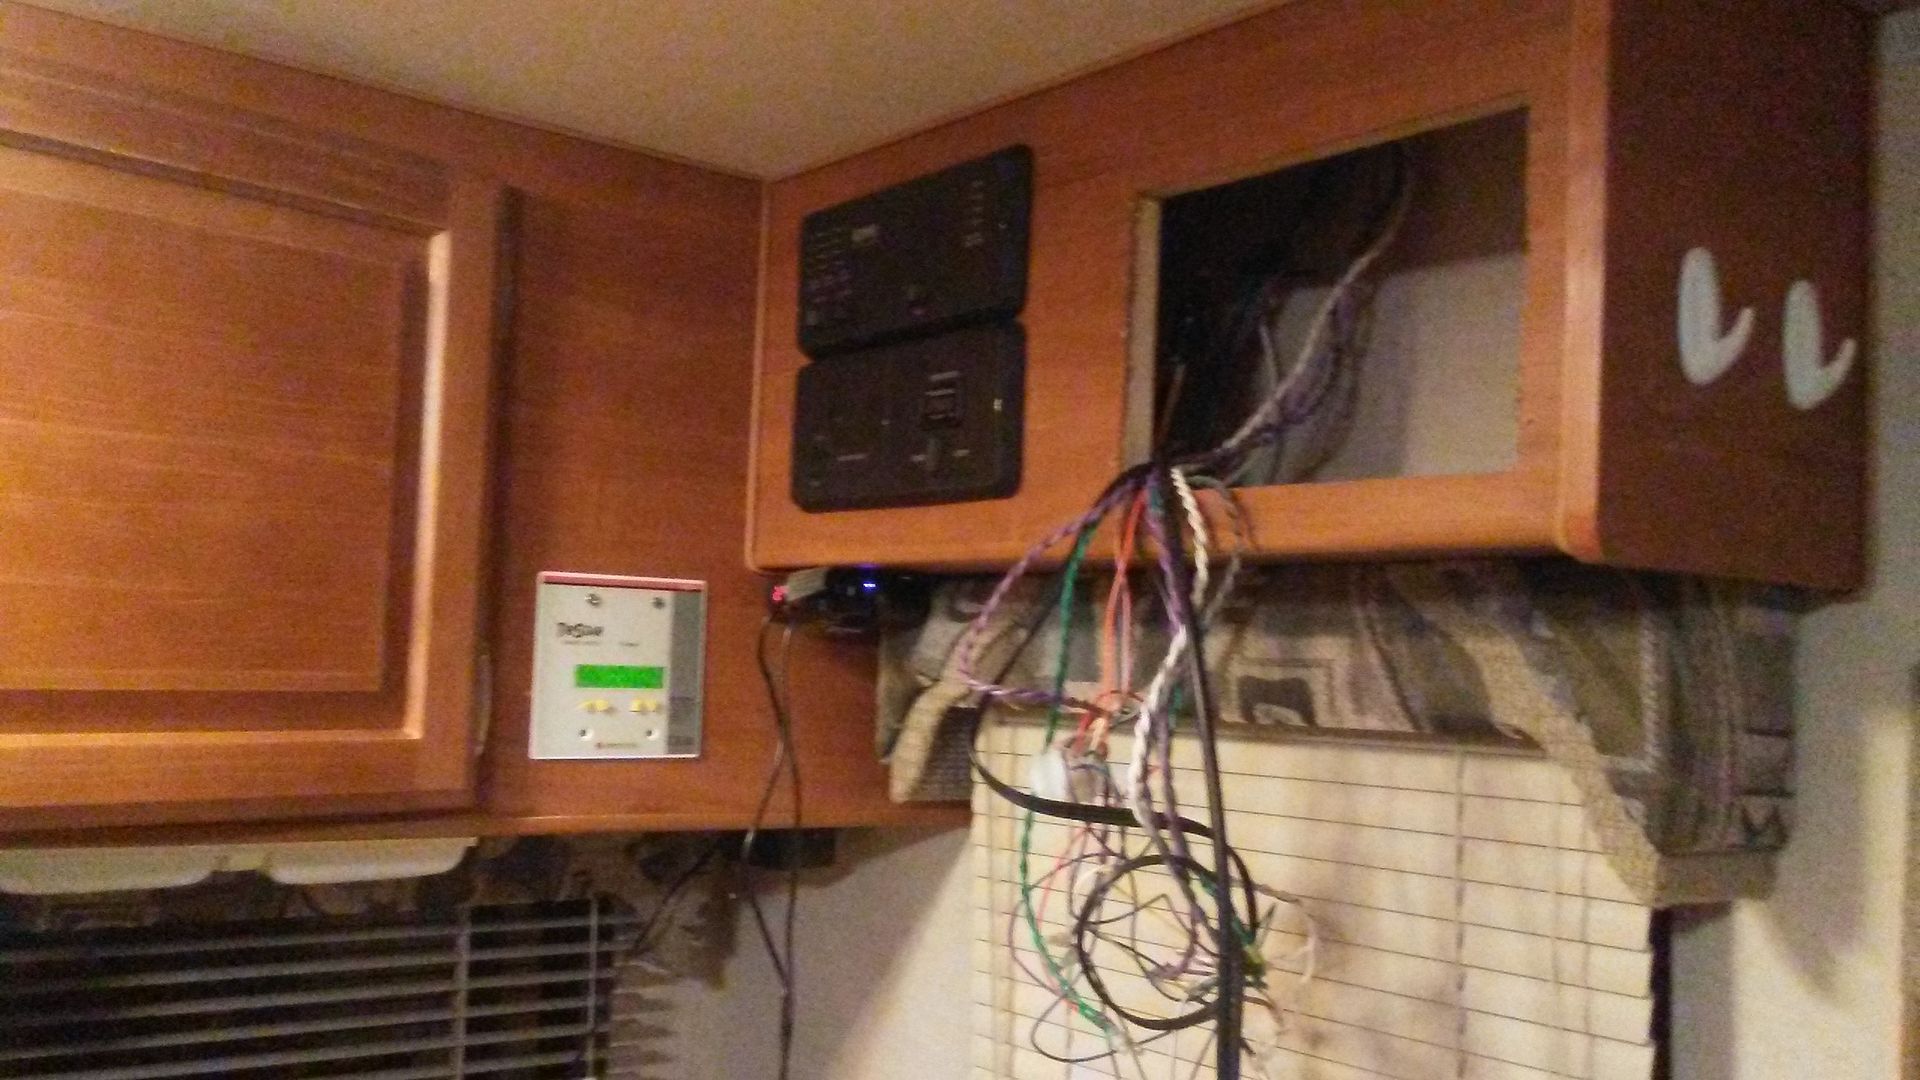
then on to securing and somewhat neatening the wiring up
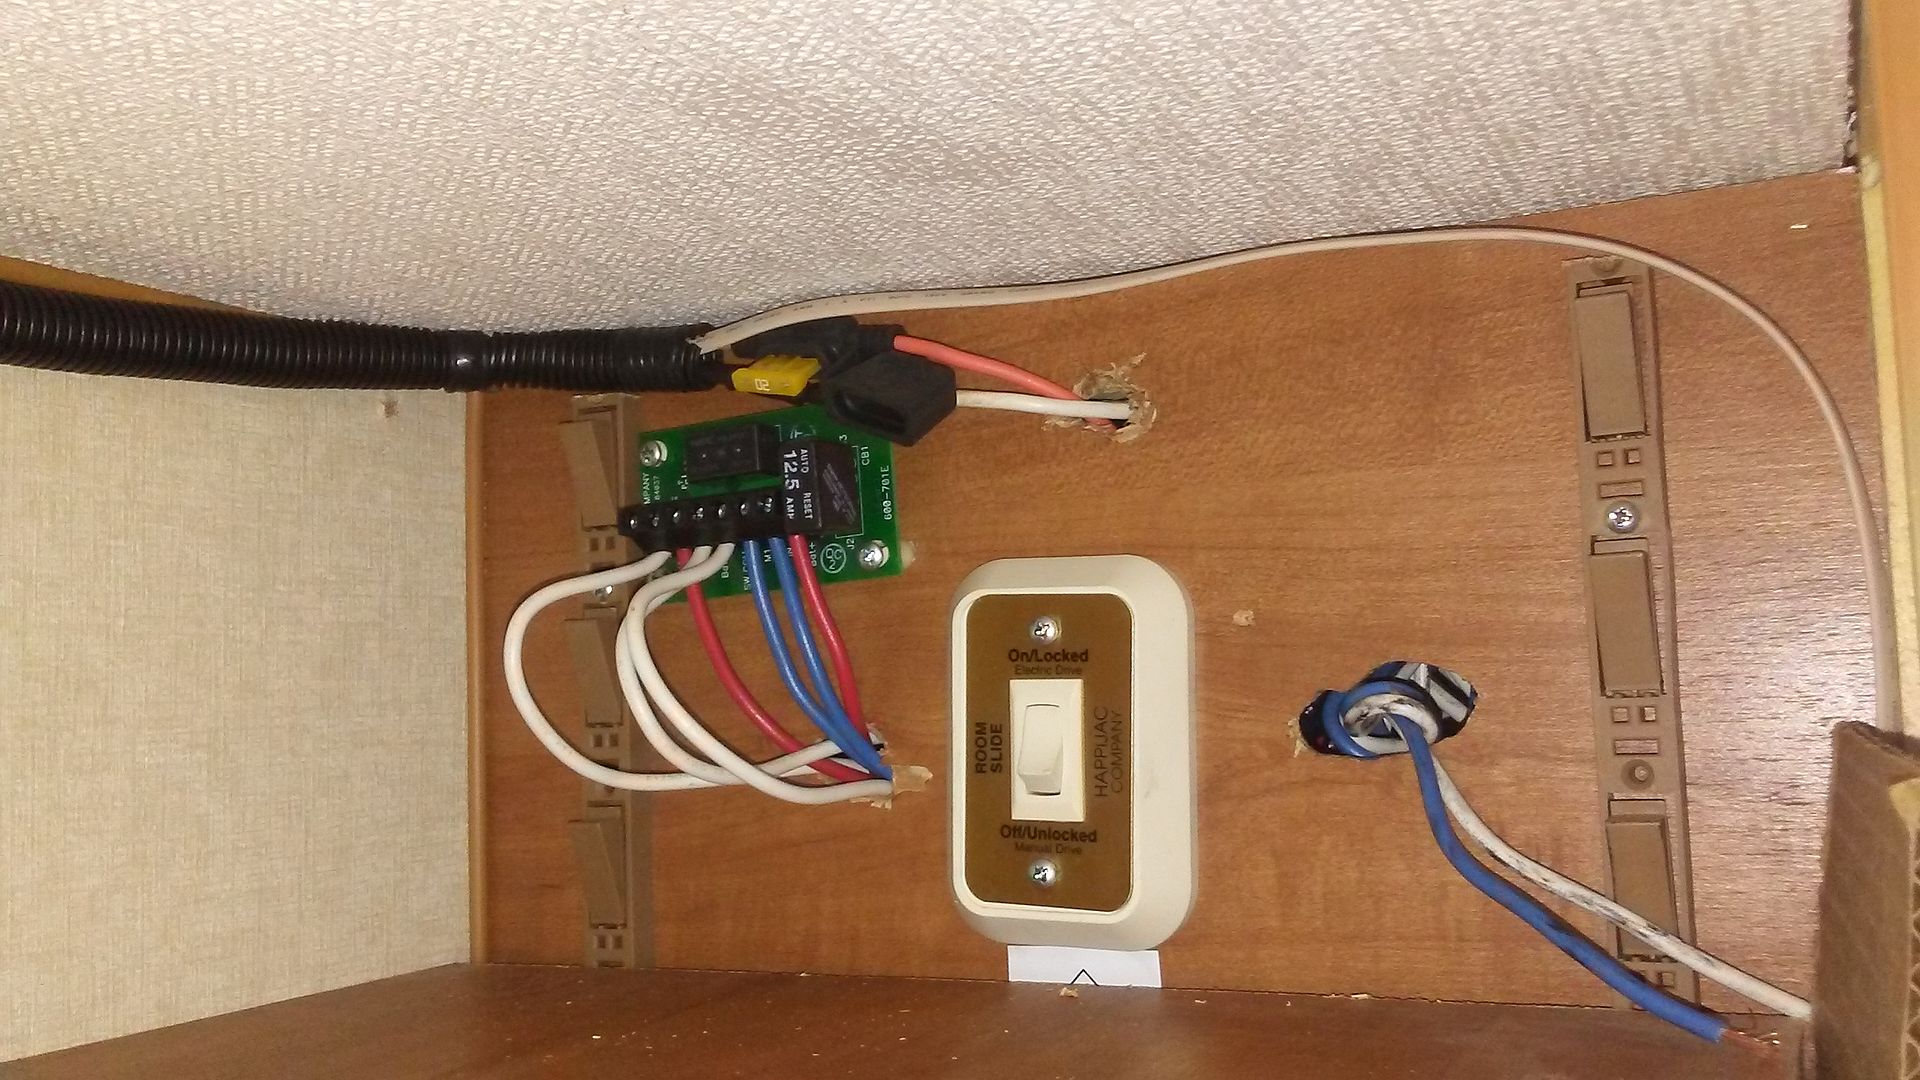
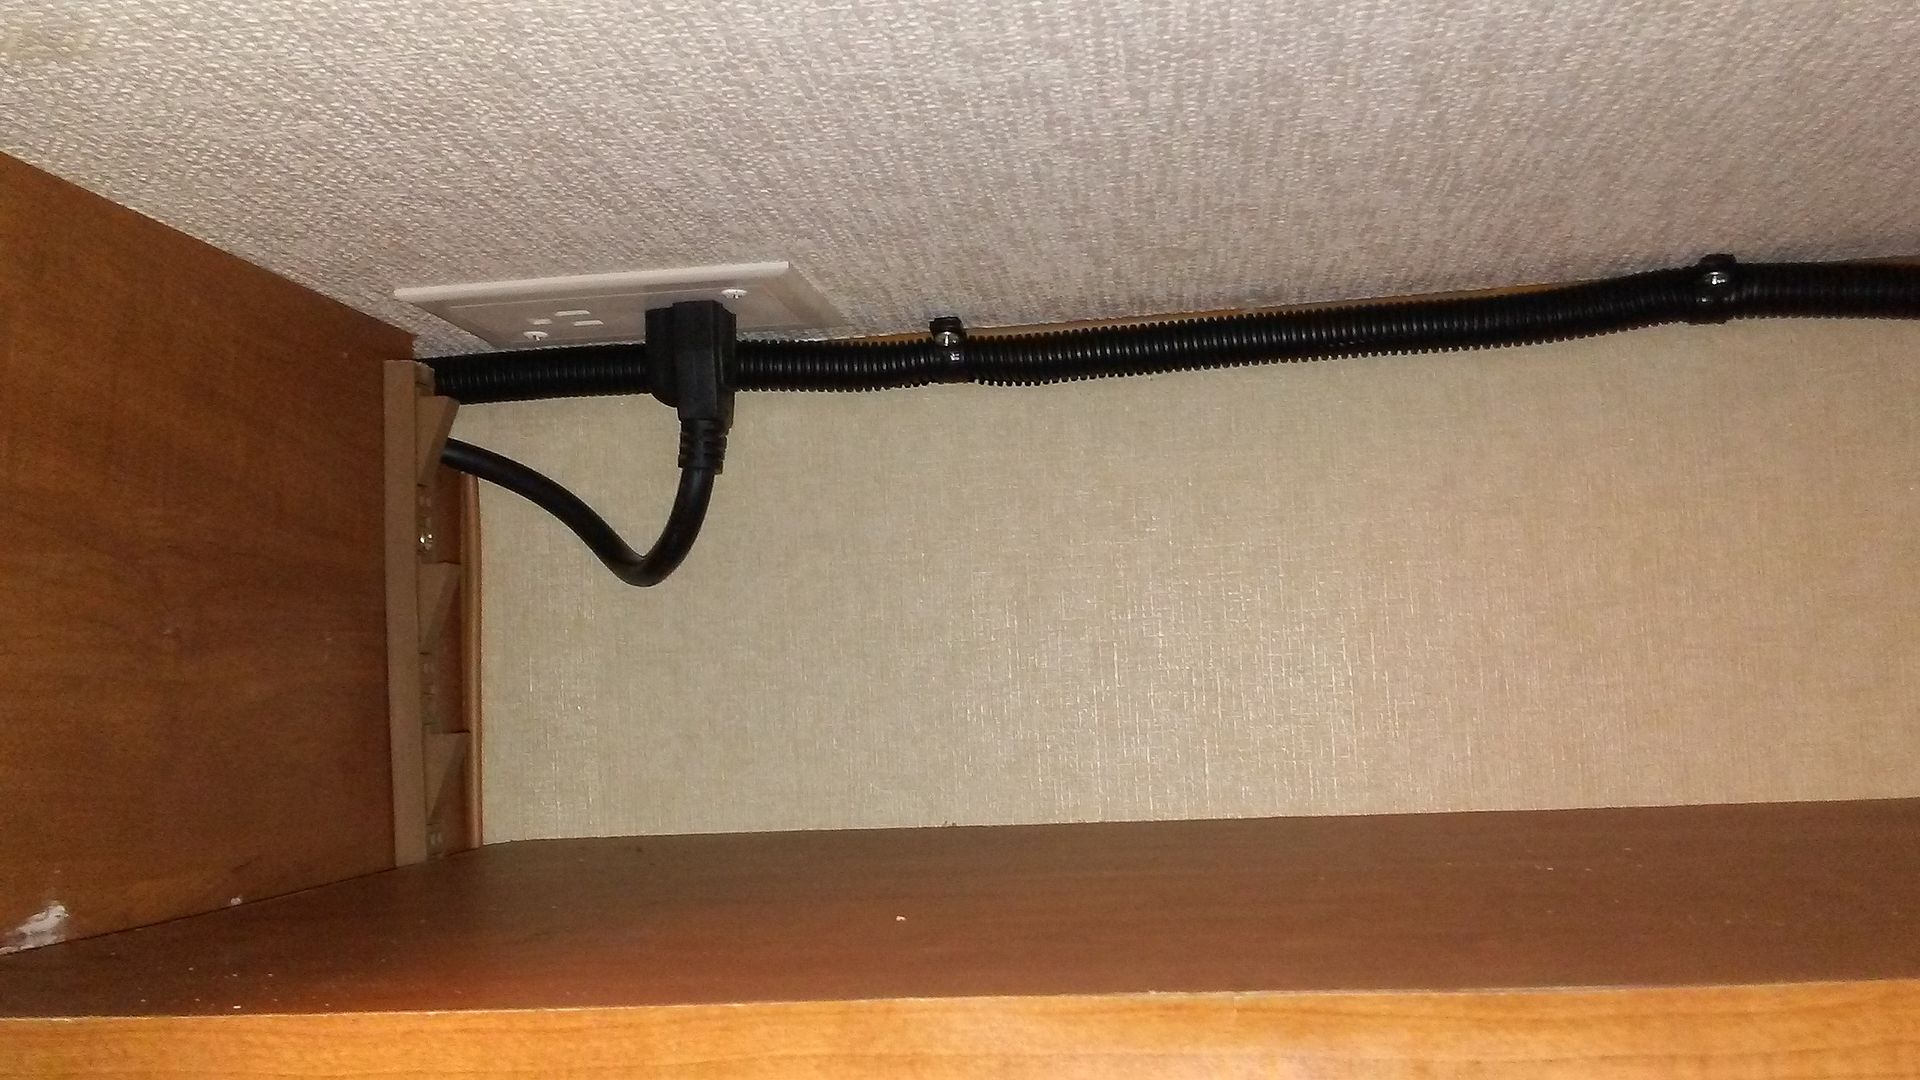
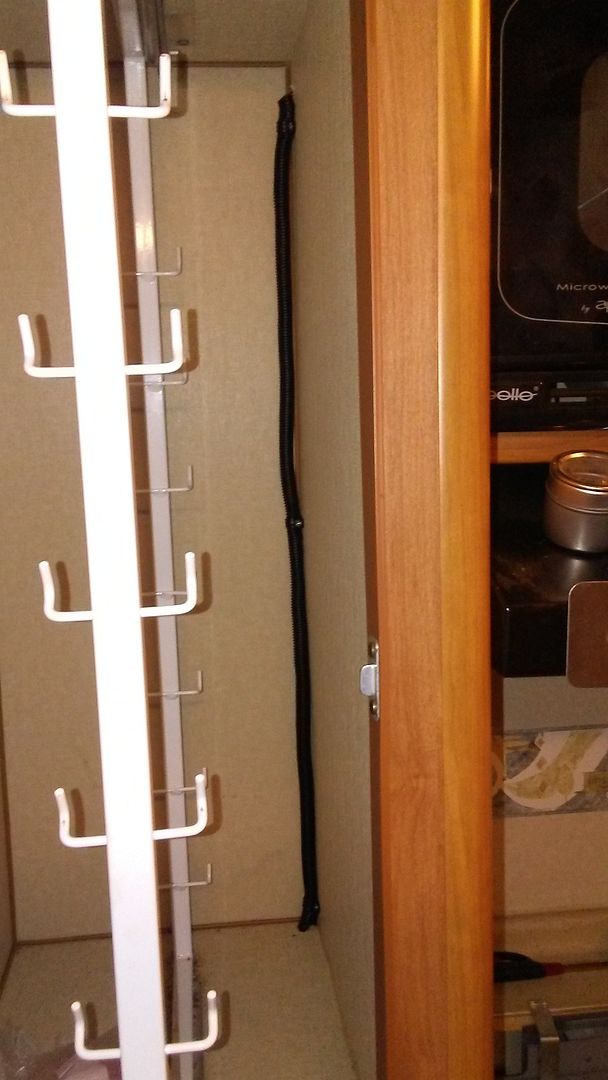
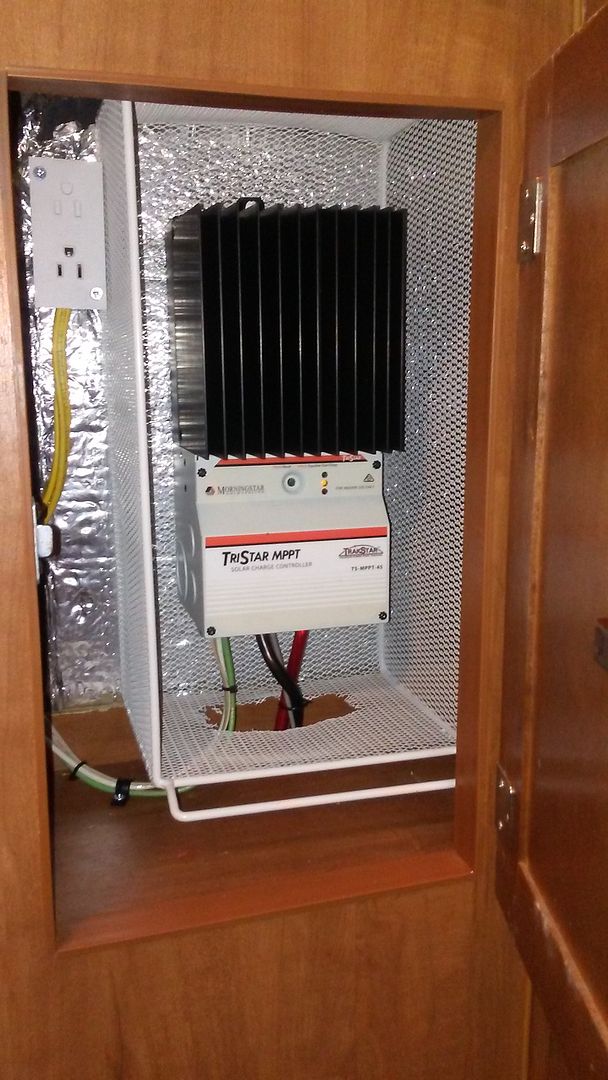
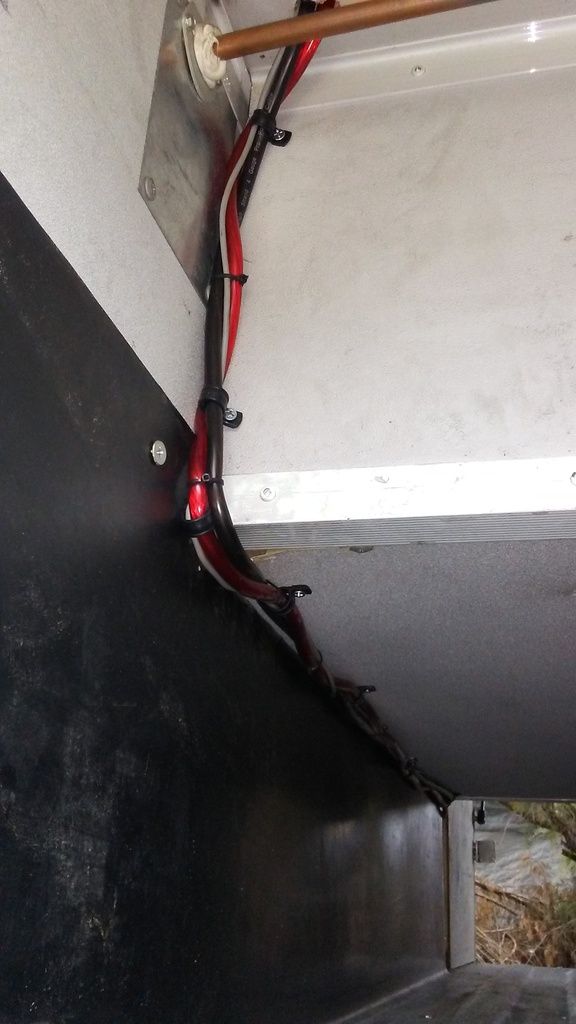
After getting the interior back together and ready to go except for installing the fuse from the solar panels I checked my settings on the controller and connected the battery. So far so good all appears to be working properly on the meter readings.
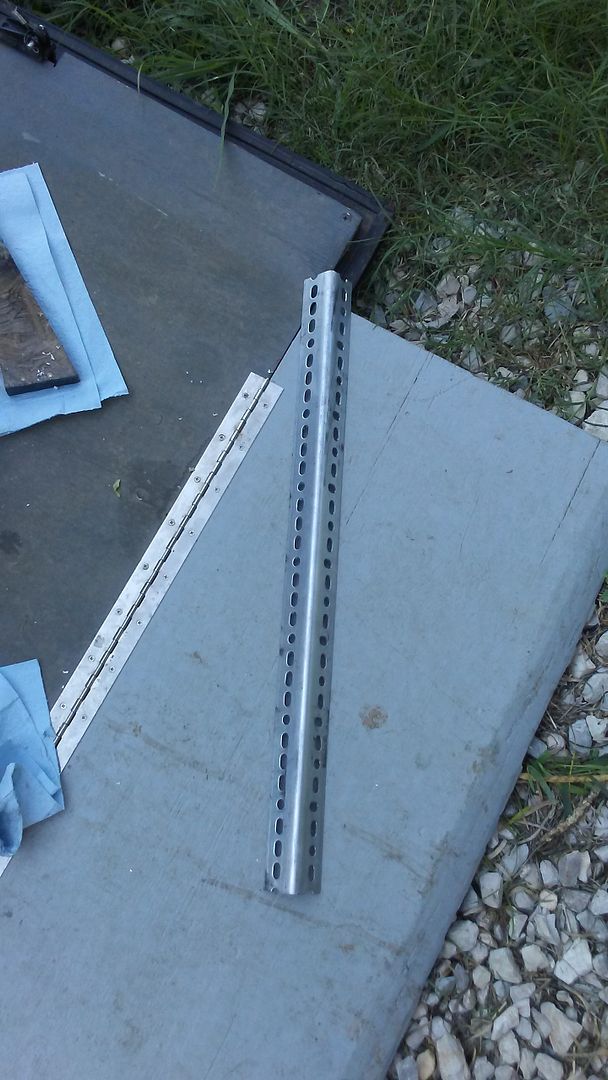
After several days of rain I moved to the roof and the installing the solar panels. First was securing the the panels in place. I had purchased 2 sets of the Renology Z brackets but wanted to be able to tilt the panels for better winter usage and ease of maintenance of the panels and the roof. After much study and searching I finally settled on metal angle
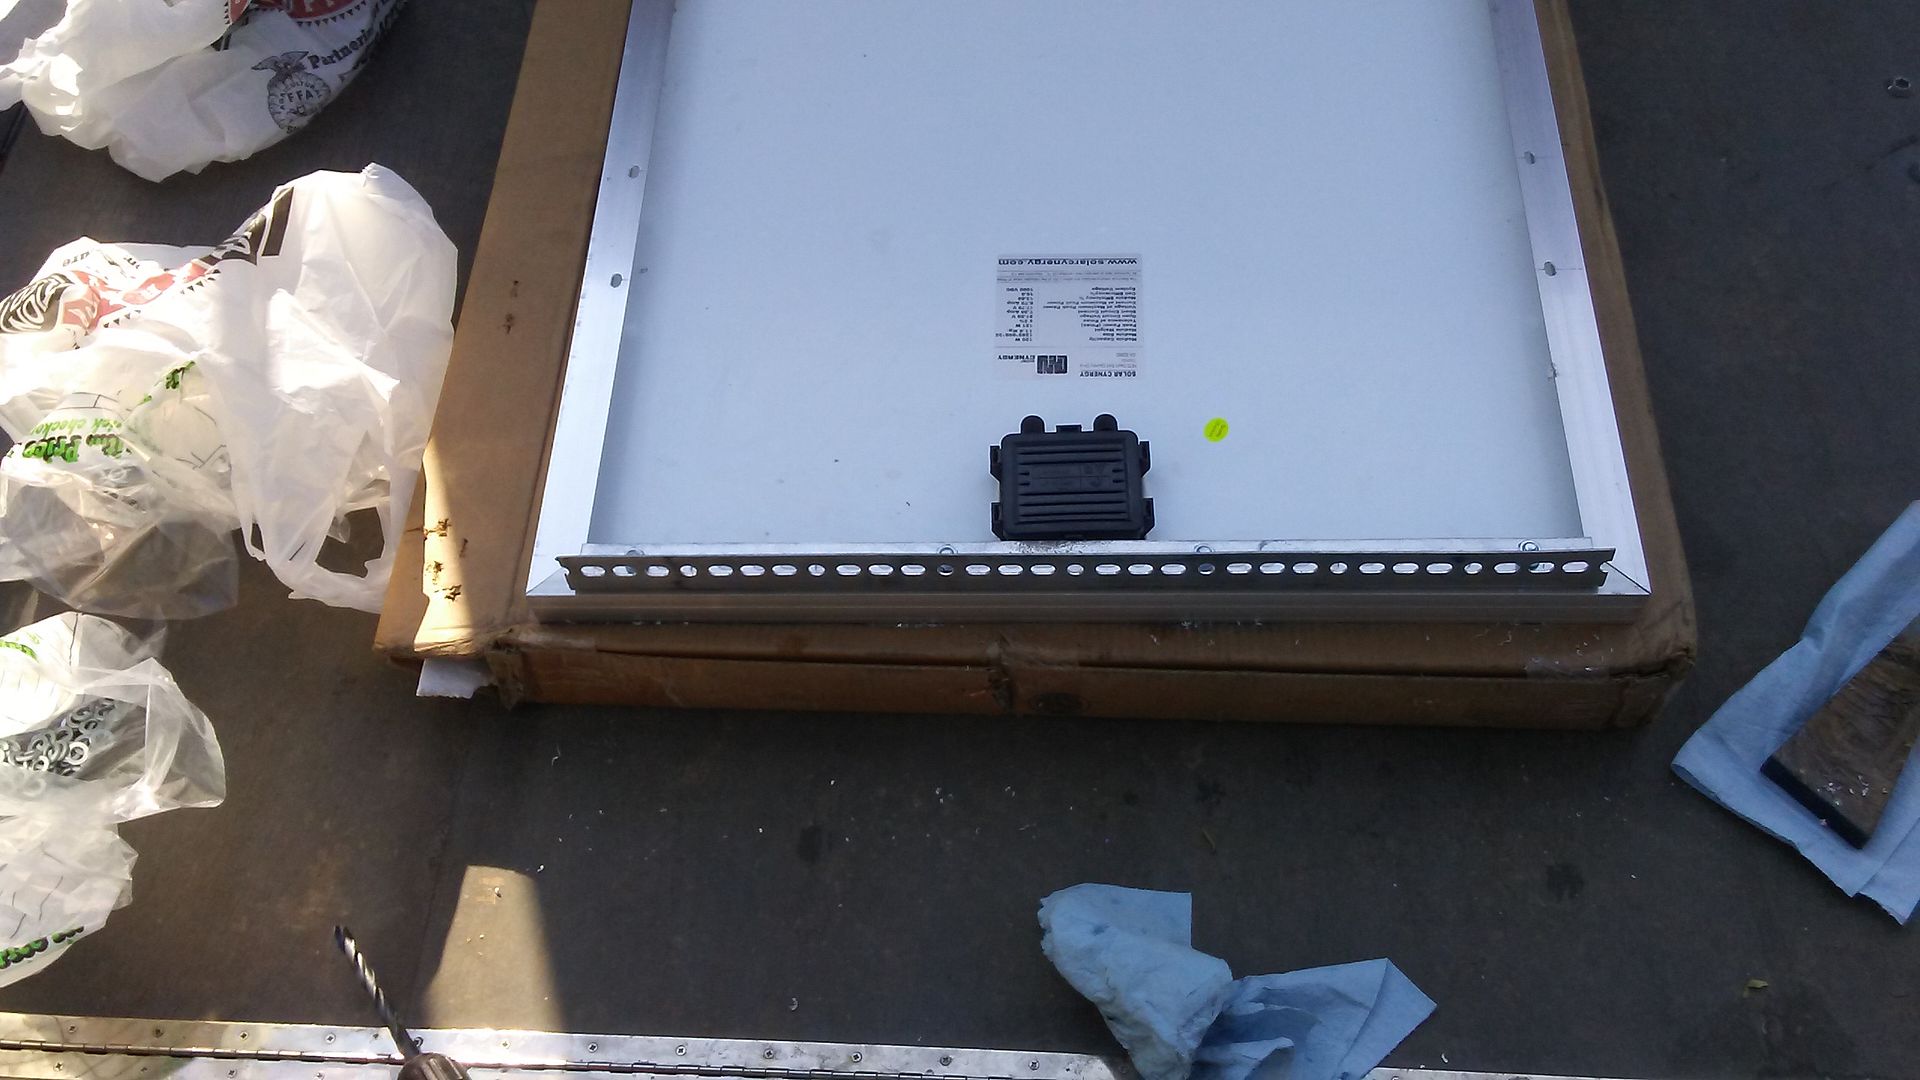
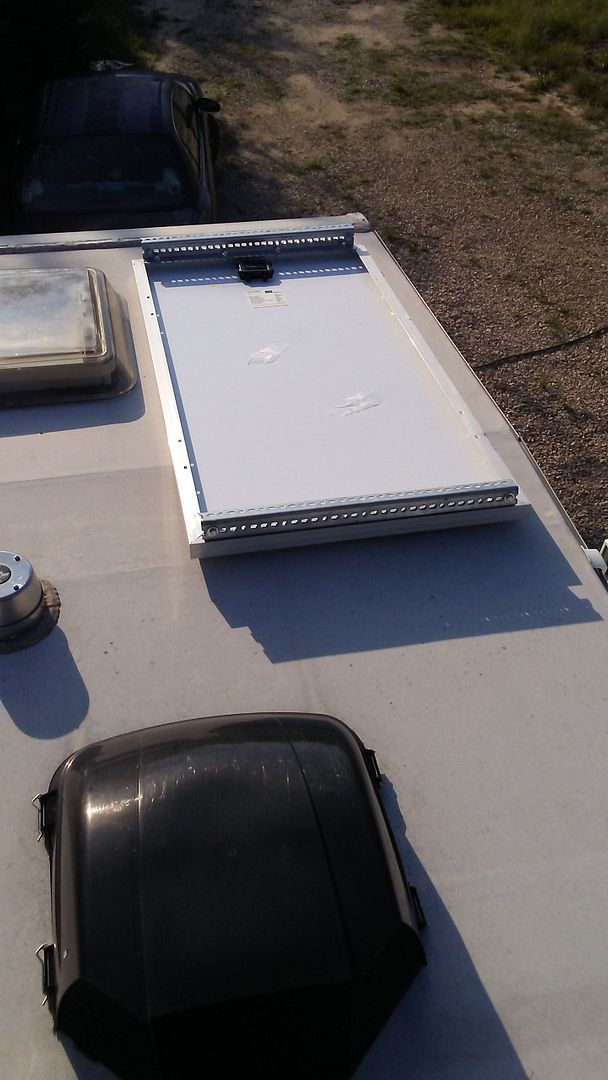
I attached each panel first with 3M VHB tape, 16 heavy duty wood screws (8 on each bracket) and topped off liberally with dicor.
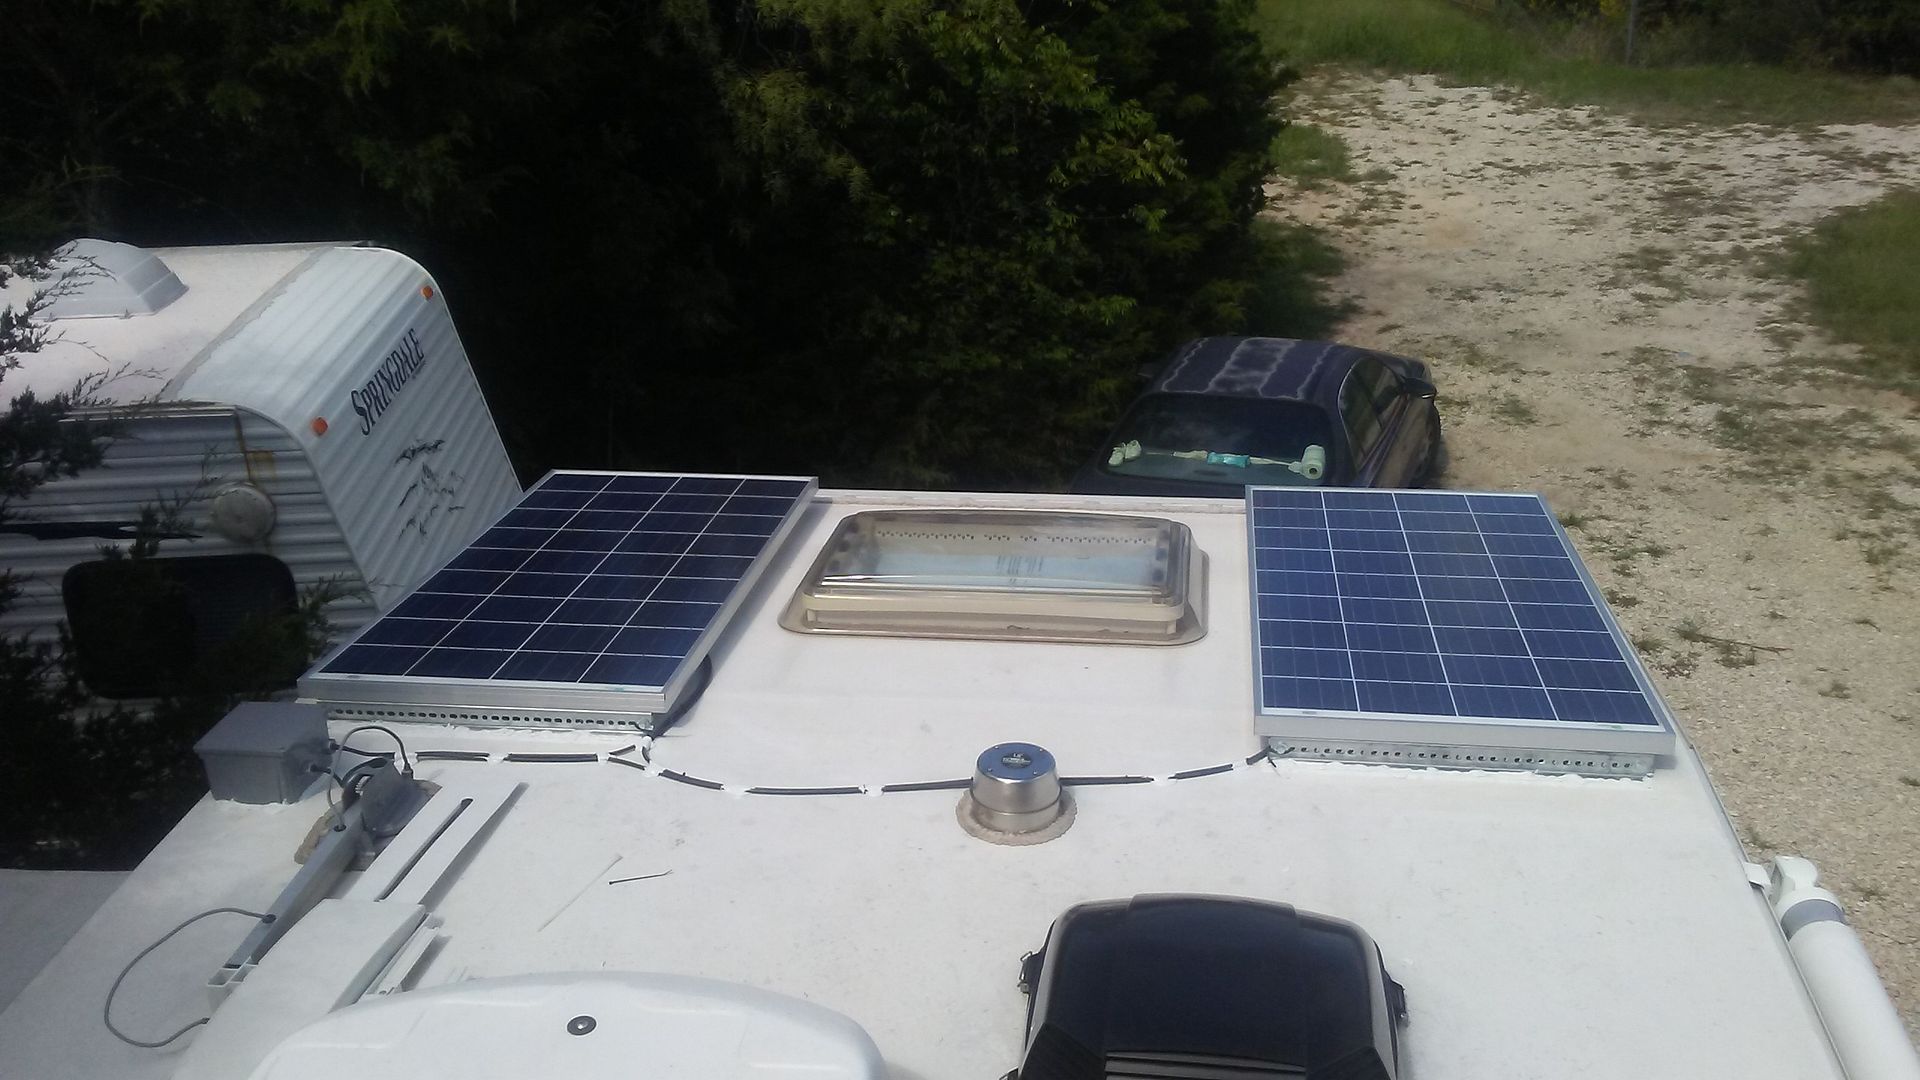
I used a 6x6x6 junction box where the prewire came out of the roof
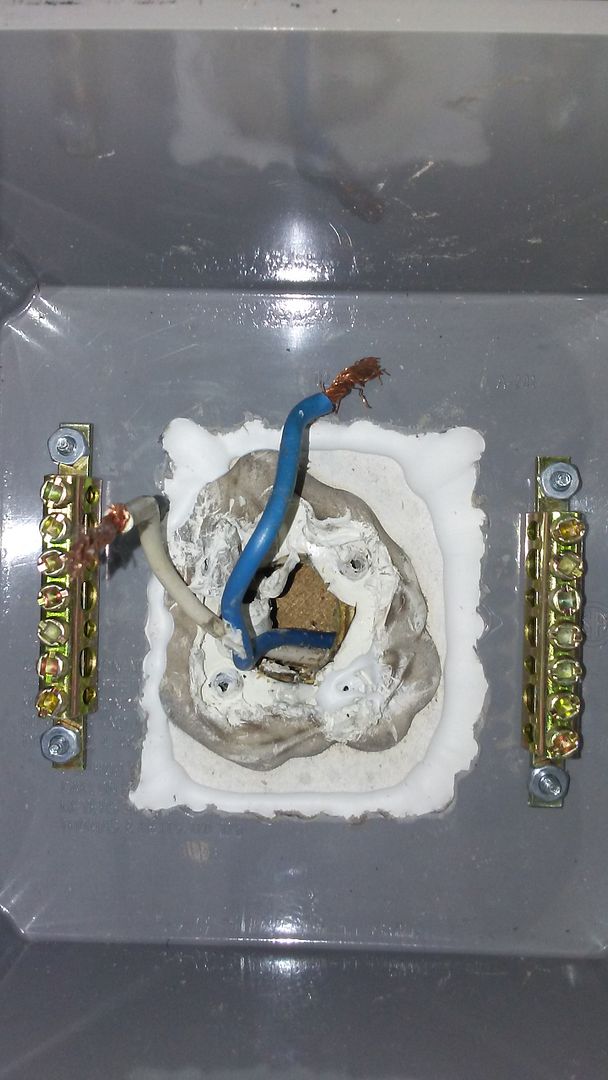
I cut a hole in the bottom of the box, removed the factory solar connector, installed a ground bar on each end for a good connection and 2 water tight connections on the side, of course lot's of dicor
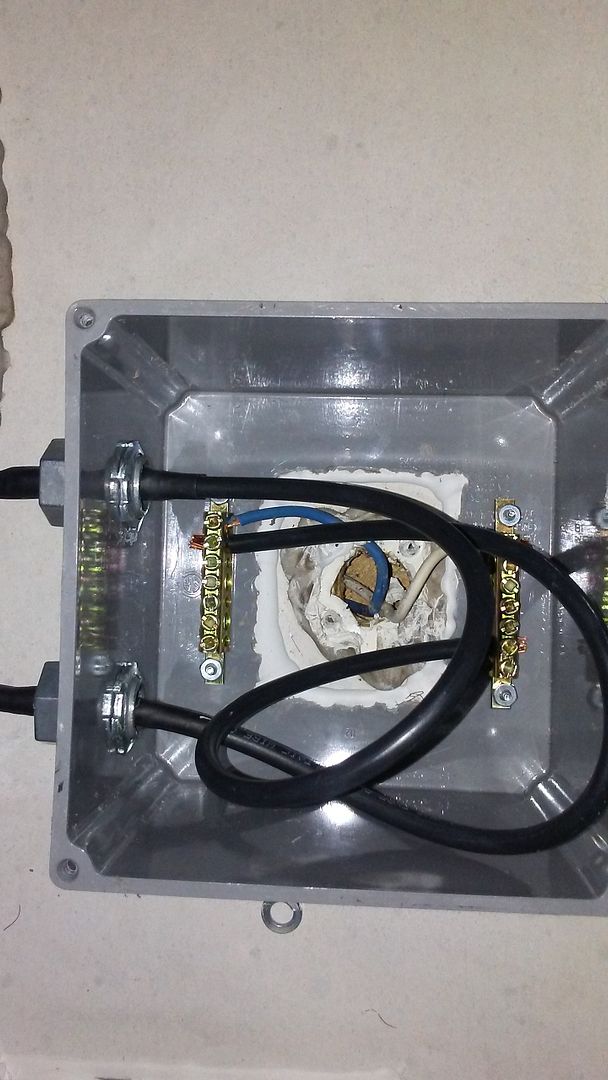
run and secure the wiring
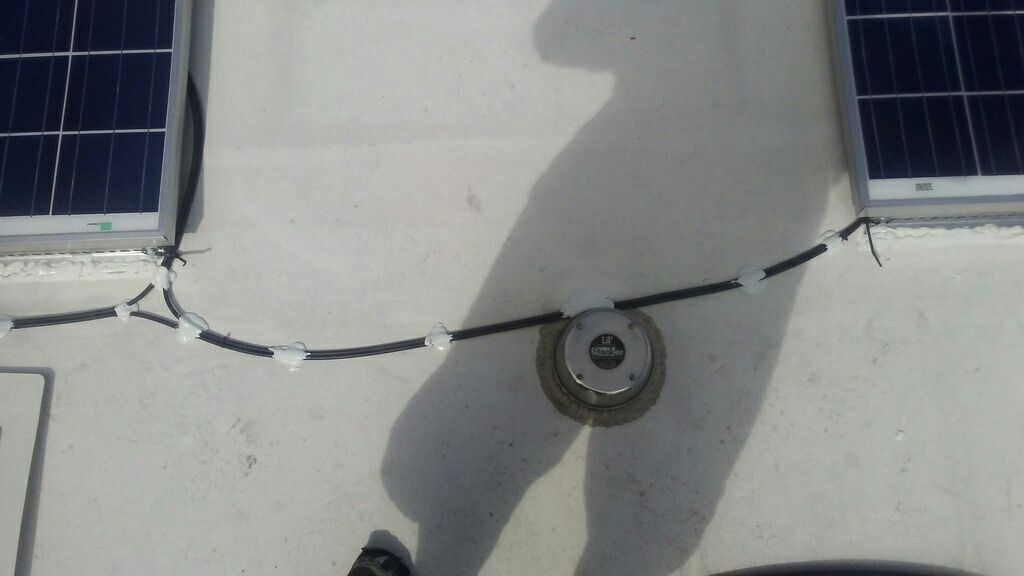
with more dicor. Back inside I installed the fuse in the positive circuit from the roof wala I have "free" energy
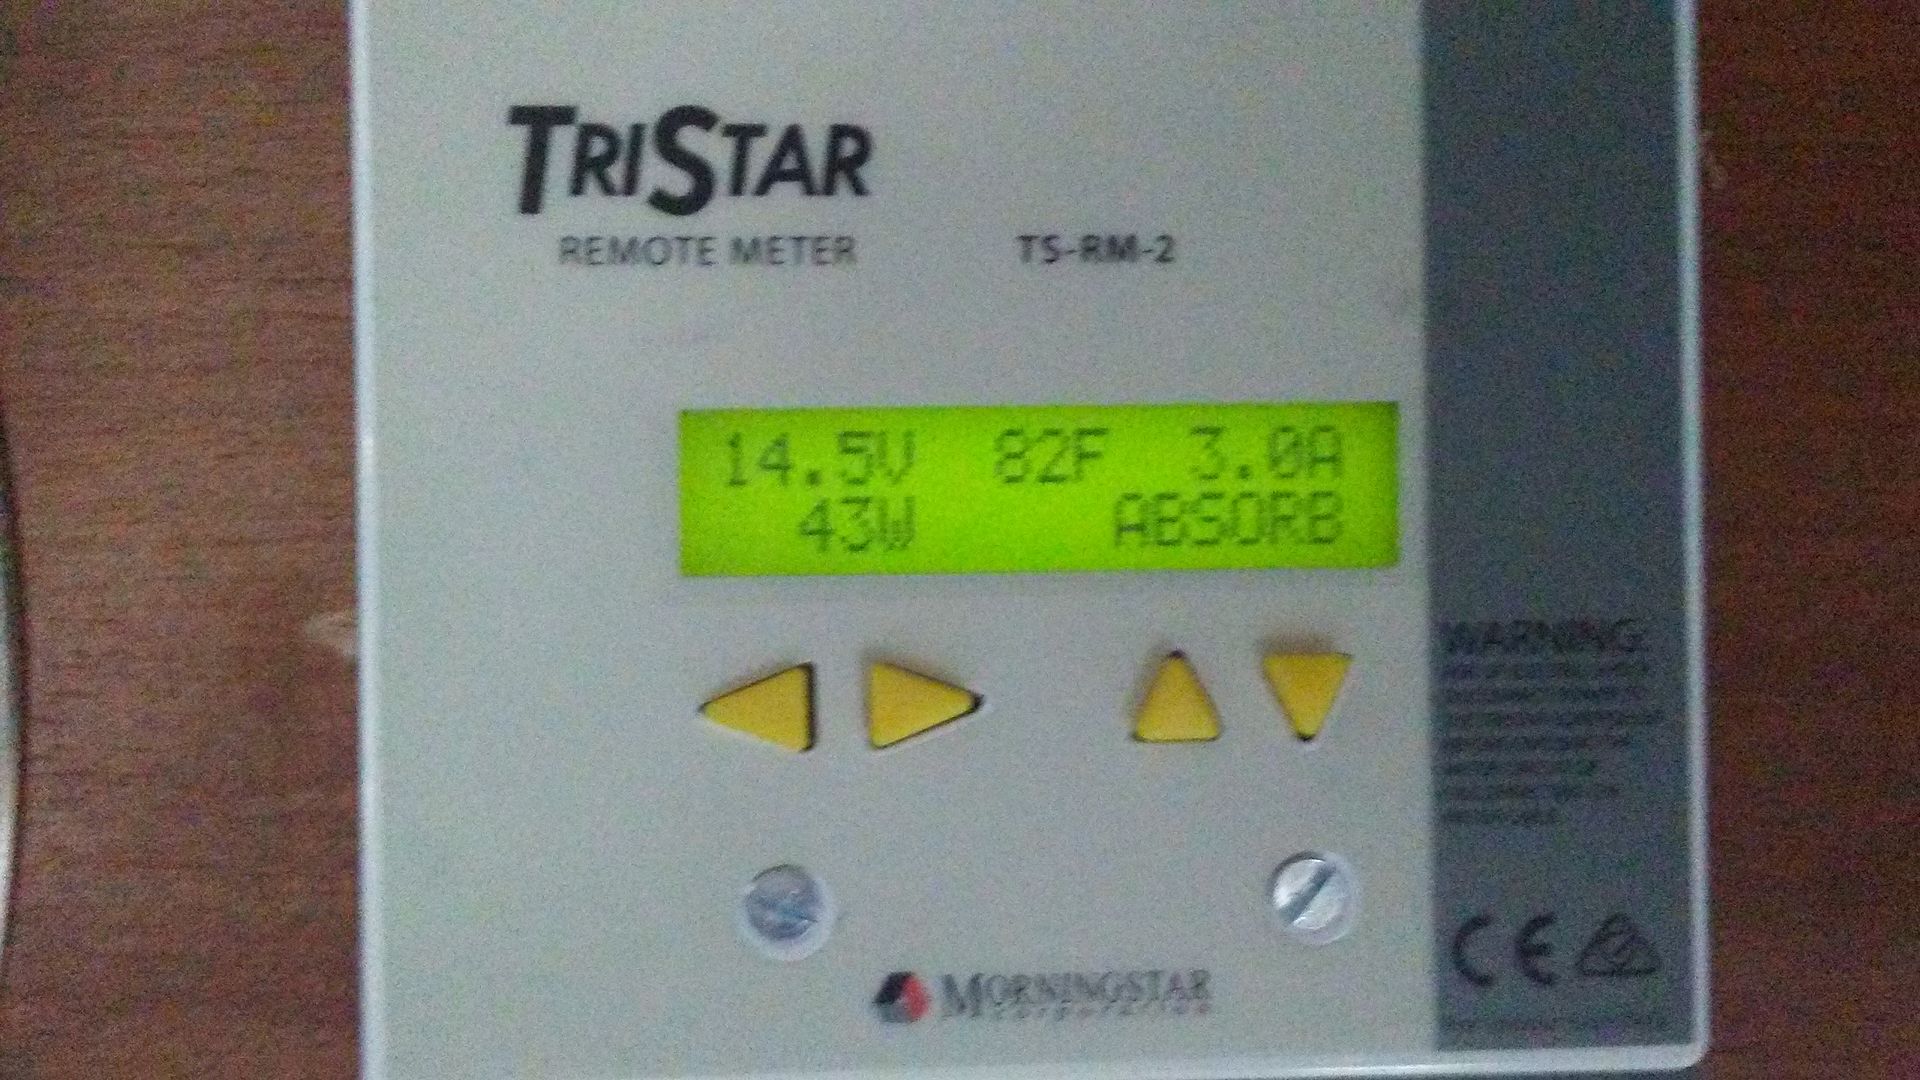
this was taken around 11am with a partial shadow on the drivers side panel from where I currently park the TC. We have a trip coming up, not boondocking the whole trip but at least 2 nights along the way. I'm interested to see how well it keeps the batteries up.
Before I go any farther let me commend the customer service of both solarhome.org and solarblvd.com. When I ordered the charge controller and the meter I also ordered the battery temperature sensor. I received a call from a number I did not recognize the next day. It was a rep from solarhome.org asking if I was really wanting 2 of the sensors, I didn't realize one came with the controller and it was nice of them to call and clarify. When the panels were delivered the box was damaged, my wife pointed it out to the shipper and all he said was there shouldn't be any thing wrong with the contents. he kept asking her if she wanted accept or decline the package, when she opened the box and found a scratch on the panel the shipper stated it would be fine and pulled out of the driveway. My wife called solarblvd.com and after a little information had another one on the way. Hats off to both companies.
After deciding on the equipment it was time to figure out where to put it. The solar panels were easy, on either side of the hatch on the front of the cab over. The charge controller was a little more difficult, I originally wanted to put in the driver's side rear compartment

but the battery compartment is certainly not where it needs to be unless I wanted to completely want to commit to sealed batteries, which I do not. After going around and around with myself and getting help from the wife on the best location I finally decided on the small cabinet beside the stove below the counter


I had already found the solar wiring in the cabinet over the sink

there was the blue and white wires and an additional blue wire, I had to dig around in the hole with a pick to find the second white wire. I could not find the blue or white wire in the battery compartment, after much digging I finally found a blue win the under floor drawer area near the rear of the TC

and verified it was the same wire in the cabinet above the sink. I have found different information about the prewire from different sites since we purchased the 1181, none mentioned that even though there are 2 blue and 2 white wires in the cabinet there is only a blue wire near the battery compartment. I found the second white wire in the cabinet is wired directly into the campers ground circuit. When looking at Lance's wiring diagram I realize that the factory installed the charge controller was mounted in the cabinet where the wiring so the wiring worked for Lance but not for me. I stayed with the wiring from the roof and from the existing wiring I continued 12ga wire behind the microwave

down through the pantry

behind the stove and out into the cabinet where the controller will be

I had already decided to install the meter in the cabinet above the sink near the Lance information center so I ran it's wiring along with it. I thought the 4ga battery wires and battery temperature sensor would be simple, down out of the cabinet, across through the drawer area under the floor but thankfully before I started drilling I remembered the grey tank is where I was going to run the wire. So I went with the next best think. Out of the cabinet, though the floor

into the curb side basement area

under the basement area

onto the battery area. The battery cutoff switch

and the terminal tool I purchased for the 4g terminals


Now that all the interior wiring was as run it was time to install the interior components and secure the wiring. The controller was first, I wanted to keep the area open for the air to cool the unit but keep any items from the adjacent cabinet, the wife volunteered a basket she had picked up at a thrift store

After getting the controller wired up I installed the meter

then on to securing and somewhat neatening the wiring up


After getting the interior back together and ready to go except for installing the fuse from the solar panels I checked my settings on the controller and connected the battery. So far so good all appears to be working properly on the meter readings.
After several days of rain I moved to the roof and the installing the solar panels. First was securing the the panels in place. I had purchased 2 sets of the Renology Z brackets but wanted to be able to tilt the panels for better winter usage and ease of maintenance of the panels and the roof. After much study and searching I finally settled on metal angle


I attached each panel first with 3M VHB tape, 16 heavy duty wood screws (8 on each bracket) and topped off liberally with dicor.

I used a 6x6x6 junction box where the prewire came out of the roof

I cut a hole in the bottom of the box, removed the factory solar connector, installed a ground bar on each end for a good connection and 2 water tight connections on the side, of course lot's of dicor

run and secure the wiring

with more dicor. Back inside I installed the fuse in the positive circuit from the roof wala I have "free" energy

this was taken around 11am with a partial shadow on the drivers side panel from where I currently park the TC. We have a trip coming up, not boondocking the whole trip but at least 2 nights along the way. I'm interested to see how well it keeps the batteries up.