ron_dittmer
Aug 07, 2015Explorer II
Converting Interior Lighting To Low Power Warm LED Lighting
Our rig is a 2007 Phoenix Cruiser 2350 of which back then (today have LED lighting) was equipped with nine florescent light fixtures. We never appreciated the look of florescent lighting and they often emit a vibrating light for various reasons. I wanted to convert the fixtures to warm emitting LED technology to improve the atmosphere and also to reduce power consumption. Converting versus replacing was primarily chosen to control cost and to avoid imprints on the ceiling fabric and have old mounting holes visible from mounting different style fixtures.
The project is complete with results as follows.
- total investment to convert all nine fixtures was around $32 (~$3.50 per fixture)
- the original florescent fixtures used 9 watts of power, now converted to warm LED using less than half at 4.33 watts.
- added an LED night light into each of the 9 fixtures
- if not adding a night light, you can do this 9 fixture project quick and easy for only $12 ($1.33 per fixture)
How It Was Accomplished...
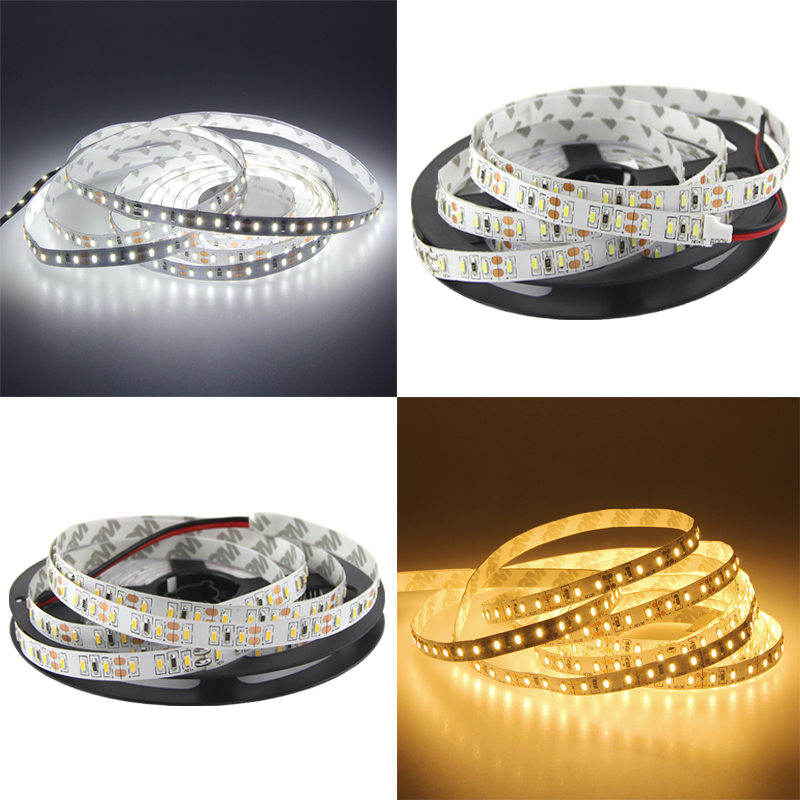
I bought two 5 meter long reels of self-sticking LED strips on ebay HERE for around $12 per reel. I used only a little from the 2nd reel needed for the night light circuits.
LEDs are grouped in 3's with a shared resistor to power them. You can see the the individual 3 yellow LEDs & 1 black resistor circuits here.
I bought 20 (but needed only 9) 3-way switches HERE for around $9. They snap into the same hole as the original white colored 2-way switches. The 3-ways were needed to also control the night-light.

Here is one of the nine original florescent fixtures with all the florescent components removed. De-soldering of the switch from the circuit board was required.

Here is an assembled fixture with LED strips installed. I selected the angled surfaces for they had a flat surface to bond to, and they aim the light better.

Note the 3-way switch in the center/off position. Also note the tiny 3-LED night light circuit on the side.
The adhesive backed strips slowly peeled off over time at the ends, so I added a dab of clear silicone caulk on the ends (not seen) as an adhesive. The LED strips now stay in place.

Here is a fully lit LED fixture. They turned out to be too bright, lighting up the interior of the rig so much that it was hard on the eyes. The contrast at night was just too much. This fully-lit unit used 6 watts of electricity.

To reduce the brightness and power consumption, I disabled every 3rd LED group by de-soldering their associated chip resistor. This reduced light and power by 28%. I did this on all fixtures throughout the interior except over the bed. The results were very good with each fixture using 4.33 watts of power.


This fixture has every-other group of 3-LEDs deactivated which reduced power & light by 45%, now using only 3.33 watts of power. I did this only on the two fixtures under the hanging cabinets over the bed. Given the smaller area, they provide better lighting for reading and such. It is also much nicer just laying in bed facing less light.


Here is the single circuit night light. It is more than a glow, but much less light than this picture illustrates.

------------------------------------------------------------------------------
Another LED conversion to reduce power was very simple by replacing standard bulbs with equivalent LED bulbs. Unfortunately I don't remember the cost. I do remember it wasn't cheap. I bought 3-twin packs and replaced all my regular bulbs throughout the rig.

Here is our porch light with new LED. Inside the fixture, I added reflective industrial aluminum to better reflect the light outward.

The project is complete with results as follows.
- total investment to convert all nine fixtures was around $32 (~$3.50 per fixture)
- the original florescent fixtures used 9 watts of power, now converted to warm LED using less than half at 4.33 watts.
- added an LED night light into each of the 9 fixtures
- if not adding a night light, you can do this 9 fixture project quick and easy for only $12 ($1.33 per fixture)
How It Was Accomplished...
I bought two 5 meter long reels of self-sticking LED strips on ebay HERE for around $12 per reel. I used only a little from the 2nd reel needed for the night light circuits.
LEDs are grouped in 3's with a shared resistor to power them. You can see the the individual 3 yellow LEDs & 1 black resistor circuits here.
I bought 20 (but needed only 9) 3-way switches HERE for around $9. They snap into the same hole as the original white colored 2-way switches. The 3-ways were needed to also control the night-light.
Here is one of the nine original florescent fixtures with all the florescent components removed. De-soldering of the switch from the circuit board was required.
Here is an assembled fixture with LED strips installed. I selected the angled surfaces for they had a flat surface to bond to, and they aim the light better.
Note the 3-way switch in the center/off position. Also note the tiny 3-LED night light circuit on the side.
The adhesive backed strips slowly peeled off over time at the ends, so I added a dab of clear silicone caulk on the ends (not seen) as an adhesive. The LED strips now stay in place.
Here is a fully lit LED fixture. They turned out to be too bright, lighting up the interior of the rig so much that it was hard on the eyes. The contrast at night was just too much. This fully-lit unit used 6 watts of electricity.
To reduce the brightness and power consumption, I disabled every 3rd LED group by de-soldering their associated chip resistor. This reduced light and power by 28%. I did this on all fixtures throughout the interior except over the bed. The results were very good with each fixture using 4.33 watts of power.
This fixture has every-other group of 3-LEDs deactivated which reduced power & light by 45%, now using only 3.33 watts of power. I did this only on the two fixtures under the hanging cabinets over the bed. Given the smaller area, they provide better lighting for reading and such. It is also much nicer just laying in bed facing less light.
Here is the single circuit night light. It is more than a glow, but much less light than this picture illustrates.
------------------------------------------------------------------------------
Another LED conversion to reduce power was very simple by replacing standard bulbs with equivalent LED bulbs. Unfortunately I don't remember the cost. I do remember it wasn't cheap. I bought 3-twin packs and replaced all my regular bulbs throughout the rig.
Here is our porch light with new LED. Inside the fixture, I added reflective industrial aluminum to better reflect the light outward.
