I do not have your brand camper, but have dealt with the issue of sagging Coroplast (plastic corrugated sheet) belly cover.
Here is a pic of ours a year after we bought the camper. It had a slight sag in it then and the camper was 4 years old on this pic.
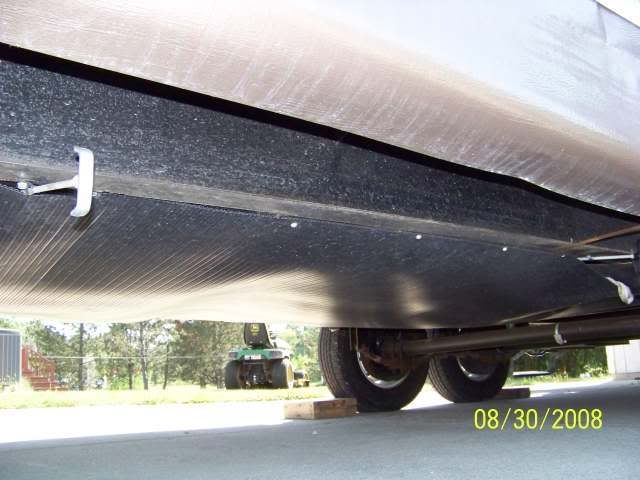
On ours Sunline welded on a 1/16" x 2" flat strip that hung inside I shape main frame rails. They used 1/4" self tapping screws to hold the cover on. See here
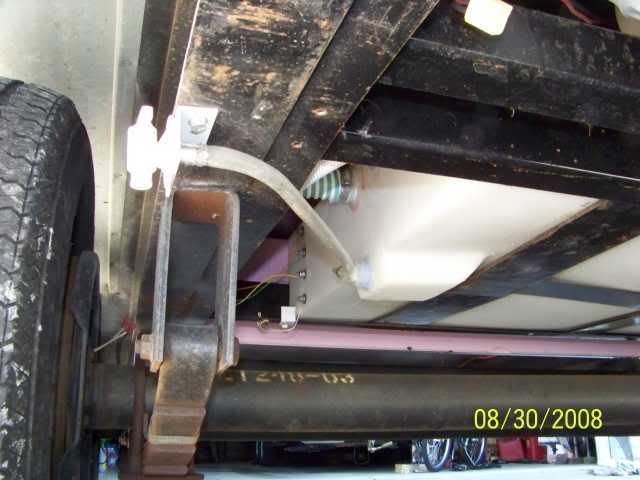
I did a qty of work in the enclosed tank compartment and after taking it on and off a few times, the sag became worse.
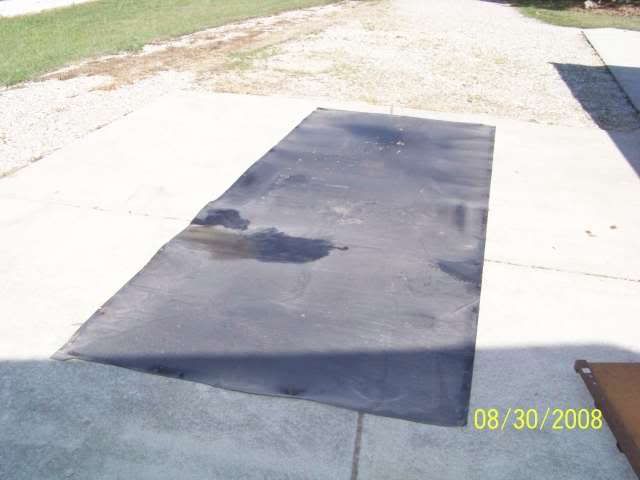
The structure of this Coroplast is not very strong, however it is light , makes a cover and will not rot. But it does sag over time.
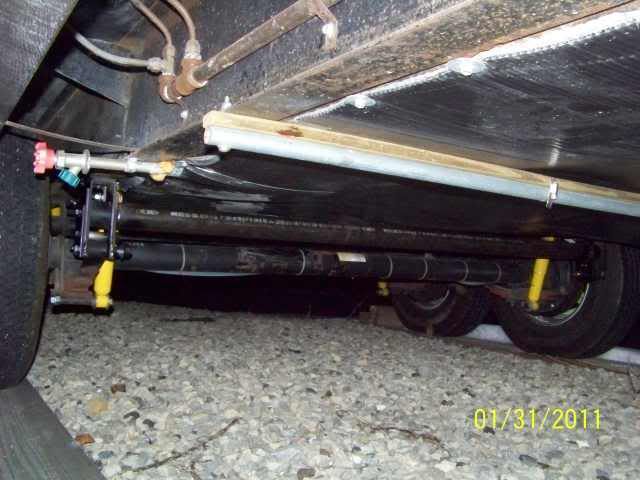
I had to do something with the sag so I make up a few holders to span the width of the frame rails and added fender washer over the screws. Went into Lowes/Home Depot to look at options and that did not cost a small fortune. Found 1/2" x 1 1/2" wide pressure treated wood strips and 3/4" EMT conduit. I used a few stainless steel hose clamps to hold the flat strip to the conduit then bolted the whole thing to the main frame rails. Note: Drill the holes towards the center of the web, not on the outside.
I wanted something more elegant and was going to change it out at a later date, however that time has not yet come and probably won't. They work well. I have them spaced about every 30"
Just passing this along as an option in case someone needs it.
Hope this helps
John


