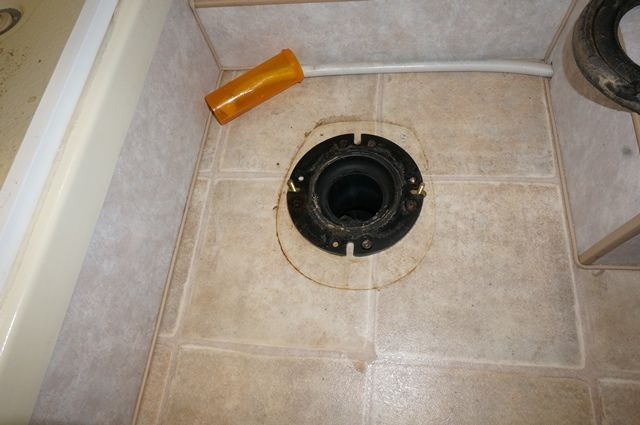
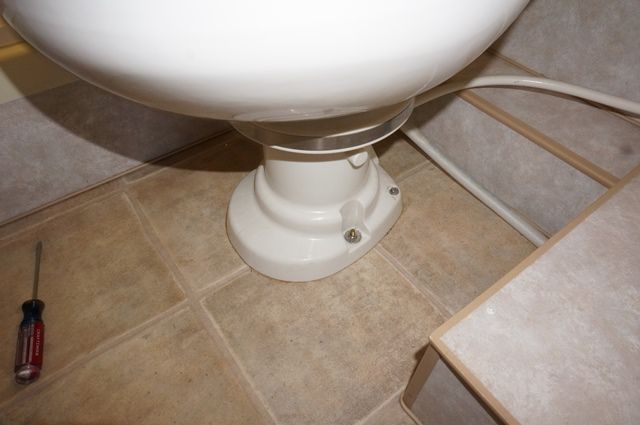
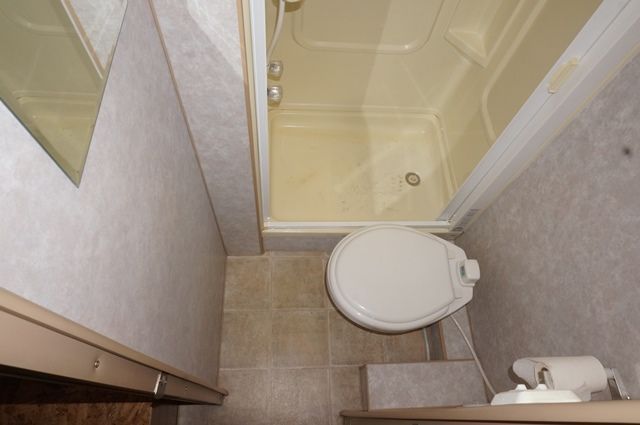
Hi Everyone,
Thanks for the comments. The combo of them helped. Here is what I found.
I hooked up an inspection camera borescope and went into the black tank. This camper has not been used since 2010 was and they cleaned out the black tank before putting it in storage. Some dirt, but no moisture.
Here is the camera work.
Here I am siting down on the job probing job the black tank...
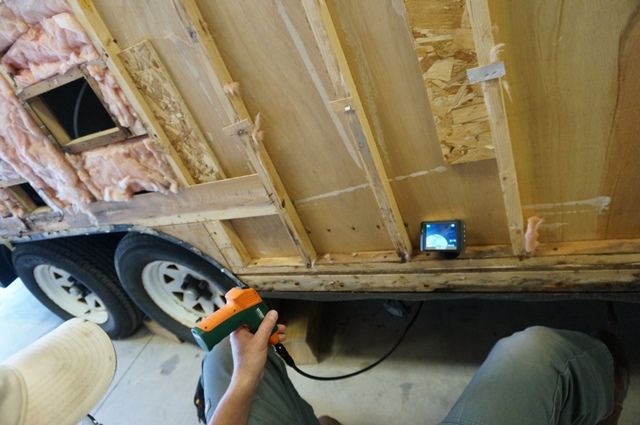
Nice thing about this camera, the display can be remote. It uses a wireless connection to the monitor. It can be on the power handle or by itself.
And if you are wondered what it looks like looking up from the tank into the camper? See here. NOTE: The time and date are off on the borescope. I never made it to updating it.
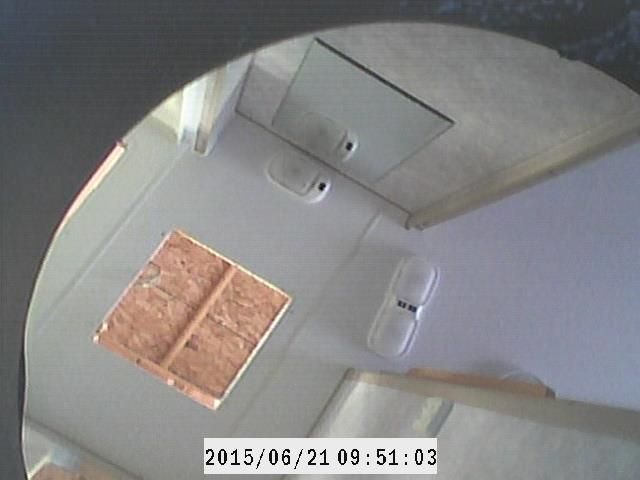
Amazing this camera can see that far away well. But close up in the tank, it is hard to get it to focus as you are so close to things. But it did what I needed it to.
Here is the toilet flange inside the tank. Ah ha! Threads! OK I can make this work, I think.
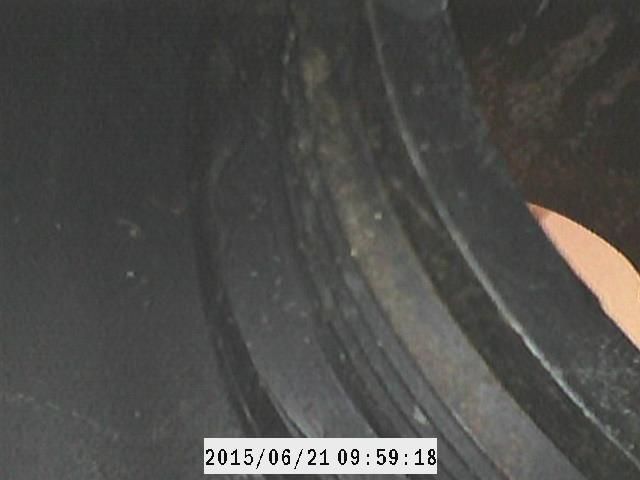
While I had everything all hooked up, I needed to find out how the black tank vent pipe connected to the tank. Here I had "thought" they used the rubber grommet. It does not appear that way. It appears glued the tank vent pipe into the tank with no fitting. At least from what is inside the tank. Will know more when I drop the black tank.
Fishing around with the stiff flexible camera cable was not easy. I had to add a cable extension so I could go into the tank deeper. And I had to go on the roof and measure the vent pipe in order to figure out where in the tank to start looking. I tried before I measured and came up dry, could not find anything. After not finding anything, I used the vent pipe dimensions and found an approx area. I used a flash light and looked in the tank by eye saw one corner of the vent pipe. That and the dimensions allowed me to find the vent with the camera.
Once I found the right area, I put a flash light in the top of the pipe on the roof to shine down so I could look for the light. This helped.
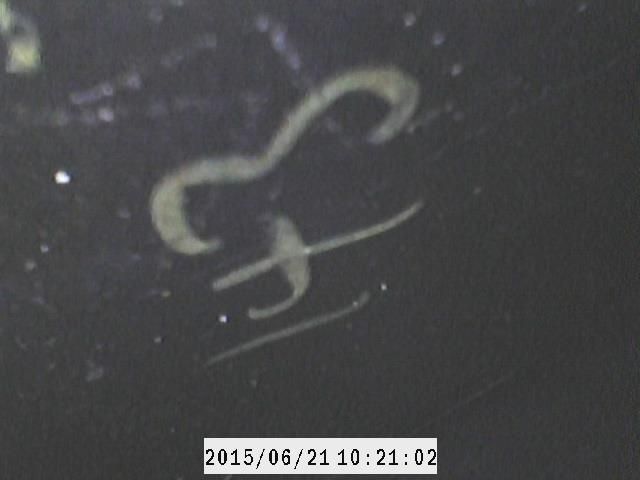
Here is some numbers on the top inside of the tank left over from manufacturing. Have no idea what 143 is for
Here is the top edge of the tank. I needed to use that seam to follow it down the tank.
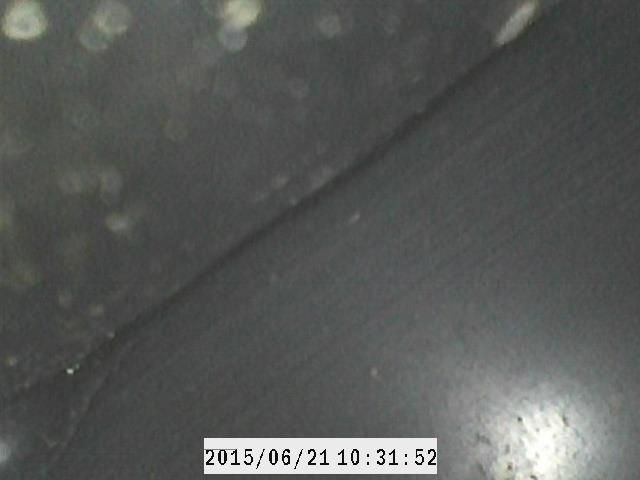
The middle of the tank was a big blur. See here
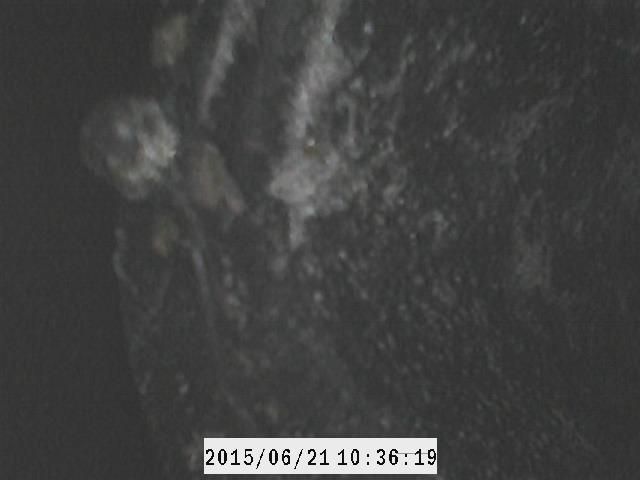
Globs of ABS glue squirted in the tank from bonding the top on. These tanks I believe are thermoformed as an open top and then a top lid bonded on.
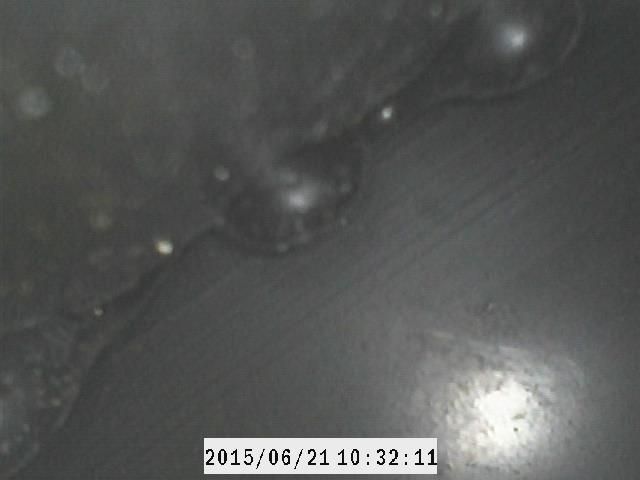
And the flash light shinning down the vent pipe
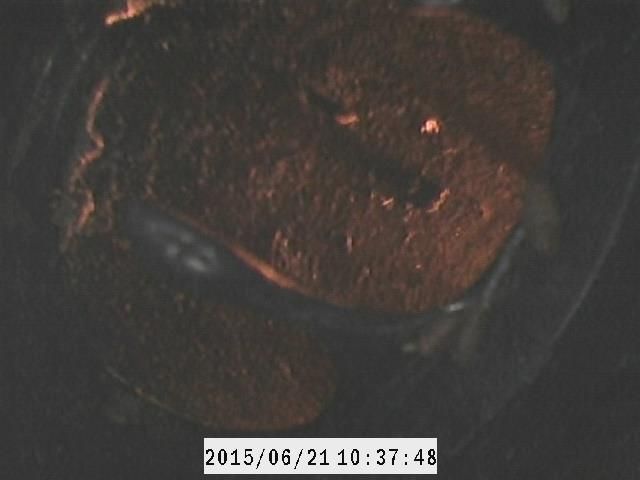
And the side of the vent pipe in the tank. It looks like the vent pipe is welded in the tank directly. Will know for sure when we take the tank down.
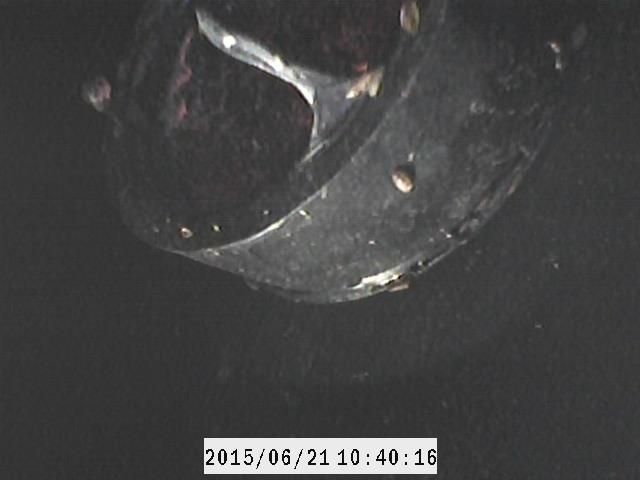
This camera work took over an hour. The toilet flange went quick, 10 minutes, but the tank vent was searching in the dark with a head light on... but we got er done.
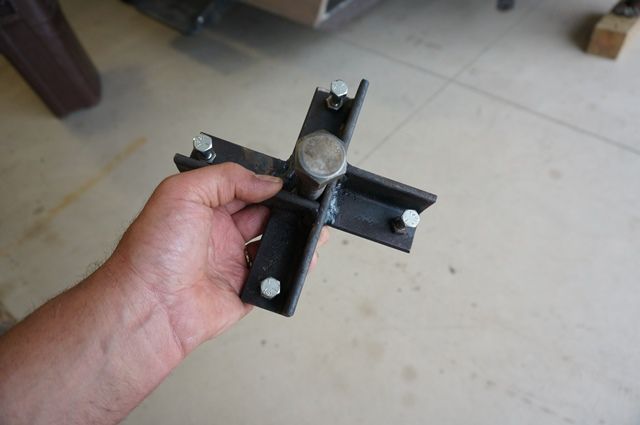
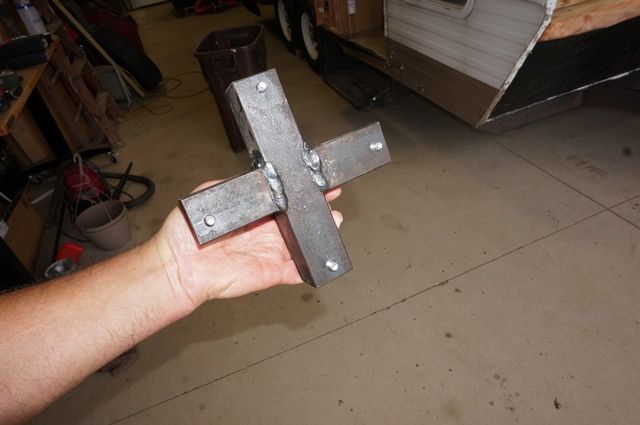
So with this, I had a preconceived notion that 3" threaded fitting on the toilet flange was going to be a bugger to get out. I did not want to damage the toilet flange so I stopped and made a spanner wrench to be able to turn the flange on all 4 bolt slots at once. It took me an hour to make the tool but it worked great!
The spanner wrench. The top side I can put a large socket on. I made this up of left over steel and a large bolt I had laying around.
The bottom with 4 bolts sticking out as pins. I can adjust the depth of the pins and needed too. The toilet flange was not flat.
The wrench on top of the floor flange
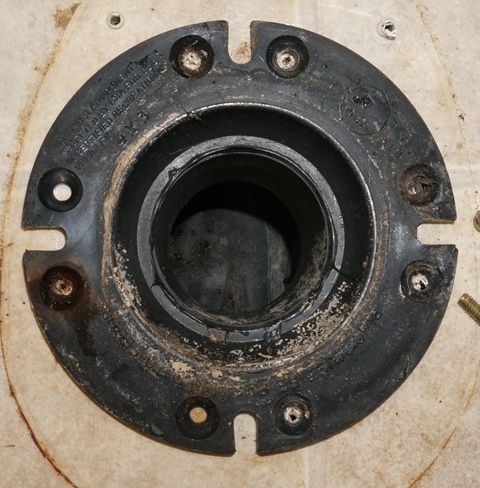
The flange itself showing the 4 bolt slots the spanner works on
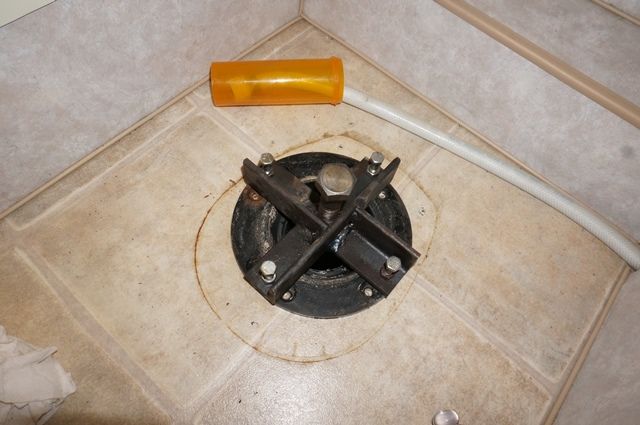
And the tool in action.
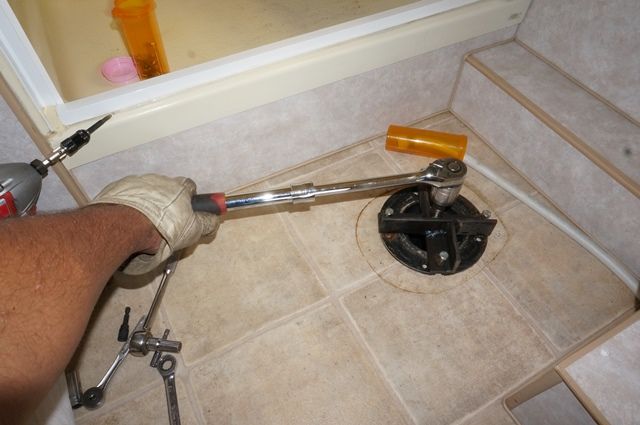
And within 30 seconds after this, the flange was out. Yeh!:grin: I thought for sure this was going to come out hard.
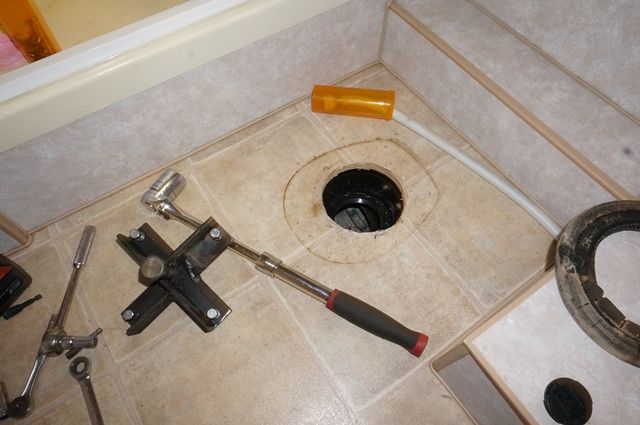
Here is the flange and pipe
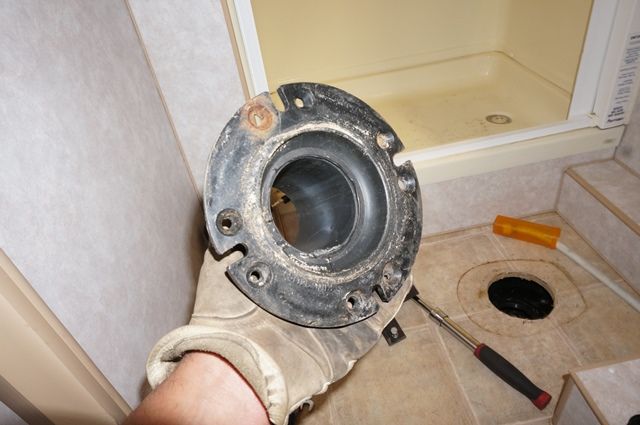
They used ABS glue and screwed a pipe nipple into the flange. This is why we saw cement on the top of the flange. I think they wanted the pipe to be part of the flange and insure the pipe would come out of the tank.
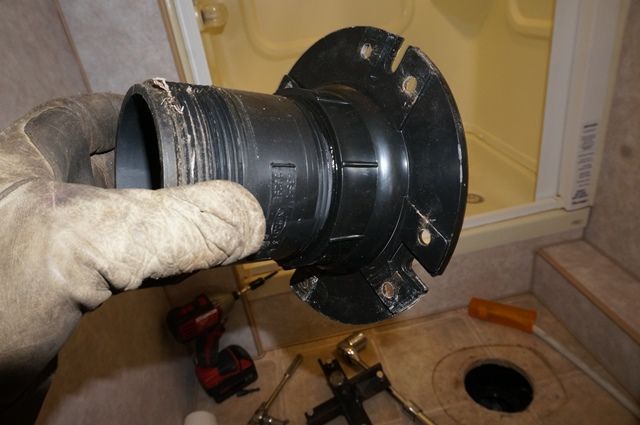
Here is the female thread flange welded in the tank
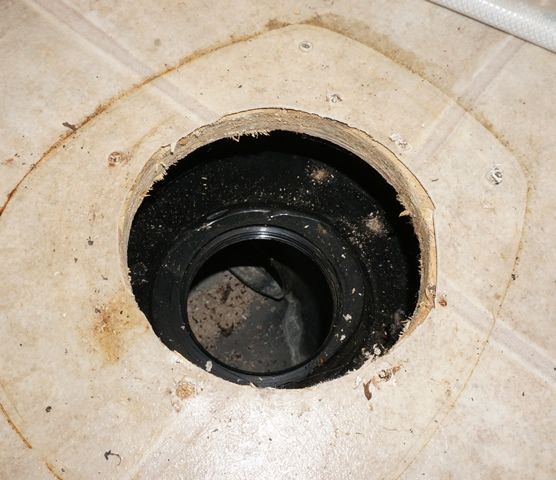
So this is how the toilet flange connects to the black tank on a Sunline 2004 camper.
Thanks
John
