- Good Sam Community
- Groups
- Travel Trailer Group
- Forum
- Cool Mods - Thread restored 10/18/2012
- Subscribe to RSS Feed
- Mark Topic as New
- Mark Topic as Read
- Float this Topic for Current User
- Bookmark
- Subscribe
- Mute
- Printer Friendly Page
Cool Mods - Thread restored 10/18/2012
- Mark as New
- Bookmark
- Subscribe
- Mute
- Subscribe to RSS Feed
- Permalink
- Report Inappropriate Content
Jun-03-2007 01:48 PM
I had been wanting to add a 12-volt fan to the main living area anyway, so I decided to tackle both jobs today. A trip to Wal-Mart for two fans($8.48 each) and we're halfway there.
She picked the spot, and I got to work -
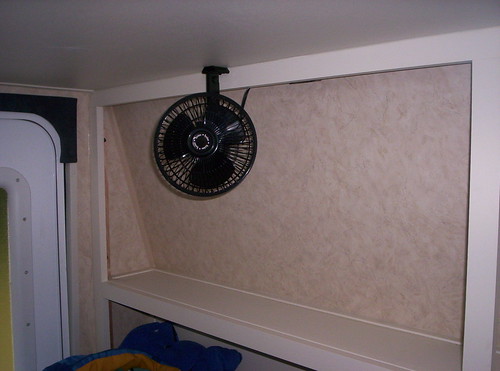
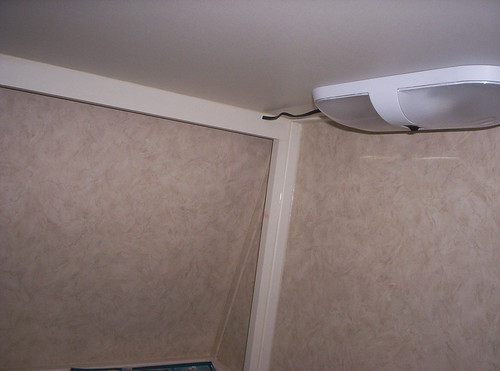
I picked up the power from her overhead light. All I have left is to install a short piece of wire cover and I'm done -
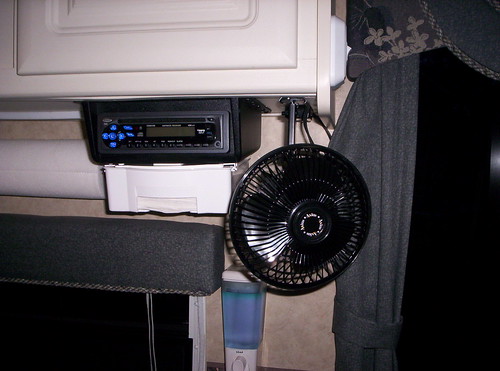
I added one in the main area -
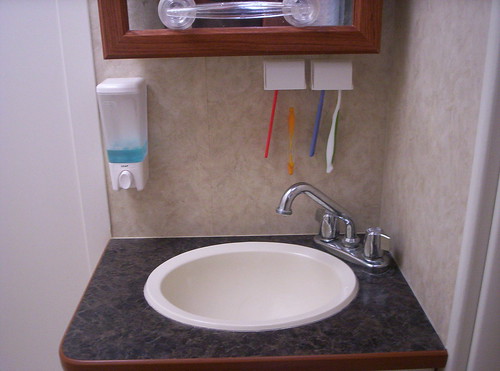
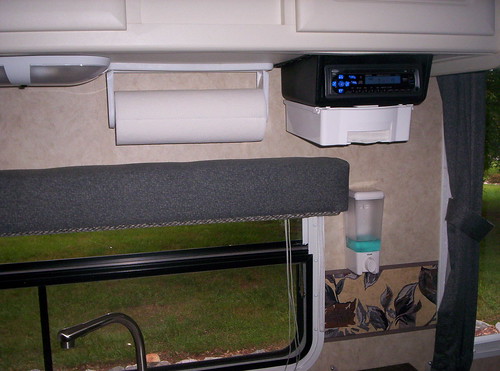
I dropped by Lowe's and found this cool soap dispenser. I also just installed these Pop-a-Toothbrush holders -
I added a sopa dispenser to the kitchen area as well. I also installed a Pop-a-Napkin under the radio -
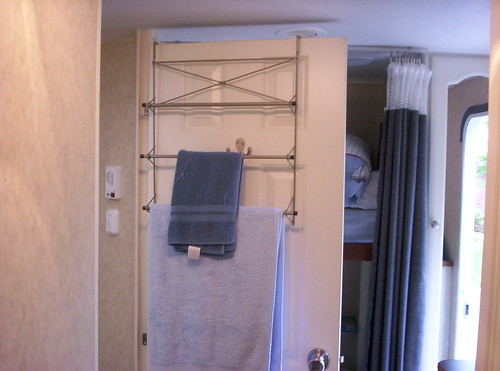
Here's an easy mod. I found this over the door towel rack at Walmart and it works great -
2005 Rockwood 2516G (sold)
2005 Max-Lite 24RS (sold)
2019 Rockwood 2608BS (sold)
2020 Grand Design 337RLS
2018 Chevy 2500HD
- Mark as New
- Bookmark
- Subscribe
- Mute
- Subscribe to RSS Feed
- Permalink
- Report Inappropriate Content
Jun-17-2008 11:00 PM
Photo's of our Travels
When we realize our insignificance in this world,
it some how relieves the pressures from society to succeed
- Cindy Bonish
- Mark as New
- Bookmark
- Subscribe
- Mute
- Subscribe to RSS Feed
- Permalink
- Report Inappropriate Content
Jun-17-2008 09:03 PM

Below is the after image from the rear looking towards the old tank. The axle was slightly in the way for a straight run of the pipe to connect to the existing pipe, so I played it safe and put in a flexible hose section at that point so there would not be any extra stress on the hard plastic pipe at the point.

The Original tank claimed to be 36 gal but only held about 27, and I added 36 more. Tonight I did a test with 5 gallon buckets and the 2 held 62 gallons, that should help. I still need to add a vent hose. The guy at a local RV repair shop suggested I just run a little hose up into the wheel well, as long as it is higher then the tank. Right now it just has a vent hole drilled at the top edge.
My costs were:
$104 Tank $45 + 59 shipping
$33 Angle Iron
$18 plumbing parts
$155 Total
08 Aerolite 21QS
01 Ford F150 Supercrew
- Mark as New
- Bookmark
- Subscribe
- Mute
- Subscribe to RSS Feed
- Permalink
- Report Inappropriate Content
Jun-17-2008 04:47 PM
 ...
...
multi-hook from dollar store.
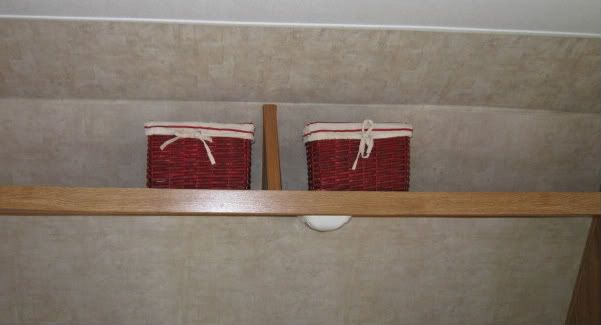
Baskets for storage.
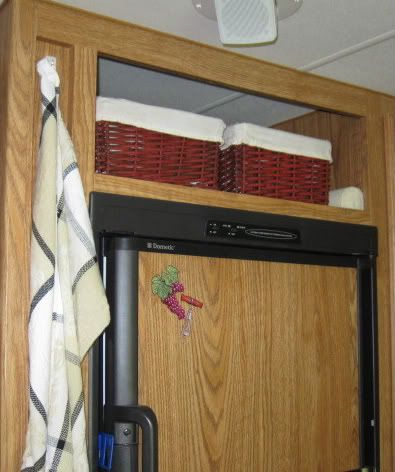
More baskets

Baskets in cabinets.
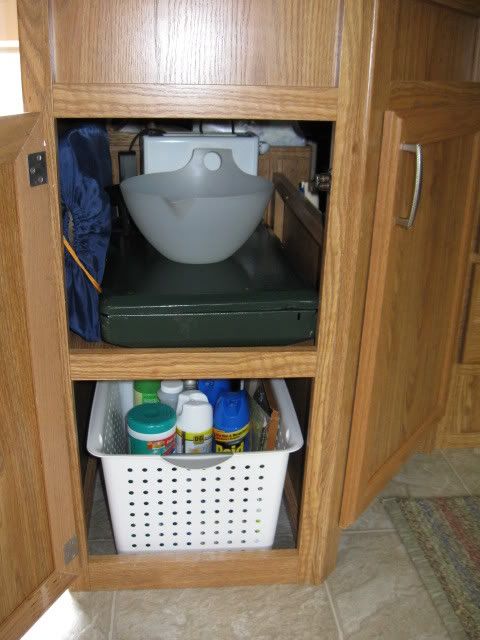
Basket for cleaners and bug sprays.
2016 North Point 341RLTS
2015 Ram 3500 4x4 CC LB DRW
2006 Terry Dakota (traded)
- Mark as New
- Bookmark
- Subscribe
- Mute
- Subscribe to RSS Feed
- Permalink
- Report Inappropriate Content
May-20-2008 08:27 PM
1. I knew that the plumbing for our outdoor shower was exposed in the rear storage compartment, but the gravity of this matter came to light when I slid our folding table into the storage area which pushed a basketball into the pipes for the outdoor shower and caused a shower inside the storage compartment. Fortunately, it was just a pipe that popped off a connection and it was an easy fix. This is what it looked like before:

To correct this design defect, I built a cage around it to prevent any future damage:

2. We also didn't have enough private room in the bath area to be able to change after a shower, so I added this privacy curtain:

It seals with velcro on both sides when the curtain is closed:

3. Our last trailer had almost no countertop space. We love the countertop space on our new trailer, but it still isn't enough, so I suspended this wire shelf from the cabinets so we can keep more of the countertop clear:

- Mark as New
- Bookmark
- Subscribe
- Mute
- Subscribe to RSS Feed
- Permalink
- Report Inappropriate Content
May-20-2008 04:36 PM
Les
2000 Ford F-250SD, XLT, 4X4 Off Road, SuperCab
w/ 6.8L (415 C.I.) V-10/3:73LS/4R100
Banks Power Pack w/Trans Command & OttoMind
Sold Trailer - not RV'ing at this point in time
HUNTER THERMOSTAT INSTALL
HOME MADE WHEEL CHOCKS
- Mark as New
- Bookmark
- Subscribe
- Mute
- Subscribe to RSS Feed
- Permalink
- Report Inappropriate Content
May-20-2008 02:04 PM
traveldiva wrote:
We bought our 21' Rockwood used. After the floor threatened to collapse after 3 months due to extensive water damage, unknown at time of purchase, we had to take most of the interior out and remove the flooring down to the studs. We then dried everything, replaced the insulation and put in laminate flooring throughout. Once that had been done, we thought, well....so:
1: Custom made a medicine cabinet by cutting into the bathroom closet, affixed a balsa wood box with shelves and covered with a cabinet door that matched.
2. Installed a custom shower rod that makes it much more roomy when using the shower. Changed the faucets from plastic to more attractive chromed look plastic. changed to oxygenics shower head.
3. Removed one dinette seat and replaced the table with a moveable table with two chairs. Now we can take the table and chairs outside. Recovered the remaining bench seat.
4. Removed all of the window valences and blinds. Replaced with cafe curtains so they can be laundered easily. A necessity in the desert.
5. Installed lcd tv/dvd player combo. DH moved the speakers from the sound system that with the TT over our heads into the cabinet above the beds. Now we can listen without having to turn it up too loudly.
6: Removed the queen bed and replaced with twin bunks with large storage containers underneath. We now have room for a nice looking plastic 3 drawer storage unit that holds LOTS of things and provides a resting place for drinks. glasses etc. Also made a straight path to the bathroom, so night trips are much easier.
7: Added plexi glass removable panels to the door so that we don't lose the view when using the a/c or the heat.
The main theme is beach. We have restrained ourselves slightly, but the grass skirts around the beds give it away!
We are always thinking about what is next. We have as much storage as much larger units, and it is fully customized for us.
Wow!! Do you have pictures? I would love to see your beach theme!!
thanks,
Malu
1997 Roadtrek 190 Popular - "Camposauras B"
- Mark as New
- Bookmark
- Subscribe
- Mute
- Subscribe to RSS Feed
- Permalink
- Report Inappropriate Content
May-20-2008 01:23 PM
got yfz? wrote:
We have spent the past few weeks follwing this thread and doing several mods to our toyhauler so I thought I would share since I love looking at the pictures.
This is my first try at posting pics so here goes nothing . . .
The first thing we did was flip the axles for more ground clearance
Before
After
Kim
NICE. Did you just do a 'springover' (our drop axle perches are under the axle tube, I was going to simply weld new perches above the axle tube and reinstall) or did you flip the drop axles?
edit: nevermind. I just read that you had a local dealer do it. Good photos, though. 😄
- Mark as New
- Bookmark
- Subscribe
- Mute
- Subscribe to RSS Feed
- Permalink
- Report Inappropriate Content
May-20-2008 10:18 AM
1: Custom made a medicine cabinet by cutting into the bathroom closet, affixed a balsa wood box with shelves and covered with a cabinet door that matched.
2. Installed a custom shower rod that makes it much more roomy when using the shower. Changed the faucets from plastic to more attractive chromed look plastic. changed to oxygenics shower head.
3. Removed one dinette seat and replaced the table with a moveable table with two chairs. Now we can take the table and chairs outside. Recovered the remaining bench seat.
4. Removed all of the window valences and blinds. Replaced with cafe curtains so they can be laundered easily. A necessity in the desert.
5. Installed lcd tv/dvd player combo. DH moved the speakers from the sound system that with the TT over our heads into the cabinet above the beds. Now we can listen without having to turn it up too loudly.
6: Removed the queen bed and replaced with twin bunks with large storage containers underneath. We now have room for a nice looking plastic 3 drawer storage unit that holds LOTS of things and provides a resting place for drinks. glasses etc. Also made a straight path to the bathroom, so night trips are much easier.
7: Added plexi glass removable panels to the door so that we don't lose the view when using the a/c or the heat.
The main theme is beach. We have restrained ourselves slightly, but the grass skirts around the beds give it away!
We are always thinking about what is next. We have as much storage as much larger units, and it is fully customized for us.
Debbie (DW and travel diva)
Max the wonder dog (scruffy terrier mix)
Ladybug (basenji/shepherd mix)
And two noncamping cats
95 Bounder 35U newly arrived 31 Jul 08
Toad free for now
But it's a DRY heat....Las Vegas
- Mark as New
- Bookmark
- Subscribe
- Mute
- Subscribe to RSS Feed
- Permalink
- Report Inappropriate Content
May-19-2008 05:29 PM
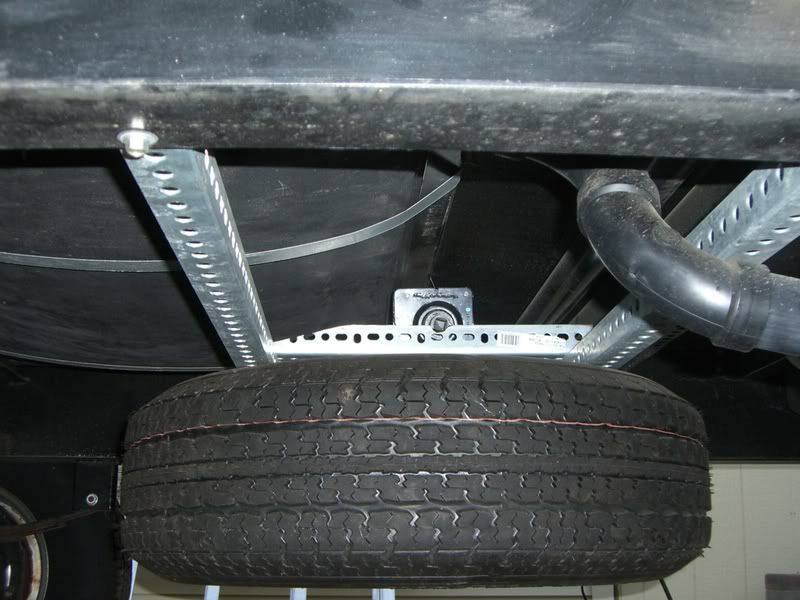
I also mounted my Blue Tote underneath the trailer in a similar fashion but the tote drops down for removal off the square tubing by removing the hitch pins on either side...

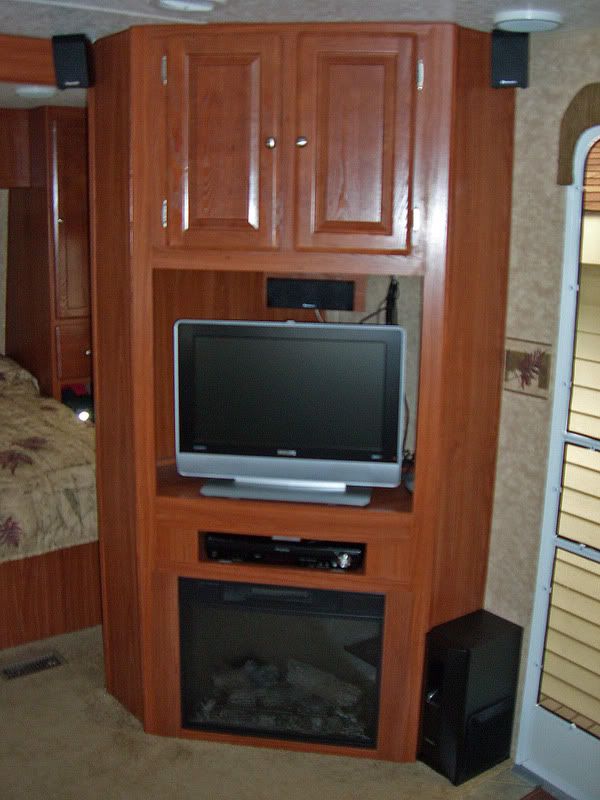
To sunline 1 - thanks for the nice words... I'll tell you the fireplace story... When the wife and I went to the RV show last January we saw the fireplaces in the new Nomads... I asked my dealer how much the option was and could he get me one... He said he could and it listed for about $400 :R!!!
The wife and I went shopping and didn't find anything right away but some weeks later Home Depot had a 50% off sale on them... Only problem was it came with a nice Oak enclosure (mantle)... Well, at 50% off the $380 list price, that brought it down to $190 and we sold the Oak enclosure on Craigslist for $50 the next week, so my cost on the fireplace was about $140 - considerably less than the $400 bucks my dealer wanted...
Originally, there were double doors on the lower part of the cabinet where the fireplace is... I removed the center stile and had to fashion some filler pieces on the left, right, and top to close up the gaps... I then covered the wood pieces with wood finish sticky vinyl to match my cabinets that I bought from my dealer...
The fireplace is also a little heater too... Not much heat but enough to knock off the chill in the evening or morning... The intensity of the "flame" (lamps) is also adjustable with a knob in the right side door on the top of the fireplace... Here's a few pics on that too... Forgive the slightly blurry pictures - it was dark and cold in the TT when I took them without the aid of a tripod... Note that in the left hand fireplace picture, the OEM Surround Sound system had not yet been replaced...


I also added a few AC power outlets - one in the cabinet interior for the fireplace and one on the left side of the slide... That was my wife's request so we could position our verticle floor fan on the other side of the room not have it blow directly on her (she hates that :R)... I didn't post pictures of them because there isn't much interesting in seeing a picture of an AC outlet :W...
I'll be doing a Dexter HD suspension conversion (this is the one with greasable bolts and the EZ-Flex idler)in a month or so and I'll take a bunch of pictures as I progress through the installation... Here's a pic of that kit...

And finally - here is the link to my Nomad3150 Mods page on photobucket for anyone interested...
http://s19.photobucket.com/albums/b191/nomad27/Nomad%203150%20Modifications/
Les
2000 Ford F-250SD, XLT, 4X4 Off Road, SuperCab
w/ 6.8L (415 C.I.) V-10/3:73LS/4R100
Banks Power Pack w/Trans Command & OttoMind
Sold Trailer - not RV'ing at this point in time
HUNTER THERMOSTAT INSTALL
HOME MADE WHEEL CHOCKS
- Mark as New
- Bookmark
- Subscribe
- Mute
- Subscribe to RSS Feed
- Permalink
- Report Inappropriate Content
May-19-2008 11:02 AM
Nice mod's. did you make the entertainment center with the fireplace. Man that's beautiful. Sunline1
- Mark as New
- Bookmark
- Subscribe
- Mute
- Subscribe to RSS Feed
- Permalink
- Report Inappropriate Content
May-18-2008 10:58 PM
Not finished all the mods I have in mind for this first blitz.
I got a great deal on a 22 gallon barker blue tote
I removed my spare from the back bumper and built this

I recycled the u bolts from my spare carrier and picked up two cheap spare carrier mounts at Princess Auto

I made it large enough to carry a couple fold up chairs,I also stuff 50' of heavy gauge cord in there.

I coated it many times with outdoor stain, all the lumber is pressure treated, and all joints are siliconed. I used galvanized fasteners and alot of PL Premium construction adhesive. I used 1" x 1/4" self adhesive weather stripping on the trailer siding and compressed the box tightly into it. There were zero signs of rubbing after our only 400 mile trip. The lock is a typical canopy style T handle from my local rv dealer. Total cost around 80$, but i get some great deals 🙂
Needing a place to store the spare I used a bunch of leftovers from other mods to make a rack under the frame in front of the axles.I used Superstrut(rated for seismic bracing), 1 1/2" angle iron, and some fancy self cutting 3/8" bolts.

These superstrut spring anchors cost me over 2$ each!

I had lots of stain and plywood left over so the toolboxes really only cost me 2 more t handle sets, 2 more piano hinges, and 12 sets of spring anchors, grade 8 bolts, and lockwashers. I used 2 6" galvanized 1/2" carriage bolts to secure the tire to another piece of susperstrut above the rack. Nearly 15$ for the pair, I carry an cordless impact driver with me anyways so didn't want to mess with mounting a crank. I lightly greased the bolt threads so they should drop off easily on the side of the road

I used some heavy gauge carrying channel (used to brace steel stud framing) inside the box to prevent the plywood from crushing. Lining up 6 bolts inside a surprisingly heavy box without popping those spring anchors was a ridiculously frustrating experience.
This pic was taken with the camera nearly on the ground and makes it look flush with the frame, in fact they are a few inches recessed, none of these are lower than my sewer connections. From anywhere close to the trailer you can't even tell the boxes have handles.

Total cost counting new carlisle spare and rim was about 250$ but i had alot of misc laying around and got a good deal on the spare at you guessed it, Princess Auto.(one of my favourite toy stores)I torque'd every bolt to appropriate force, I plan to check them all a few times a year, I used lockwashers on everything so hopefully nothing will loosen over time. I used a combination of foam and rubber gasket to keep these boxes watertight.
Have a few more I'll post later. Thanks for this awesome thread. I've gotten so much inspiration from these pages.
PS: We only bought this trailer 8 weeks ago and last weekend was her maiden voyage. Everything worked like a charm!
Rob
- Mark as New
- Bookmark
- Subscribe
- Mute
- Subscribe to RSS Feed
- Permalink
- Report Inappropriate Content
May-18-2008 06:22 PM
2013 RAM 3500 Dually, 6.7 Cummins and all the bells and whistles
2009 Jayco Eagle 324BHDS "CramalotInn III",Reese DCHP, Atwood 3500, BAL Deluxe Chocks, Weber Baby Q & Q200, Champion 2000W Inverter & 4000W gennie's
My Camping Pic's
- Mark as New
- Bookmark
- Subscribe
- Mute
- Subscribe to RSS Feed
- Permalink
- Report Inappropriate Content
May-18-2008 05:50 PM
Les
New Aluminum Wheels

Entertainment Center showing fireplace, Panasonic Surround Sound and center speaker (in cabinet behind TV) and left and right front speakers and sub-woofer.
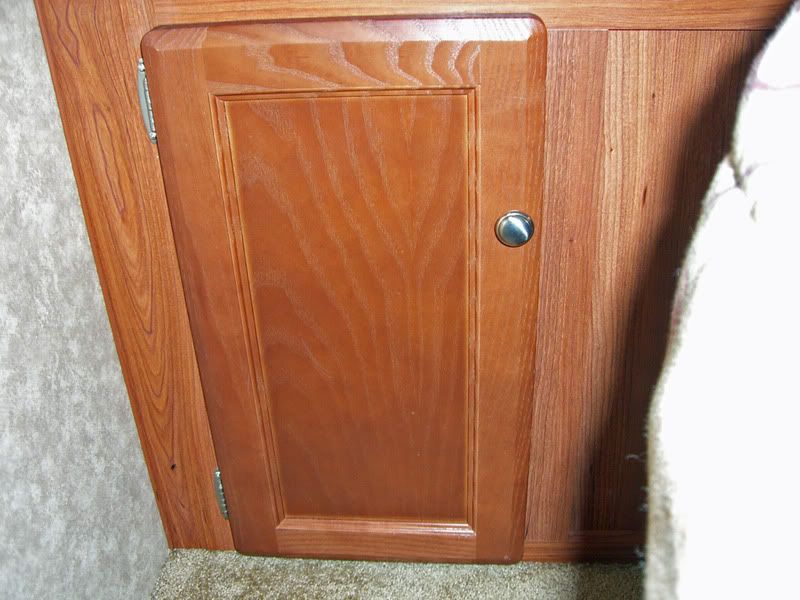
New Cabinet door installed on the back side of fireplace
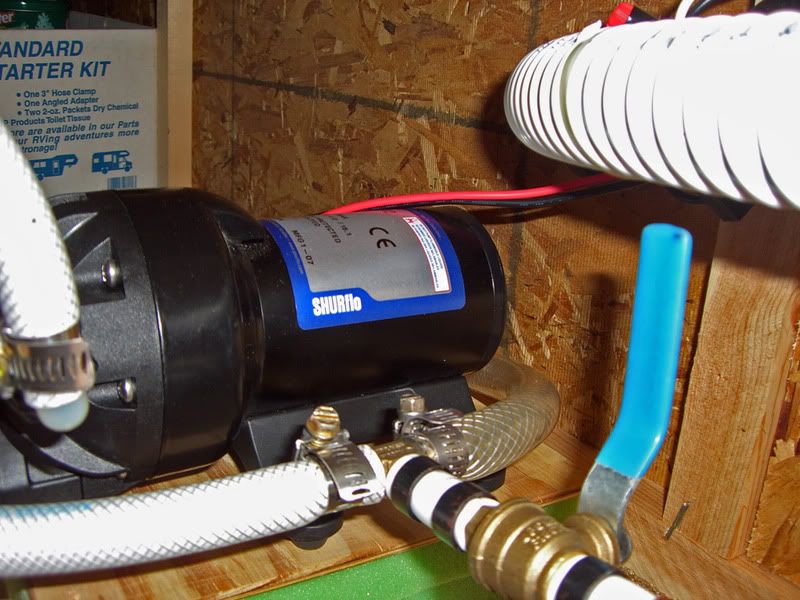
New SurFlo 4 GPM pump used with 2 gallon accumulator
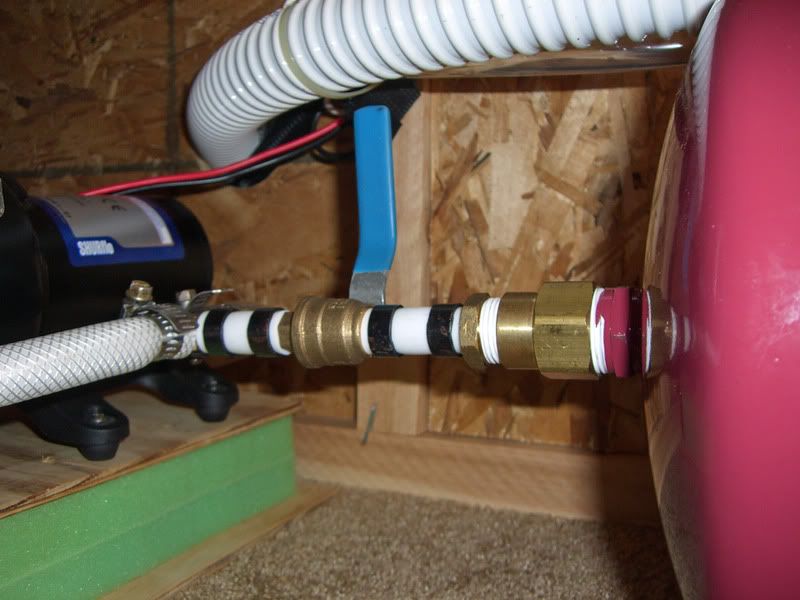
Shutoff valve installed on accumulator (not new but never had picture)
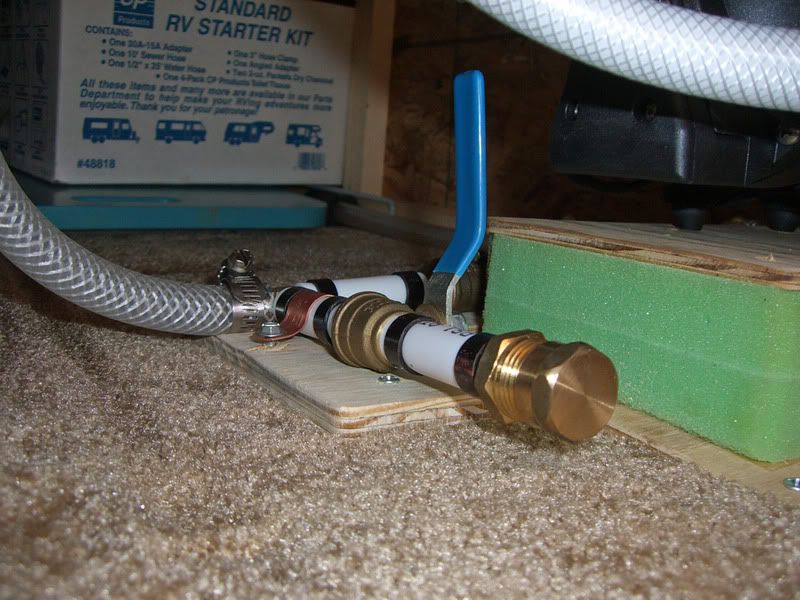
Home made winterizing valve
Left and right satellite speakers
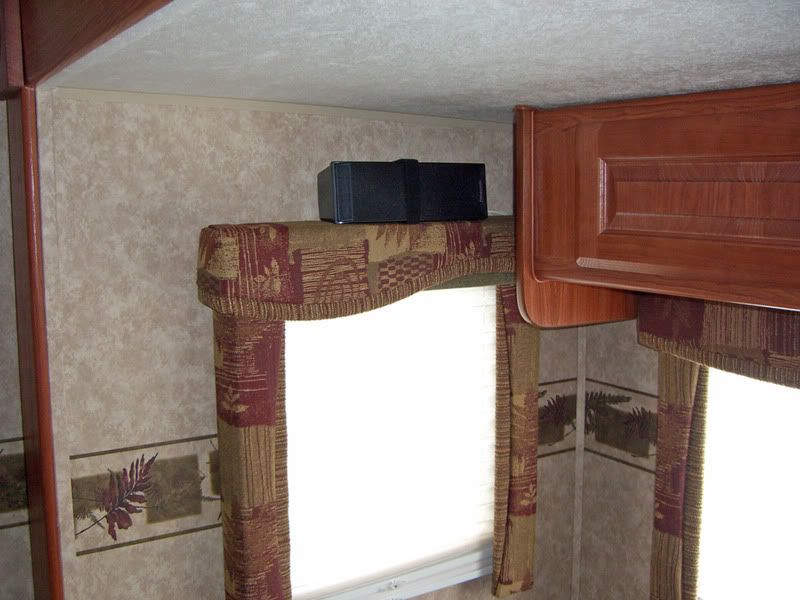
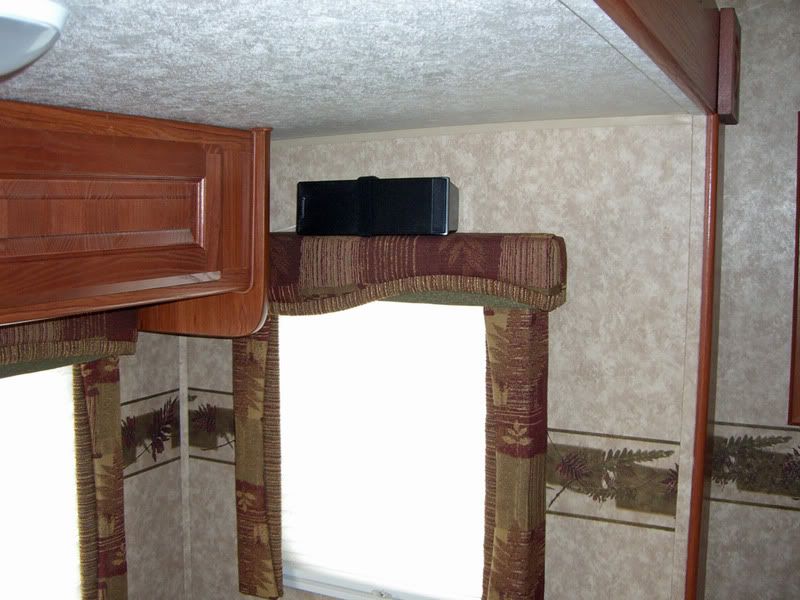
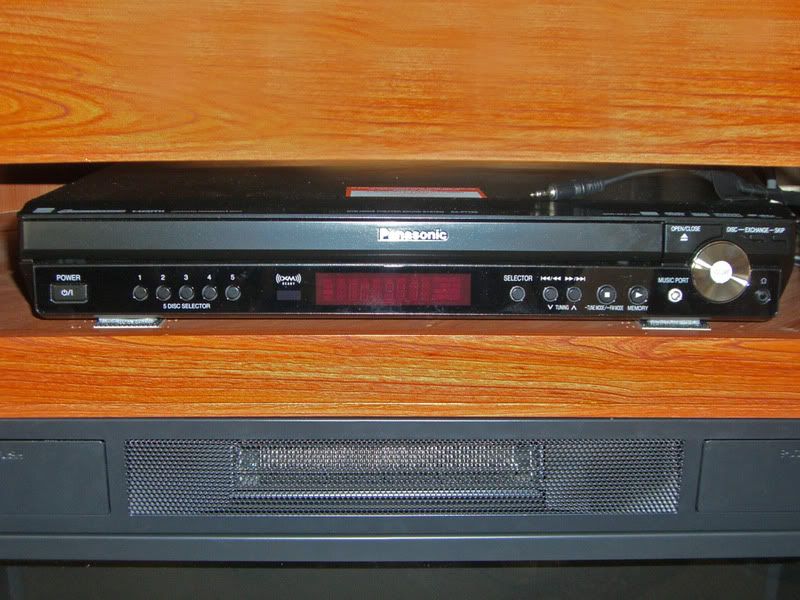
Panasonic Surround Sound Amplifier and disk player
2000 Ford F-250SD, XLT, 4X4 Off Road, SuperCab
w/ 6.8L (415 C.I.) V-10/3:73LS/4R100
Banks Power Pack w/Trans Command & OttoMind
Sold Trailer - not RV'ing at this point in time
HUNTER THERMOSTAT INSTALL
HOME MADE WHEEL CHOCKS
- Mark as New
- Bookmark
- Subscribe
- Mute
- Subscribe to RSS Feed
- Permalink
- Report Inappropriate Content
May-18-2008 01:17 PM
dougsee3 wrote:
My Equal-i-zer storage
Two 2.5" square U-bolts and some nylon hose and some drilled holes and nuts.
-------------
Nice idea but we just place the bars back on the L-Bracket and slip the L-Pin back on and they stay the same way yours do. They are kind of balanced on the L-Bracket.
No Mods but an easy way to keep them off the ground and out of the way.
2015 Dodge Ram Crew Cab 4x4 Hemi
2016 Rockwood Windjammer 3029W
- Mark as New
- Bookmark
- Subscribe
- Mute
- Subscribe to RSS Feed
- Permalink
- Report Inappropriate Content
May-18-2008 09:36 AM
Great idea with the flashlight holder and Magazine Rack!
But I have one question: In the picture of the Magazine Rack why is there a flashlight in there? Shouldn't the flashlight be in the flashligt holder :h
1999 Ford E 350 Super Duty 15 Passenger Ext Van
6.8L V10 / 3.73 Gears
