Turn on suggestions
Auto-suggest helps you quickly narrow down your search results by suggesting possible matches as you type.
Showing results for
- Good Sam Community
- Everything RV
- DIY Maintenance
- Truck Side Step Installed- Carr Hoop II - pic heav...
Options
- Subscribe to RSS Feed
- Mark Topic as New
- Mark Topic as Read
- Float this Topic for Current User
- Bookmark
- Subscribe
- Mute
- Printer Friendly Page
Truck Side Step Installed- Carr Hoop II - pic heavy
Options
- Mark as New
- Bookmark
- Subscribe
- Mute
- Subscribe to RSS Feed
- Permalink
- Report Inappropriate Content
Aug-02-2014 08:19 PM
Our '13 Ford F250, Super Cab 8' box, was a tad high, so a request was submitted by my Significant Other to have a side step. When I say "request", I mean, "If you want me to be happy, you'll install a step. So, get to it." After a little research considering size, weight, function and quality, I went with a pair of Carr Hoop II in polished Aluminum. They're offered in polished, powder coated black and powder coated silver/grey. The Hoop II's step surface is about 7". They sell a longer step, the Super Hoop, also.
They're cast Aluminum, and the casting seam that went all the way around the piece was unacceptable. Their polishing job leaves a little room for improvement, too. So, I sanded the seam away with 220 grit and a palm-sander, then progressed from 400-1000 grit, by hand, prior to hitting them with a buffing wheel.
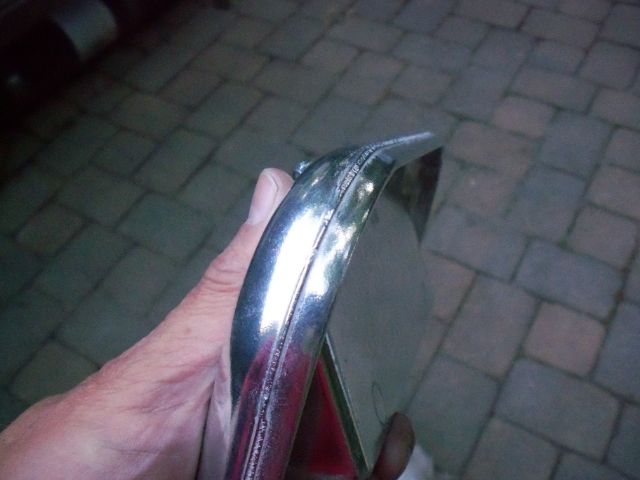
After the 220 grit power sanding.
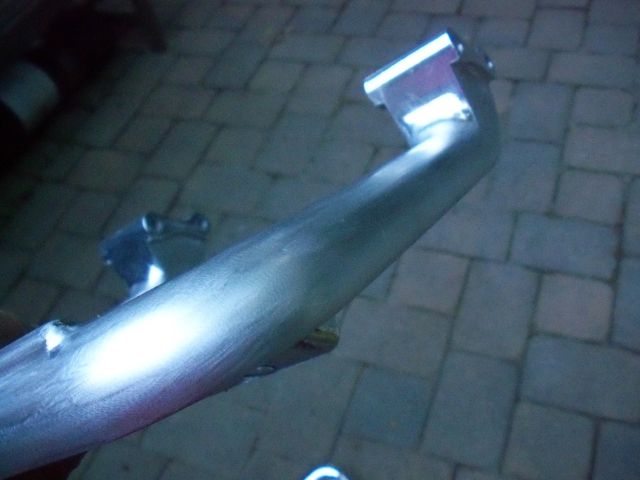
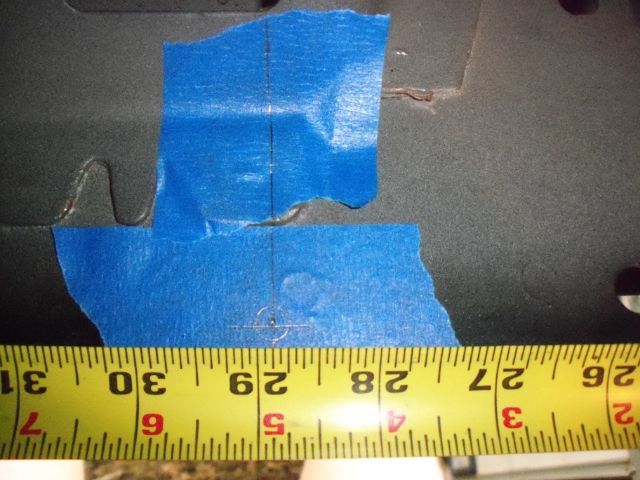
I spent a lot of time positioning the steps. From the screw next to the back of the wheel well, it's 28 7/8" to the bolt farthest from the front wheel.
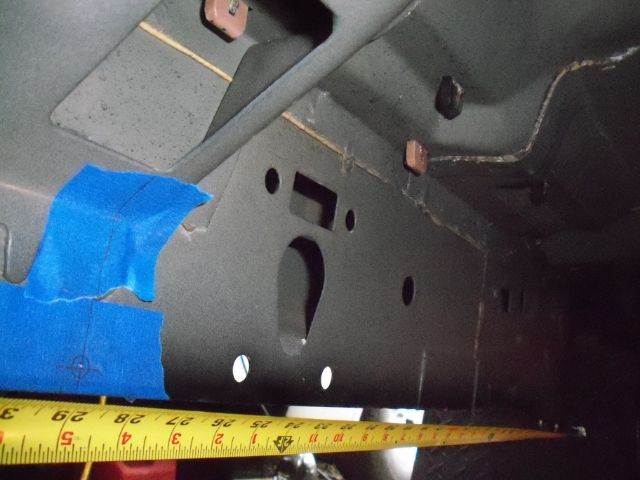
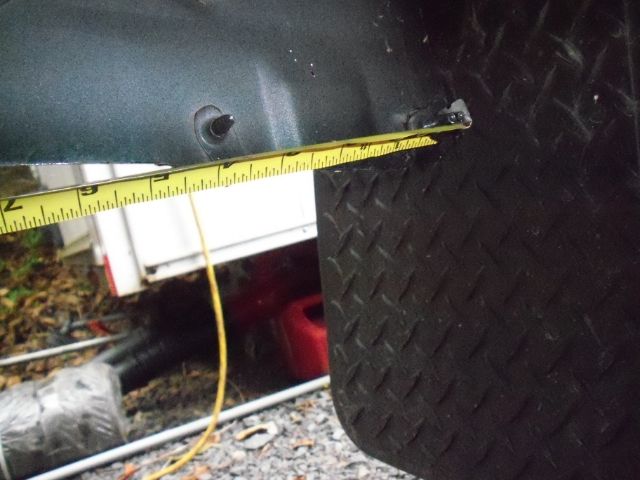
My tape is hooked on the screw behind the wheel well. You can see a front mud flap.
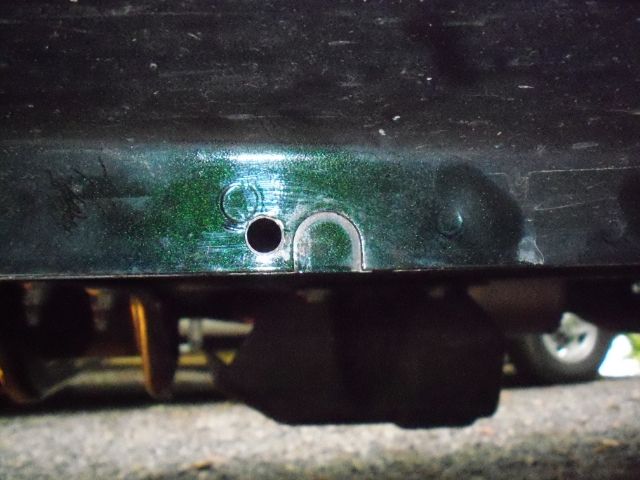
Avoiding spot welds and other features of the rocker panels took a little planning and a very little bit of accuracy (this hole is actually exactly where I wanted it). Here's one of the new holes. The corresponding hole on the other side is the same, but the remaining holes had a bit more room for error.
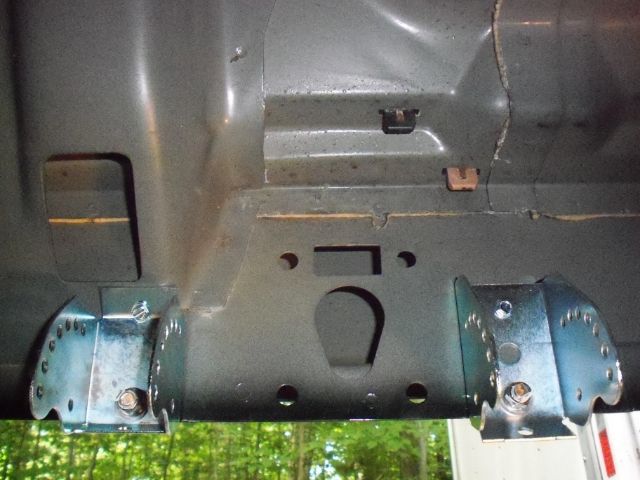
From the first hole, I measured towards the front wheel, 8 1/4", for the next bracket. Stainless steal, button head fasteners (5/16 x 3/4" long), washers and Nylock nuts replaced the zinc hardware provided for the lower fastener. I used the included sheet metal screw for the top fastener. The new holes in the rocker panels were treated with fingernail polish to help prevent rust. This is the driver's side:
Mounted, after re-polishing with a powered buffing wheel.
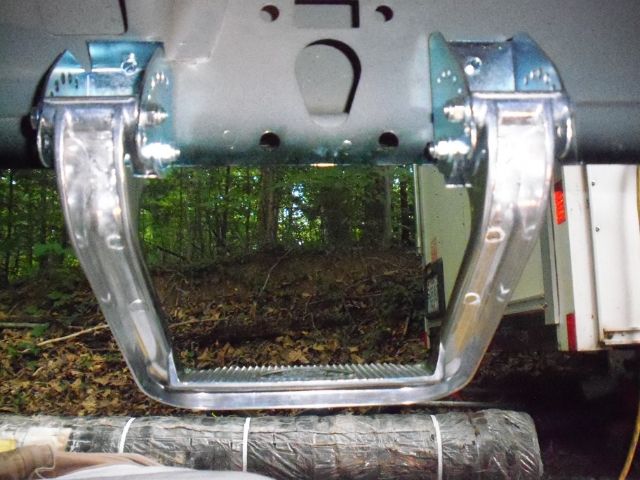
Finished:
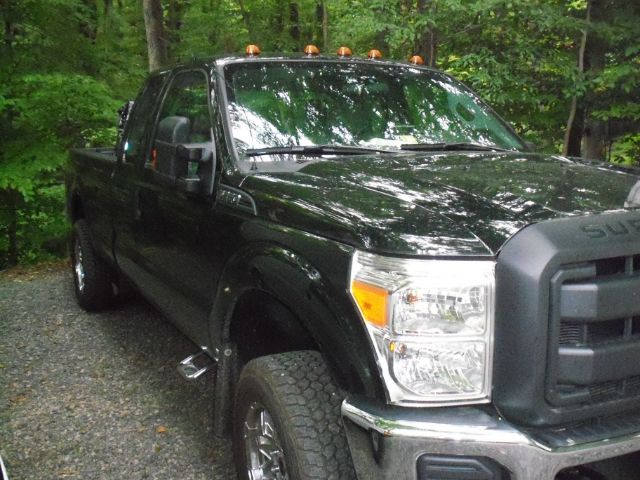
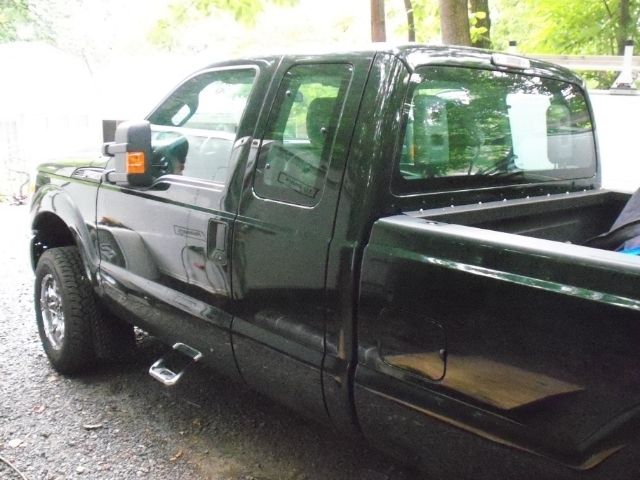
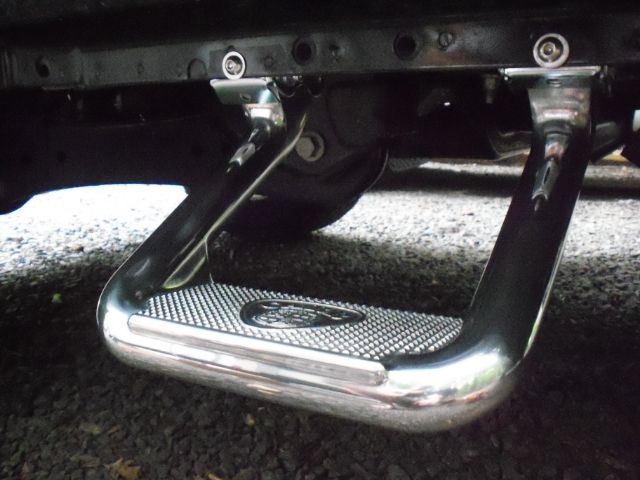
I'm not overly impressed with the mounting method. I'm about 205#, and there's flex in the rocker panel when I apply weight to the step. My SO is substantially lighter, and the flex is more reasonable under her weight. I'm not sure what I'd do to reinforce this area, besides bolting/welding some angle iron to the rocker panel. Although it takes a little toughness out of the truck, it functions as a step, and Momma gave it her Seal of Approval (I got bacon and pancakes for dinner), so everybody's happy.
The first step took me about 2 hours. Like much in life, the second step took less time. About a hour, taking my time and letting two coats of fingernail polish dry. Polishing took the longest (but the cast seams have disappeared), and all told, the project took about 8 hours.
They're cast Aluminum, and the casting seam that went all the way around the piece was unacceptable. Their polishing job leaves a little room for improvement, too. So, I sanded the seam away with 220 grit and a palm-sander, then progressed from 400-1000 grit, by hand, prior to hitting them with a buffing wheel.

After the 220 grit power sanding.

I spent a lot of time positioning the steps. From the screw next to the back of the wheel well, it's 28 7/8" to the bolt farthest from the front wheel.

My tape is hooked on the screw behind the wheel well. You can see a front mud flap.


Avoiding spot welds and other features of the rocker panels took a little planning and a very little bit of accuracy (this hole is actually exactly where I wanted it). Here's one of the new holes. The corresponding hole on the other side is the same, but the remaining holes had a bit more room for error.

From the first hole, I measured towards the front wheel, 8 1/4", for the next bracket. Stainless steal, button head fasteners (5/16 x 3/4" long), washers and Nylock nuts replaced the zinc hardware provided for the lower fastener. I used the included sheet metal screw for the top fastener. The new holes in the rocker panels were treated with fingernail polish to help prevent rust. This is the driver's side:

Mounted, after re-polishing with a powered buffing wheel.

Finished:


I'm not overly impressed with the mounting method. I'm about 205#, and there's flex in the rocker panel when I apply weight to the step. My SO is substantially lighter, and the flex is more reasonable under her weight. I'm not sure what I'd do to reinforce this area, besides bolting/welding some angle iron to the rocker panel. Although it takes a little toughness out of the truck, it functions as a step, and Momma gave it her Seal of Approval (I got bacon and pancakes for dinner), so everybody's happy.
The first step took me about 2 hours. Like much in life, the second step took less time. About a hour, taking my time and letting two coats of fingernail polish dry. Polishing took the longest (but the cast seams have disappeared), and all told, the project took about 8 hours.
'13 F250XL SC gas 4x4 8', Camper & Plow packages, StableLoads, LT285/65R-18 Goodyear Wrangler A/T Adventure, 18x9 Ultra Motorsports "Phantom" wheels
'12 Wolf Creek 850 TC Coleman Polar Cub 9.2k A/C, 90 watt solar, dual propane & batteries, Maggie Rack
'12 Wolf Creek 850 TC Coleman Polar Cub 9.2k A/C, 90 watt solar, dual propane & batteries, Maggie Rack
1 REPLY 1
Options
- Mark as New
- Bookmark
- Subscribe
- Mute
- Subscribe to RSS Feed
- Permalink
- Report Inappropriate Content
Aug-03-2014 08:04 AM
Hi! Interesting installation step by step and thanks for that! I really like the polished finish that you achieved. I have the hoops and the superhoops on our RAM 2500. Super Hoops for the front and the shorter Hoops for the rear club cab door entry. The main thing that I don't like about the product is how quickly they tarnish and that they take a lot of effort and time to renew once they do tarnish.
My bride and I are both stout people of weight (PC, no?) and the RAM rocker panels do flex a little bit. We have had the hoops on for several years now and no wear and tear concerns to report.
Cheers!
Mike
My bride and I are both stout people of weight (PC, no?) and the RAM rocker panels do flex a little bit. We have had the hoops on for several years now and no wear and tear concerns to report.
Cheers!
Mike
Something Old, Something New
2012 F350 SRW, 6.7l Powerstroke, 3.55's front and rear.
2008 Fleetwood Regal 325RKTS
Mike, Carol and our 4 legged "furry child" Kenzie Shweenie Tod
2012 F350 SRW, 6.7l Powerstroke, 3.55's front and rear.
2008 Fleetwood Regal 325RKTS
Mike, Carol and our 4 legged "furry child" Kenzie Shweenie Tod
Related Content
- First mileage test result. in Tow Vehicles
- VIDEO: The Engine Repairs and Improvements are Completed in Tow Vehicles
- Need help finding the right 5th wheel weight in RV Tips & Tricks
- Installing onboard generator truck camper wolf creek 850 in DIY Maintenance
- LED light strip problem in Technical Issues


