- Good Sam Community
- Everything RV
- DIY Maintenance
- Another Solar Install
- Subscribe to RSS Feed
- Mark Topic as New
- Mark Topic as Read
- Float this Topic for Current User
- Bookmark
- Subscribe
- Mute
- Printer Friendly Page
Another Solar Install
- Mark as New
- Bookmark
- Subscribe
- Mute
- Subscribe to RSS Feed
- Permalink
- Report Inappropriate Content
Sep-12-2016 08:24 PM
Before I go any farther let me commend the customer service of both solarhome.org and solarblvd.com. When I ordered the charge controller and the meter I also ordered the battery temperature sensor. I received a call from a number I did not recognize the next day. It was a rep from solarhome.org asking if I was really wanting 2 of the sensors, I didn't realize one came with the controller and it was nice of them to call and clarify. When the panels were delivered the box was damaged, my wife pointed it out to the shipper and all he said was there shouldn't be any thing wrong with the contents. he kept asking her if she wanted accept or decline the package, when she opened the box and found a scratch on the panel the shipper stated it would be fine and pulled out of the driveway. My wife called solarblvd.com and after a little information had another one on the way. Hats off to both companies.
After deciding on the equipment it was time to figure out where to put it. The solar panels were easy, on either side of the hatch on the front of the cab over. The charge controller was a little more difficult, I originally wanted to put in the driver's side rear compartment
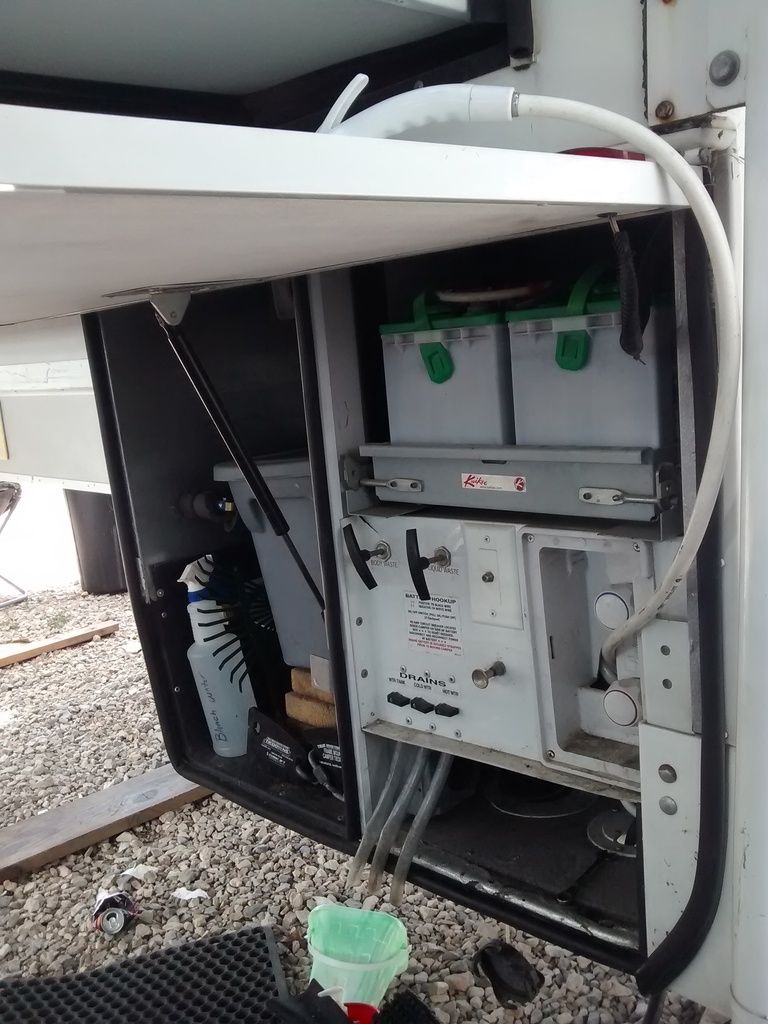
but the battery compartment is certainly not where it needs to be unless I wanted to completely want to commit to sealed batteries, which I do not. After going around and around with myself and getting help from the wife on the best location I finally decided on the small cabinet beside the stove below the counter

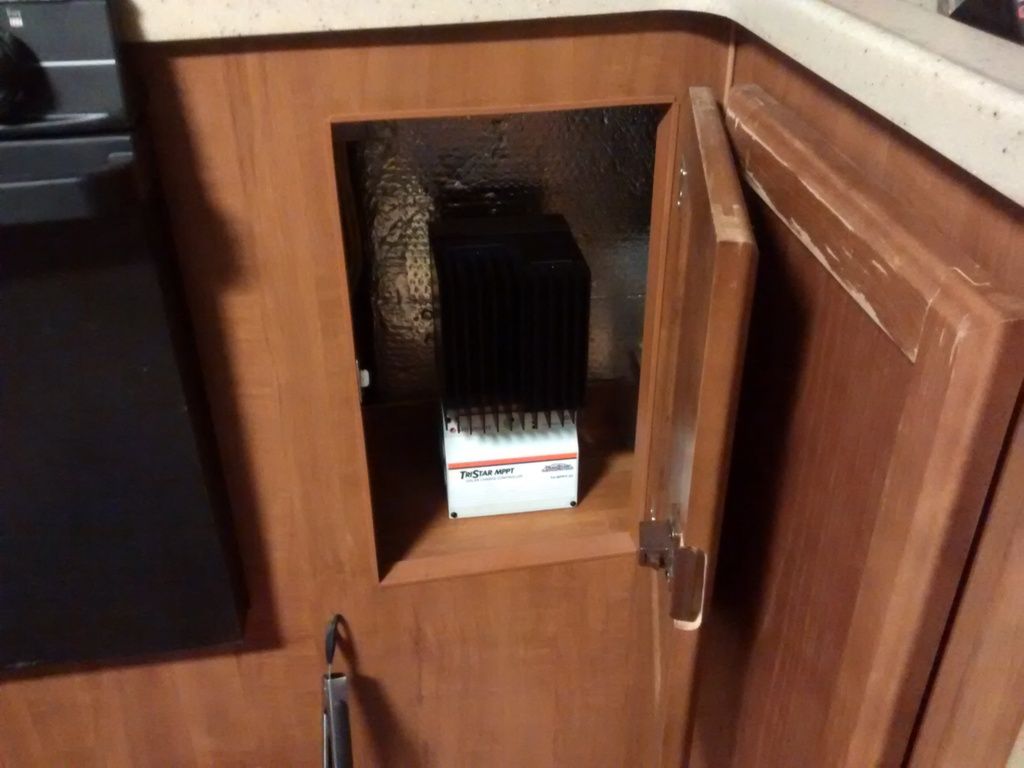
I had already found the solar wiring in the cabinet over the sink
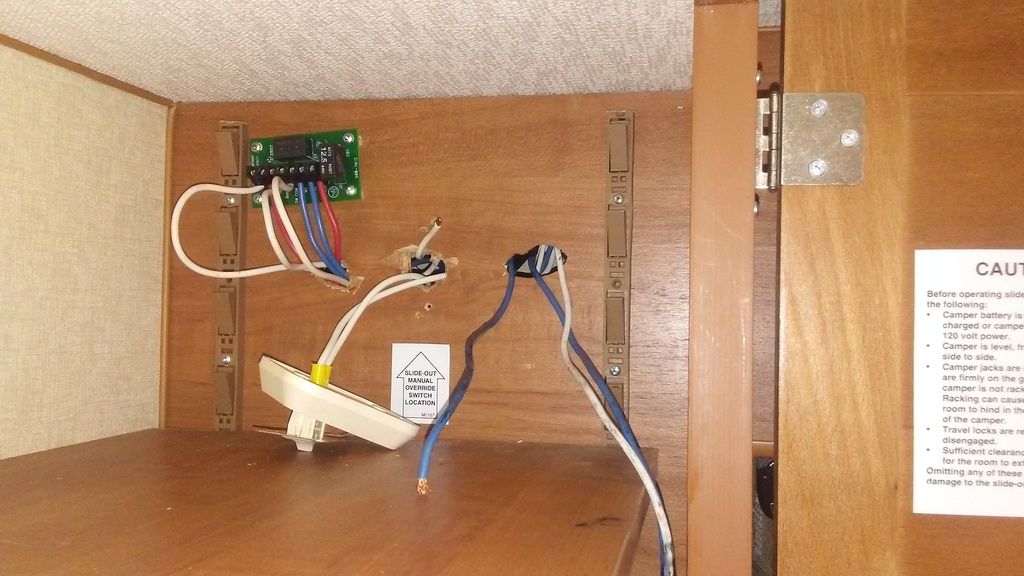
there was the blue and white wires and an additional blue wire, I had to dig around in the hole with a pick to find the second white wire. I could not find the blue or white wire in the battery compartment, after much digging I finally found a blue win the under floor drawer area near the rear of the TC
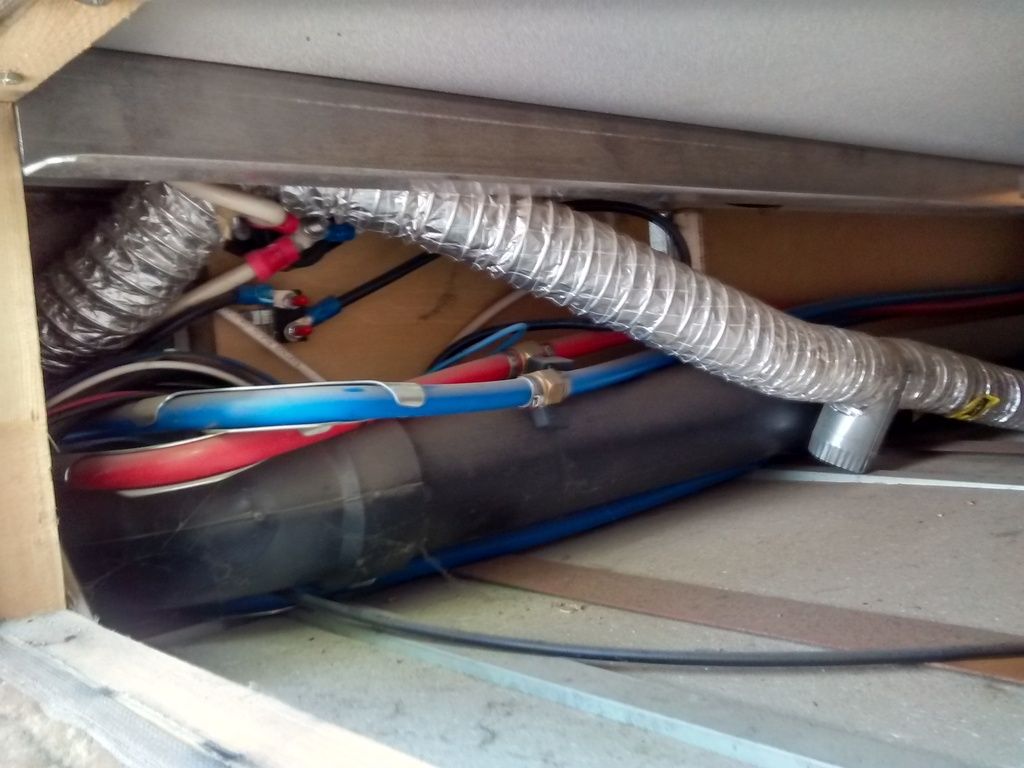
and verified it was the same wire in the cabinet above the sink. I have found different information about the prewire from different sites since we purchased the 1181, none mentioned that even though there are 2 blue and 2 white wires in the cabinet there is only a blue wire near the battery compartment. I found the second white wire in the cabinet is wired directly into the campers ground circuit. When looking at Lance's wiring diagram I realize that the factory installed the charge controller was mounted in the cabinet where the wiring so the wiring worked for Lance but not for me. I stayed with the wiring from the roof and from the existing wiring I continued 12ga wire behind the microwave
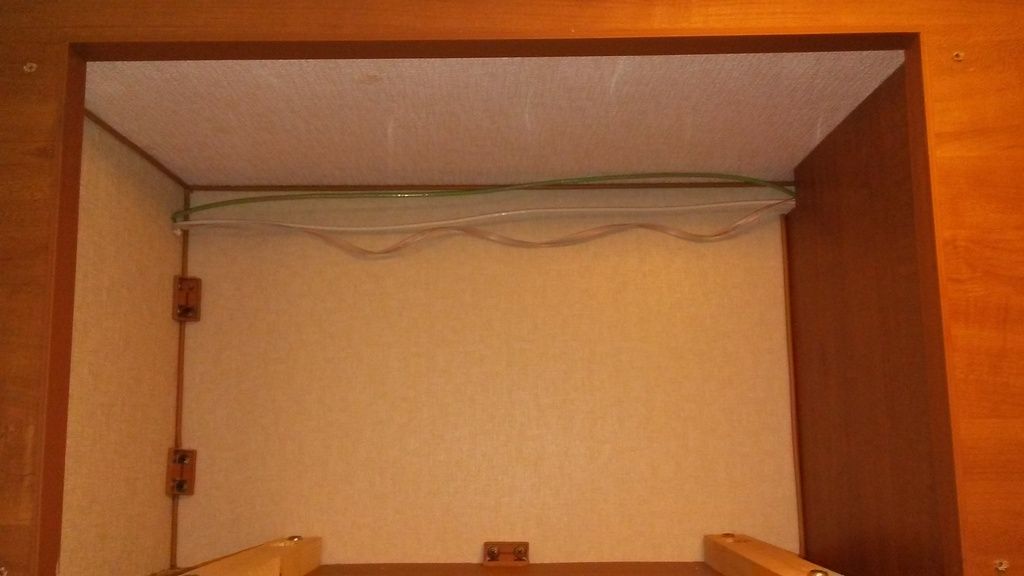
down through the pantry
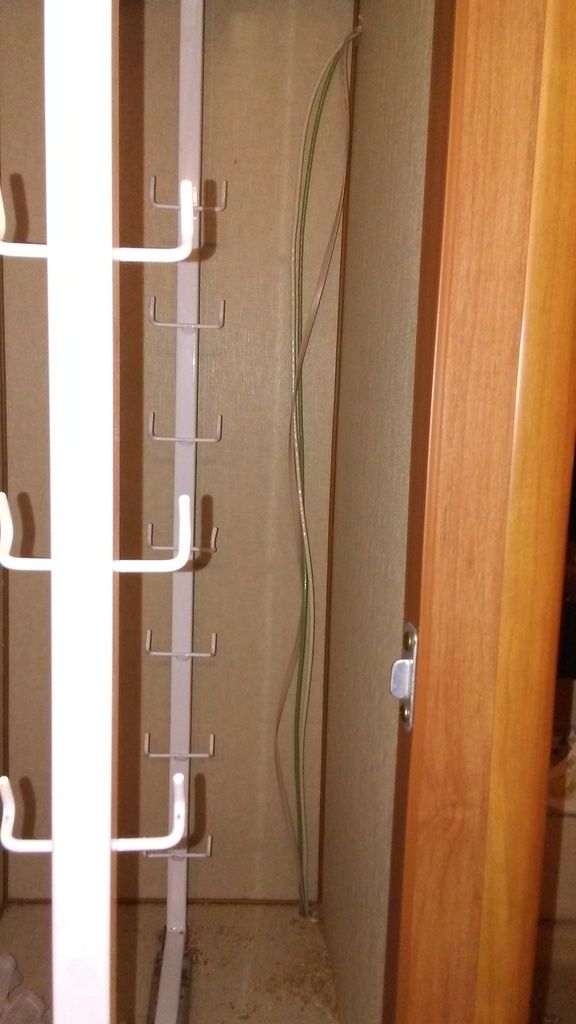
behind the stove and out into the cabinet where the controller will be
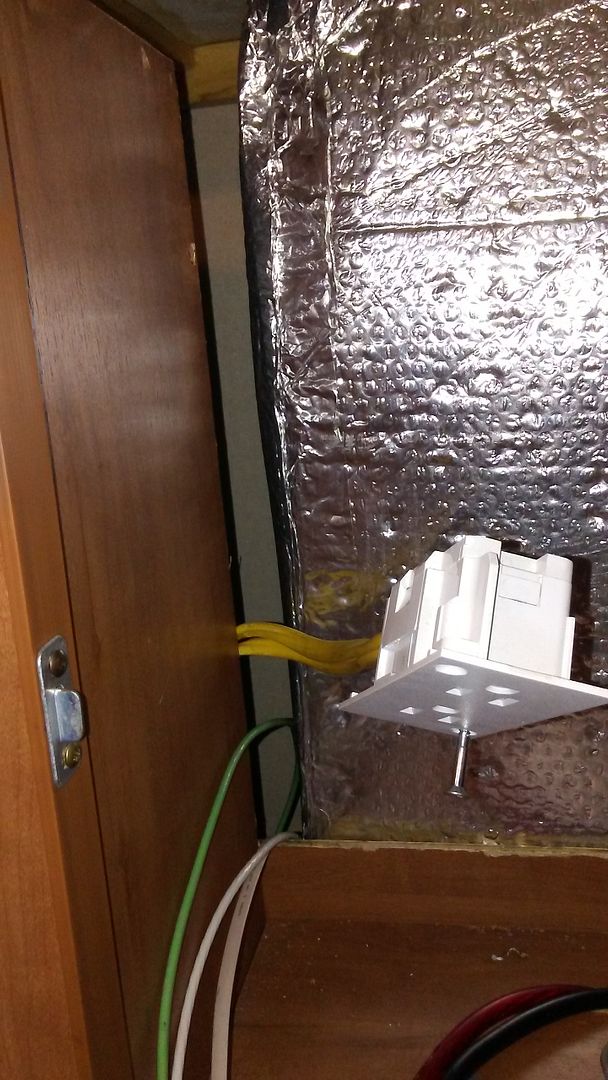
I had already decided to install the meter in the cabinet above the sink near the Lance information center so I ran it's wiring along with it. I thought the 4ga battery wires and battery temperature sensor would be simple, down out of the cabinet, across through the drawer area under the floor but thankfully before I started drilling I remembered the grey tank is where I was going to run the wire. So I went with the next best think. Out of the cabinet, though the floor
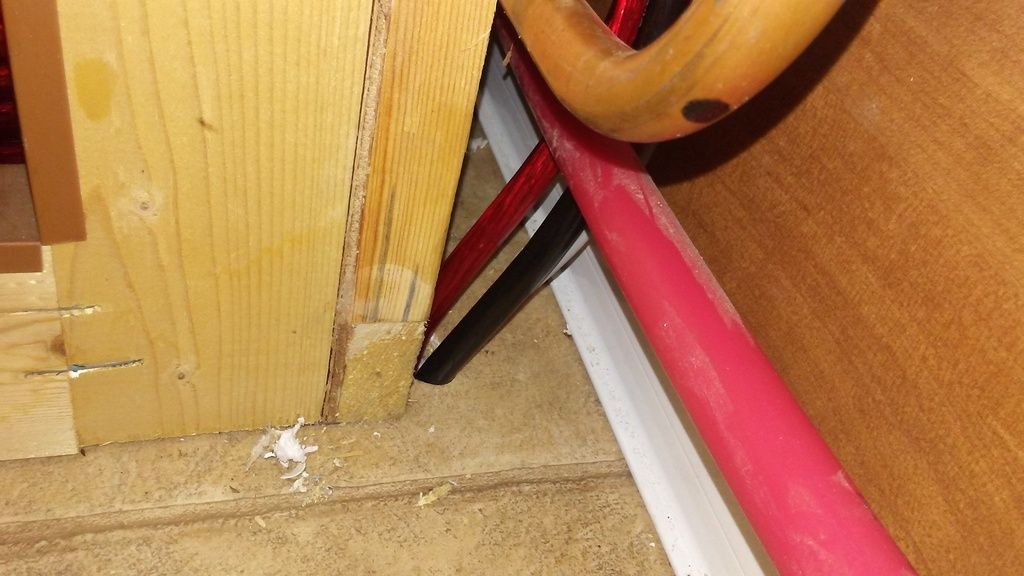
into the curb side basement area
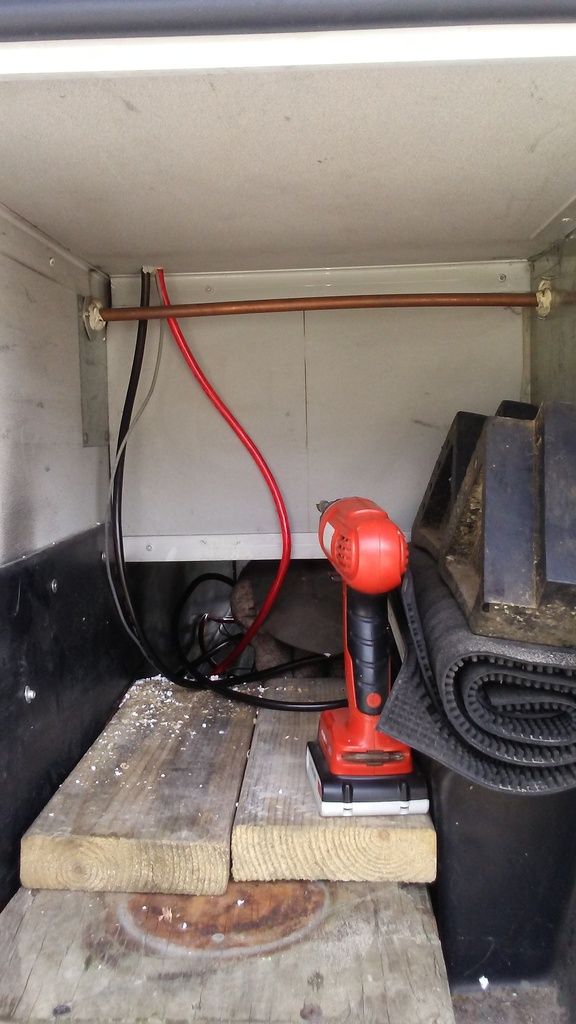
under the basement area
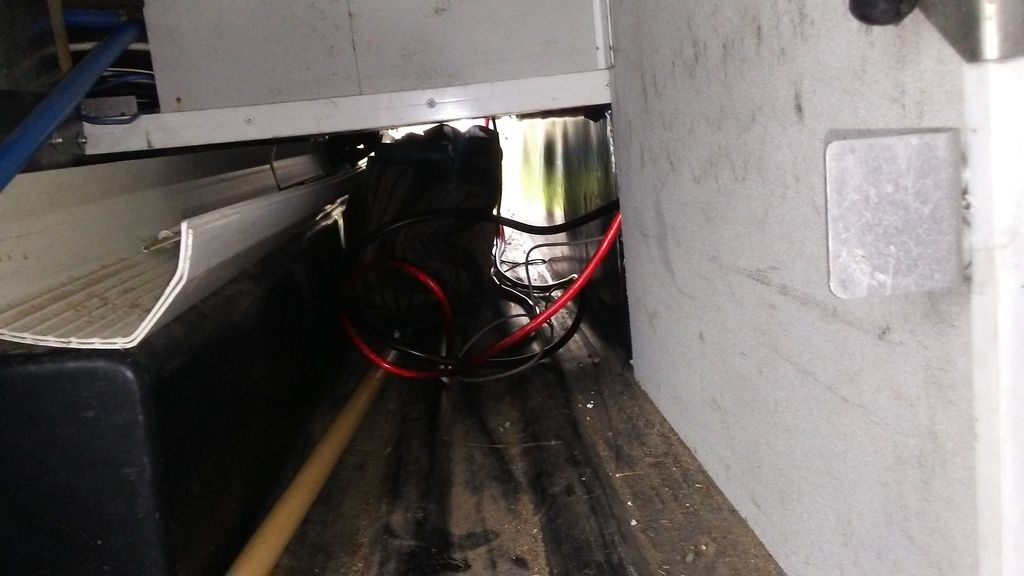
onto the battery area. The battery cutoff switch
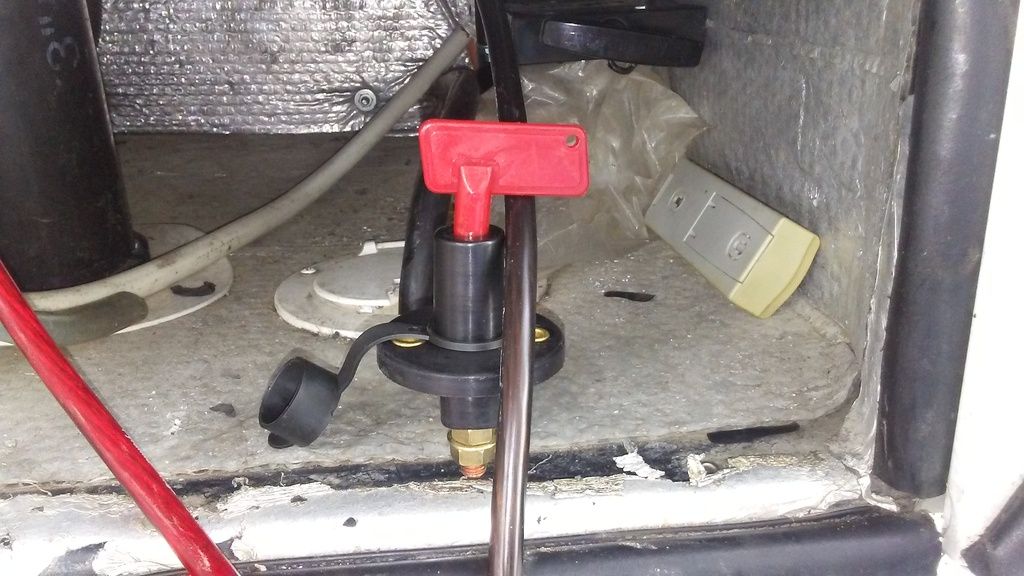
and the terminal tool I purchased for the 4g terminals
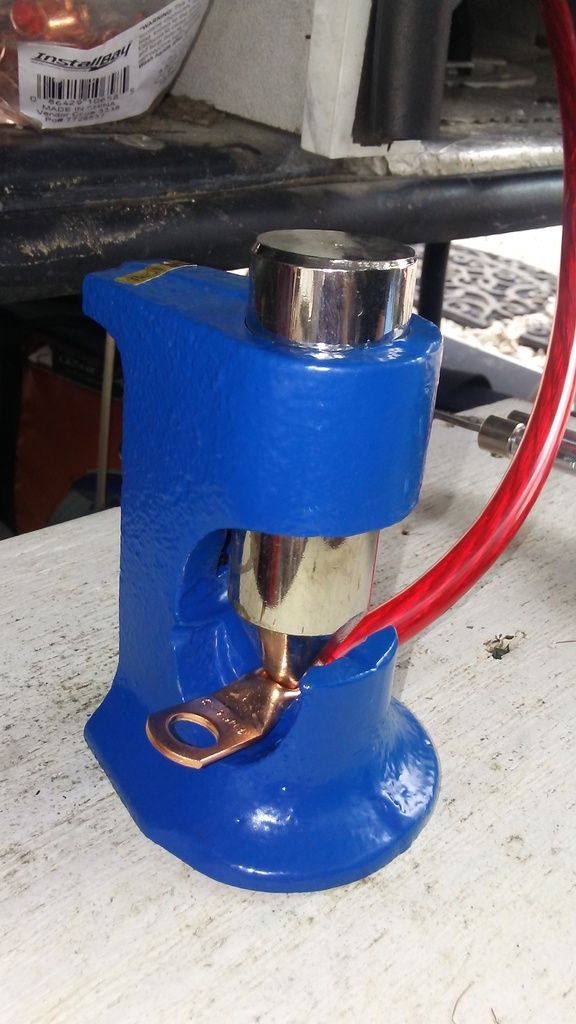
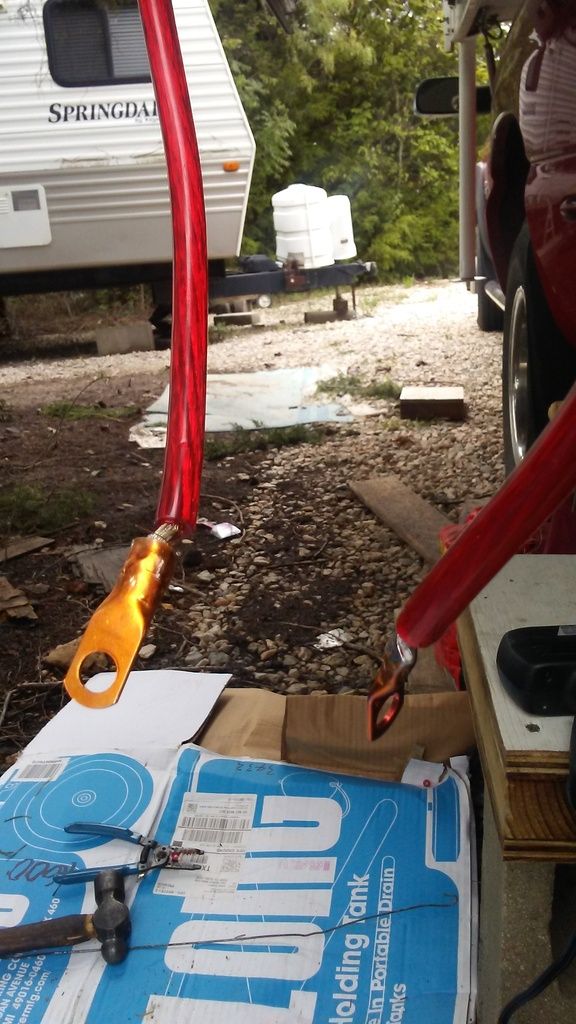
Now that all the interior wiring was as run it was time to install the interior components and secure the wiring. The controller was first, I wanted to keep the area open for the air to cool the unit but keep any items from the adjacent cabinet, the wife volunteered a basket she had picked up at a thrift store
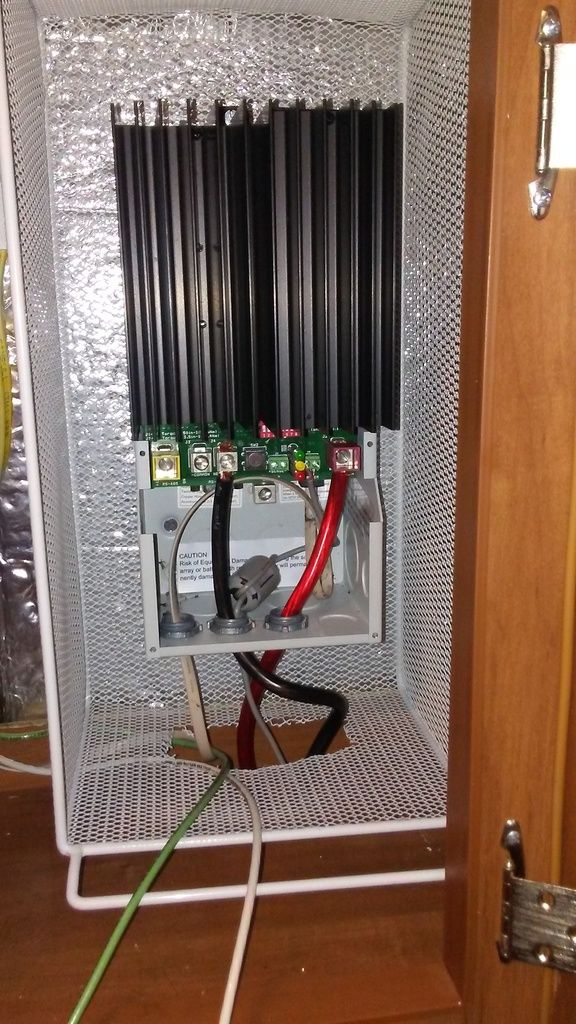
After getting the controller wired up I installed the meter
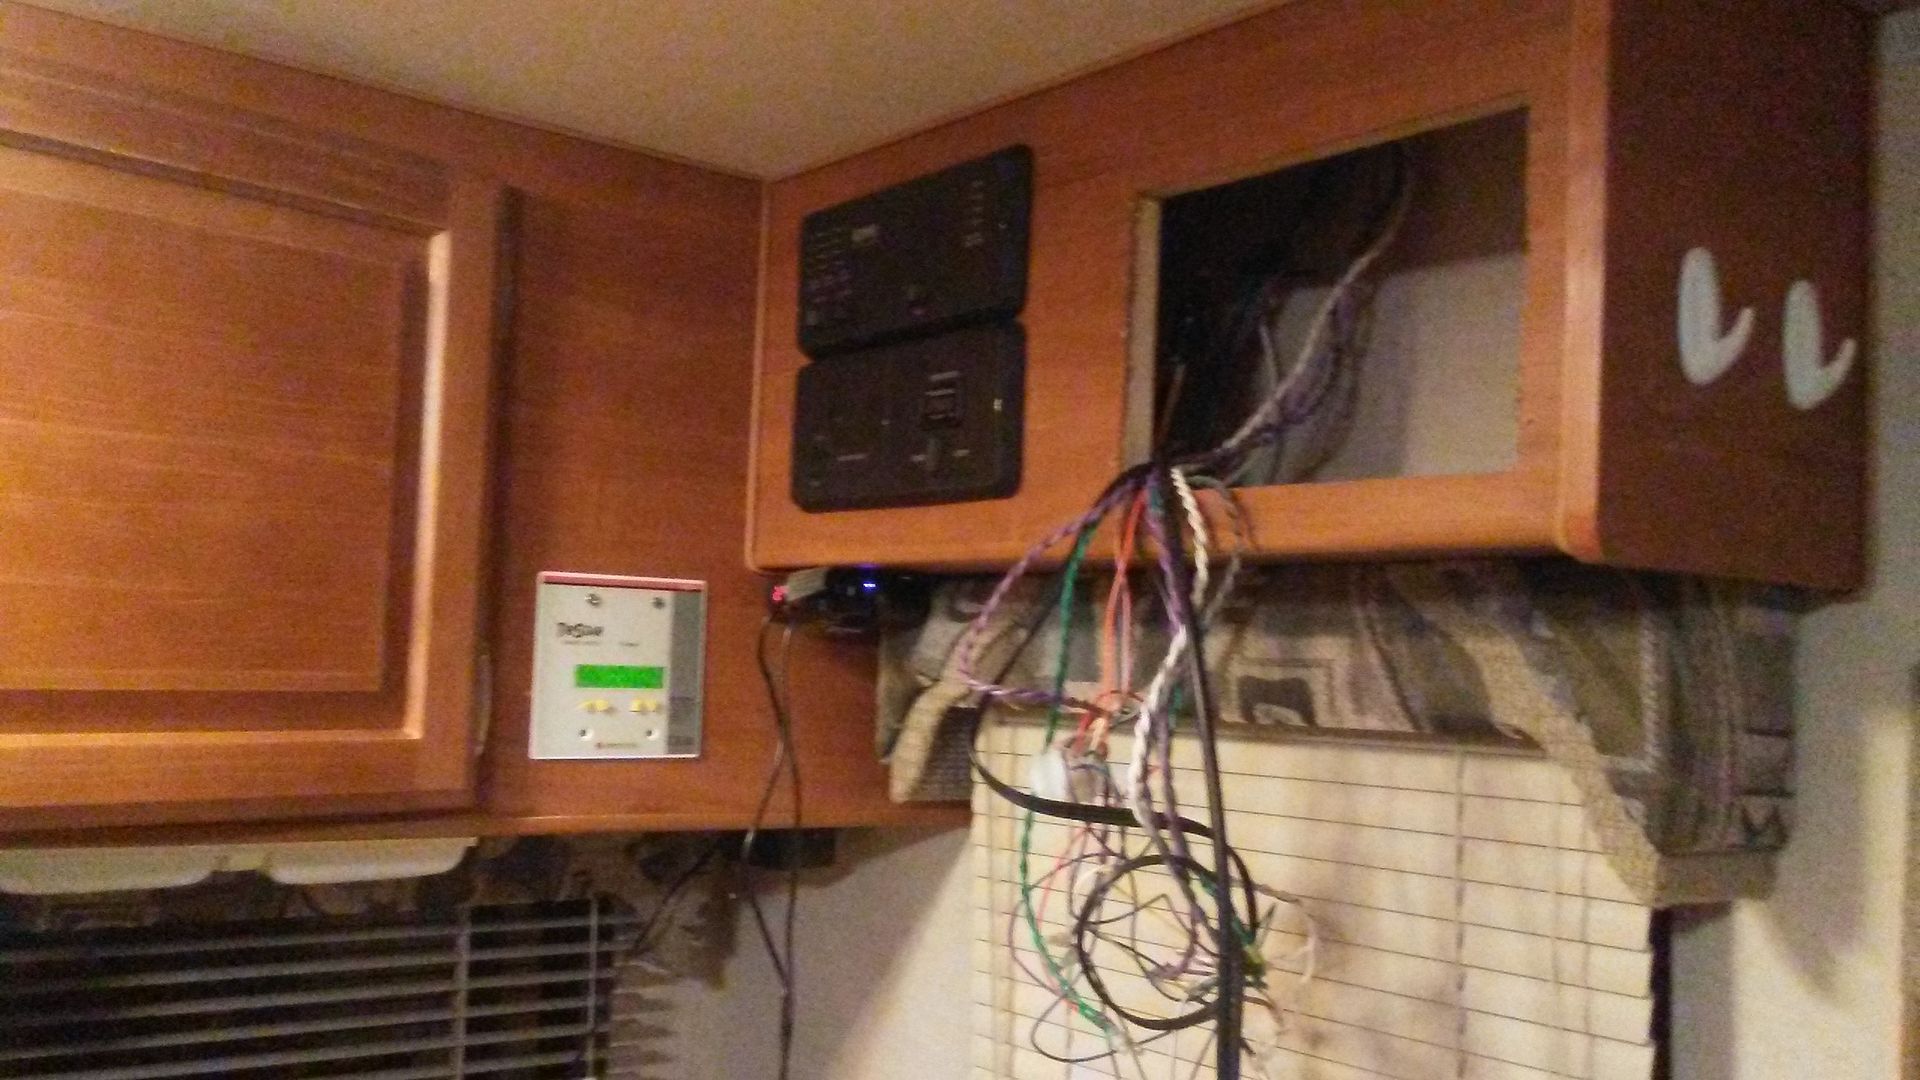
then on to securing and somewhat neatening the wiring up
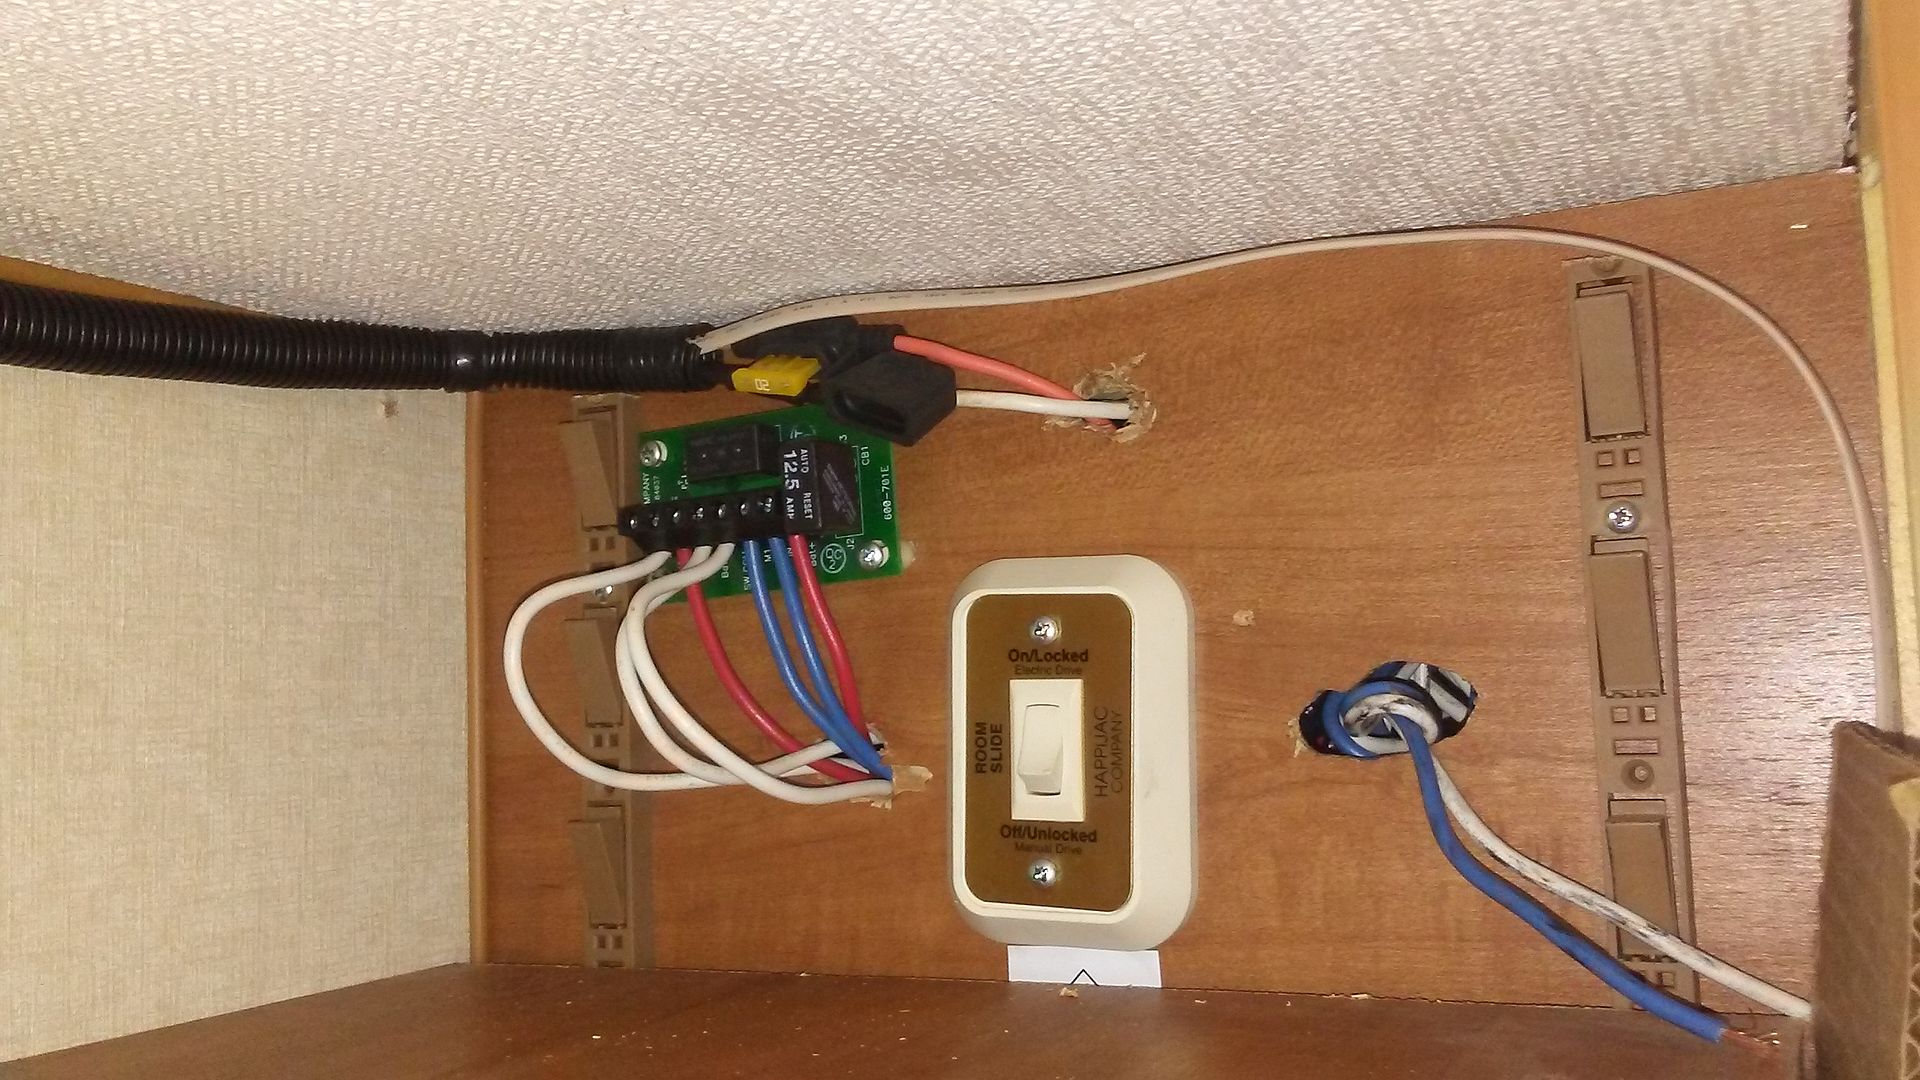
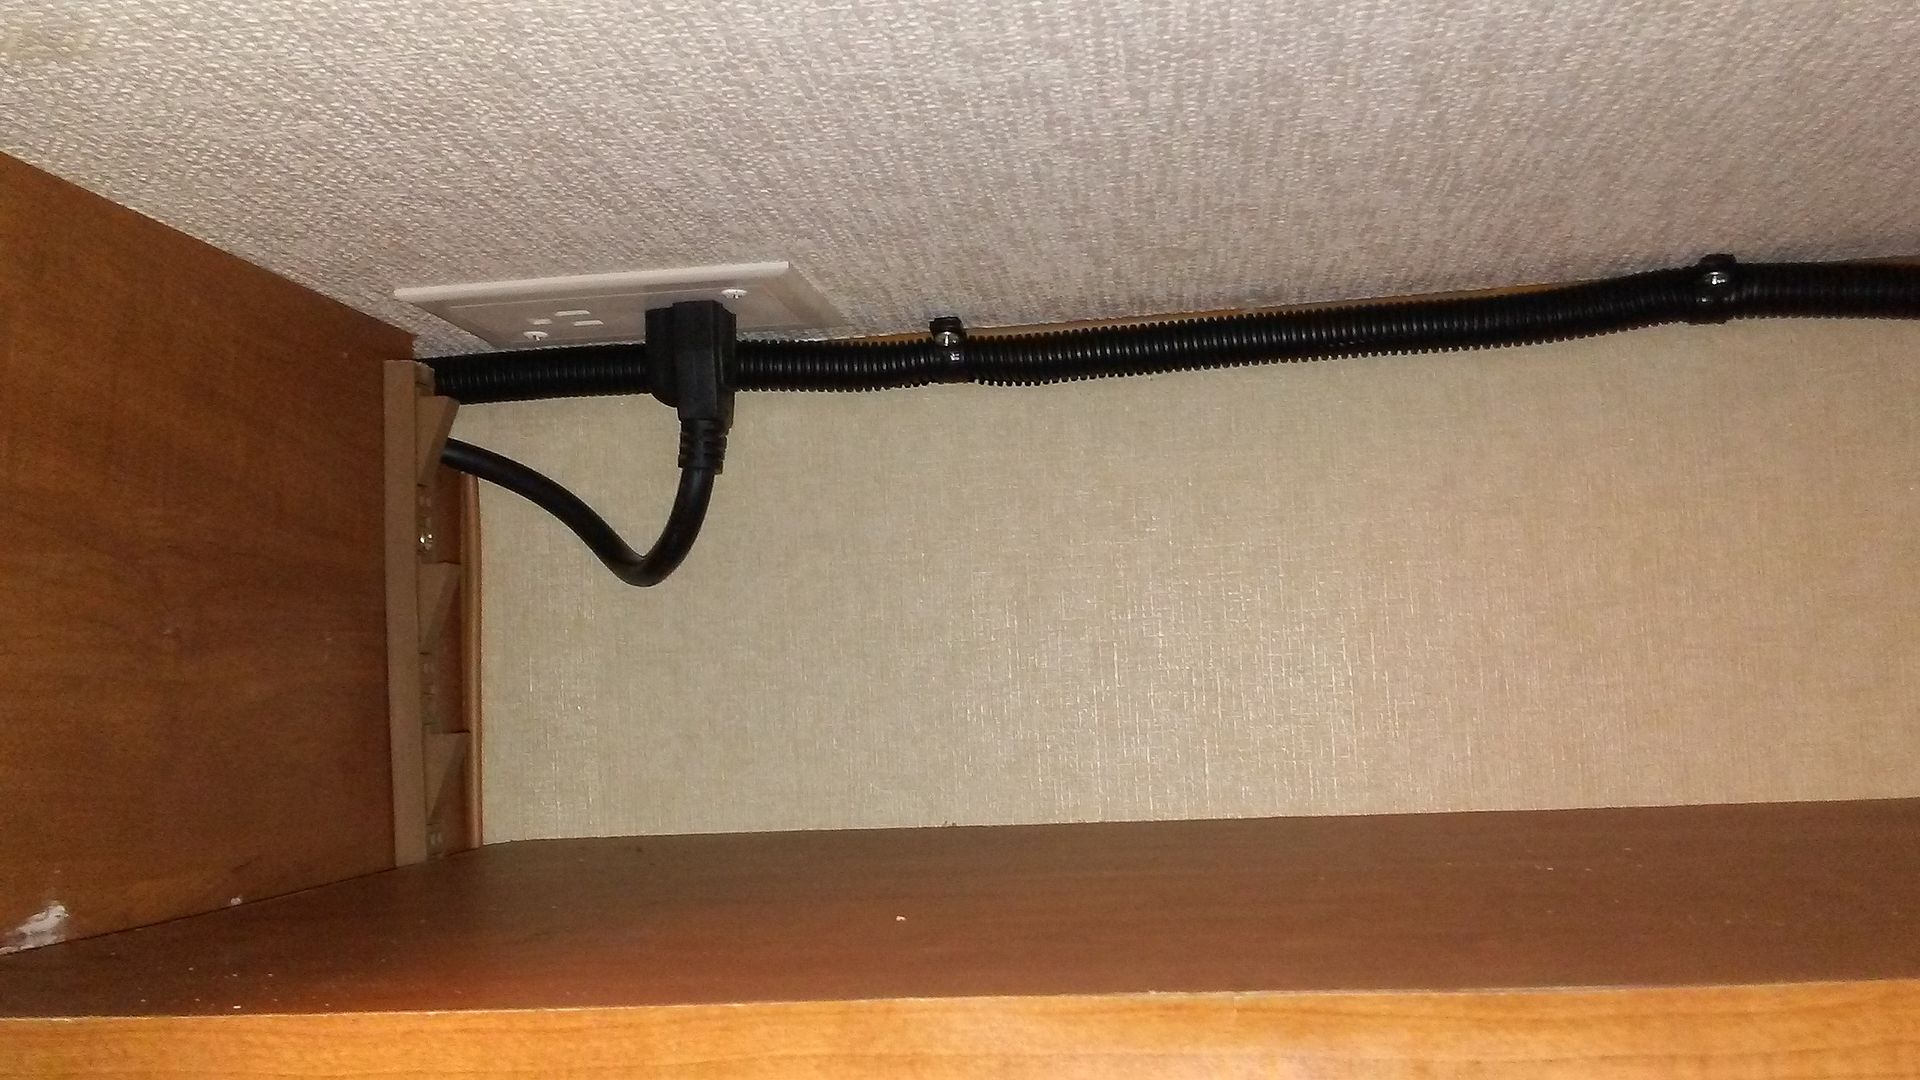
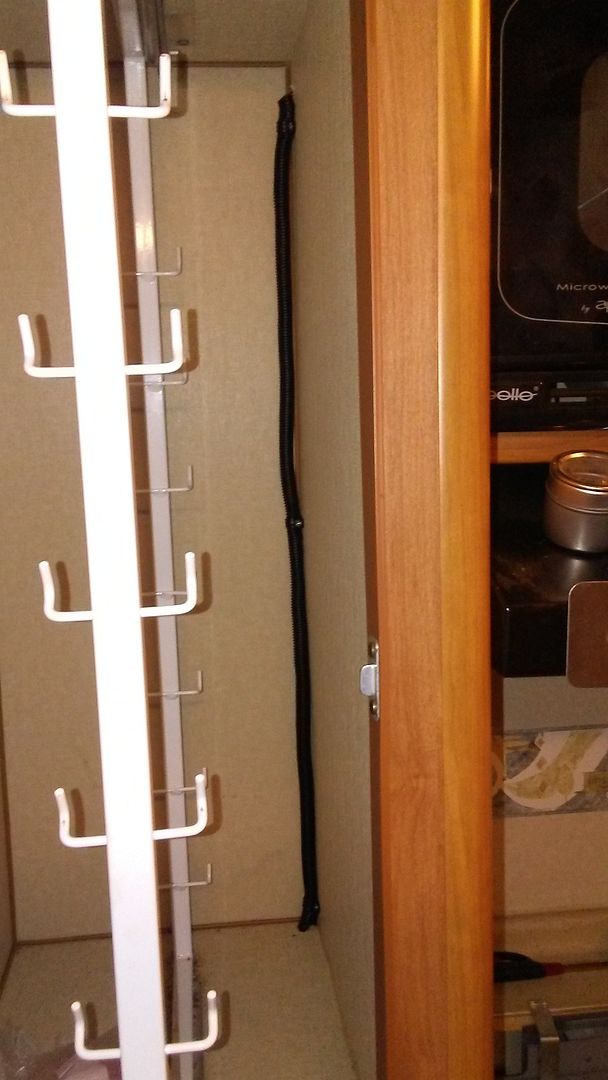
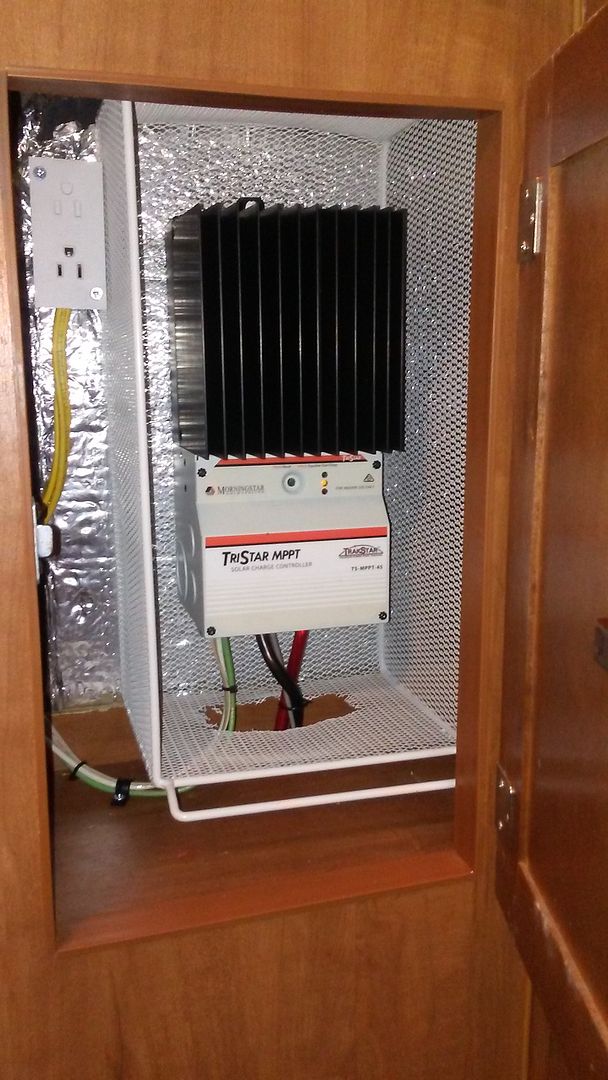
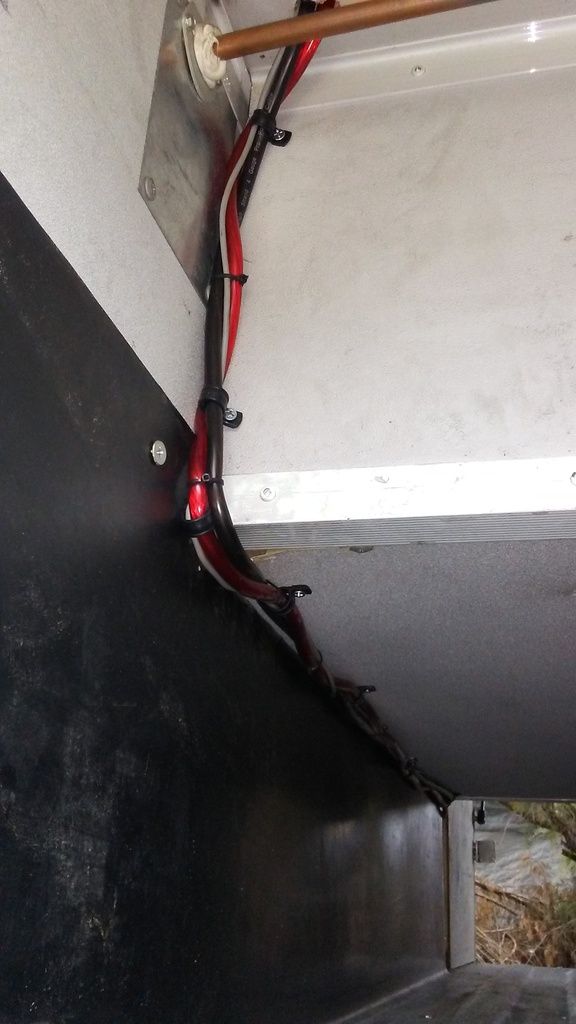
After getting the interior back together and ready to go except for installing the fuse from the solar panels I checked my settings on the controller and connected the battery. So far so good all appears to be working properly on the meter readings.
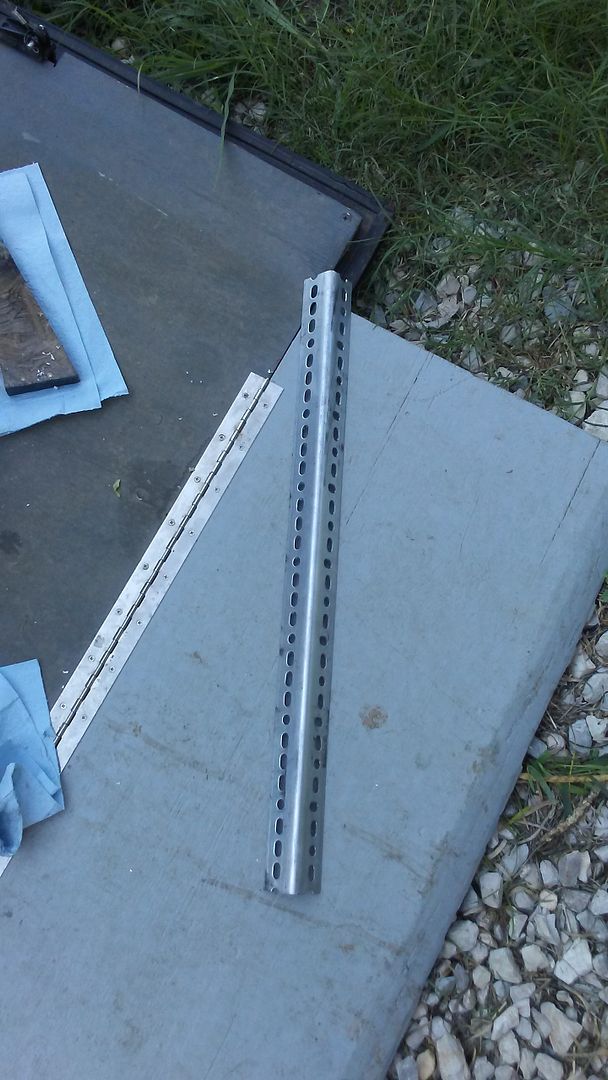
After several days of rain I moved to the roof and the installing the solar panels. First was securing the the panels in place. I had purchased 2 sets of the Renology Z brackets but wanted to be able to tilt the panels for better winter usage and ease of maintenance of the panels and the roof. After much study and searching I finally settled on metal angle
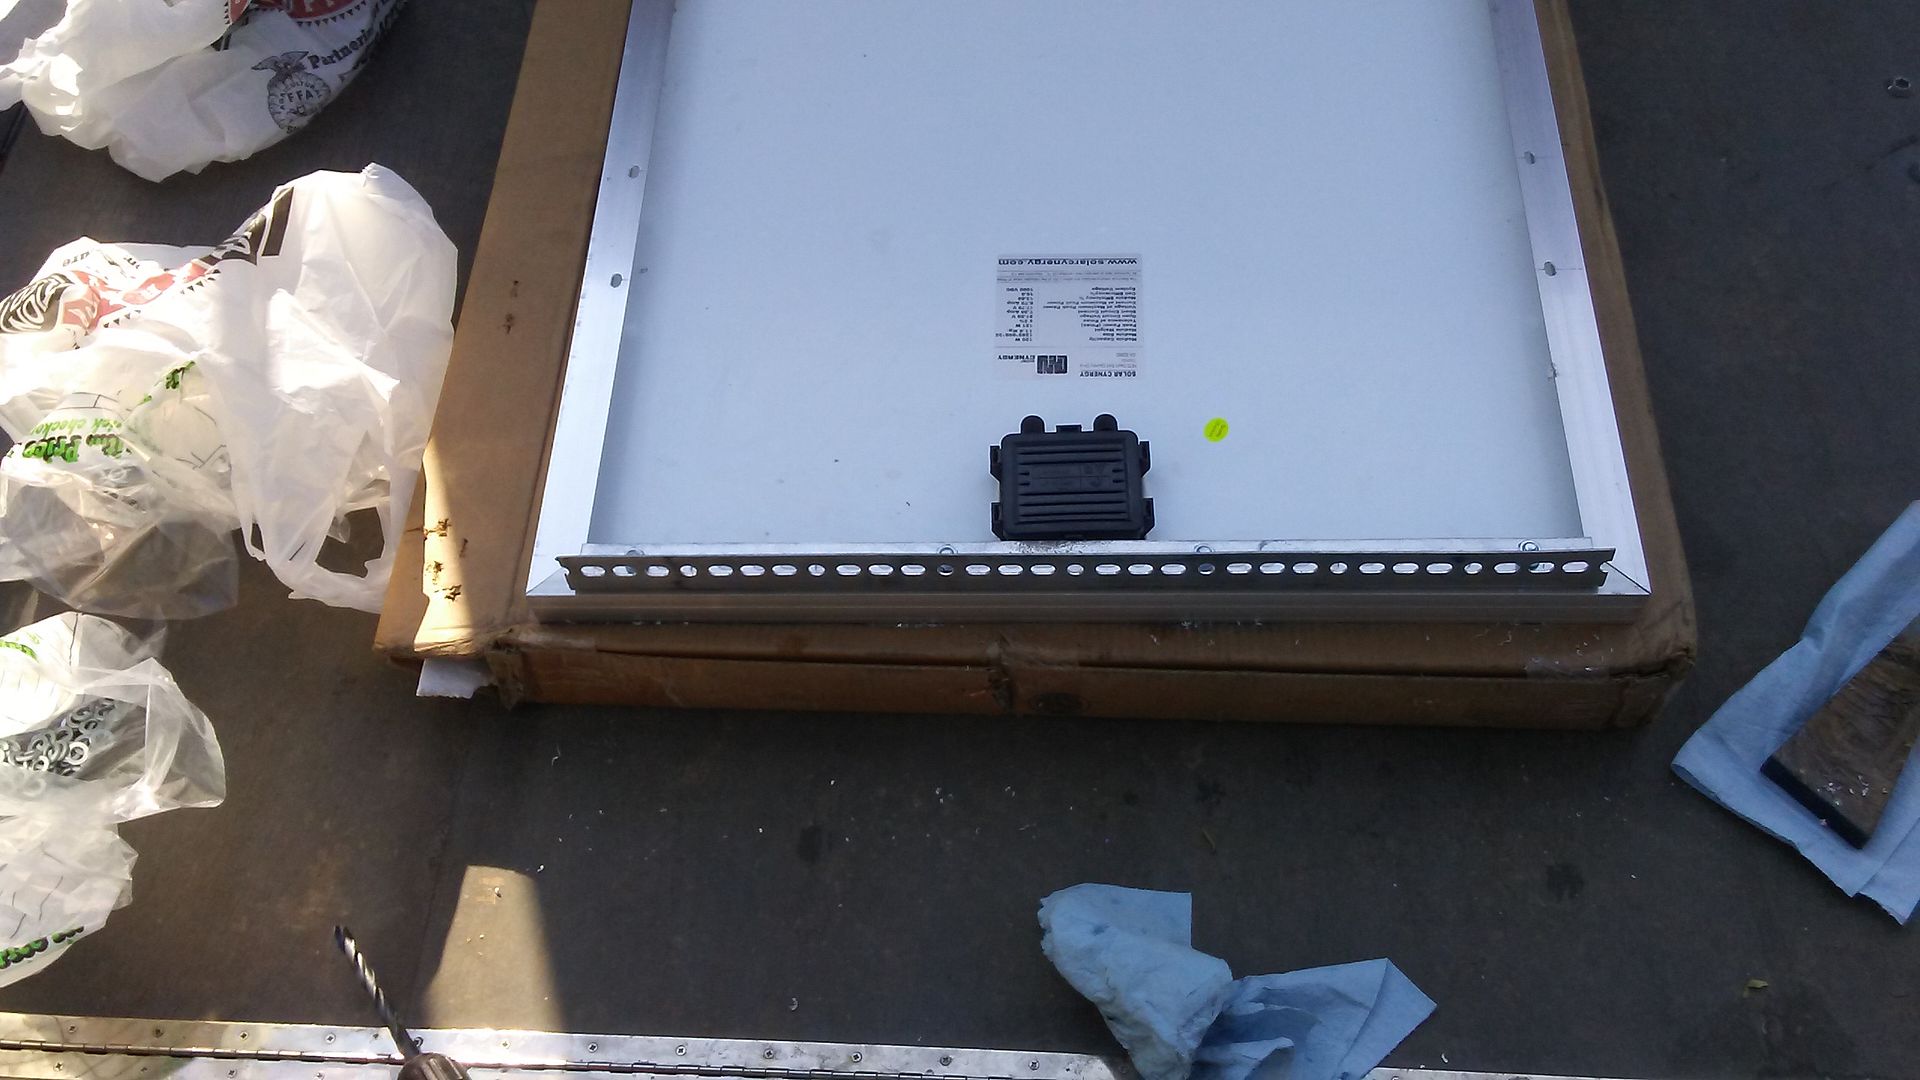
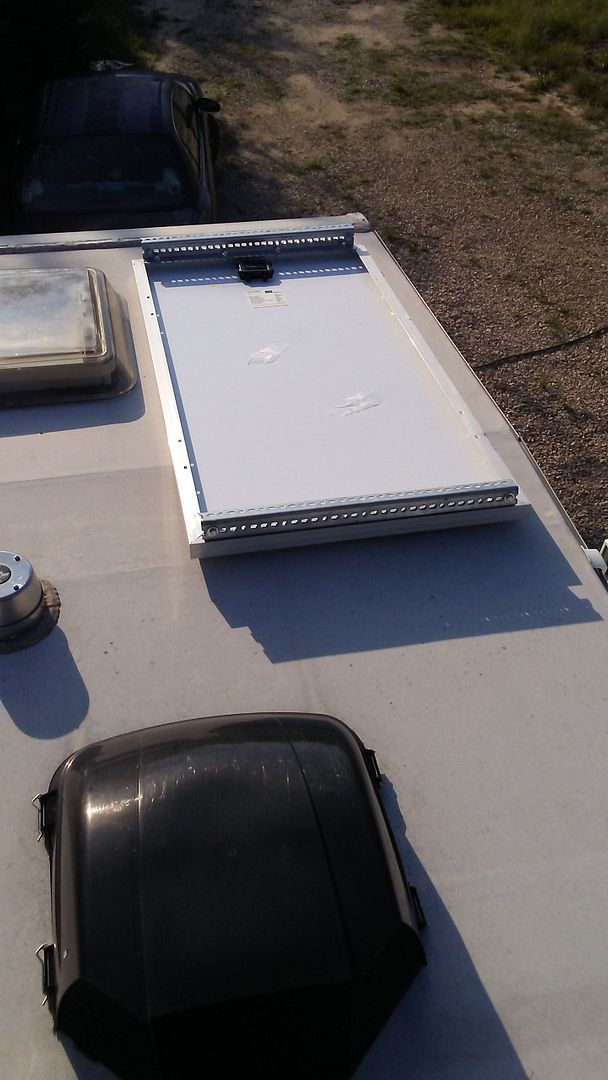
I attached each panel first with 3M VHB tape, 16 heavy duty wood screws (8 on each bracket) and topped off liberally with dicor.
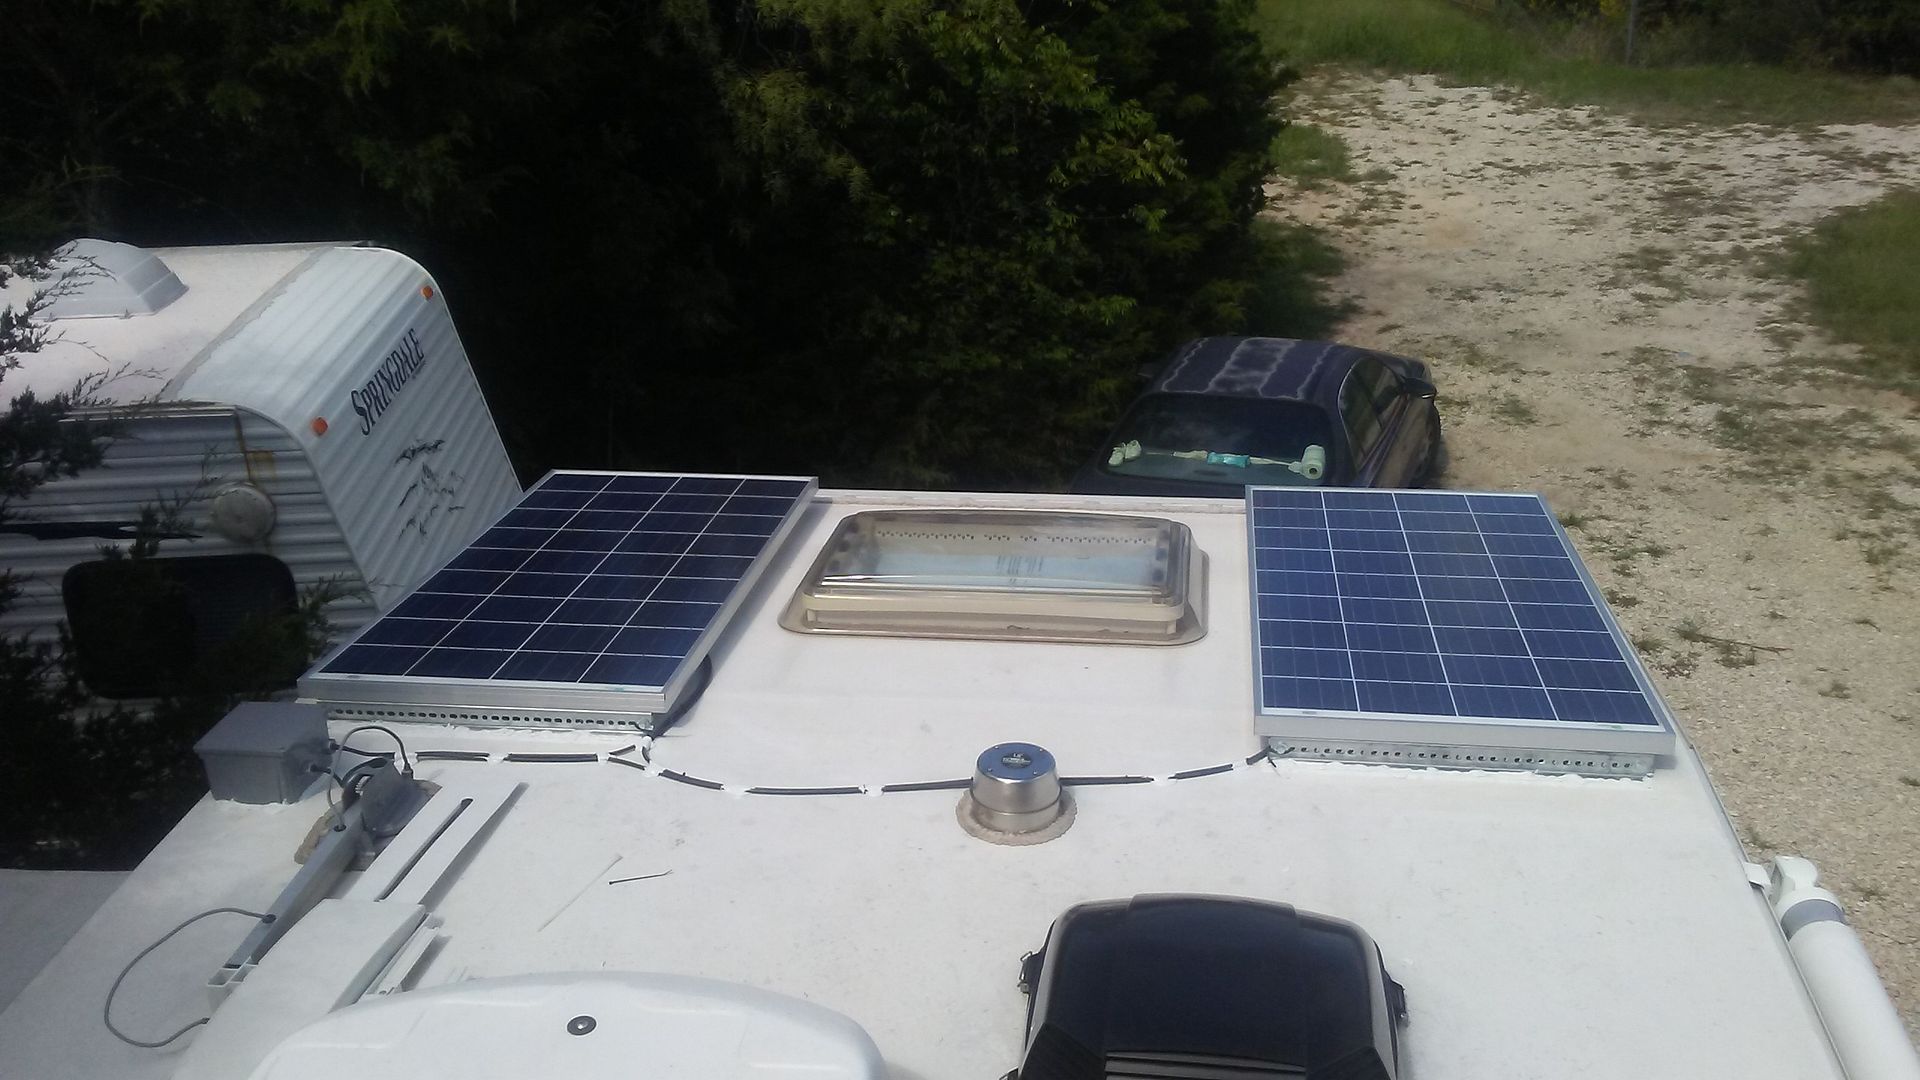
I used a 6x6x6 junction box where the prewire came out of the roof
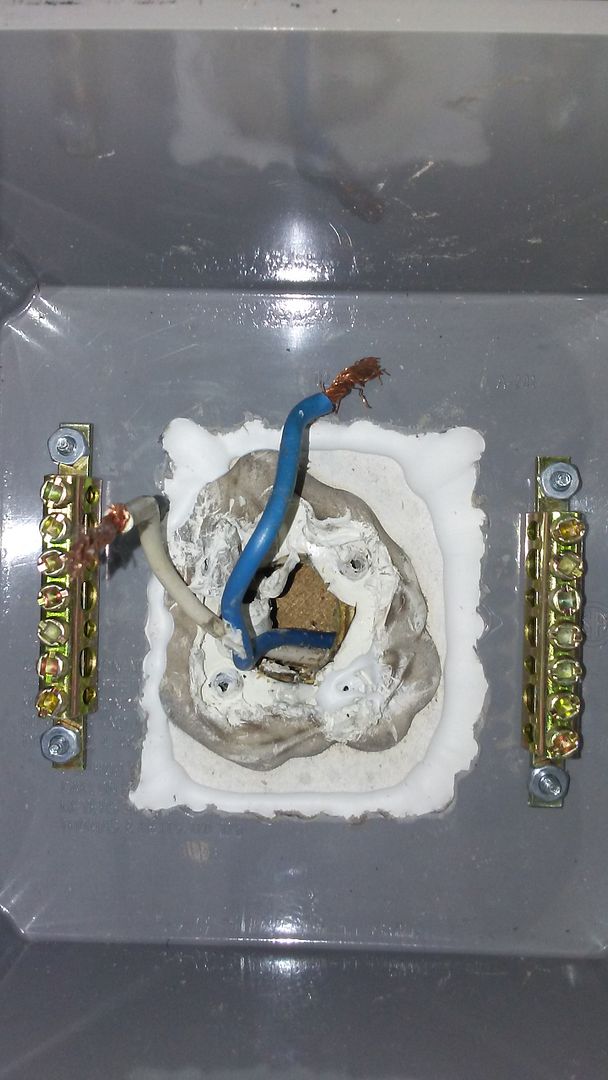
I cut a hole in the bottom of the box, removed the factory solar connector, installed a ground bar on each end for a good connection and 2 water tight connections on the side, of course lot's of dicor
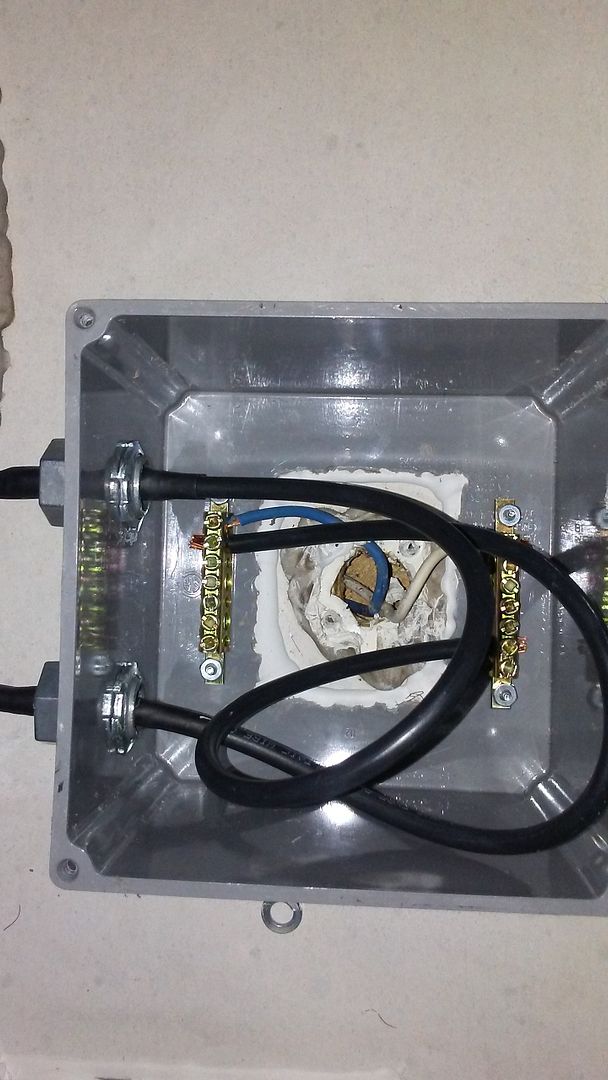
run and secure the wiring
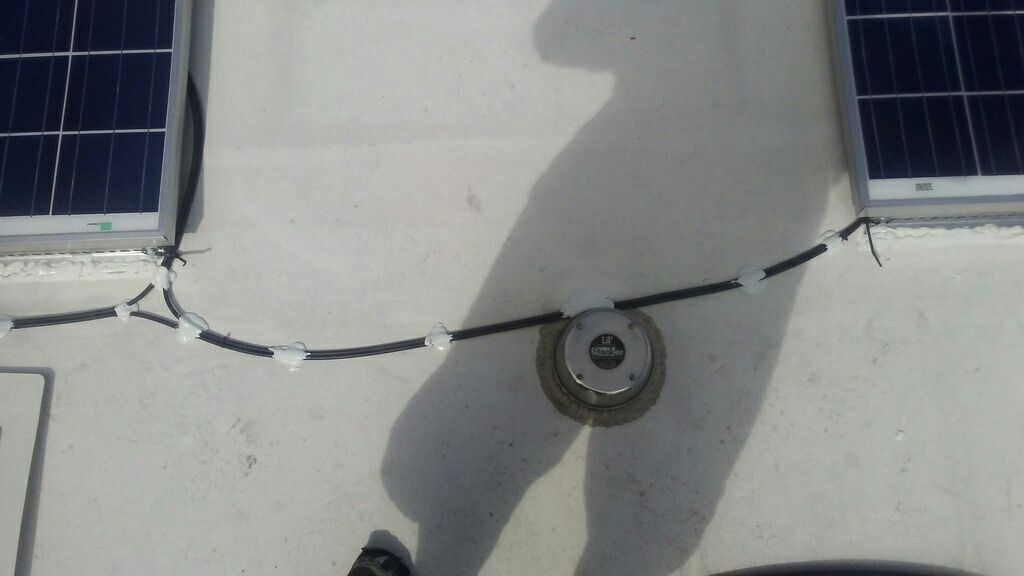
with more dicor. Back inside I installed the fuse in the positive circuit from the roof wala I have "free" energy
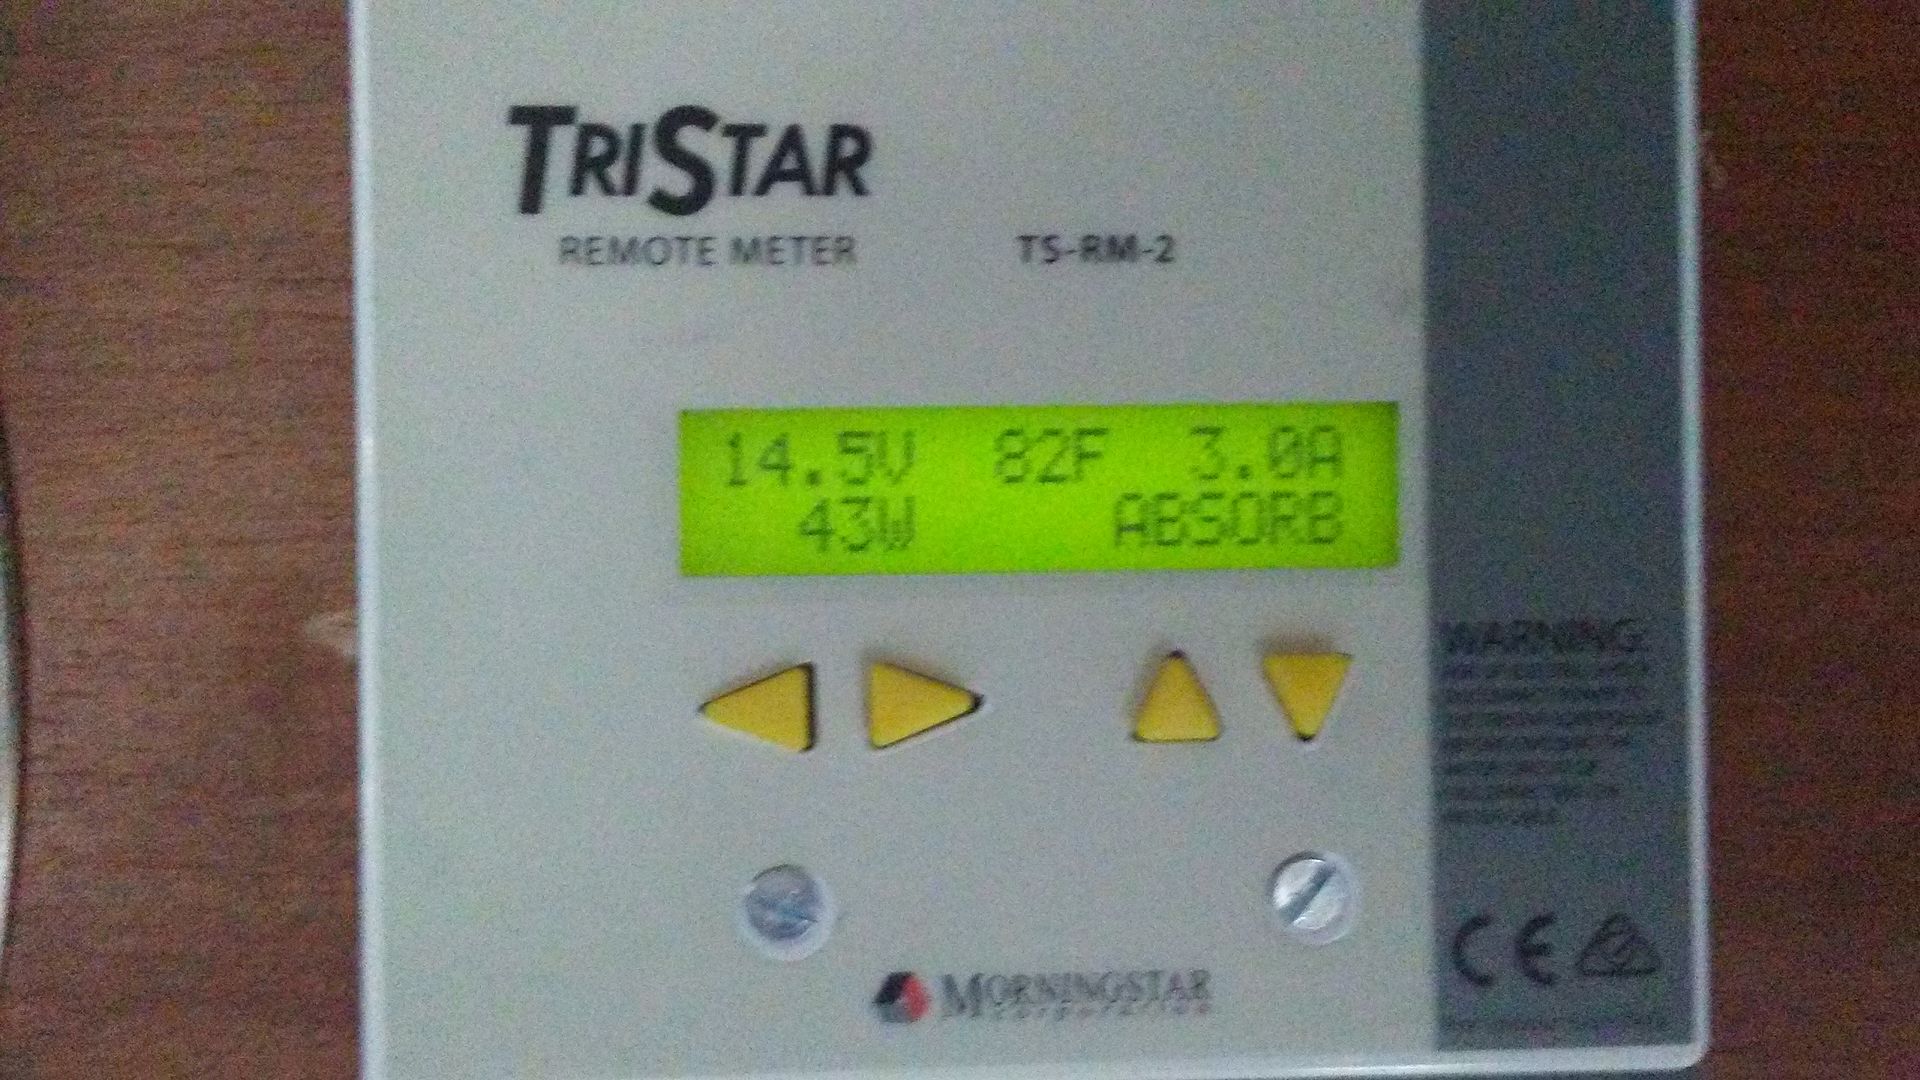
this was taken around 11am with a partial shadow on the drivers side panel from where I currently park the TC. We have a trip coming up, not boondocking the whole trip but at least 2 nights along the way. I'm interested to see how well it keeps the batteries up.
2008 Keystone Springdale 307FKLGL
2008 Lance 1181
1994 Harley Electra Glide Classic
- Mark as New
- Bookmark
- Subscribe
- Mute
- Subscribe to RSS Feed
- Permalink
- Report Inappropriate Content
Sep-13-2016 11:35 AM
635 watts solar panels, 440 AH batteries, BlueSky Solar Boost 3024iL & IPN-Pro Remote, Magnum MS2000 & ME-RC50 remote
Koni Shocks F & R, Hellwig 7254, SumoSprings F & R
2012 Hyundai Accent SE, Blue Ox Aladdin/Patriot
- Mark as New
- Bookmark
- Subscribe
- Mute
- Subscribe to RSS Feed
- Permalink
- Report Inappropriate Content
Sep-13-2016 09:20 AM
2015 Keystone Raptor 332TS 5th wheel toy Hauler (sold)
2004 Winnebago Vectra. 2011 Jeep Grand Cherokee toad
- Mark as New
- Bookmark
- Subscribe
- Mute
- Subscribe to RSS Feed
- Permalink
- Report Inappropriate Content
Sep-13-2016 08:40 AM
- Mark as New
- Bookmark
- Subscribe
- Mute
- Subscribe to RSS Feed
- Permalink
- Report Inappropriate Content
Sep-13-2016 07:06 AM
finsruskw- I understand not wanting to upset the location of the coffee pot lol. There seems to be a fair amount of wiring behind that panel in the cabinet, I pulled the slide switch, radio, and bottom monitor panel to try and get better access when I was looking for the lost white wire, there are only a few small holes so it was difficult to see. I ended up using a small pic with a curved end to "gently" dig around until I found what I was looking for. I was tempted to remove the panel, I hate unused space on a camper but found what I was looking for before that desire got the best of me. Probably would have added another week to the project lol. You can contact Lance and they should be able to tell you exactly where they are on the year you have so you know how much demolition has to be done to get to it.
As far as cost I'm going to have to go back and do some refiguring before I have a final cost. I had ordered quite a few extra parts I thought I would need that I didn't use, mounting brackets, connectors etc. My original estimate I had in my head (at least the one I gave to the wife, she handles the savings) was $1000 give or take. The controller and meter were the largest expense but I think in the long run I'll be happy I went in the direction I did. I think I was able to stay in that range 😉
2008 Keystone Springdale 307FKLGL
2008 Lance 1181
1994 Harley Electra Glide Classic
- Mark as New
- Bookmark
- Subscribe
- Mute
- Subscribe to RSS Feed
- Permalink
- Report Inappropriate Content
Sep-13-2016 06:38 AM
There, you learned something.
- Mark as New
- Bookmark
- Subscribe
- Mute
- Subscribe to RSS Feed
- Permalink
- Report Inappropriate Content
Sep-13-2016 06:21 AM
You have just renewed my enthusiasm about going the solar route in our '11 1181.
However, I still cannot locate the prewire in the cabinet. Looking at yours, it appears you have longer shelves in your upper corner cabinet? I sure appears to be configured differently than mine anyway as it has a dead end blank wall there. The wiring must be behind that wall or false panel??
Also, the charge controller will have to be mounted elsewhere in my case as the coffee pot lives where yours in located!!:)
Interested as to the total cost of your install, not counting your labor of course.
Thanks again for a great write-up!
- Mark as New
- Bookmark
- Subscribe
- Mute
- Subscribe to RSS Feed
- Permalink
- Report Inappropriate Content
Sep-13-2016 06:19 AM
1998 MCI 102-EL3 Revolution | 2010 Wrangler (daJeep) | 1.7kW Solar - 10kWh Lithium
My Adventures
- Mark as New
- Bookmark
- Subscribe
- Mute
- Subscribe to RSS Feed
- Permalink
- Report Inappropriate Content
Sep-13-2016 05:39 AM
- Mark as New
- Bookmark
- Subscribe
- Mute
- Subscribe to RSS Feed
- Permalink
- Report Inappropriate Content
Sep-13-2016 05:29 AM
- Mark as New
- Bookmark
- Subscribe
- Mute
- Subscribe to RSS Feed
- Permalink
- Report Inappropriate Content
Sep-13-2016 04:11 AM
:R
- Mark as New
- Bookmark
- Subscribe
- Mute
- Subscribe to RSS Feed
- Permalink
- Report Inappropriate Content
Sep-13-2016 02:57 AM
- Mark as New
- Bookmark
- Subscribe
- Mute
- Subscribe to RSS Feed
- Permalink
- Report Inappropriate Content
Sep-12-2016 11:06 PM
But I Can Not understand it for you !
....
Connected using T-Mobile Home internet and Visible Phone service
1997 F53 Bounder 36s
- Mark as New
- Bookmark
- Subscribe
- Mute
- Subscribe to RSS Feed
- Permalink
- Report Inappropriate Content
Sep-12-2016 10:39 PM
'71 Starcraft Wanderstar -- The Cowboy/Hilton
- Mark as New
- Bookmark
- Subscribe
- Mute
- Subscribe to RSS Feed
- Permalink
- Report Inappropriate Content
Sep-12-2016 09:05 PM
After being around this forum for a few years, there a three things I've learned.
1) Ya can't have too much solar
2) Or too much battery AmHr
3) I can't remember the last one but it had to do with single malt Scotch.
Dave
2016 Creekside 23RKS, 490W solar, 2000W Xantrex Freedom 2012 inverter, 4 6V GC-2 (450AH)
2006 F350 CC 4X4 sold
2011 Outfitter 9.5' sold
Some Of Our Fun:http://daveincoldstream.blogspot.ca/
- Mark as New
- Bookmark
- Subscribe
- Mute
- Subscribe to RSS Feed
- Permalink
- Report Inappropriate Content
Sep-12-2016 08:49 PM
2021 Coachmen Spirit 1943RB
- Should I install a WDH? in RV Tips & Tricks
- VIDEO FORD 5.4L 2V Timing Chains Chain Guides And Chain Tensioners Installation in Tow Vehicles
- Way Elite solar charger/controller malfunction in Technical Issues
- VIDEO: Reassembling the engine, exhaust ported, headers matched and mounted, right head on in Tow Vehicles
- VIDEO: Maximum Head Cooling Ford 4.6L 5.4L 6.8L Triton Engines in Tow Vehicles


