- Good Sam Community
- Groups
- Travel Trailer Group
- Forum
- 2002 Lance 811 Rebuild - Update 09.30.2020- PROJEC...
- Subscribe to RSS Feed
- Mark Topic as New
- Mark Topic as Read
- Float this Topic for Current User
- Bookmark
- Subscribe
- Mute
- Printer Friendly Page
2002 Lance 811 Rebuild - Update 09.30.2020- PROJECT COMPLETE
- Mark as New
- Bookmark
- Subscribe
- Mute
- Subscribe to RSS Feed
- Permalink
- Report Inappropriate Content
May-06-2020 11:53 AM
I started digging into the rot on my 2002 Lance 811. It looks like the kitchen window and bed window on the street side had leaks along the bottom edges and let a bunch of water in, causing delamination and structural damage. About 1/3 of the street side wall has water damage.
The original plan was to get a sheet of filon and just re-do the whole wall. Use contact cement to laminate the filon to a new piece of luanne, use the old piece as a template to cut the windows and access hatches athen reattach to the frame.
NOW....it looks like the filon/luanne assembly was glued to the frame at the factory. The factory is closed at the moment due to corona so nobody there to ask. HOW do I get the rest of the wall off of the framing?
- Labels:
-
Truck Campers
- Mark as New
- Bookmark
- Subscribe
- Mute
- Subscribe to RSS Feed
- Permalink
- Report Inappropriate Content
Feb-07-2021 11:25 AM
Question about your rebuild. The 1x3 that runs along the (vertical) bottom of the cabover and ties into the housing (horizontal) frame. Was that 1x3 notched or not from the factory?
- Mark as New
- Bookmark
- Subscribe
- Mute
- Subscribe to RSS Feed
- Permalink
- Report Inappropriate Content
Sep-30-2020 07:54 PM
BurbMan wrote:
Yes, Eternabond tape is very hard to apply straight and wrinkle-free. It looks like kind of like the kid that has adhesive tape on the bridge of his glasses...however, the micro-sealant on the tape does seal up inside those folds, so no water can get in. It's important to note that EternaClean solvent should be used to clean and de-grease prior to applying the tape. If the tape is installed correctly and with good adhesion, no water will get behind it anywhere, ever.
I did the seams on my TT when it was new and never had to worry about any leaks or annual re-sealing.
Congrats!
Am thinking of using the 2" EBond tape on my roof corners that need redoing. The wrinkling is my concern as well. Though I agree, if the wrinkles are pinched together it aught to be just fine. I'm going to try and make little cuts as I go down the nose curves, allowing for overlapping instead of the wrinkles. I'll see how that goes. Going with the 2", if I can get it, in hopes it will be covered by the trim when reinstalled.
So....... ya gonna run the sprinkler on it to test for water tightness? XD
- Mark as New
- Bookmark
- Subscribe
- Mute
- Subscribe to RSS Feed
- Permalink
- Report Inappropriate Content
Sep-30-2020 05:43 PM
Host Mammoth 11.5 on Ram 5500 HD
- Mark as New
- Bookmark
- Subscribe
- Mute
- Subscribe to RSS Feed
- Permalink
- Report Inappropriate Content
Sep-30-2020 04:56 PM
R&K
2019 5500 Ram Crew, DRW, 6.7L-CTD, Custom TC bed, on board air, Front Rack
- Mark as New
- Bookmark
- Subscribe
- Mute
- Subscribe to RSS Feed
- Permalink
- Report Inappropriate Content
Sep-30-2020 01:34 PM
I did the seams on my TT when it was new and never had to worry about any leaks or annual re-sealing.
- Mark as New
- Bookmark
- Subscribe
- Mute
- Subscribe to RSS Feed
- Permalink
- Report Inappropriate Content
Sep-30-2020 12:06 PM
92 F-250 4x4 460 5spd 4.10LS Prodigy
97 Rustler RT190
EU2000i
Garmin
- Mark as New
- Bookmark
- Subscribe
- Mute
- Subscribe to RSS Feed
- Permalink
- Report Inappropriate Content
Sep-30-2020 11:55 AM
I would only comment on Eternabond tape.
Not only it looks ugly, but the folds will channel water into the joints.
Had the experience with my Fleetwood, where PO tried to patch some damages and it ended with rotten frame.

- Mark as New
- Bookmark
- Subscribe
- Mute
- Subscribe to RSS Feed
- Permalink
- Report Inappropriate Content
Sep-30-2020 11:42 AM
- Mark as New
- Bookmark
- Subscribe
- Mute
- Subscribe to RSS Feed
- Permalink
- Report Inappropriate Content
Sep-30-2020 11:28 AM
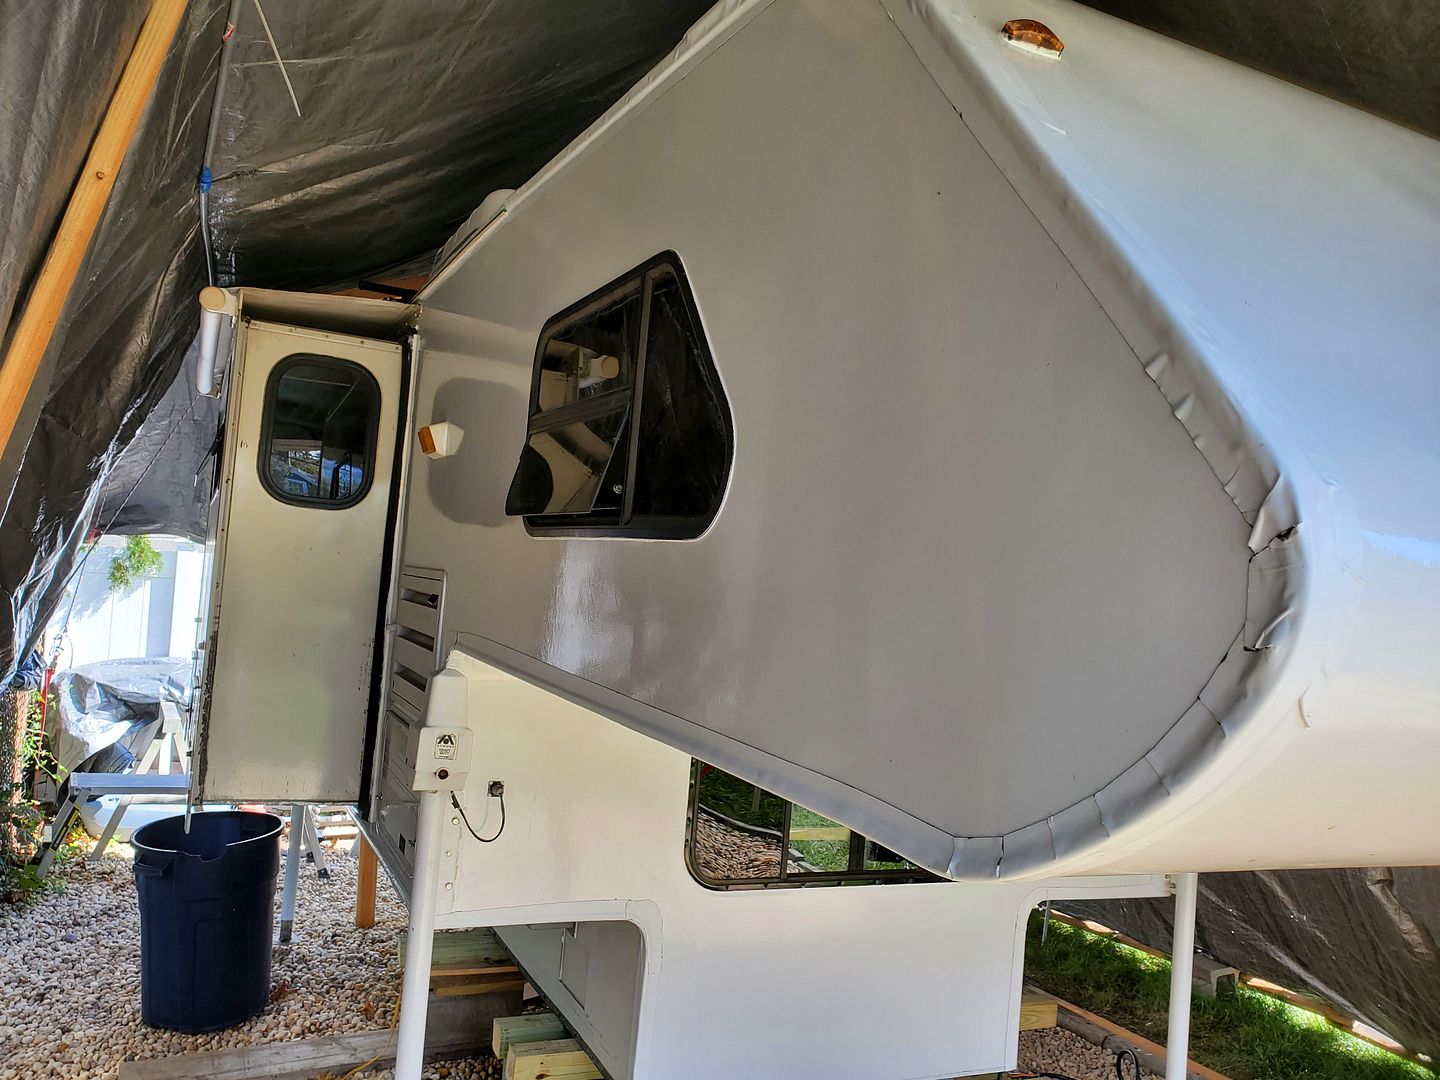
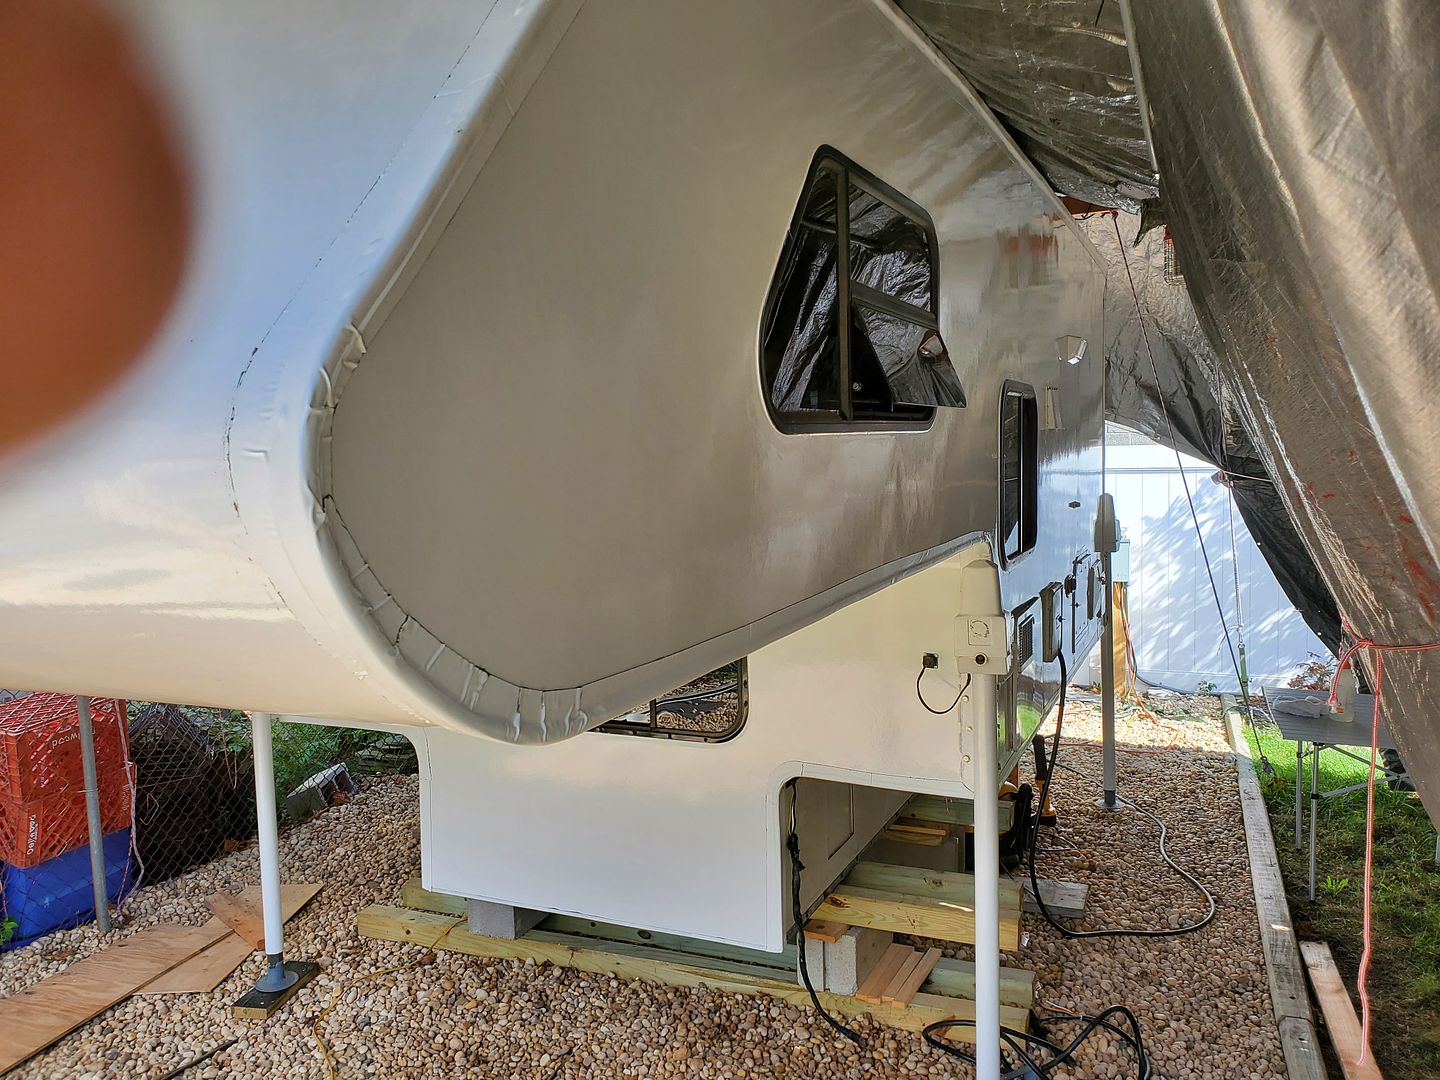
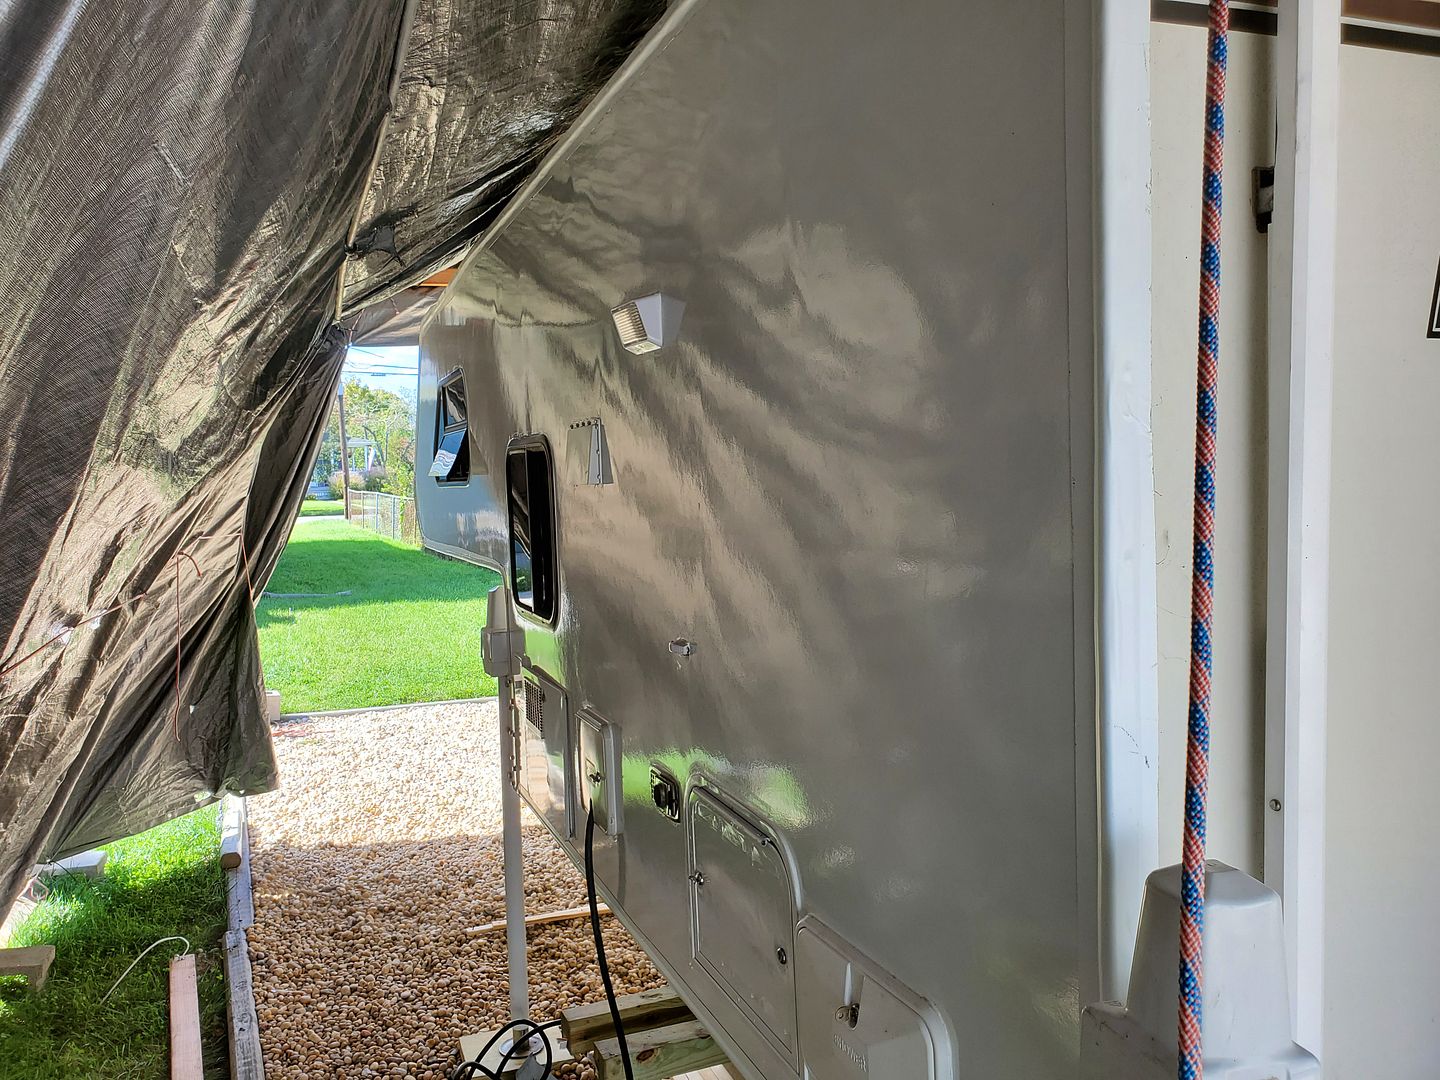
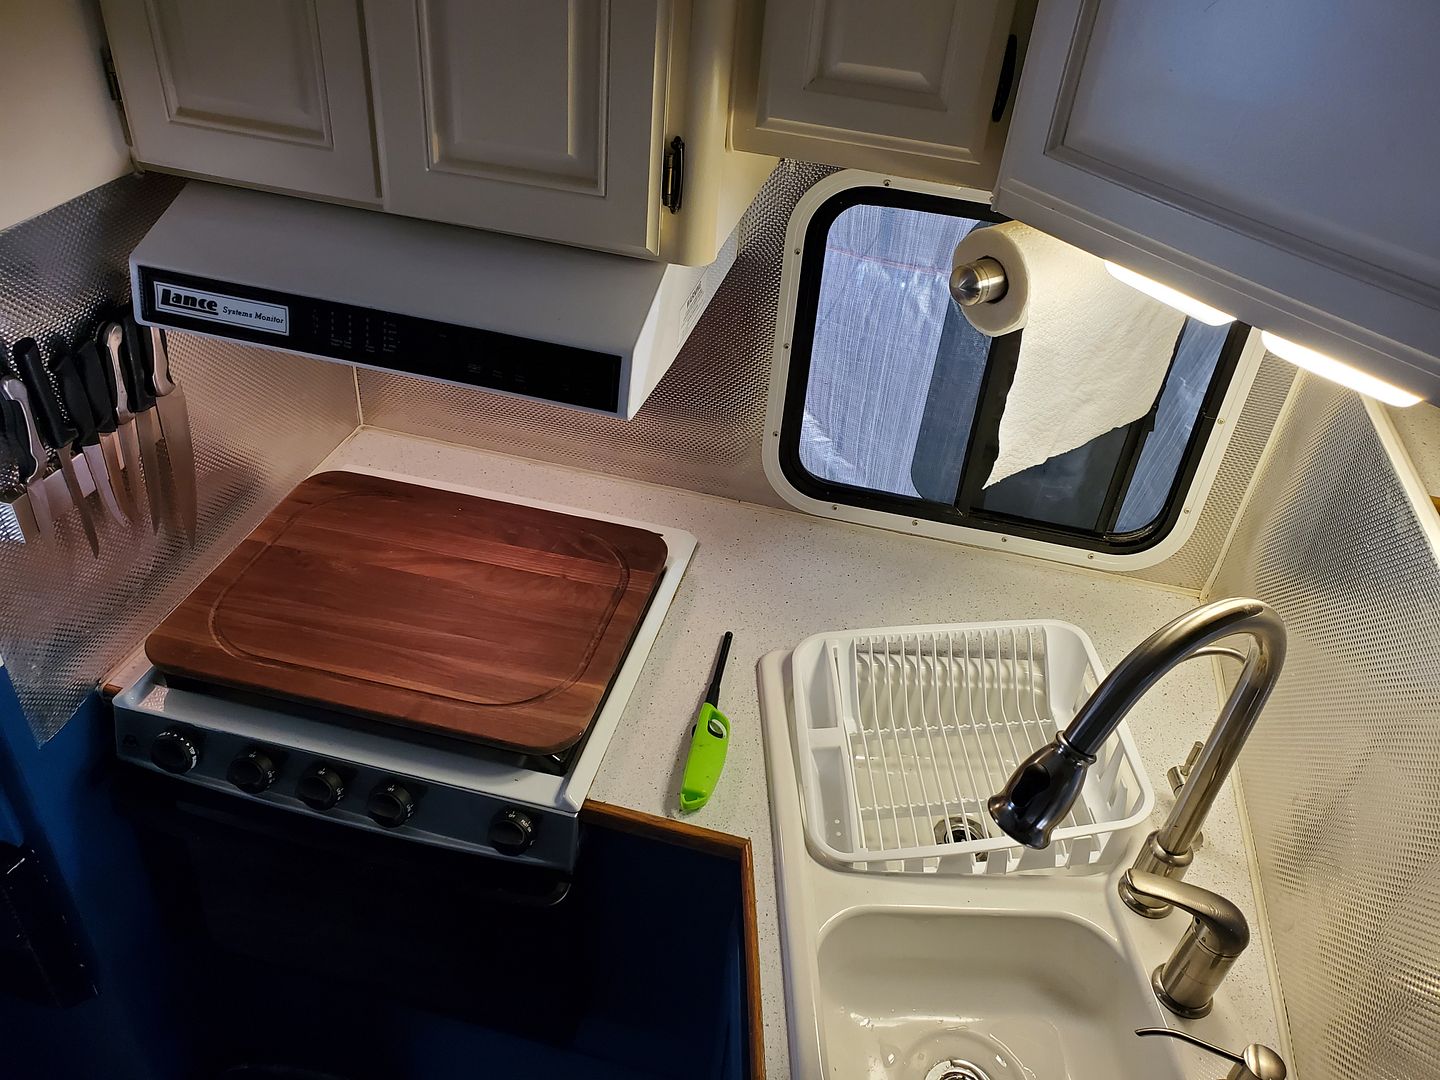
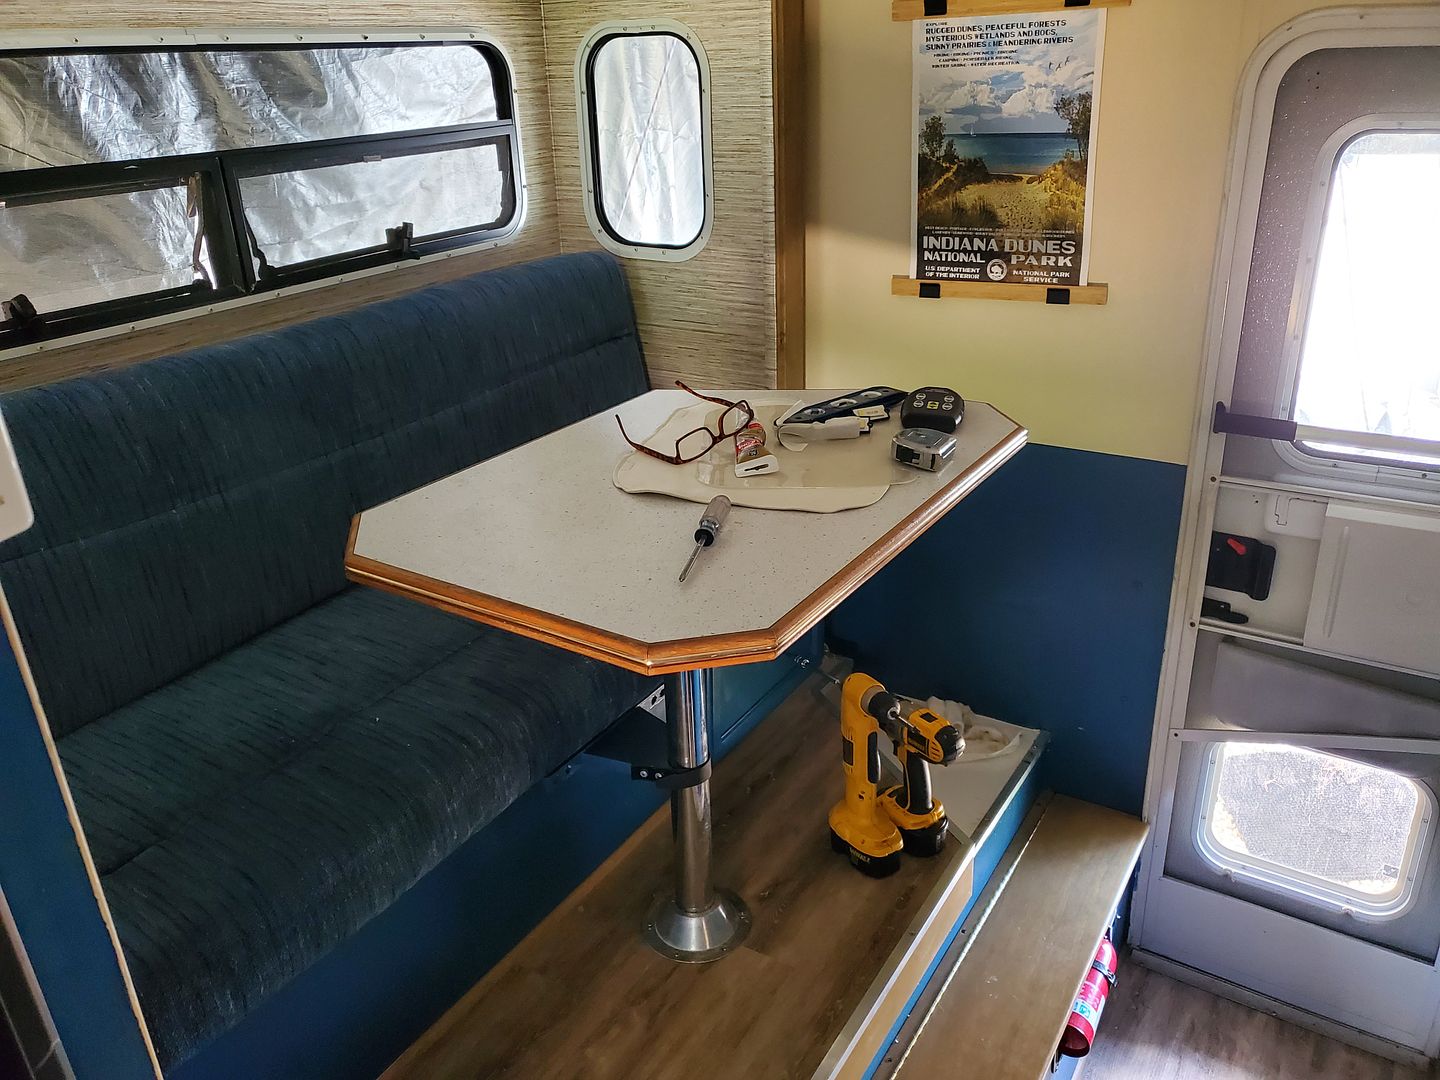
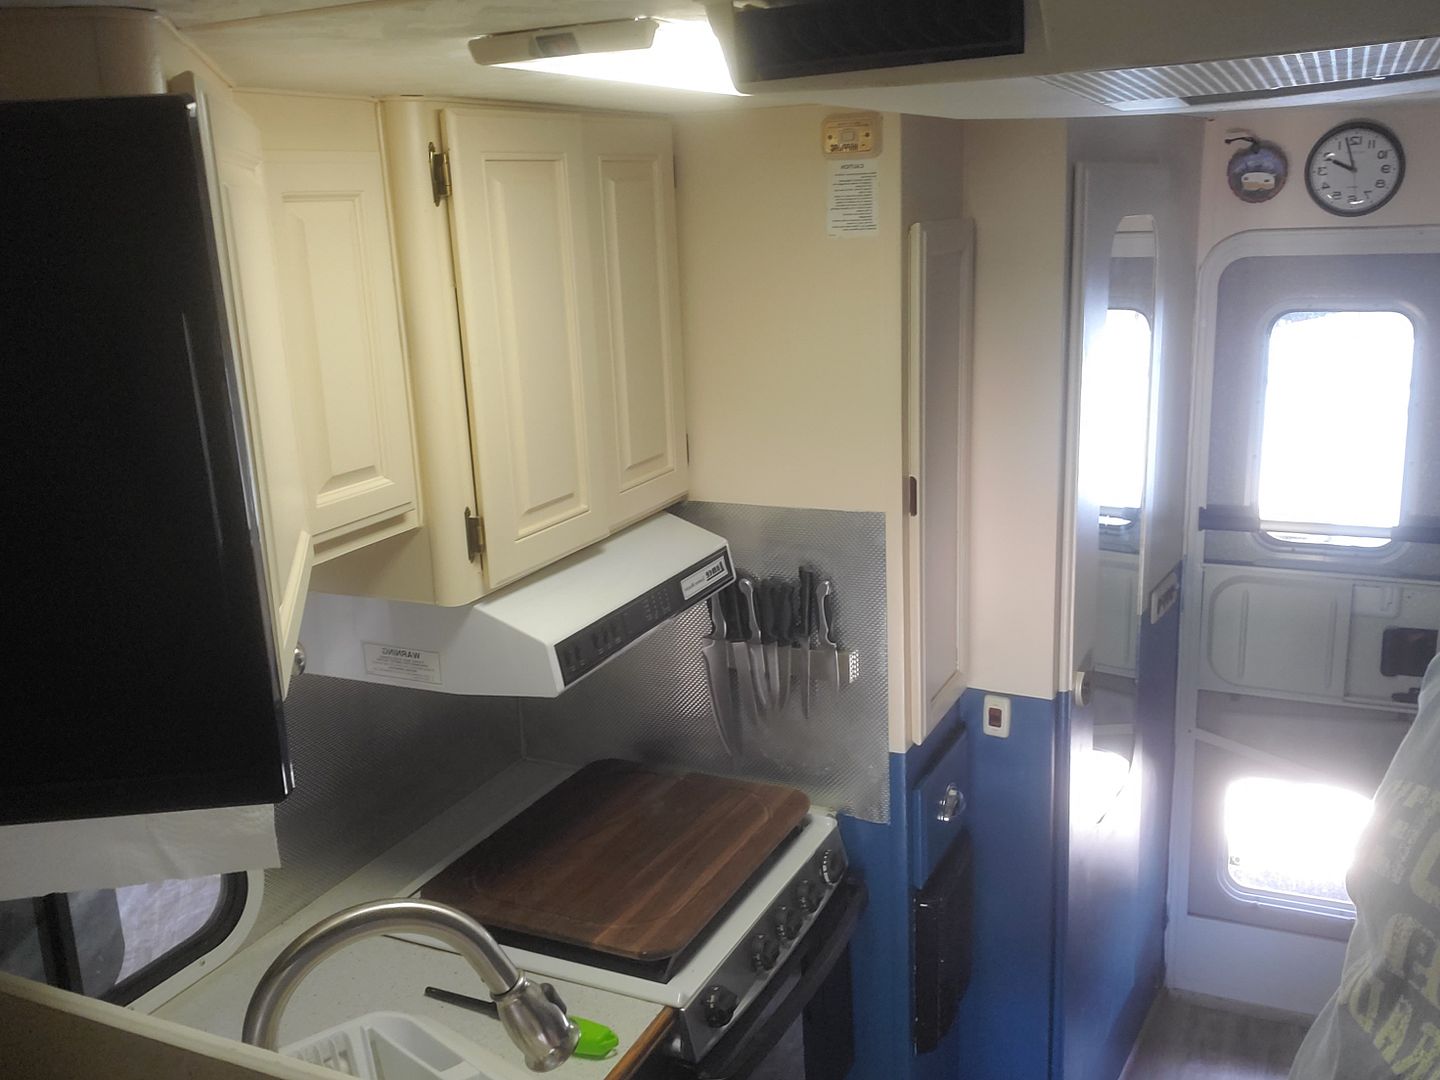
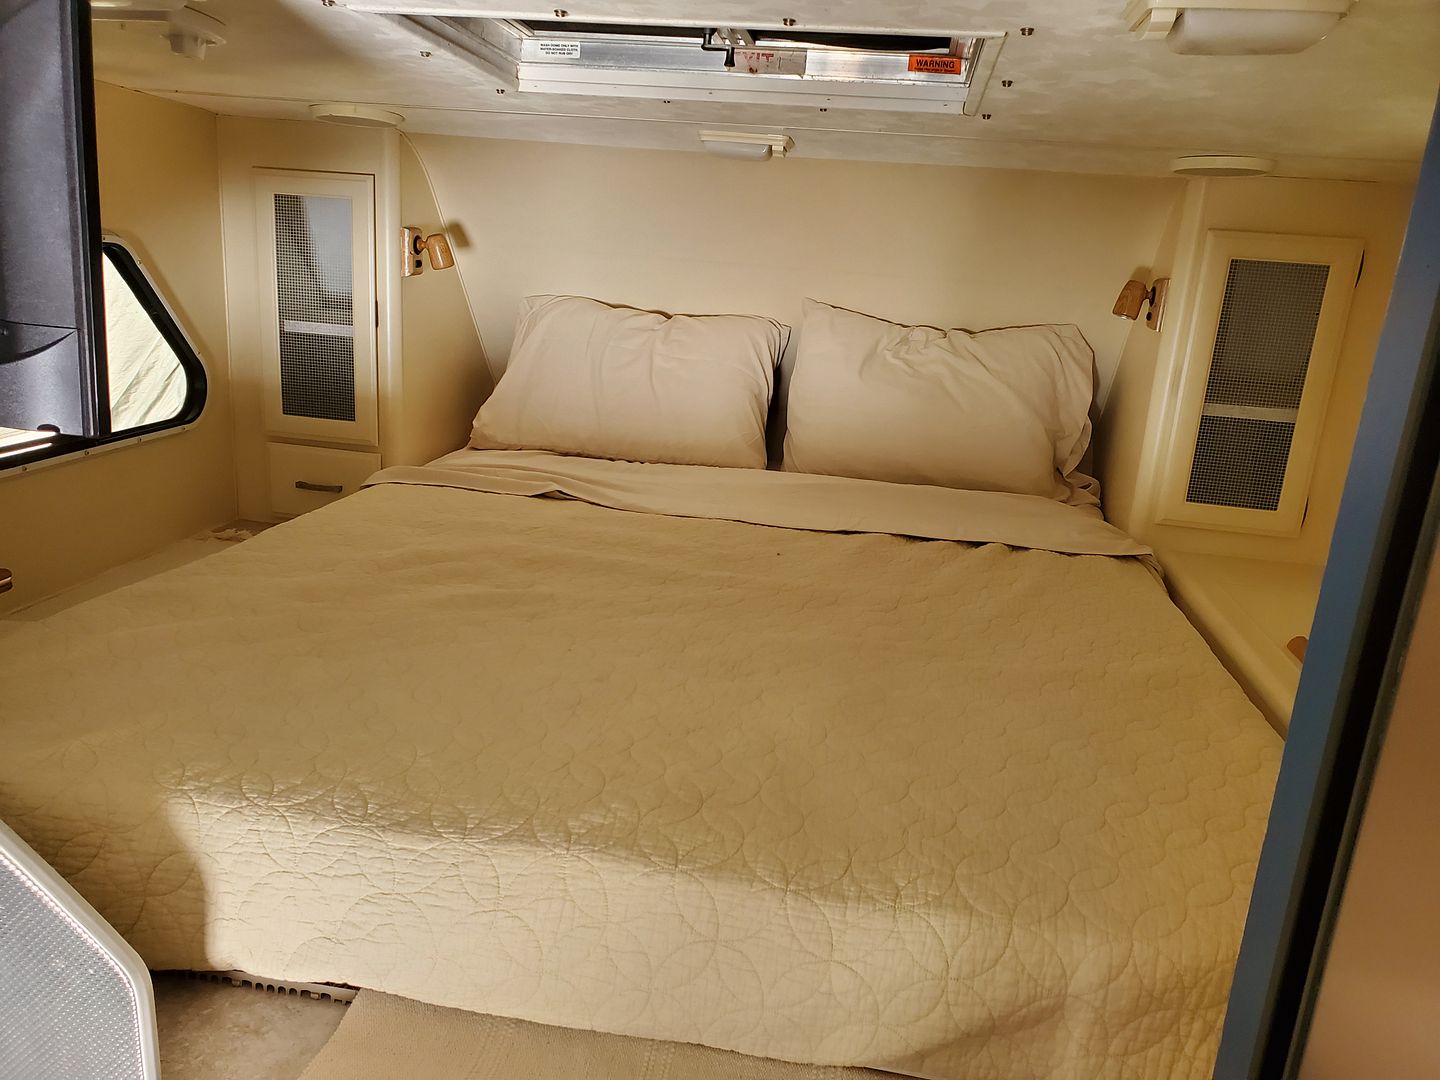
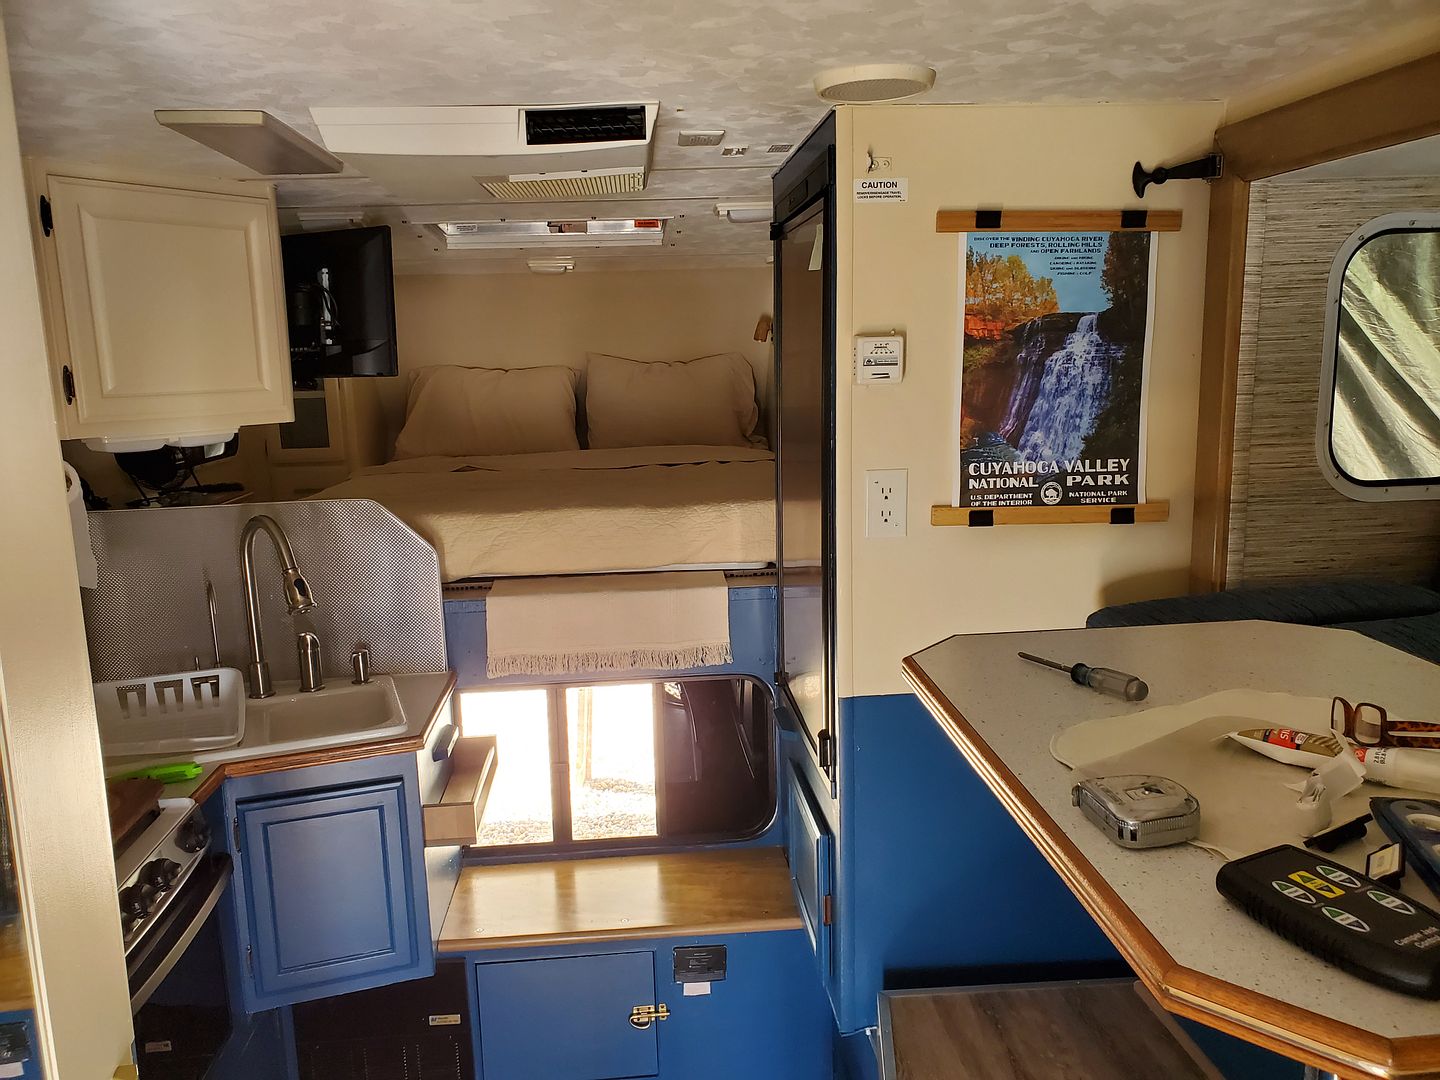
Very happy with the way this turned out, both inside and outside. Everything works 100% and is now sealed 3 ways to Sunday. Every seam got 4" Eternabond tape over the factory trim. All told I went through 150' of Eternabond, 300' of butyl tape, and many tubes of caulk, sealant, and Dicor self leveler.
I had a nice graphic for the front that we picked up at Johnson's Surplus in Elkhart, but it had been sitting around in their hot attic so long it ripped trying to get it off the release paper. Oh well, a $10 experiment.
The ghetto garage will be coming down this weekend, I have my Torklift D2124 and D3109 frame mounted tie downs in the garage along with my Curt front hitch waiting to go on the truck this weekend. Thinking I can knock that off in an afternoon.
I'll post a final accounting of the build costs along with a few pics of the camper on the truck as soon as I can.
- Mark as New
- Bookmark
- Subscribe
- Mute
- Subscribe to RSS Feed
- Permalink
- Report Inappropriate Content
Sep-23-2020 12:36 PM
Four Wheel Camper Granby Shell
- Mark as New
- Bookmark
- Subscribe
- Mute
- Subscribe to RSS Feed
- Permalink
- Report Inappropriate Content
Sep-23-2020 10:45 AM
Moving along...I have all the trim on, just waiting for one more roll of butyl tape to arrive so I can finish the sewer hose hatch. This will make 10-30' rolls of butyl tape I used on this project. In fairness I'll have some left over so maybe 280' total used.
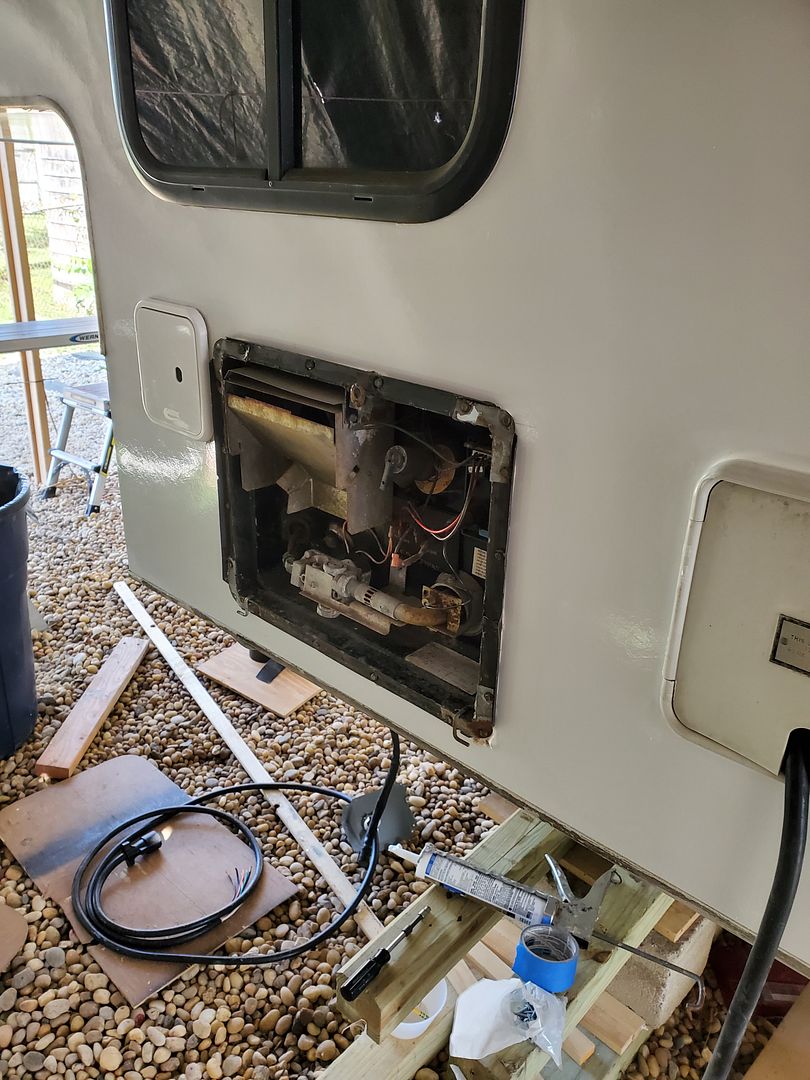
Got the HW heater installed and it fired right up! Propane is now 100% connected with no leaks or issues detected. With the outside shower in, that makes 100% of the water system connected and functional with no leaks detected.
.jpg)
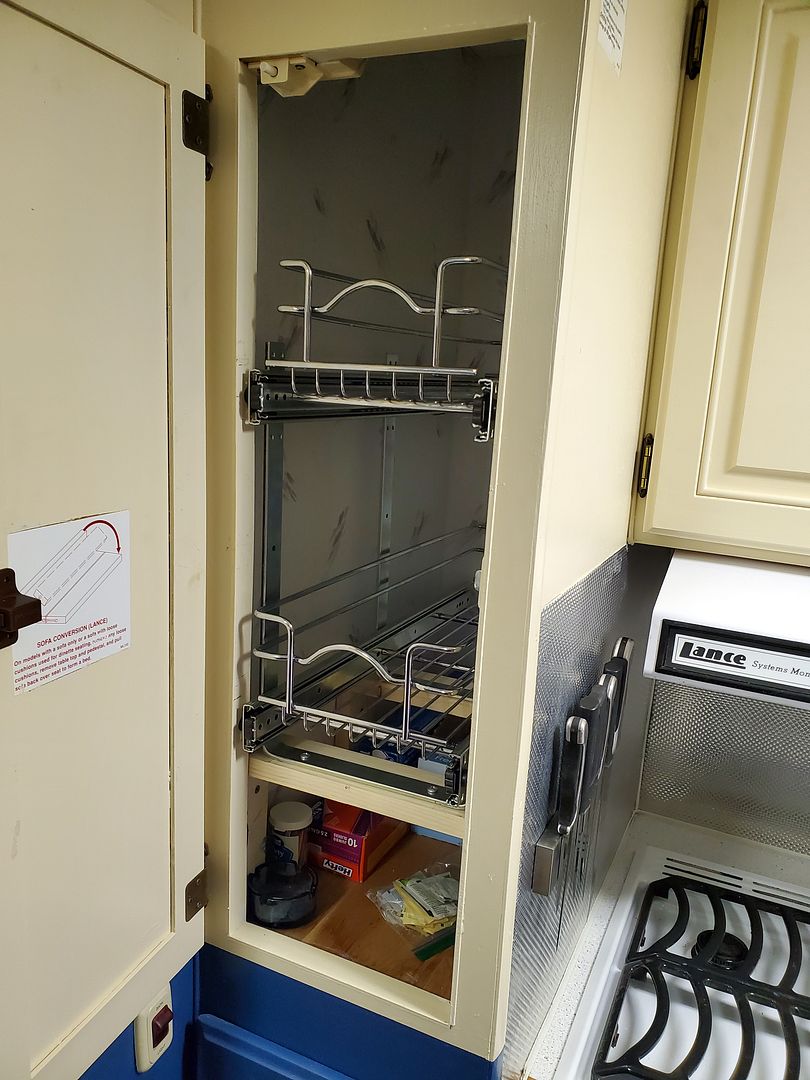
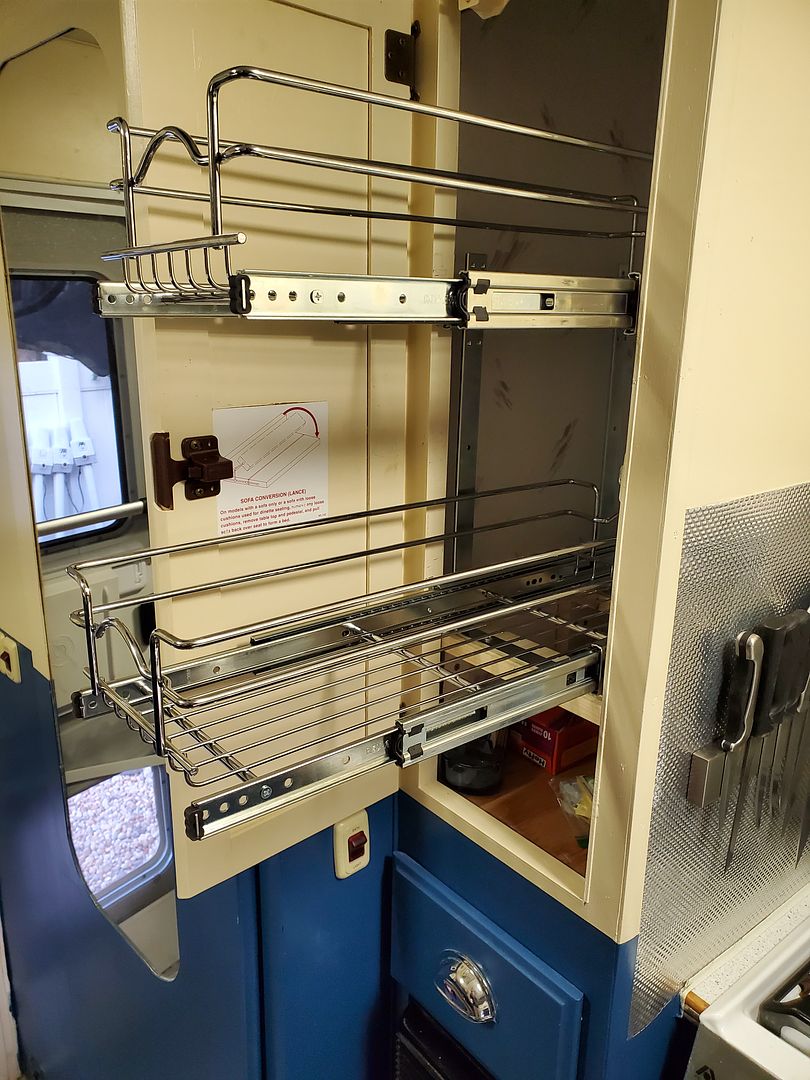
Also got a few last items DW wanted, we turned the small coat closet next to the stove into a pantry with some pull out shelves. This is the full extension Rev-a-Shelf kit, I built some brackets to raise the assembly up and create a 3rd shelf on the bottom since you can't get the kit this width with 3 pull out baskets.
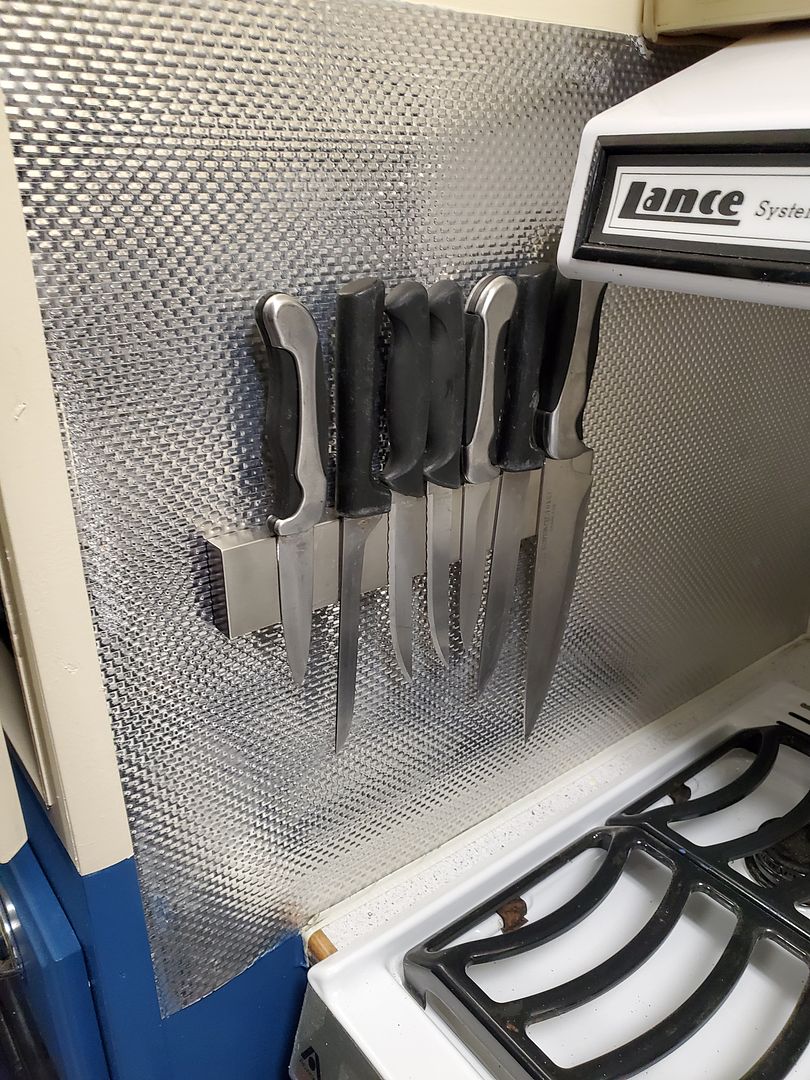
Also installed a magnetic knife rack by the stove. DW swears it had good Amazon reviews from RV owners who said the knives won't come off going down the road....I guess we'll see.
Last items are to finish:
1. Wiring the tail light and reverse lights
2. Umbilical cord wiring
3.Eternabond all the seams
4. Install the jacks. I've already replaced the control board and remote and verified that they all work, now just need to bolt them on to the camper.
- Mark as New
- Bookmark
- Subscribe
- Mute
- Subscribe to RSS Feed
- Permalink
- Report Inappropriate Content
Sep-17-2020 11:28 AM
Well I haven't posted lately since I've been in overdrive mode trying to get this project finished in time to get a little camping done this year.
We got the slide back in, mainly by sliding it up a 2x10 onto a sawhorse, bringing the low side onto another saw horse, then adding blocks until it was high enough for the the mechanism to extend under it. The slide itself had no leaks or water damage, so all that was needed was a carpet delete from the storage hatch.
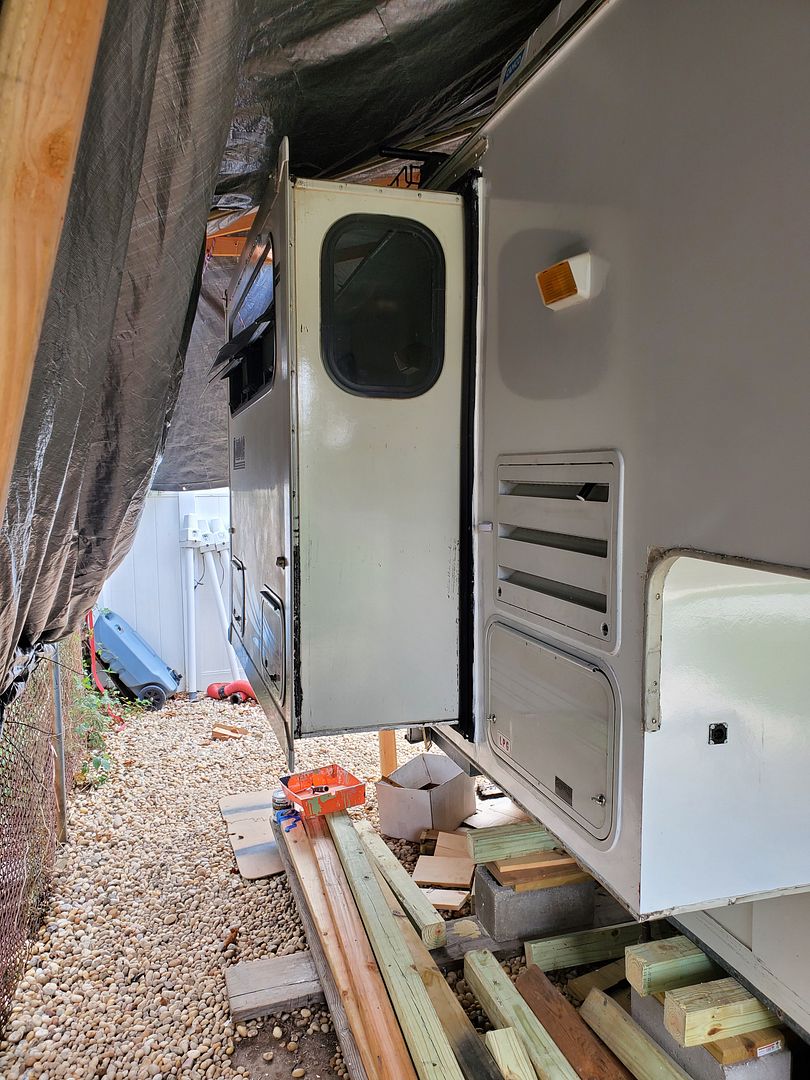
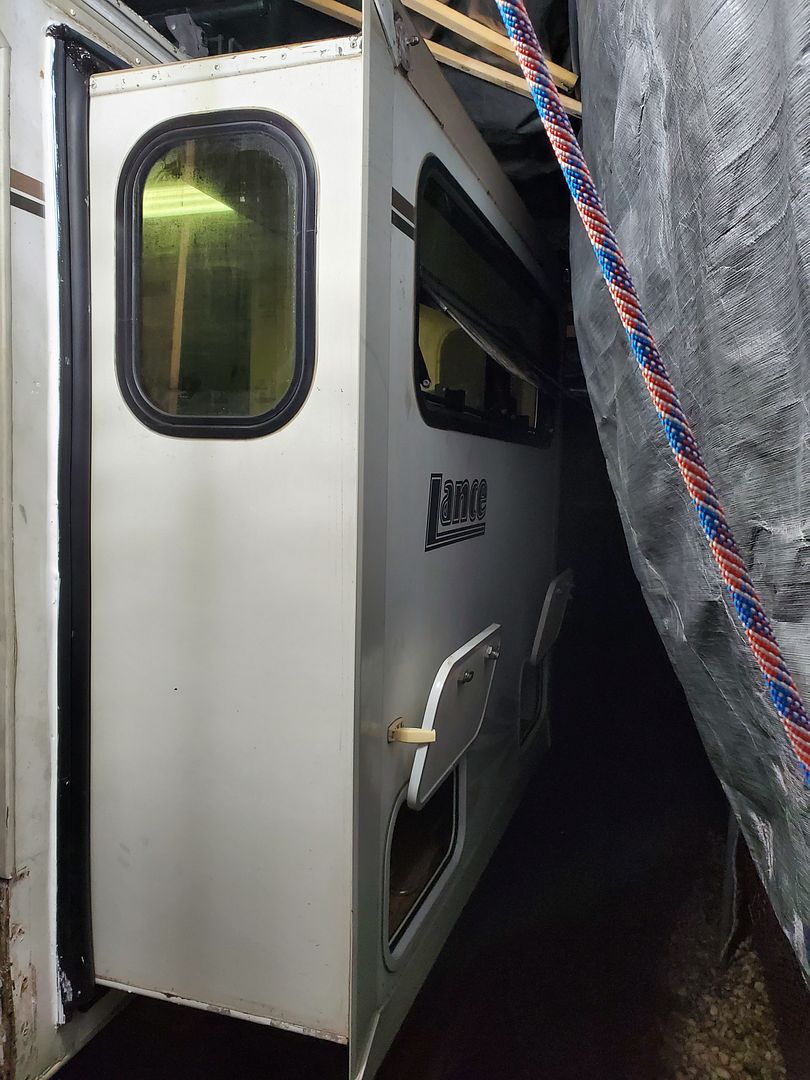
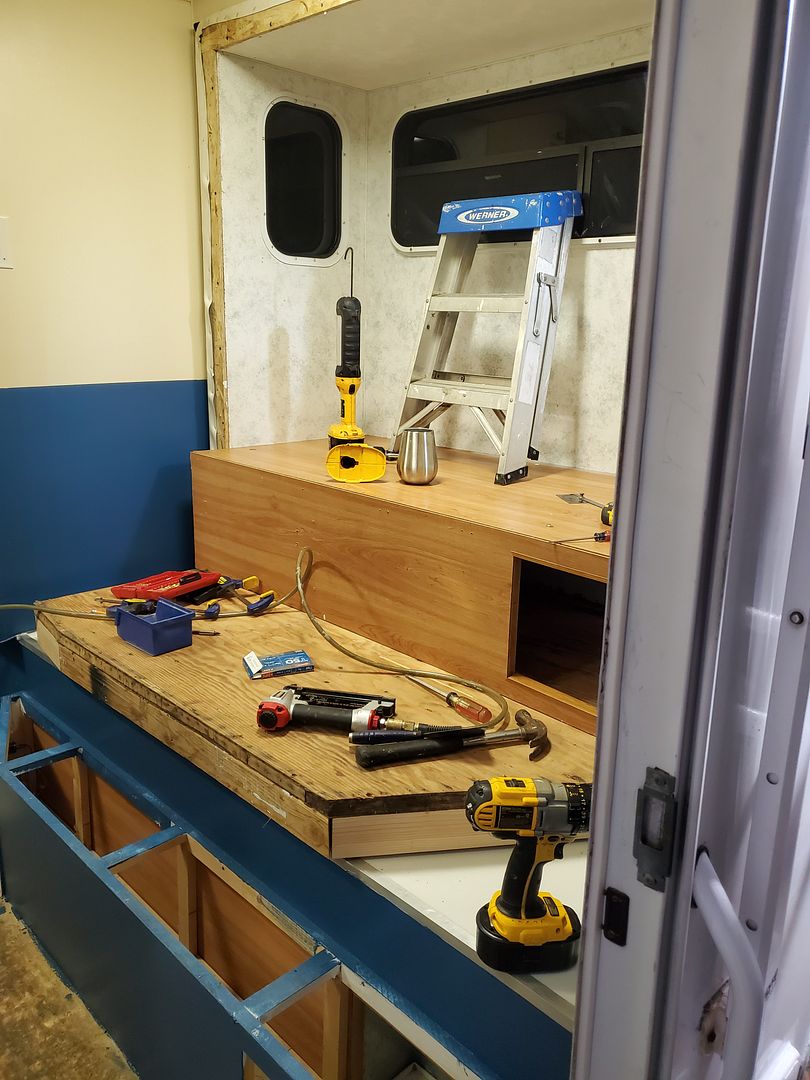
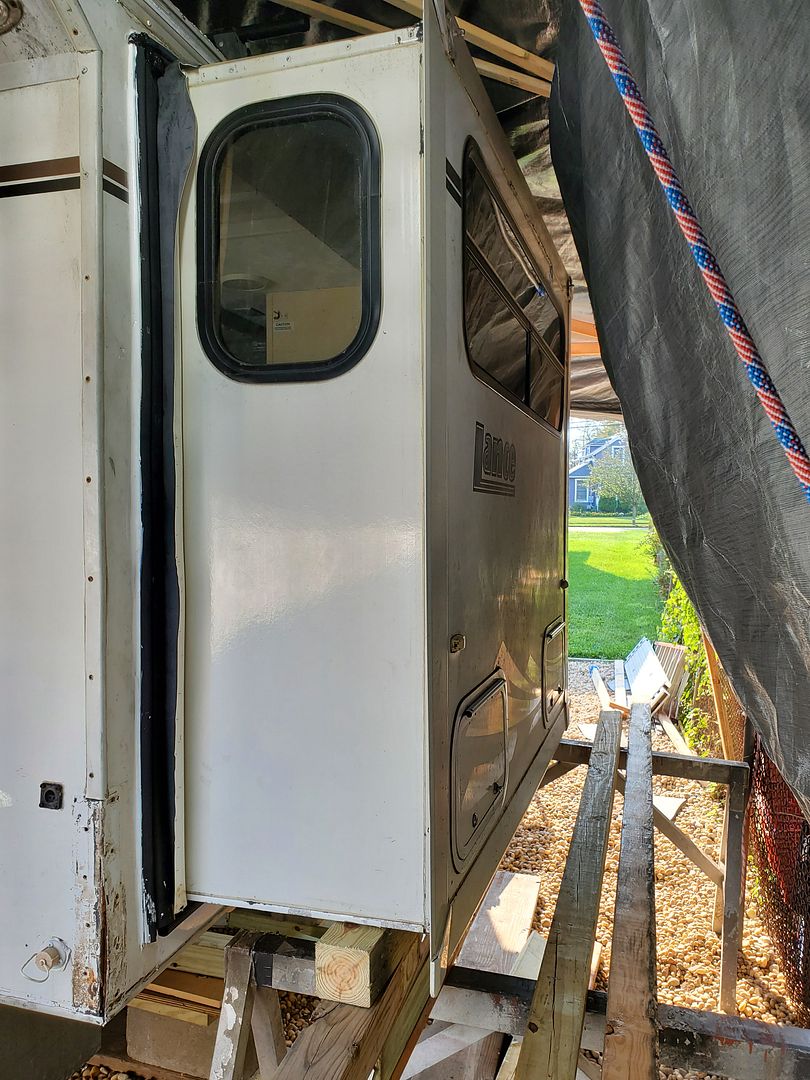
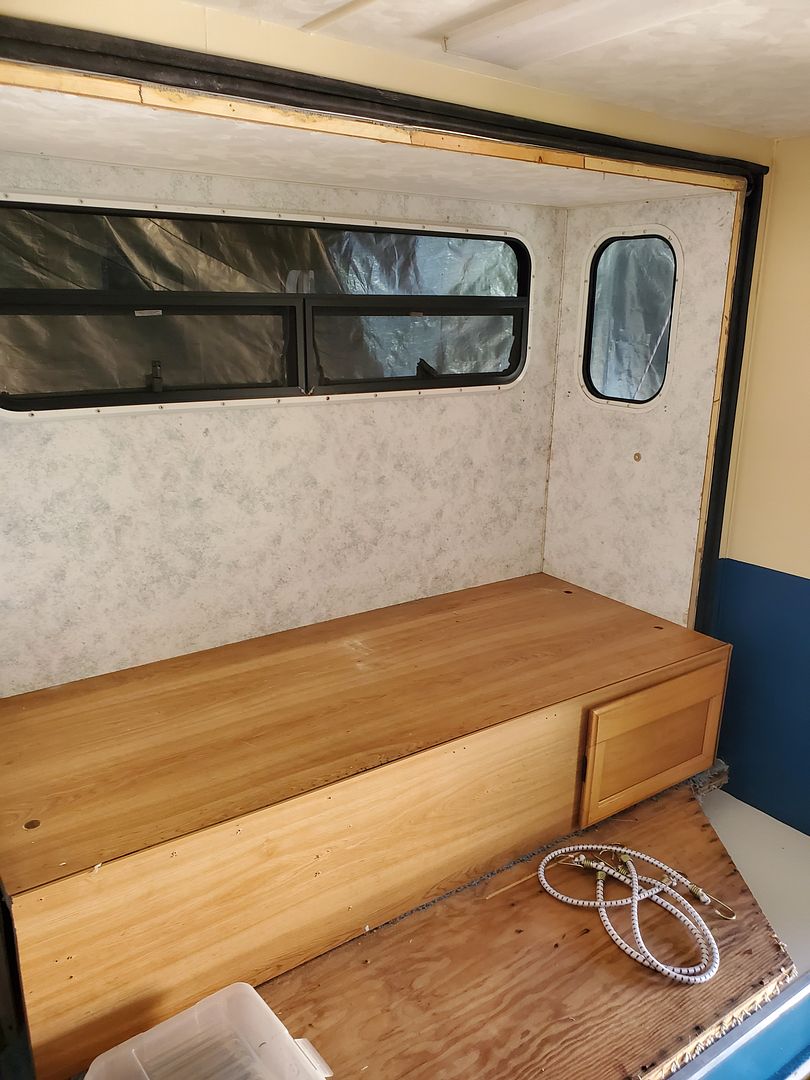
We finished up the painting on the inside along with the carpet delete. I put in a click-lock vinyl plank floor and used that same floor on the slide out platform. The area under the couch that is outside storage got peel-n-stick tile. The inside of the slideout got wallpapered, the couch is back in, and the step up to the dinette that used to be carpeted is now done in pine with a new piano hinge.
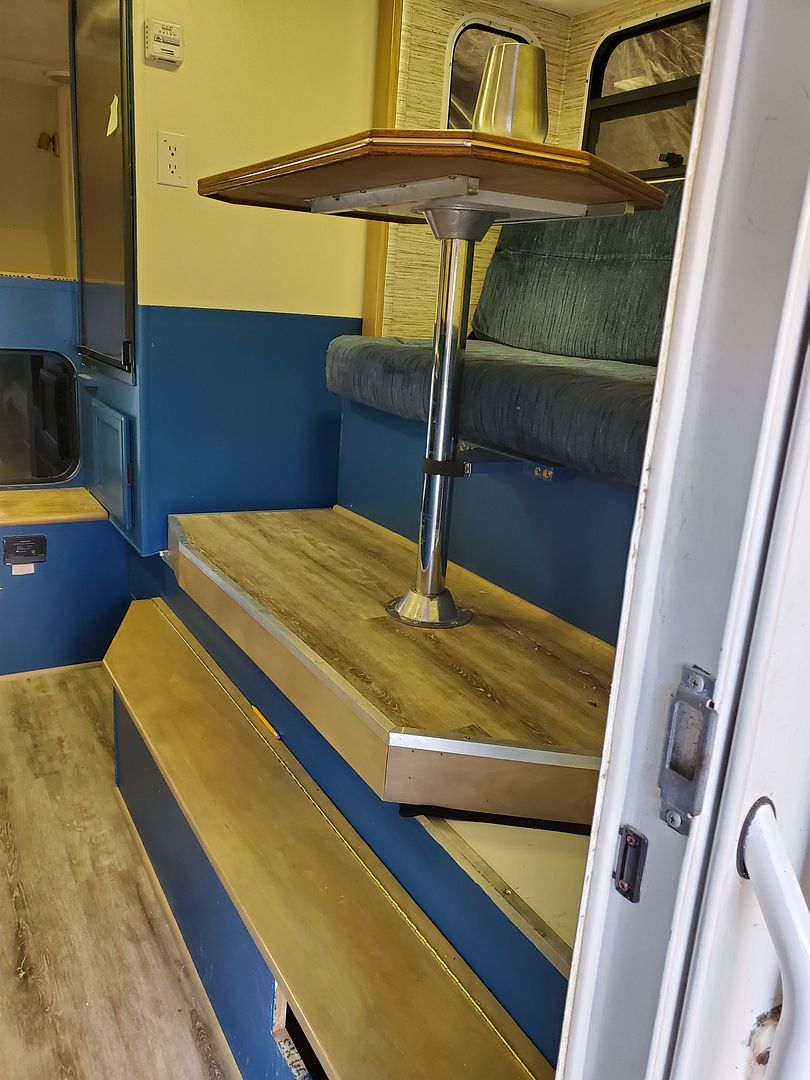
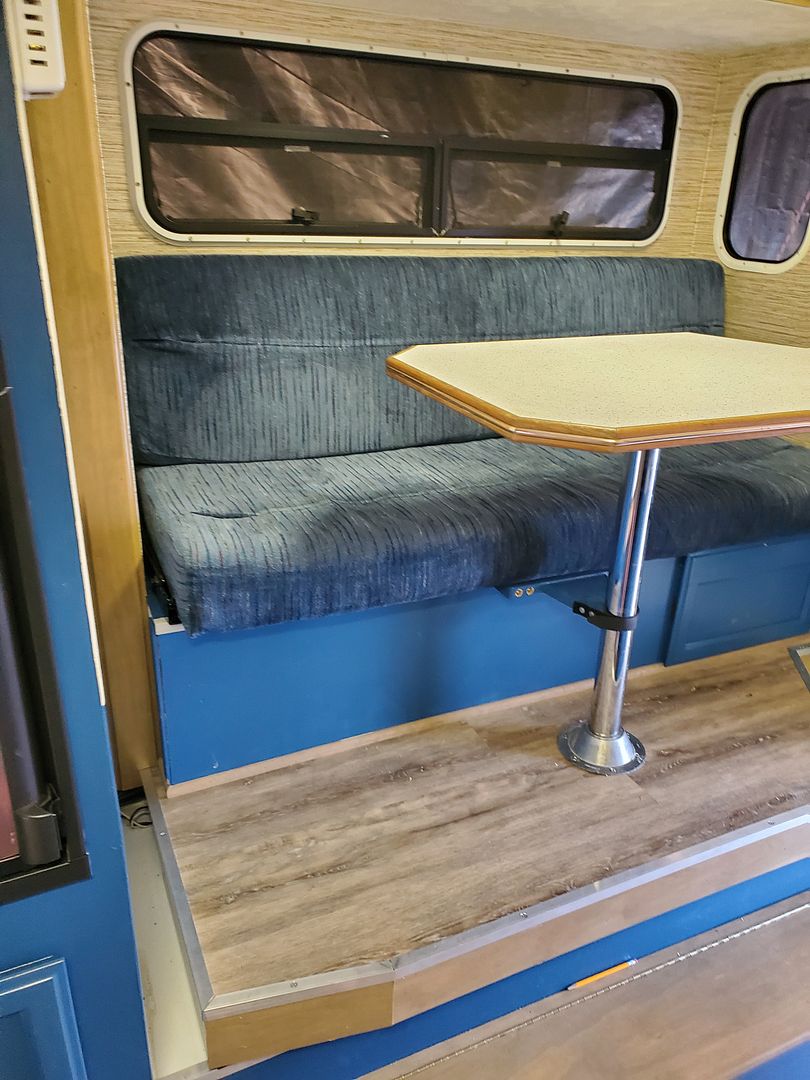

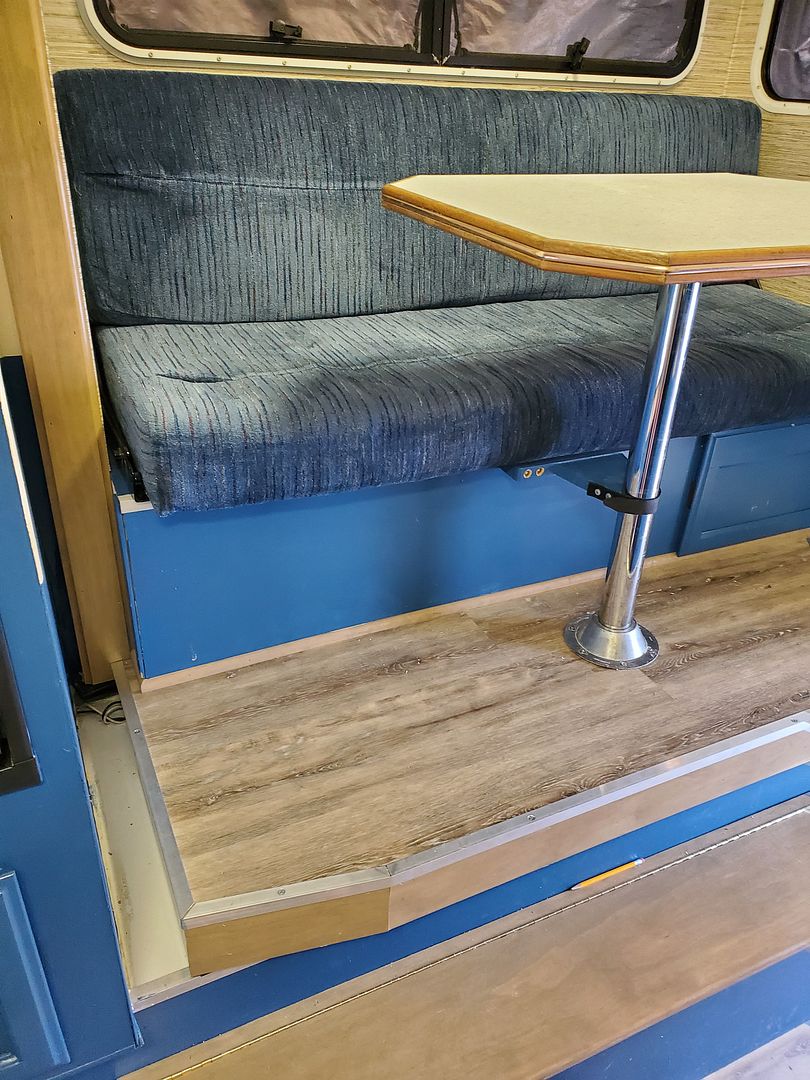
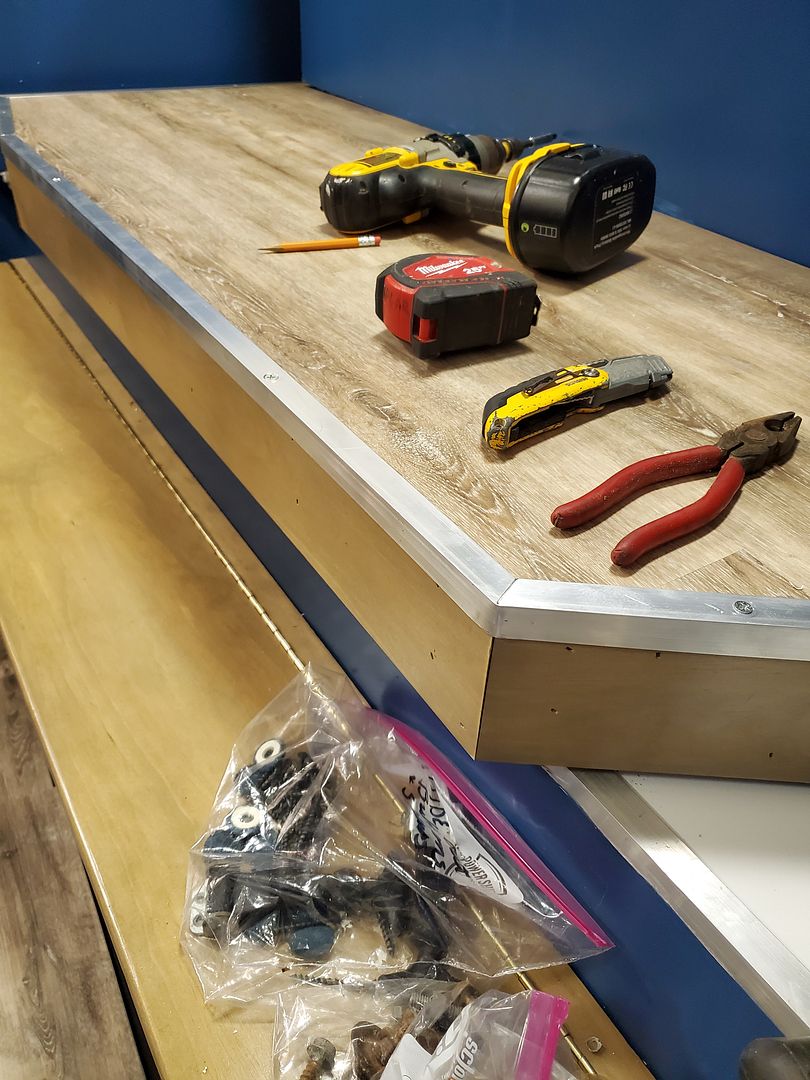
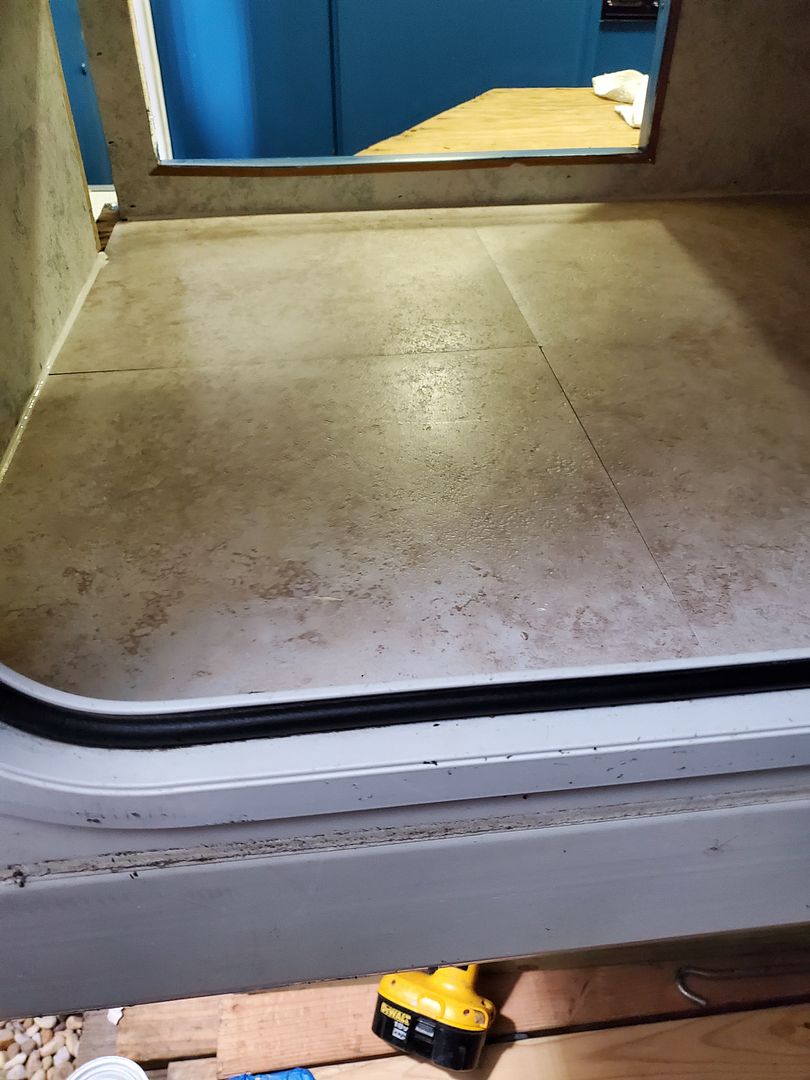
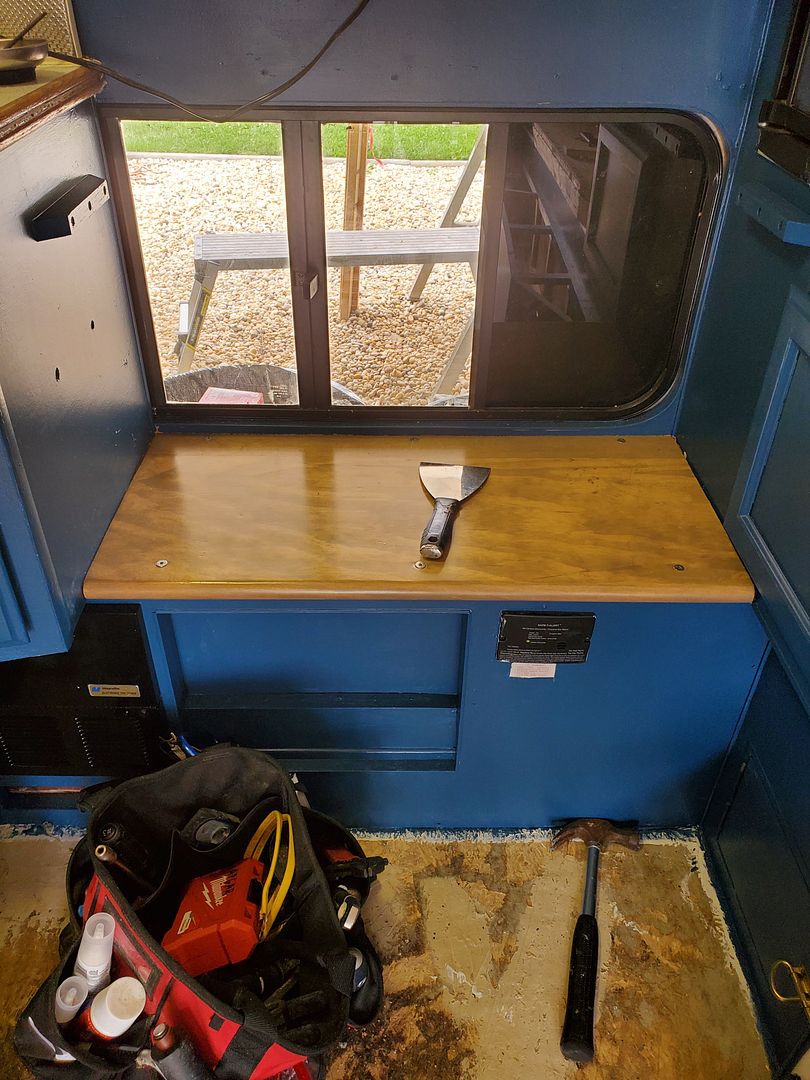
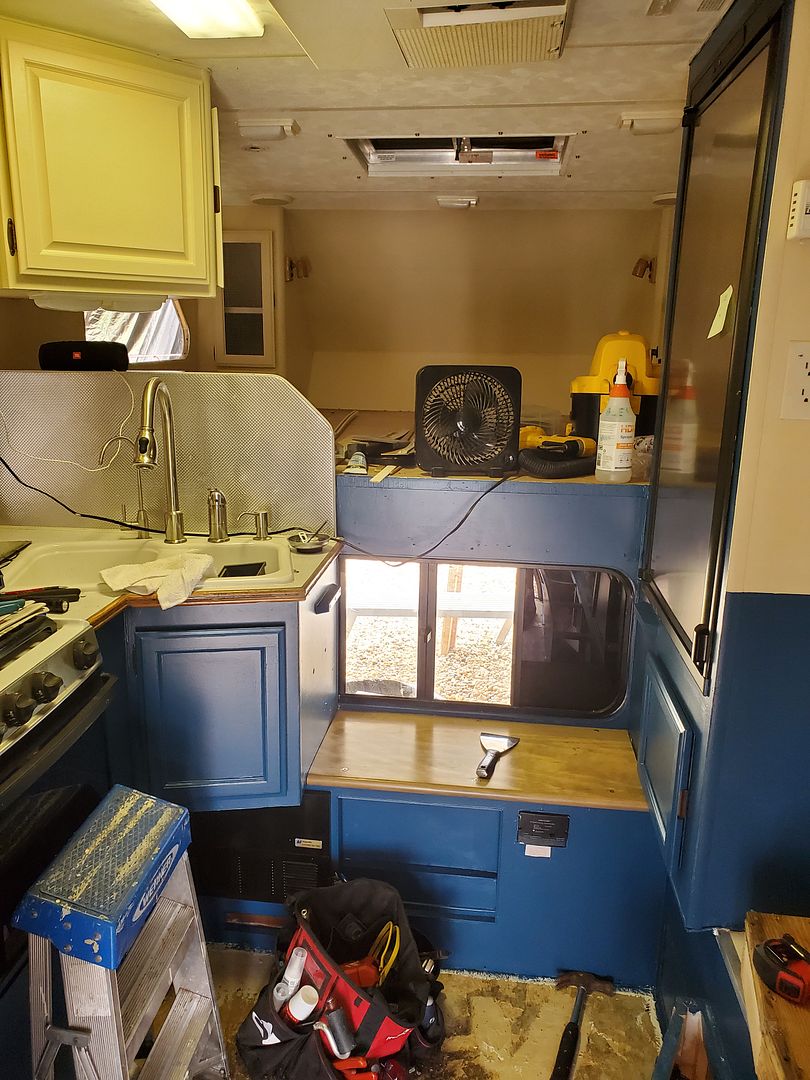
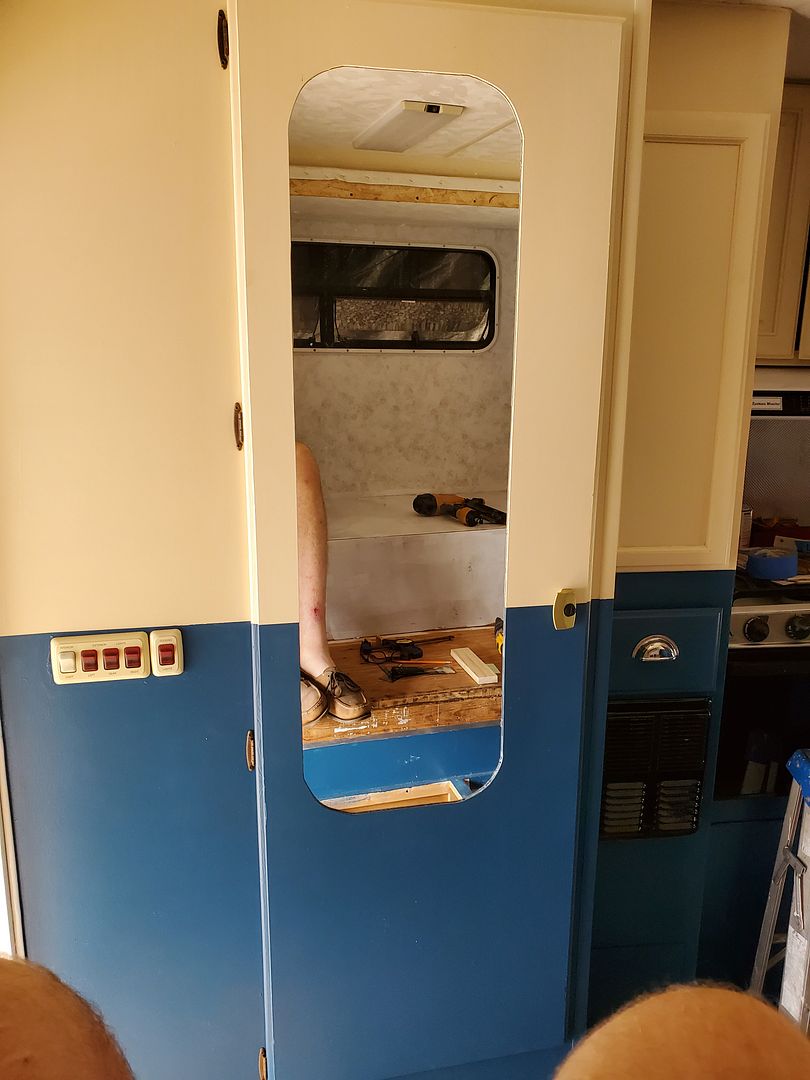
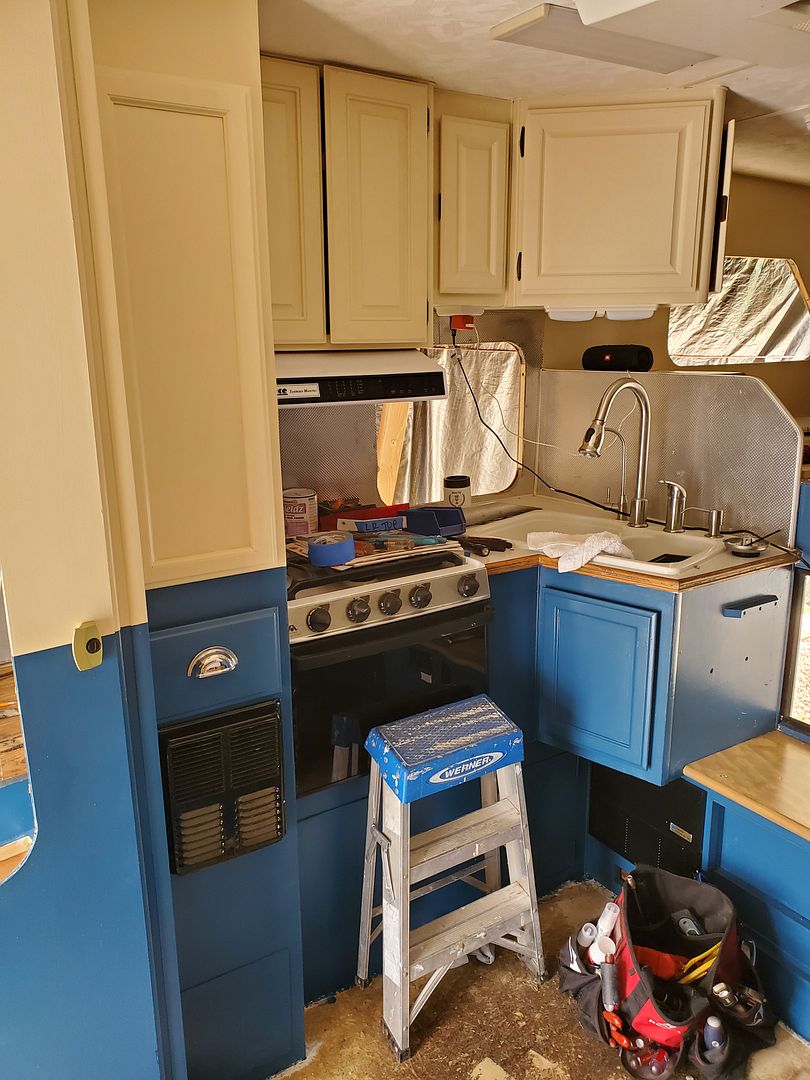
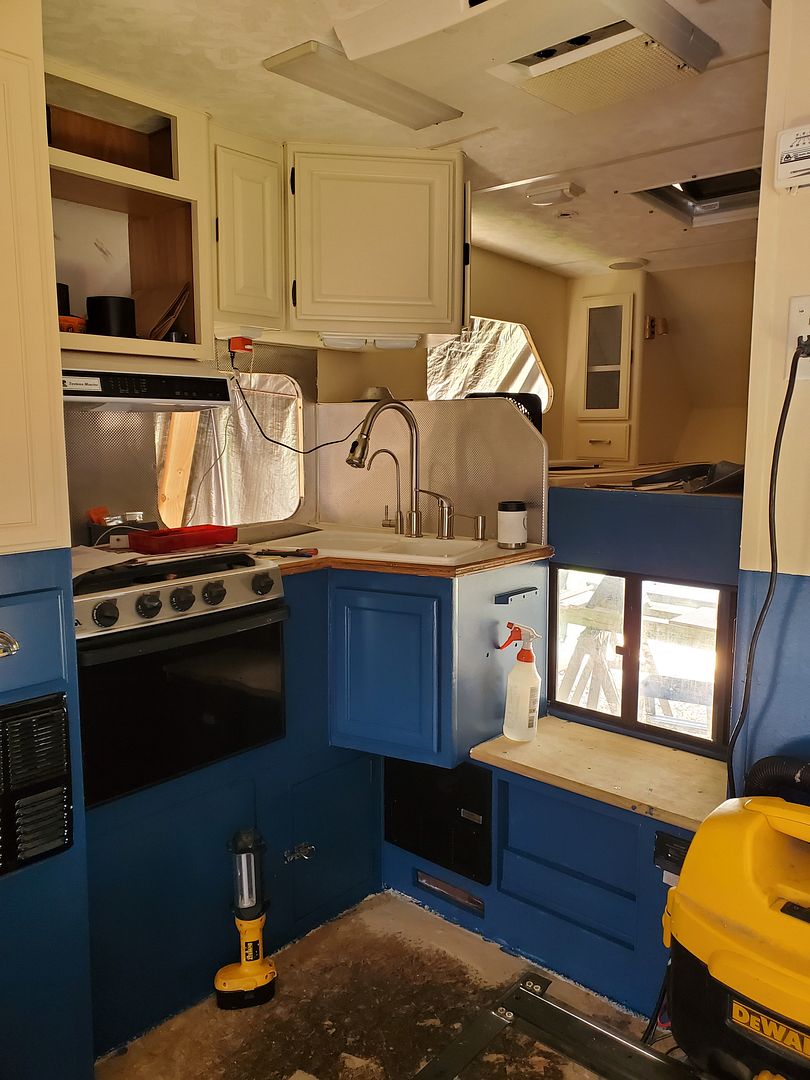
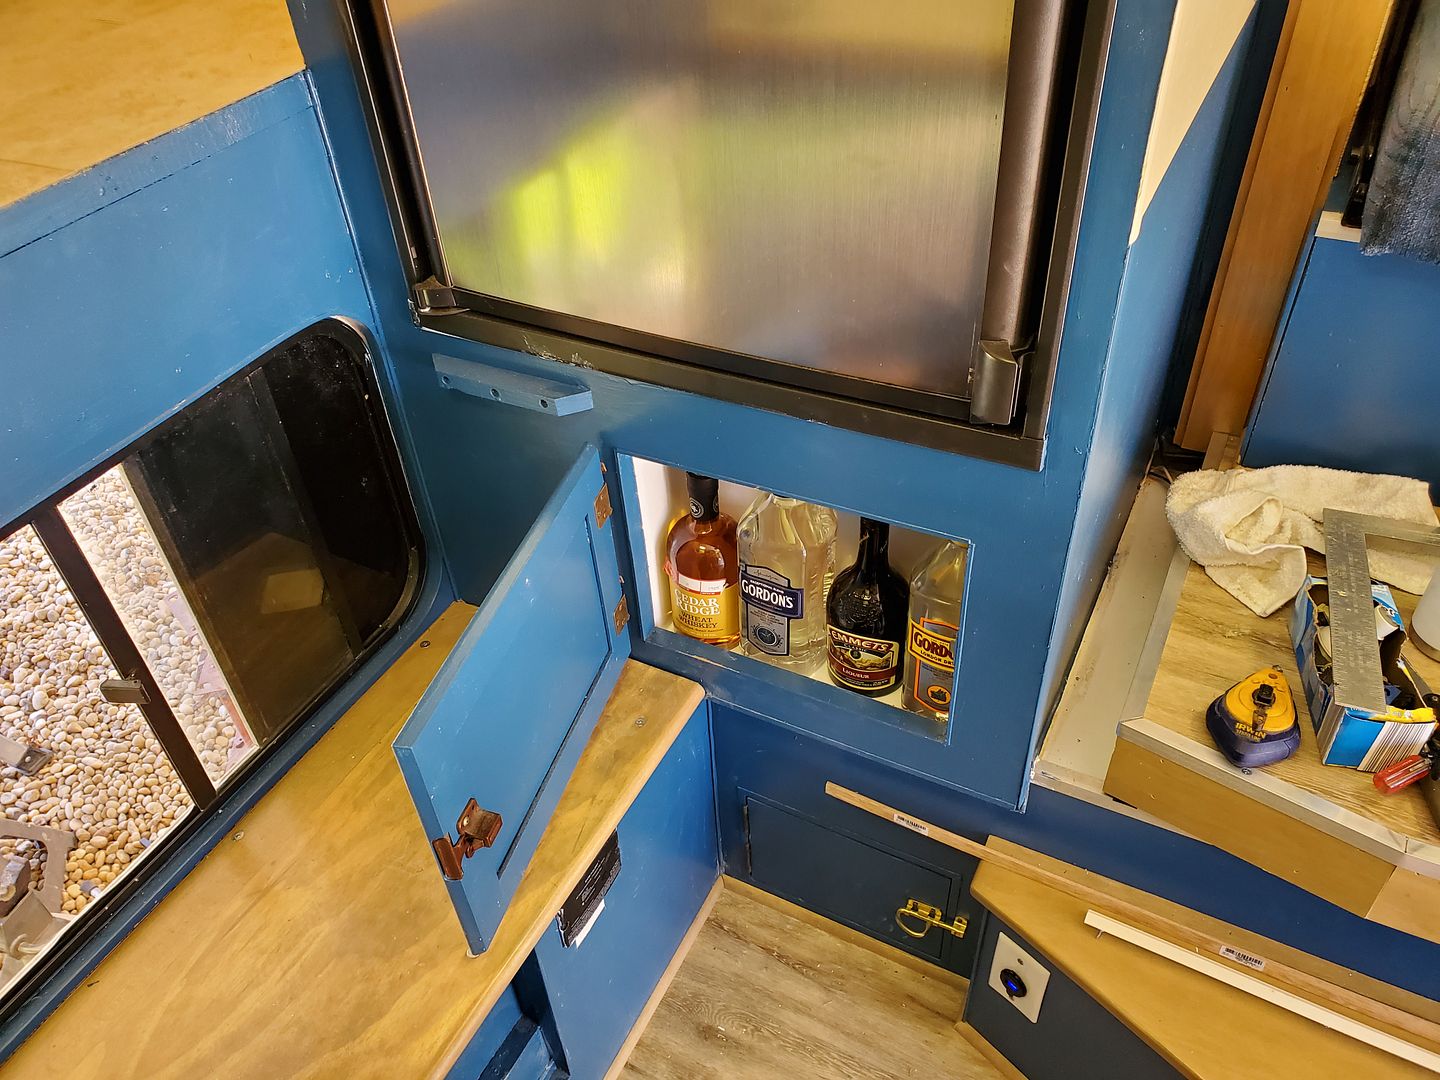
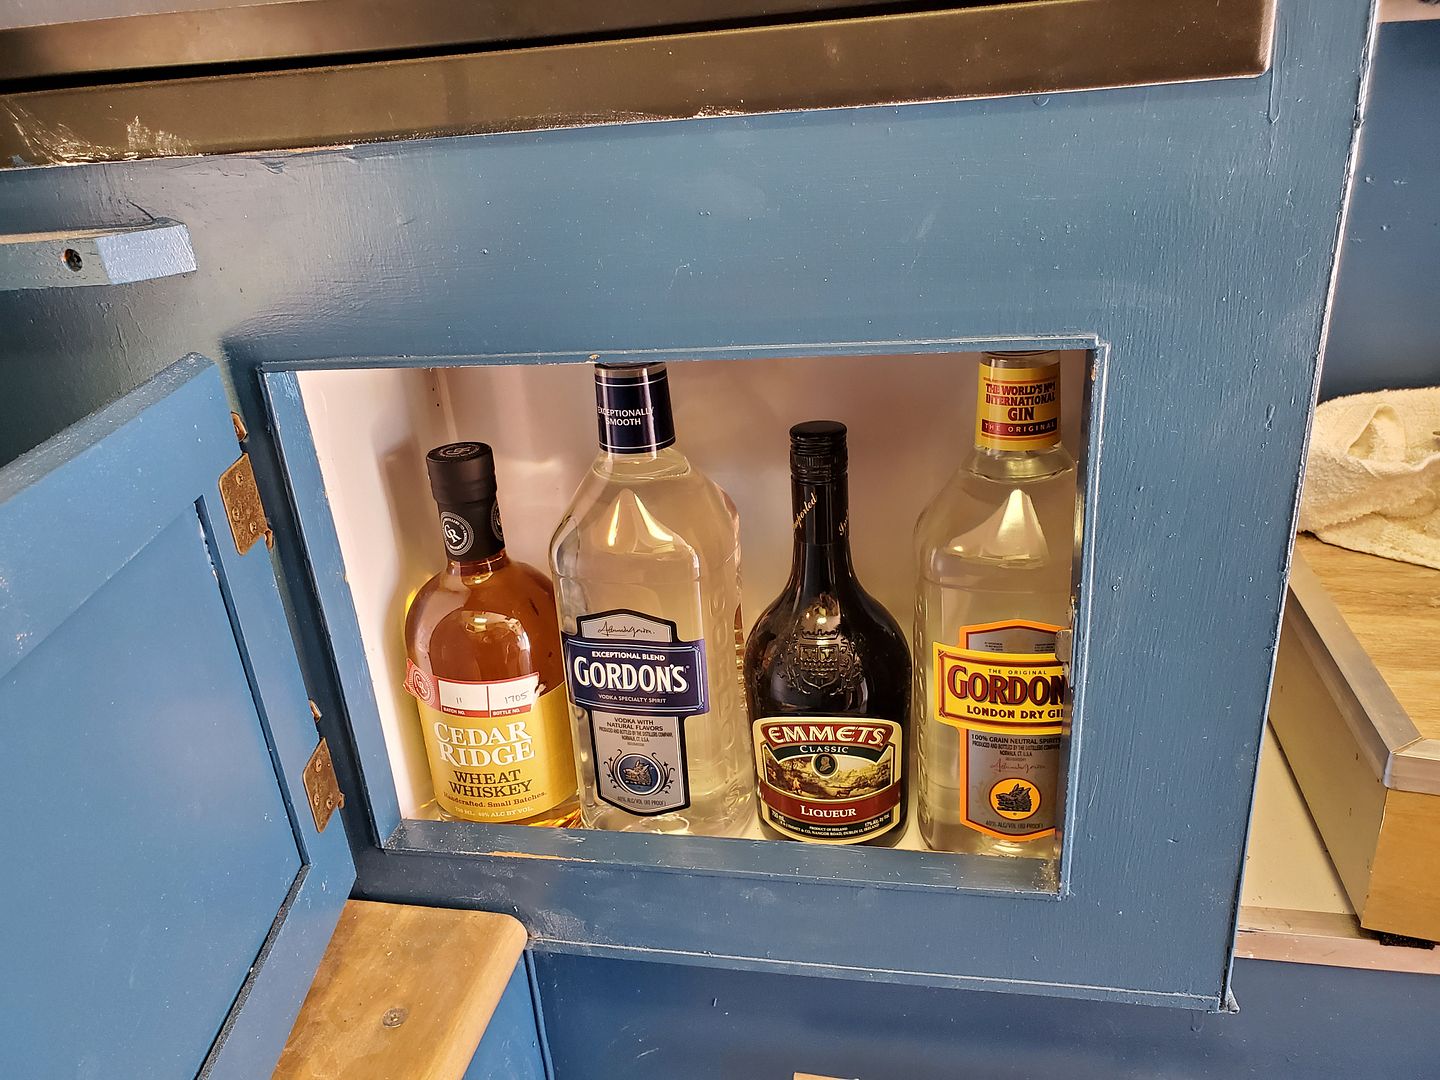
The space behind the propane storage was the perfect size for a beverage cabinet so I finished off the inside with the melamine hardboard:
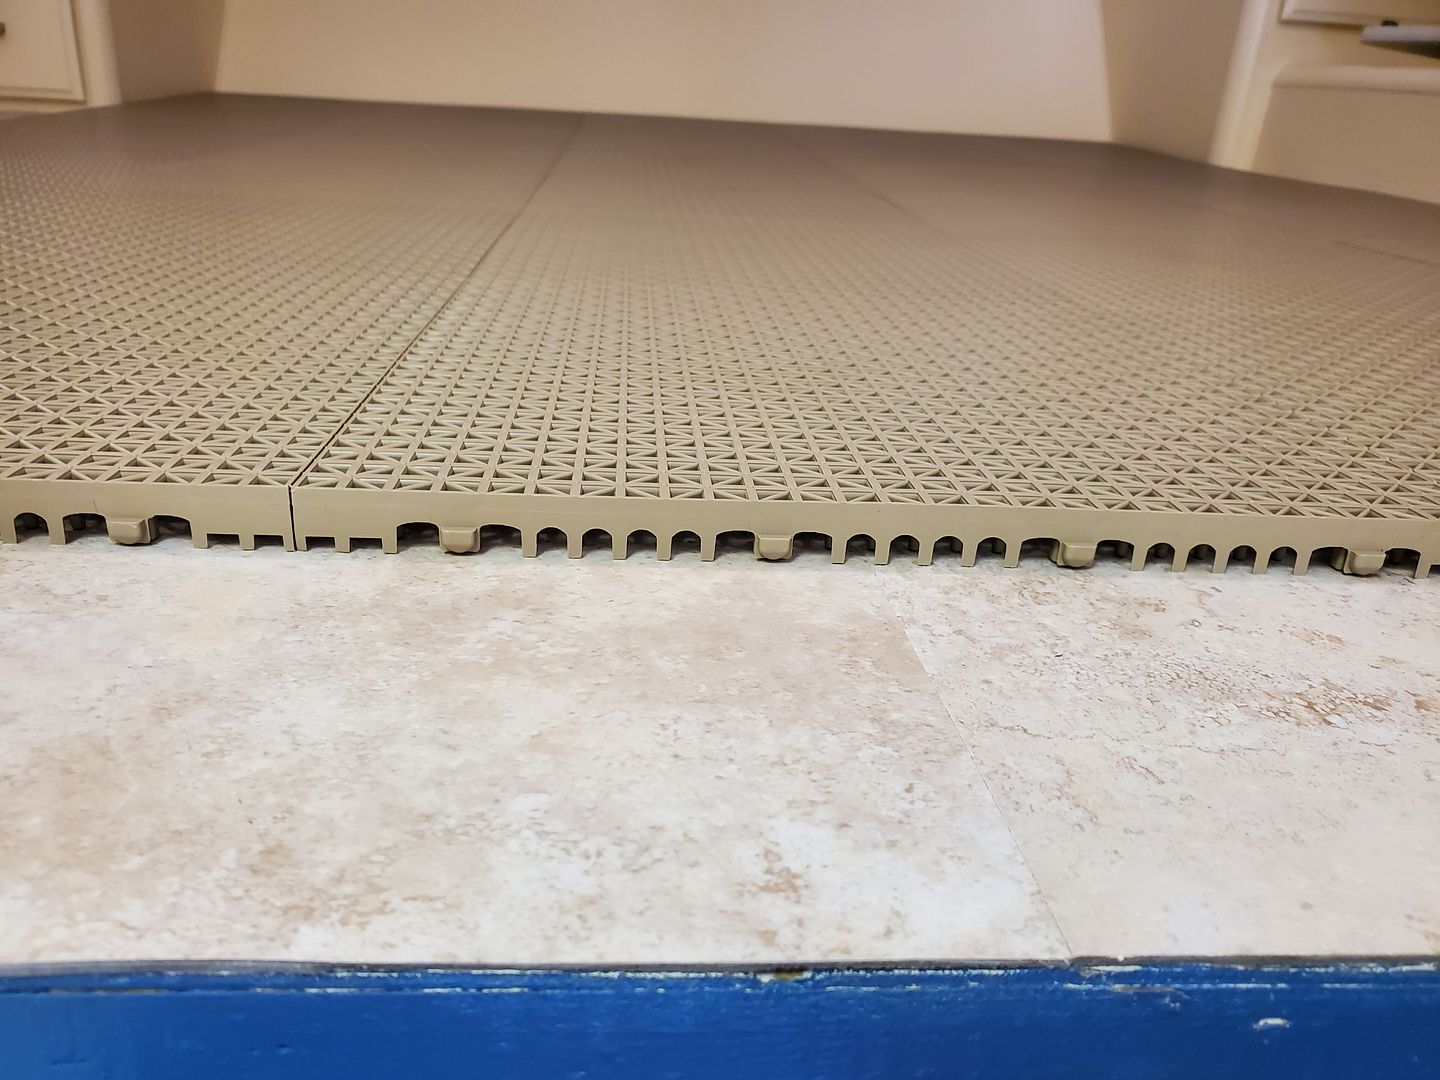
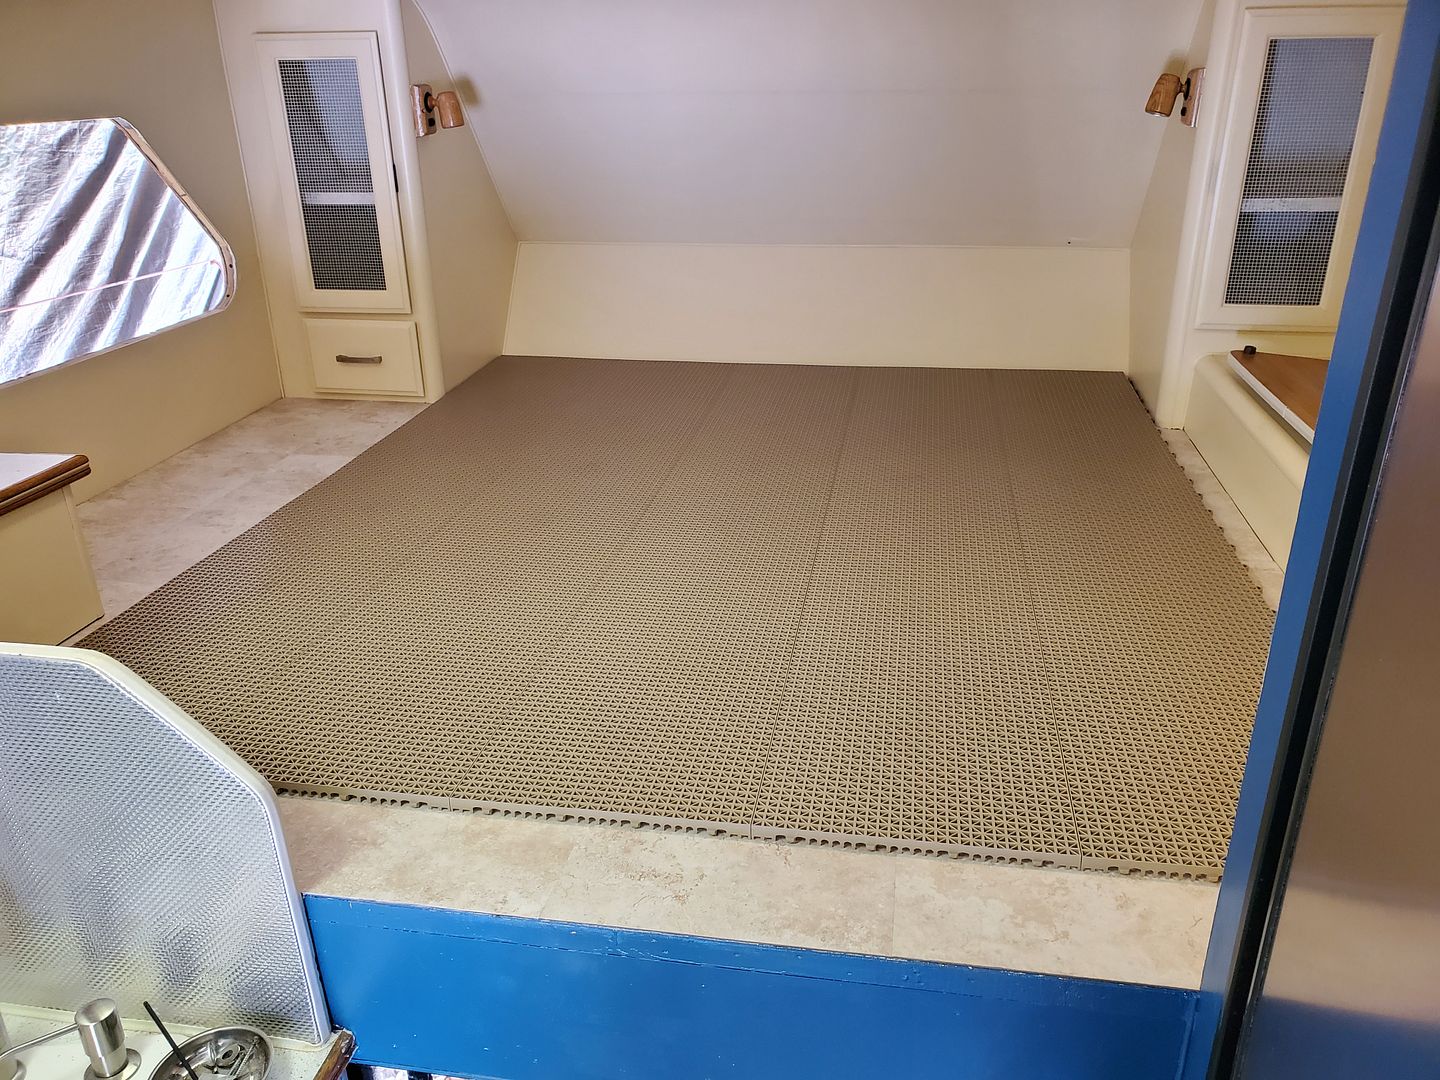
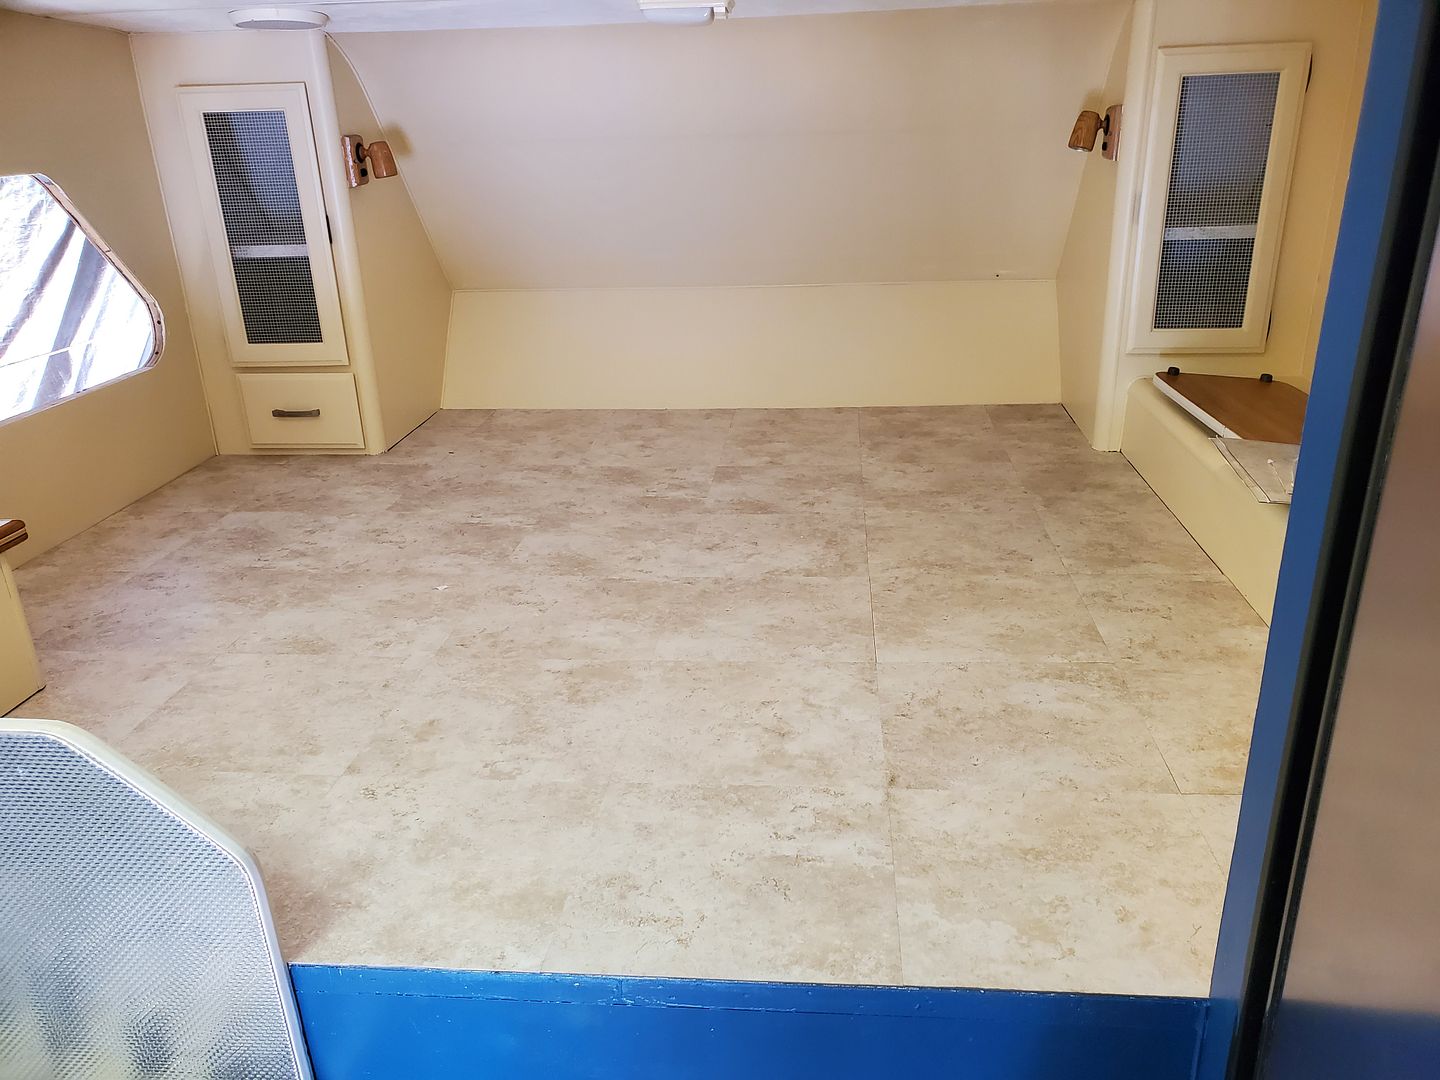
The cabover got self-stick tile along with the DuraGrid under the mattress.
The 811 was designed for an old 13" tube TV that you put in the over sink cabinet on a turntable, then rotate to view either from bed or dinette. I screwed the front-facing door to the cabinet frame, then added a SuperSonic 1080p TV that runs on 12v, along with a new KIng antenna. We no longer used our Roku at home since getting a smart TV, and as luck would have it the wall wart for that was rated at 12v, so I cut it off and wired the Roku right into 12v.
I mounted the TV on the cabinet door with an articulating mount that allows the TV to swing around for dinette viewing.
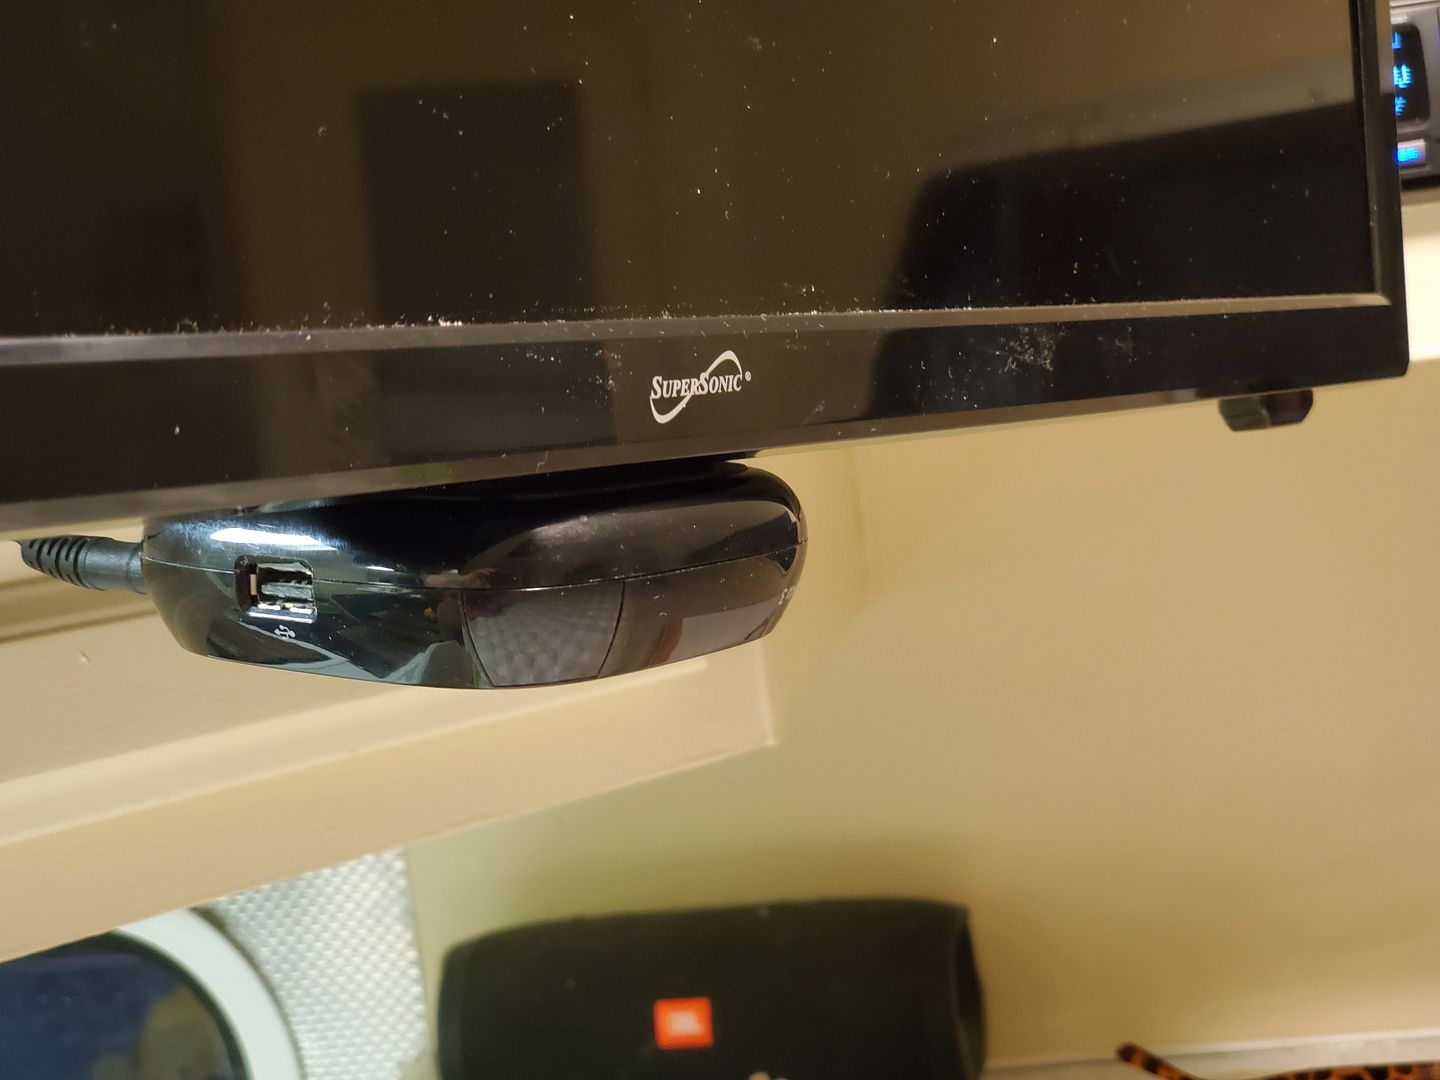
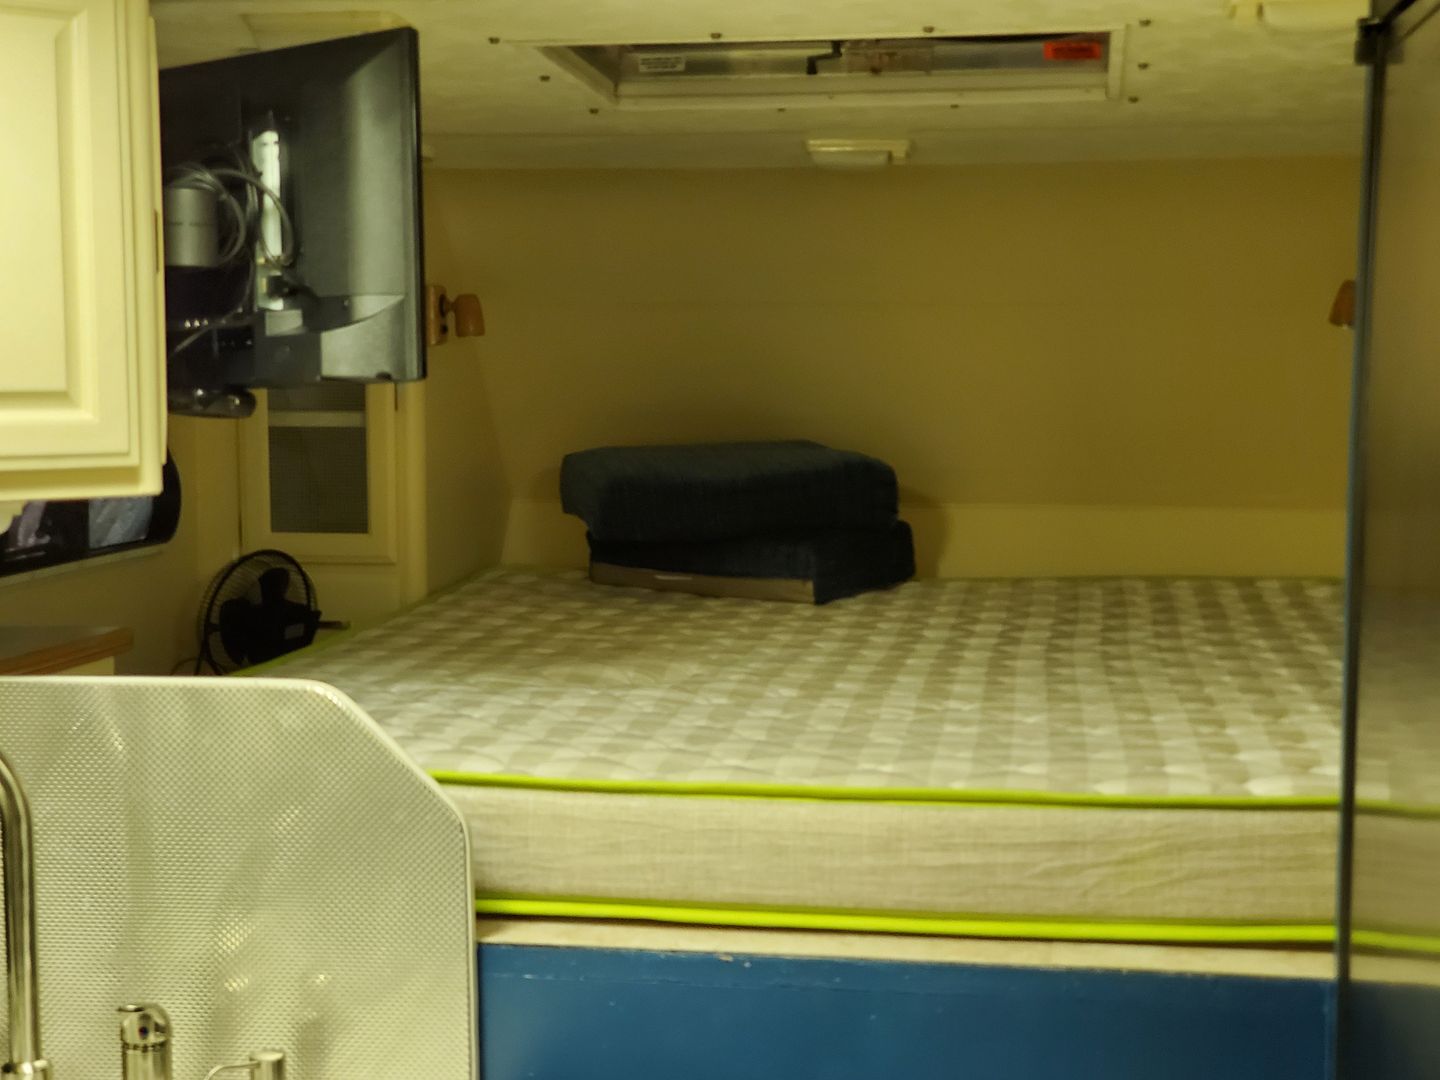
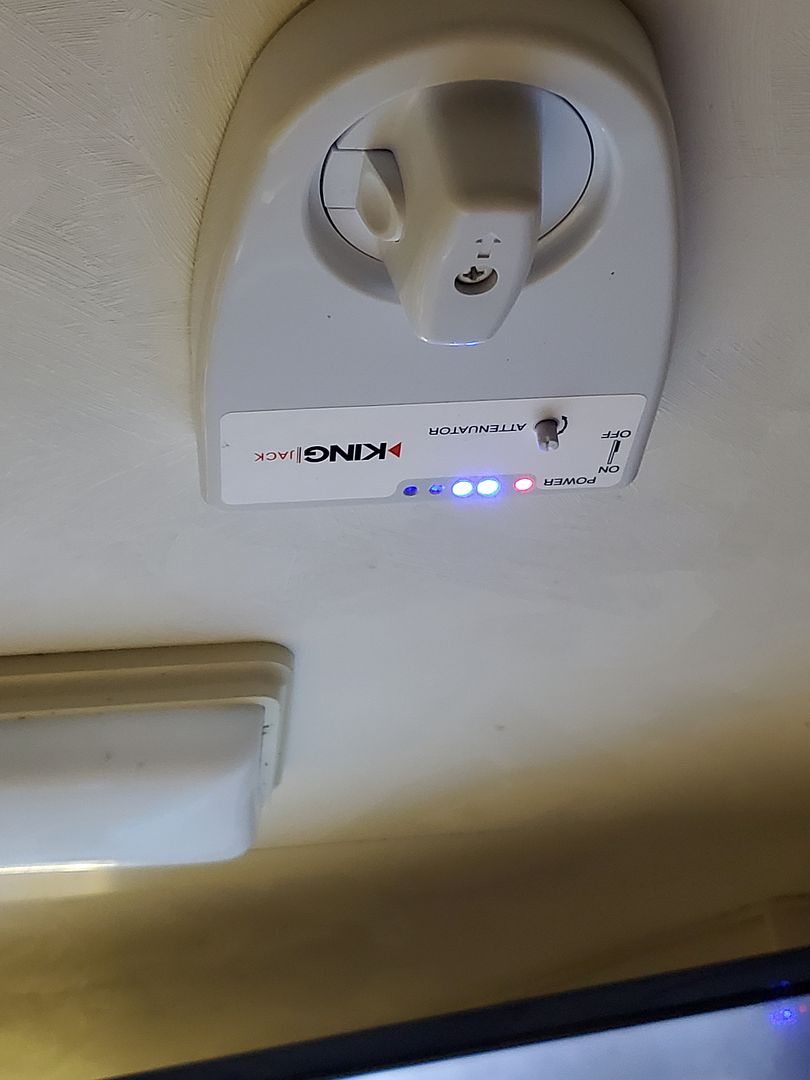
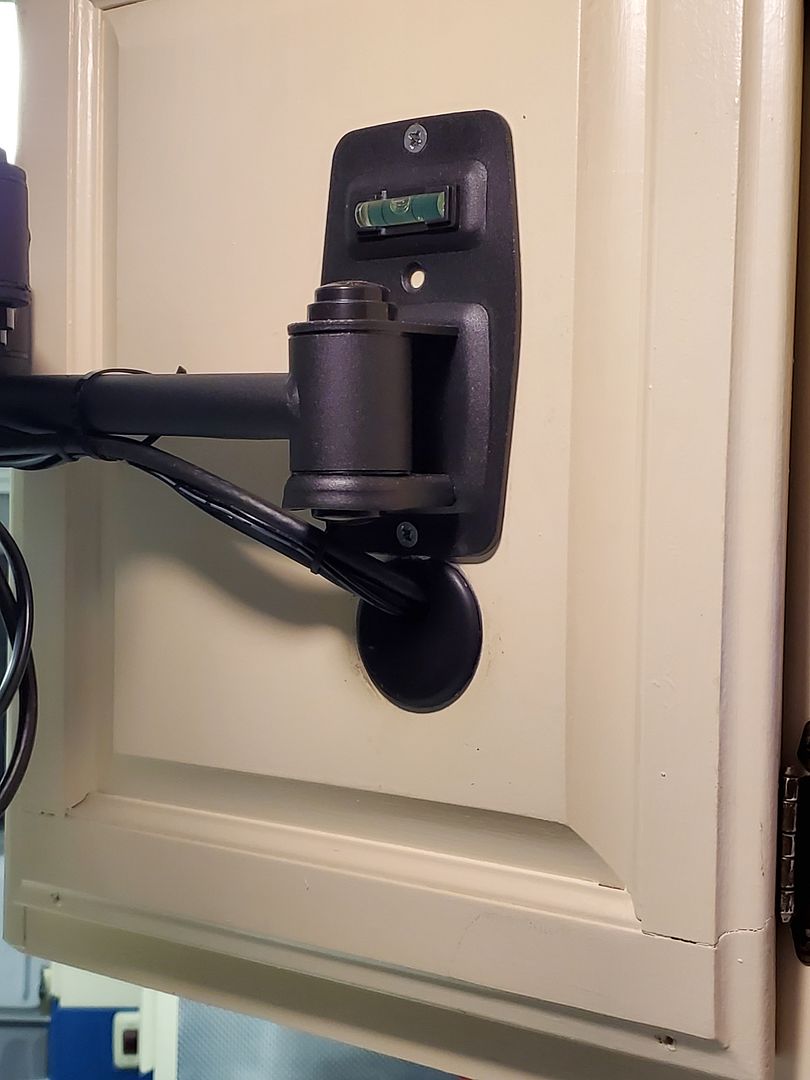
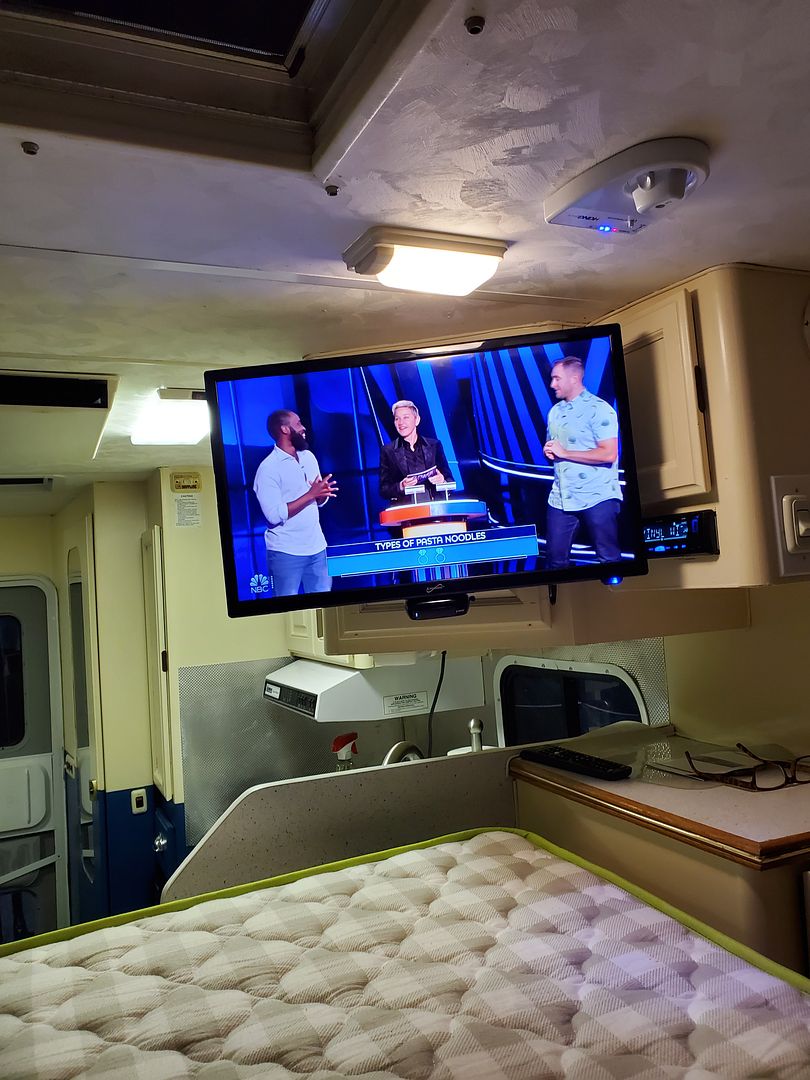
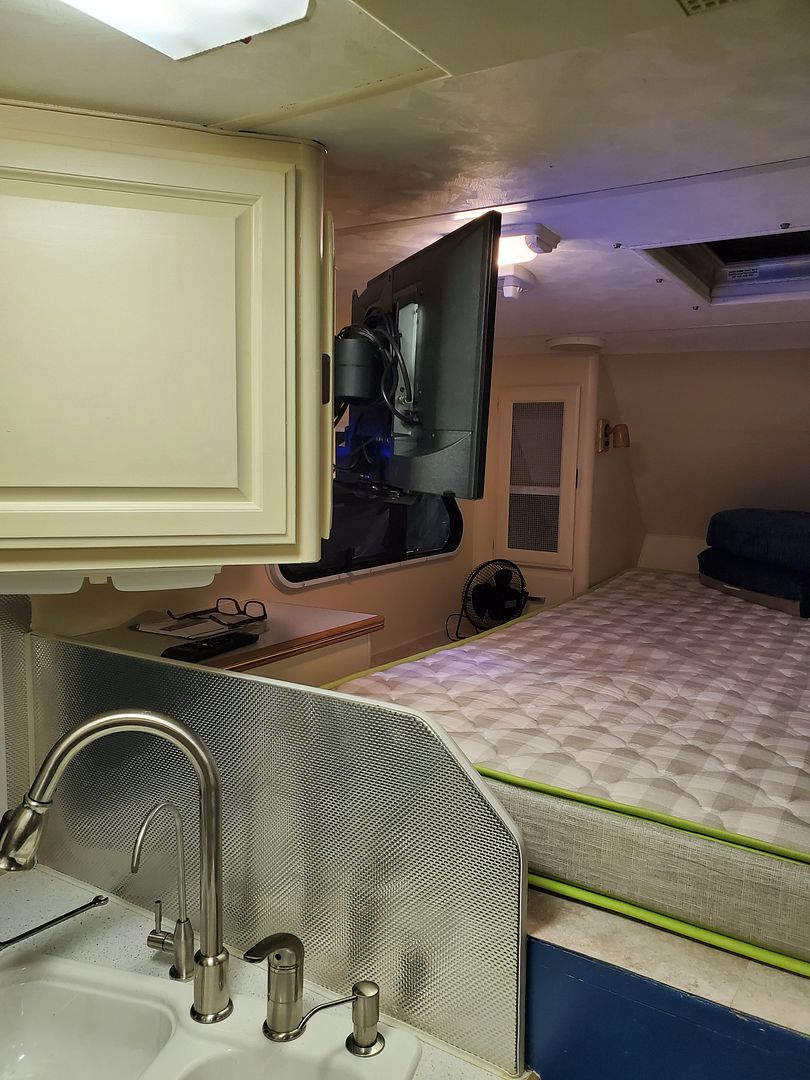
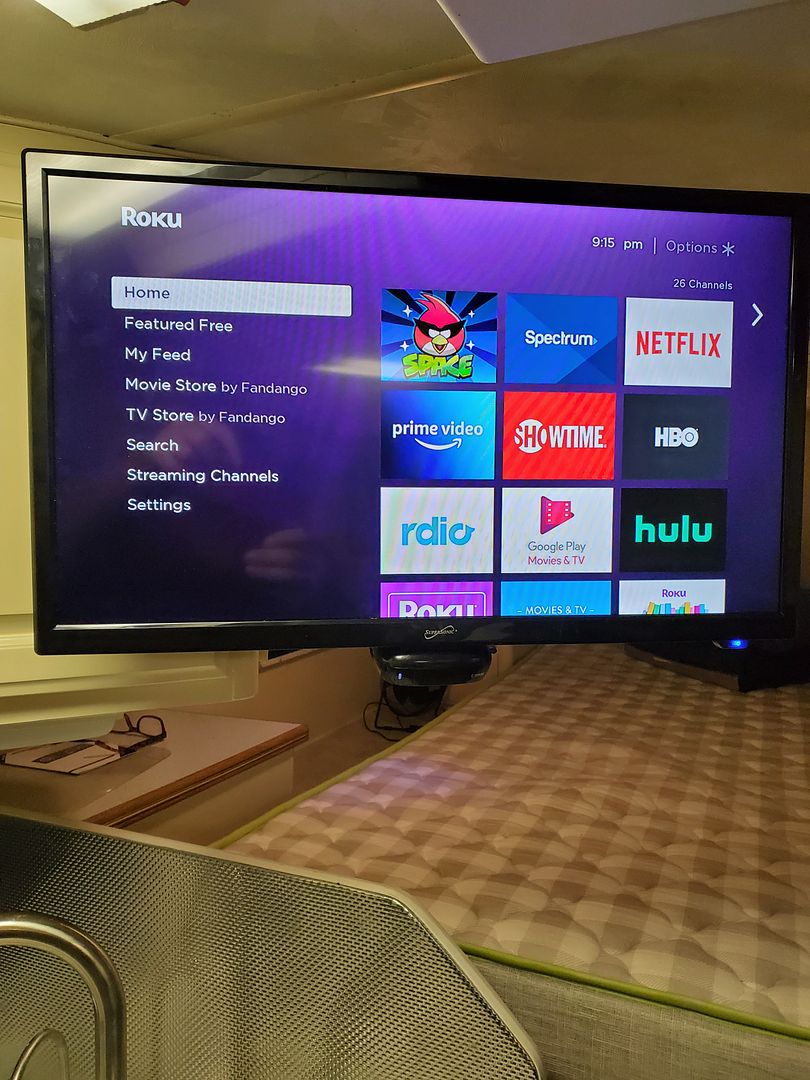
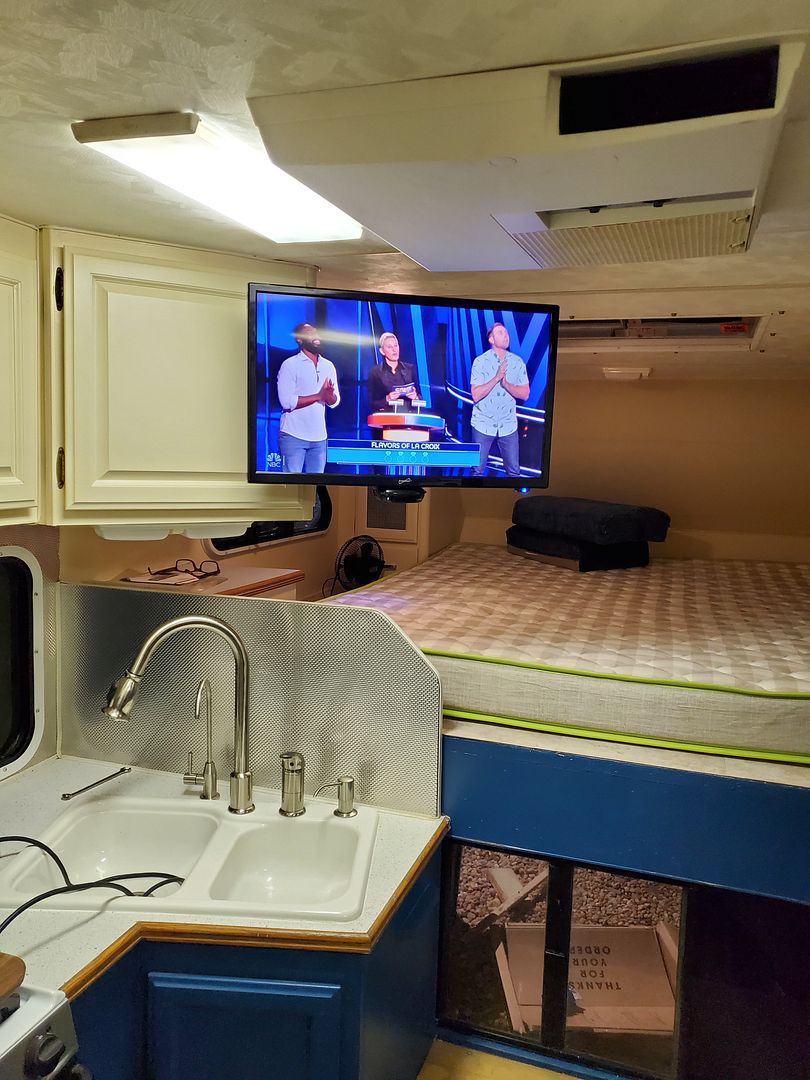
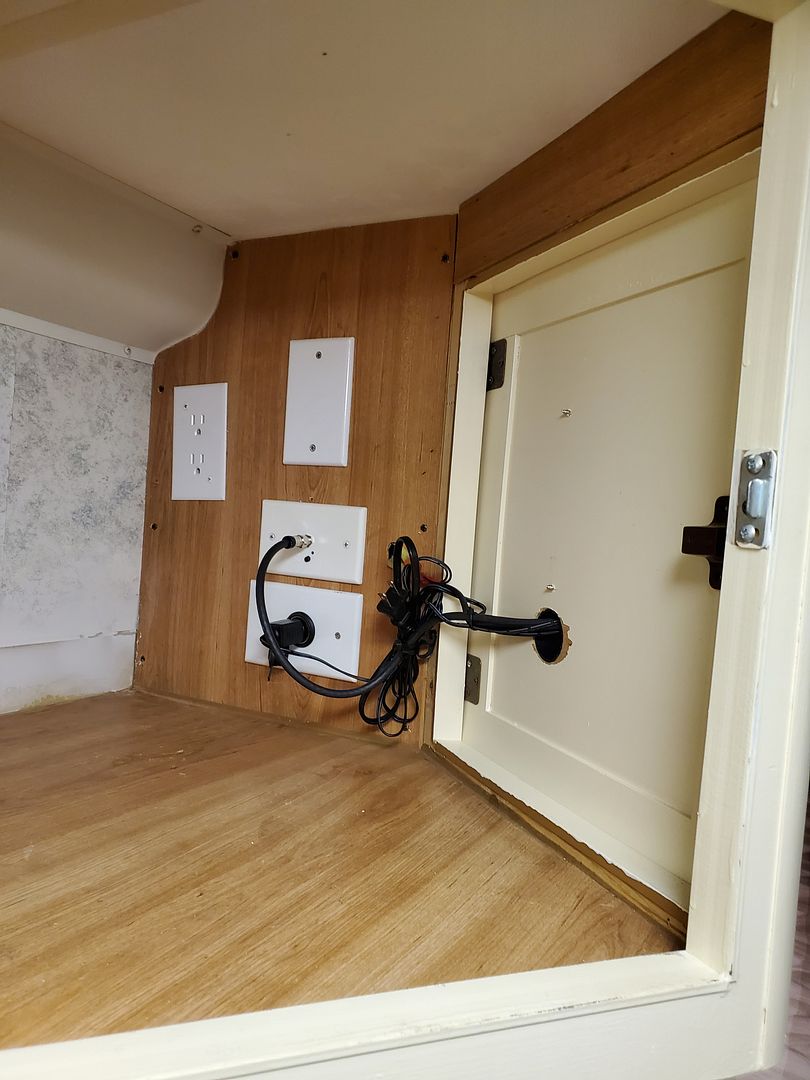
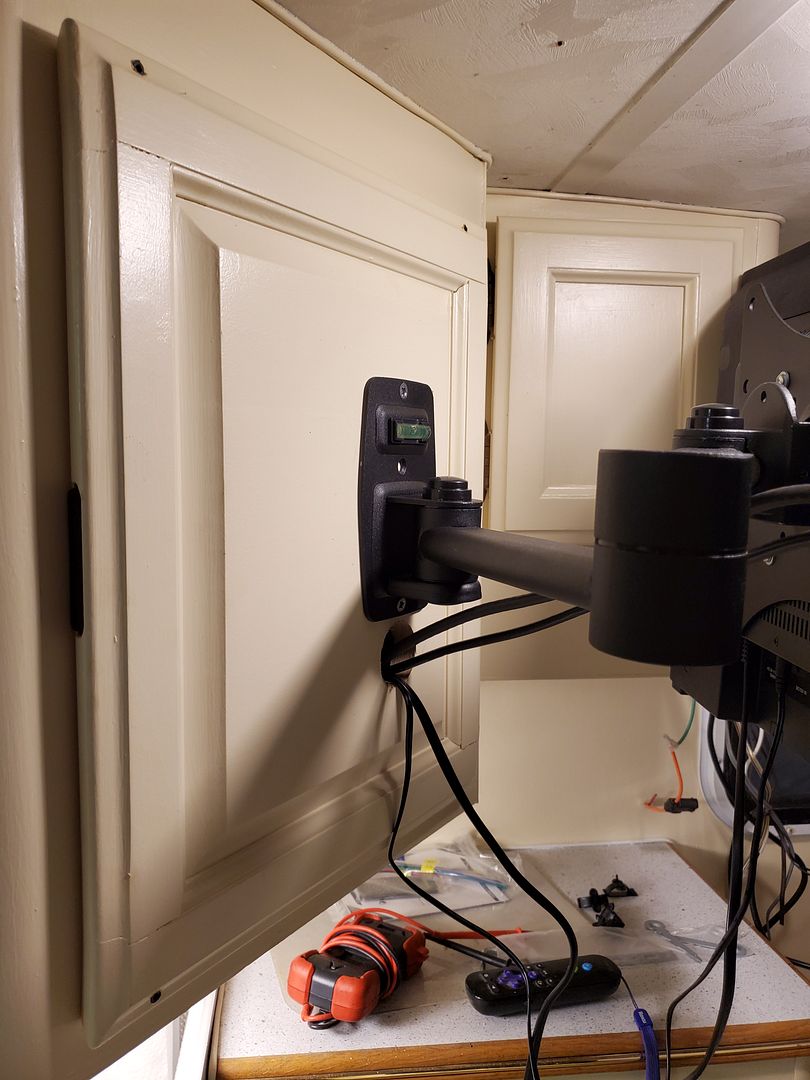
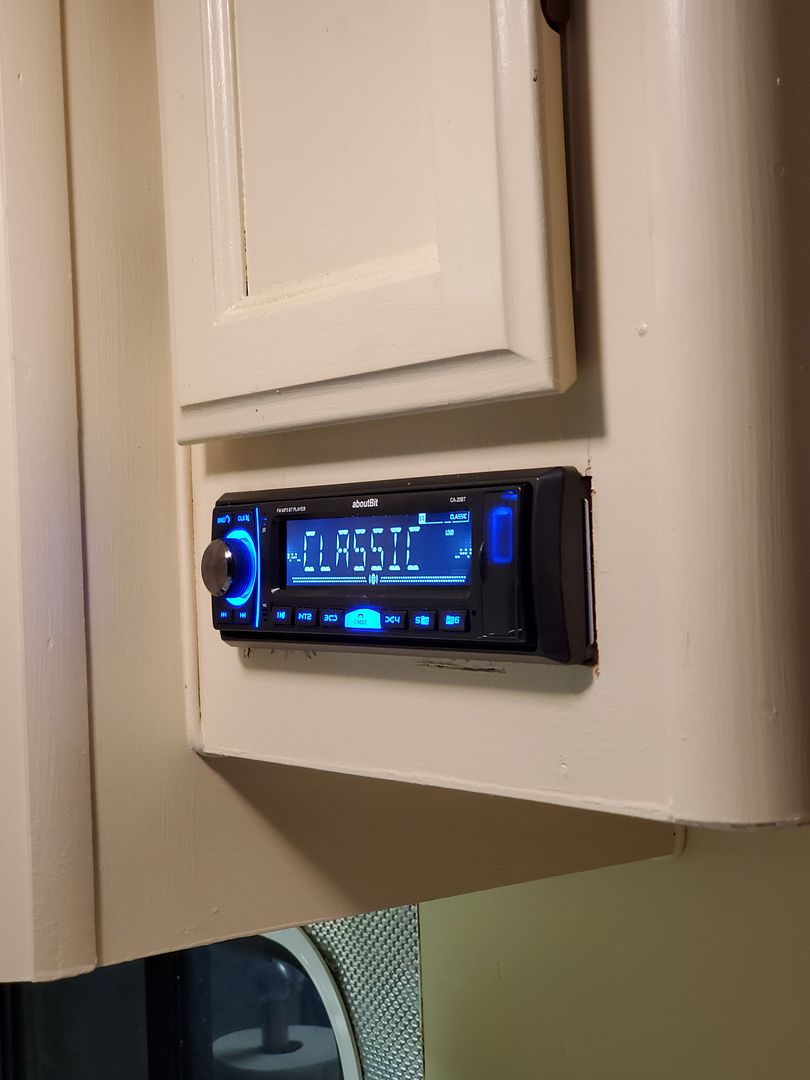
Added a stereo since the speakers and pre-wiring was already there, and replaced the CO detector with a battery operated one. I used that space where the CO detector used to be to mount the switch for the TV and cig lighter and USB charging ports.

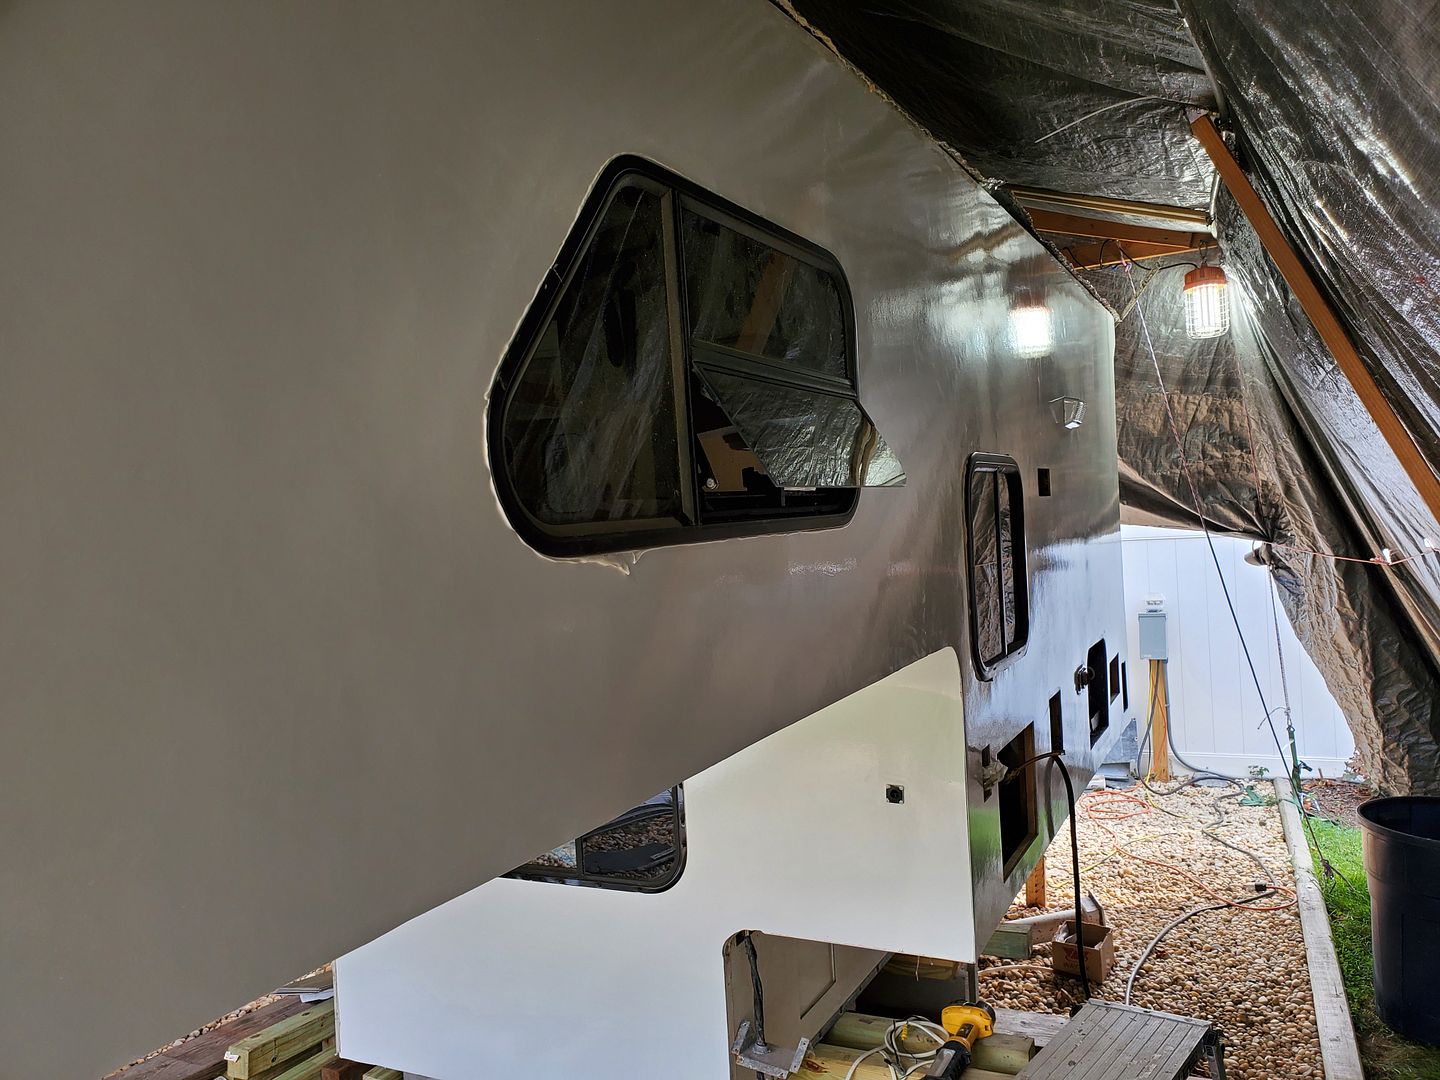
Lastly we got the filon installed and the windows in on the left side.
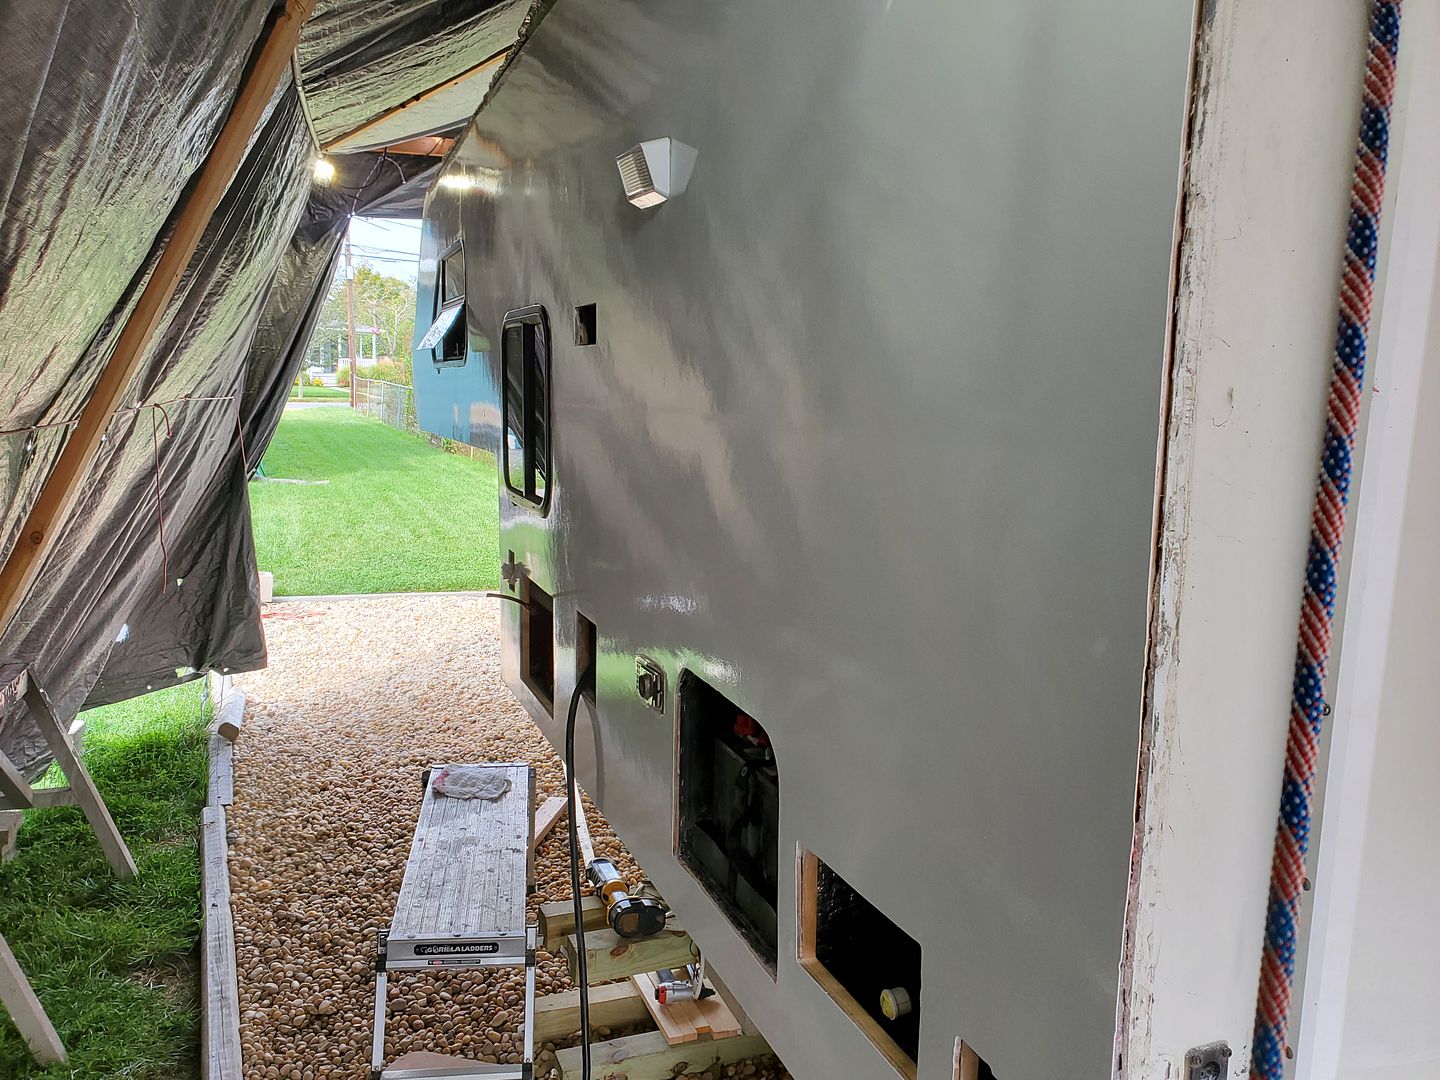
Last bit of BIG NEWS is that we got the gas turned on!! Fridge lit right up! Stove works and the furnace is awesome!
Left to do at this point:
1. re-wire the tailights and replace the umbilical cord.
2. Re-install HW heater and misc hatches on the left side.
3. Get all the trim back on and sealed.
4. Eternabond EVERYTHING
Hoping to be done by the end of the month, but we'll see....
- Mark as New
- Bookmark
- Subscribe
- Mute
- Subscribe to RSS Feed
- Permalink
- Report Inappropriate Content
Aug-31-2020 01:10 PM
- Mark as New
- Bookmark
- Subscribe
- Mute
- Subscribe to RSS Feed
- Permalink
- Report Inappropriate Content
Aug-31-2020 08:17 AM
2012 Lance 850
2023 Chevy 3500 HD


